The Lisengrat ridge hike is one of the most epic sections of trail I encountered on my adventures throughout Switzerland. Between Säntis Peak and Altmann, this narrow ridge is known as the toughest part of the Alpstein Loop. I attempted the Lisengrat ridge while completing the entire Alpstein Loop, which is up there with my favorite hiking route in Switzerland.
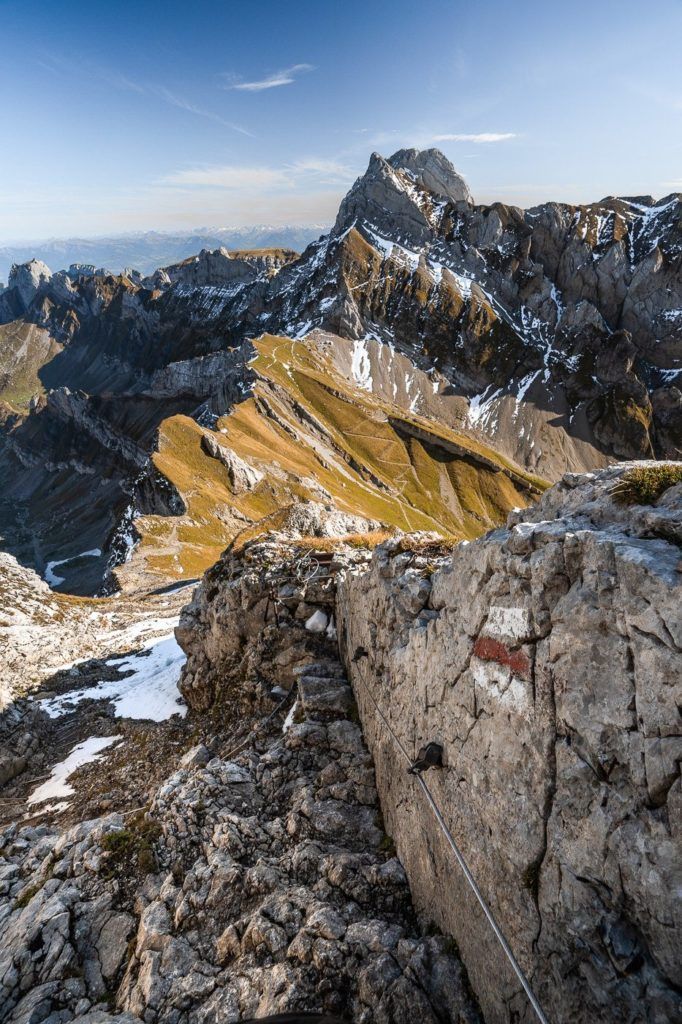
Hiking the Lisengrat Ridge Trail
In the blog post, I will share with you my experience on the Lisengrat Ridge hike but also fill you in on the details about what time of year this ridge is possible to hike, the distance, difficulty, and other tips for hiking in the region.
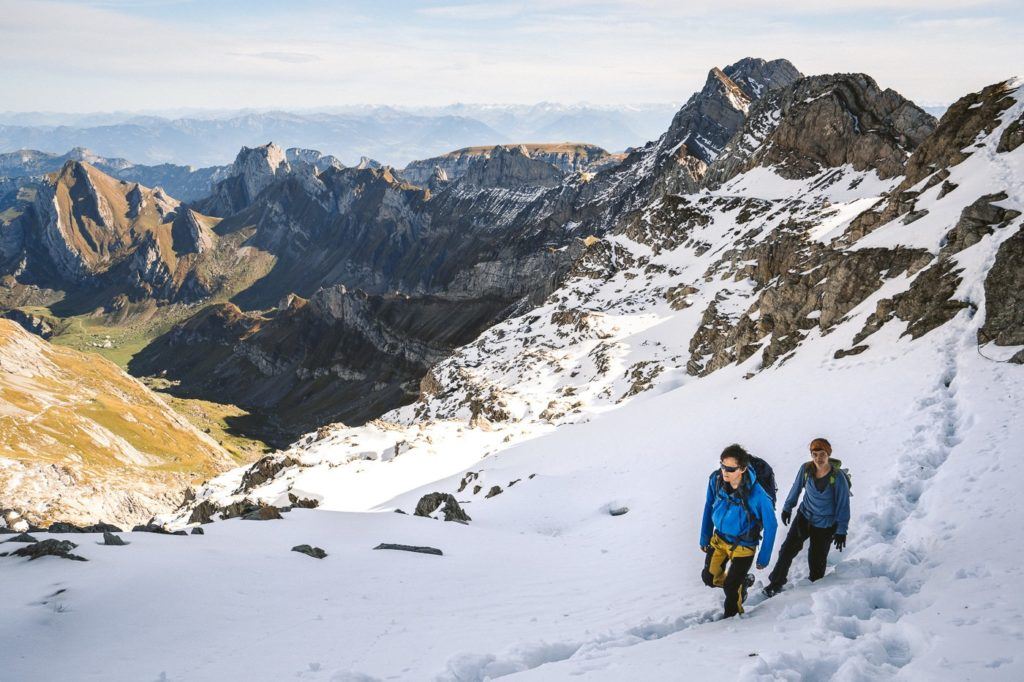
HOW TO GET TO THE LISENGRAT RIDGE HIKE
- Option 1: The Lisengrat ridge hike is nestled between the mighty Säntis Peak and Altmann. Just below Altmann is Rotsteinpass, where there is a mountain hut. The Lisengrat Ridge can be hiked in either direction and it all depends on your overall route. To get to Rotsteinpass you will need to hike up through Meglisalp from Wasserauen or Fallensee. This is the common route to reach Rotsteinpass and then onto Altmann, is to catch the train to Wasserauen and then hike up through Meglisalp, Rotsteinpass, and then to Altmann.
- Option 2: The other option is to hike in the other direction, which is the way I went. I began at Wasserauen and hiked up to Ebenalp and on to Schafler before ascending to Säntis Peak and then down through Lisengrat to Altmann, Rotsteinpass, Meglisalp, and then back to Wasserauen. I did the Alsptein Loop over two days and used Ebenalp as my point for sleeping although Schafler would be preferable.
GET A SWISS TRAVEL PASS!
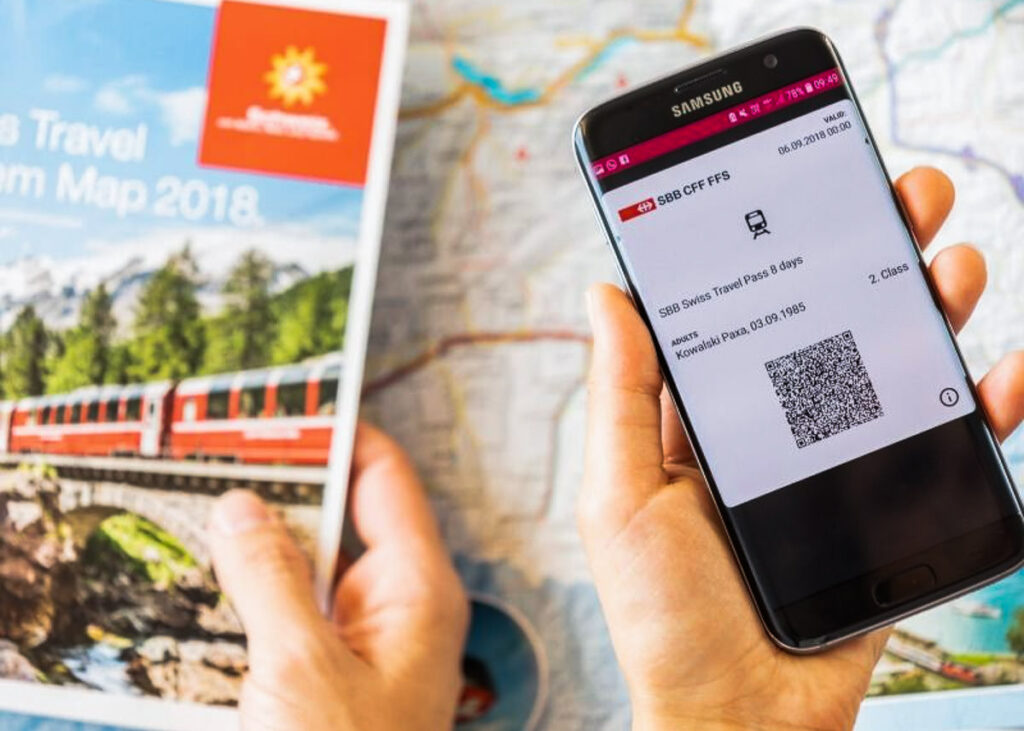
Enjoy UNLIMITED train, boat, and bus rides in Switzerland for up to 15 days. Click to book a flex Swiss Travel Pass or choose the Consecutive Swiss Travel Pass.
The Swiss Travel Pass starts at $260 for 3 days. Click here to check if it’s available on your travel dates.
ALPSTEIN REGION HIKING MAP
I will add the map below so you can understand the layout of the Alpstein region. Basically, it is important to figure out that Lisengrat Ridge is not something that can be done separately and it will be part of your overall hiking route, whatever that might be.

CABLE CAR ACCESSIBILITY
*Another important note to add is that you can catch the cable car to Säntis Peak and then hike down or in reverse hike up and cable car down. That is entirely up to you and you can eliminate half of the loop this way but it’s a beautiful loop so why do that? Most of the people venturing onto the ominous Lisengrat Ridge are avid hikers so would be unlikely to choose the cable car instead of hiking anyhow.
As you can see on the map above, the highest red line on the left side of the map between Säntis and Rotstein is the Lisengrat Ridge.
LISENGRAT RIDGE HIKE DETAILS
The Lisengrat Ridge Hike is rated as a medium difficulty by the Swiss Tourism website. I would go further and say that this hike should not be attempted by anyone with even a mild fear of heights.
Often you are holding onto a cable with a huge, deadly drop below. It’s enough to freak many people out. You have a cable to hold onto for most parts but not all. I did the hike in the snow and that is even more dangerous and it was quite an adrenaline rush, albeit a slow-paced activity.
The Lisengrat Ridge is at 2,490m of altitude and the ridge itself from Santis to Rotsteinpass should take no longer than 1.5 hours to traverse. However, as mentioned above it will be part of a longer hike depending on which direction you are heading.
The stairs and cables were initially installed in 1905 by the Swiss Alpine Club and it is seen as the highlight of the Alpstein Loop Hike.
YOU WILL ALSO LIKE MY APPENZELL HIKING GUIDE: 9 AWESOME HIKES IN APPENZELL, SWITZERLAND
MY EXPERIENCE ON THE LISENGRAT RIDGE HIKE
It was close to the end of the summer, almost mid-October. I thought I’d left it way too late to reach Säntis and Lisengrat. In fact, after making inquiries to the huts and local hikers, I had kind of written off the idea of attempting either. I was back to Alpstein for a third time, this time to visit Schafler Ridge for sunset and sunrise.
I hiked up from Wasserauen to Ebenalp visiting the famous Ascher Cliffhouse Restaurant for the second time. It never gets old. I stayed the night at Ebenalp but visited Schafler Ridge for sunset returning in the dark to Ebenalp (Schafler Hut was fully booked).
The next morning I woke early and set off in the dark back to Schafler for sunrise and she was just as beautiful in the morning as in the golden glow of the evening the day before. I decided to continue on towards Säntis. A few other hikers were doing the same and I knew I could always turn back if it was too snowy or difficult for my skill level at the time (T-5 maximum).
What are my favorite pieces of hiking gear?
There are four pieces of gear that I simply never forget when I go on a hike. These are four items that I using right now and this list gets updated every year! Here are my hiking essentials.
- Arcteryx BETA AR Rain Jacket: This is my go-to rain jacket. It’s super light, folds down into a tiny ball, and protects brilliantly in a storm. This one never leaves my backpack.
- Salomon X Ultra 3 Mid GTX Hiking Boots: For the best ankle support, waterproofing, and durable exterior I’m a fan of tough but light hiking boots like these Salomons for my adventures.
- Black Diamond Head Torch: I can’t tell you how many times, I’ve arrived back from a hike unexpectedly late. I always keep this lightweight but strong headtorch in my bag for the unexpected.
- Darn Tough Socks: These are the most comfortable hiking socks I’ve ever worn and last for years. They also have a lifetime warranty and you just send them in with a hole and they replace it no questions asked.
The trek to Säntis turned out to be snowy but not dangerous throughout. The last little incline up towards Säntis Peak was a bit intense but not dangerous. I was glad to have made it to Säntis as it was something I thought had been deemed not possible for me at this time of year after the snowfall.
I now sat and ate lunch at Säntis Restaurant and was thinking I would catch the cable car down because the Lisengrat had been labeled closed in its current state for hikers.
However, during lunch, I saw a few people heading over to Lisengrat Ridge. You can watch people beginning the ridge from the restaurant. They seemed to move okay although one couple was stuck for a while. Watching this neither confirmed if it was accessible or not.
I decided I would go give it a shot after watching an older couple emerging fro the ridge. So out of nowhere, with no expectations for Säntis and Lisengrat, I was about to attempt both in a day.
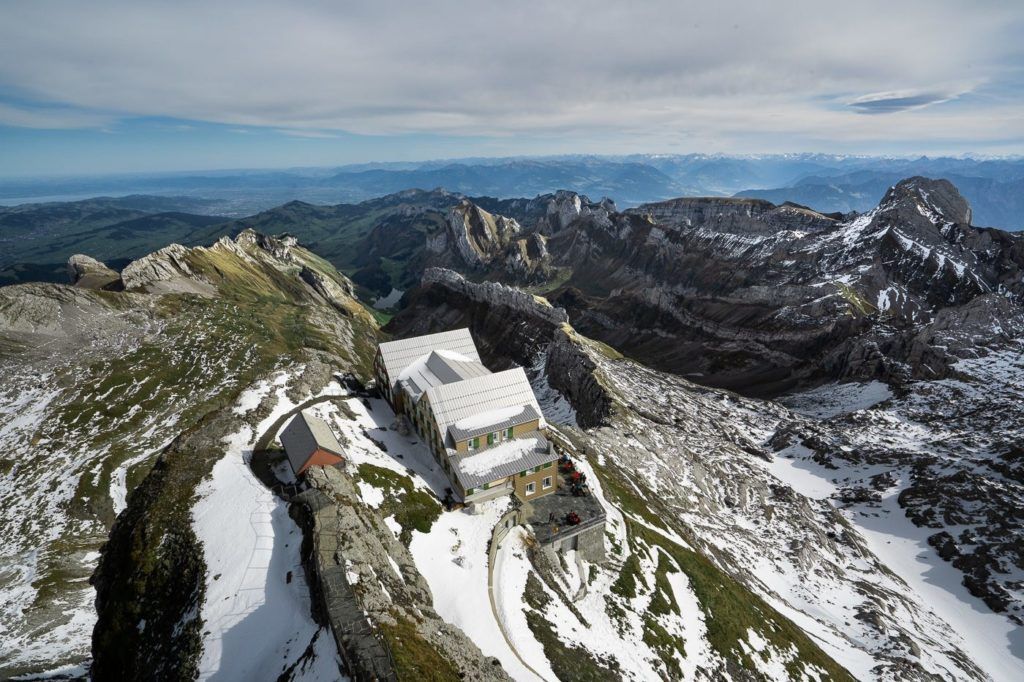
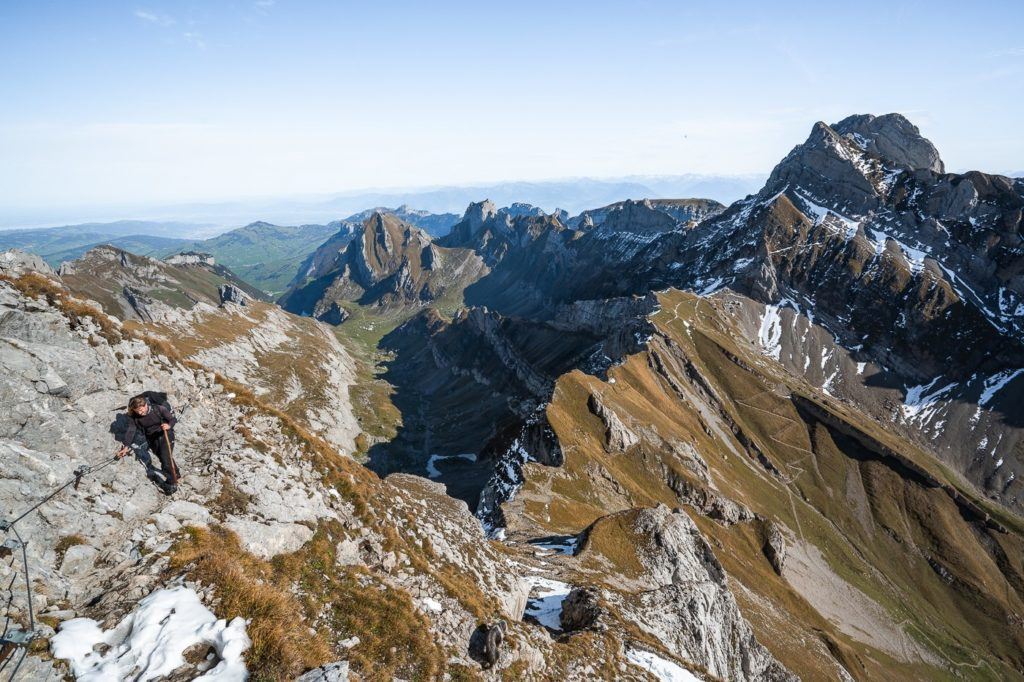
I nervously headed over to the Lisengrat Ridge and figured I would slowly delve further and further never over-committing. The route began without too much danger up and over a rocky trail. In the early stages, it was always assisted by a cable. I moved slowly, always with a firm grip on the cable. The heart rate was elevated but I felt safe and confident in the cable.
Now the trail heads downhill, which is always a little more dangerous. It’s harder to fall uphill than down. The snow now covered the trail but the cable remained a prominent part of the route, thankfully. I tried not to be distracted but the view of the entire Alpstein region seemed to be perfect from this angle, one that not too many will ever witness compared to the high volumes in the Wasserauen parking lot every day.

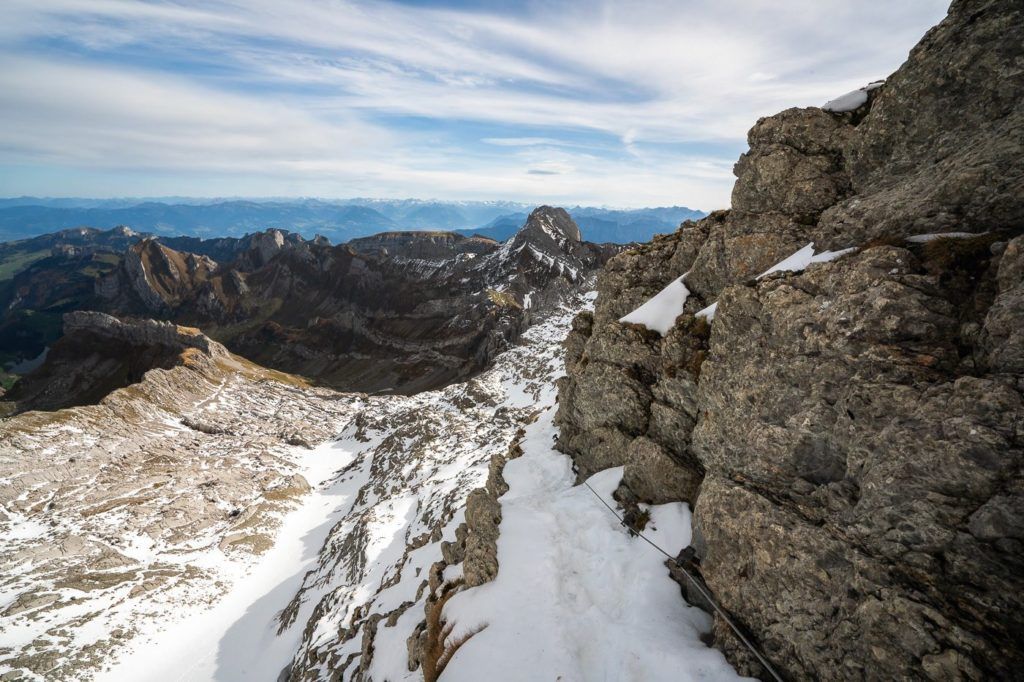
The trail takes a breather as you rest atop the rocky outcrop. Here the cable stops for a while and the snow subsided. I thought it might be over, but I was surely wrong. I continued behind a few hikers who seemed to have done it all before. The real sketchiness of the Lisengrat Ridge hike was yet to begin.
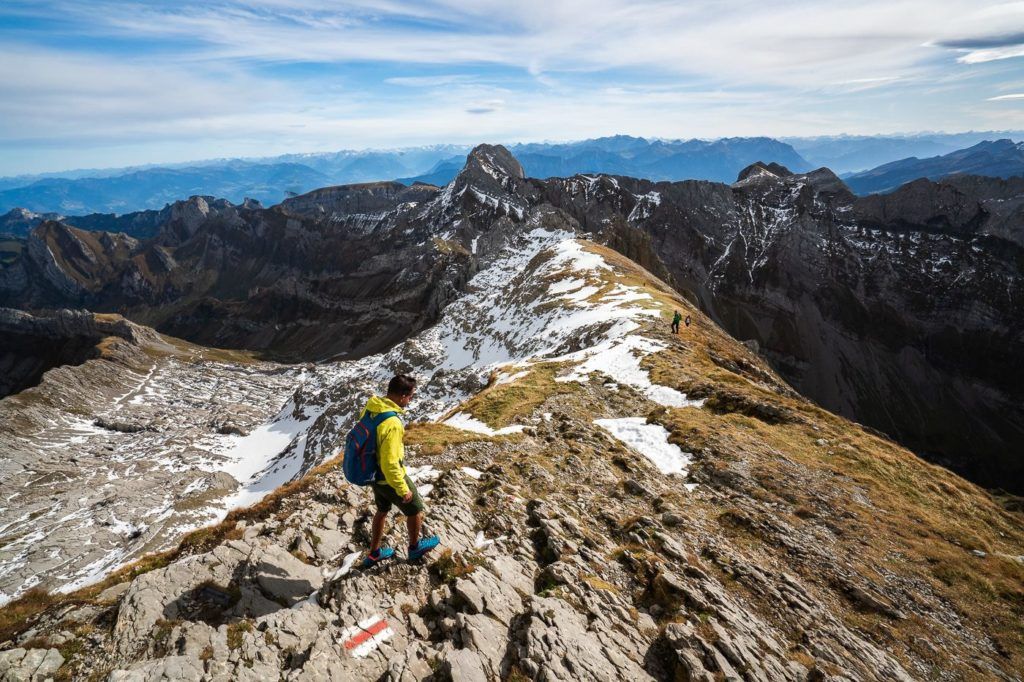
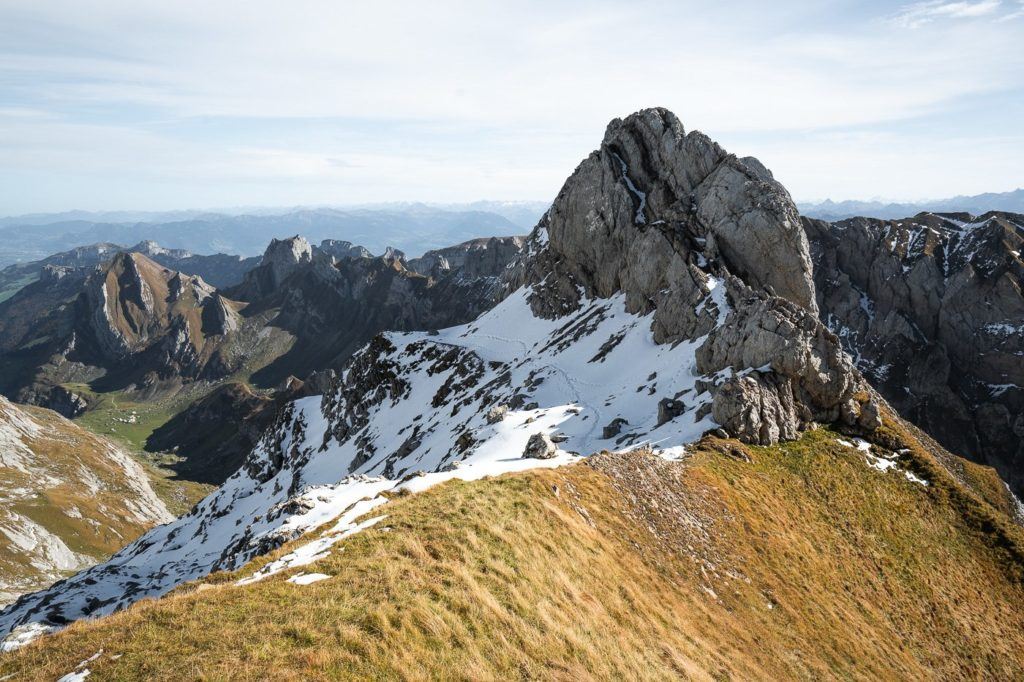
I headed back out onto the snow, this time the trail was on a steep angle. It made me insecure walking on the snow at such an angle. It seemed it would be hard to recover a slip but that was most likely my lack of snow experience prodding fear into my thoughts.
I continued. There was no cable for a while. I placed my feet in the firm footholds of those before me, hoping if it was good enough for them it would serve me also. The cable returned now but was buried under the snow in parts. I surely uncovered it for assistance.
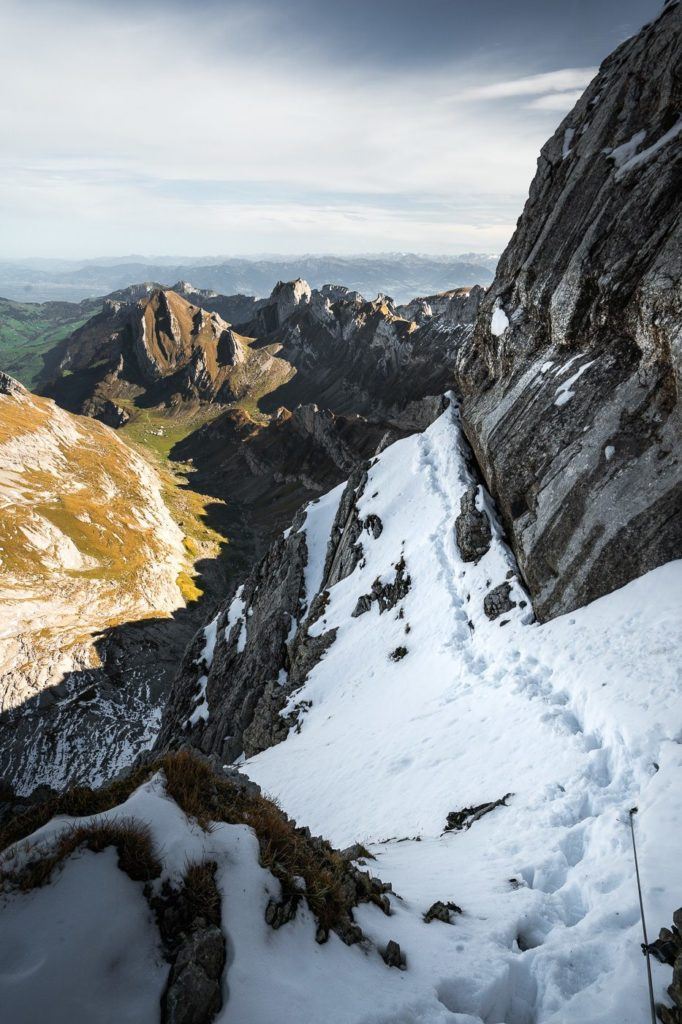
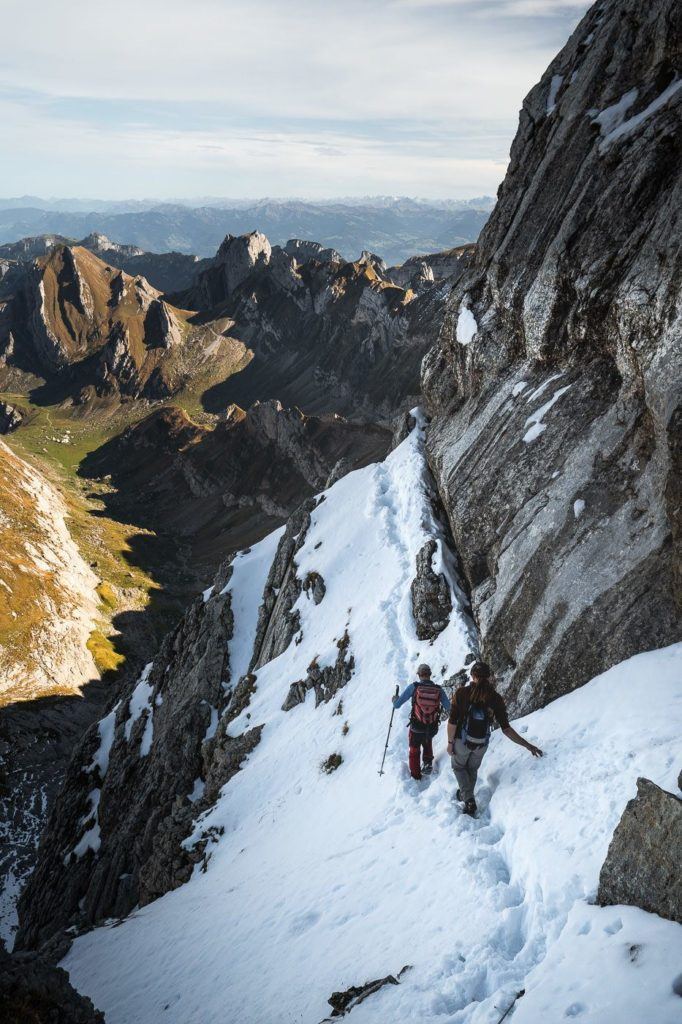
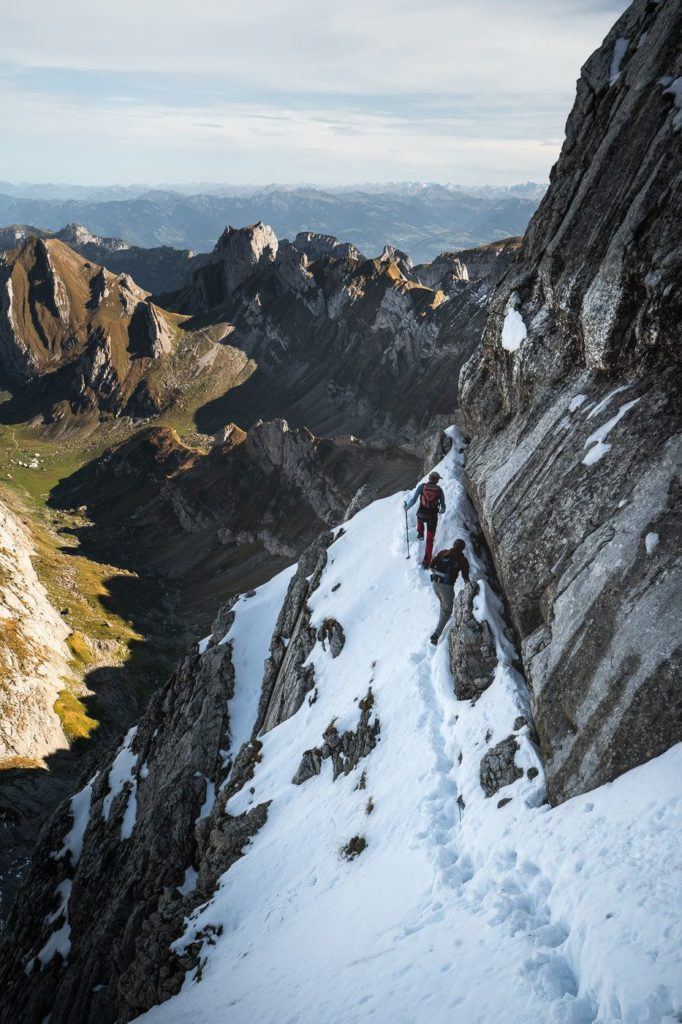
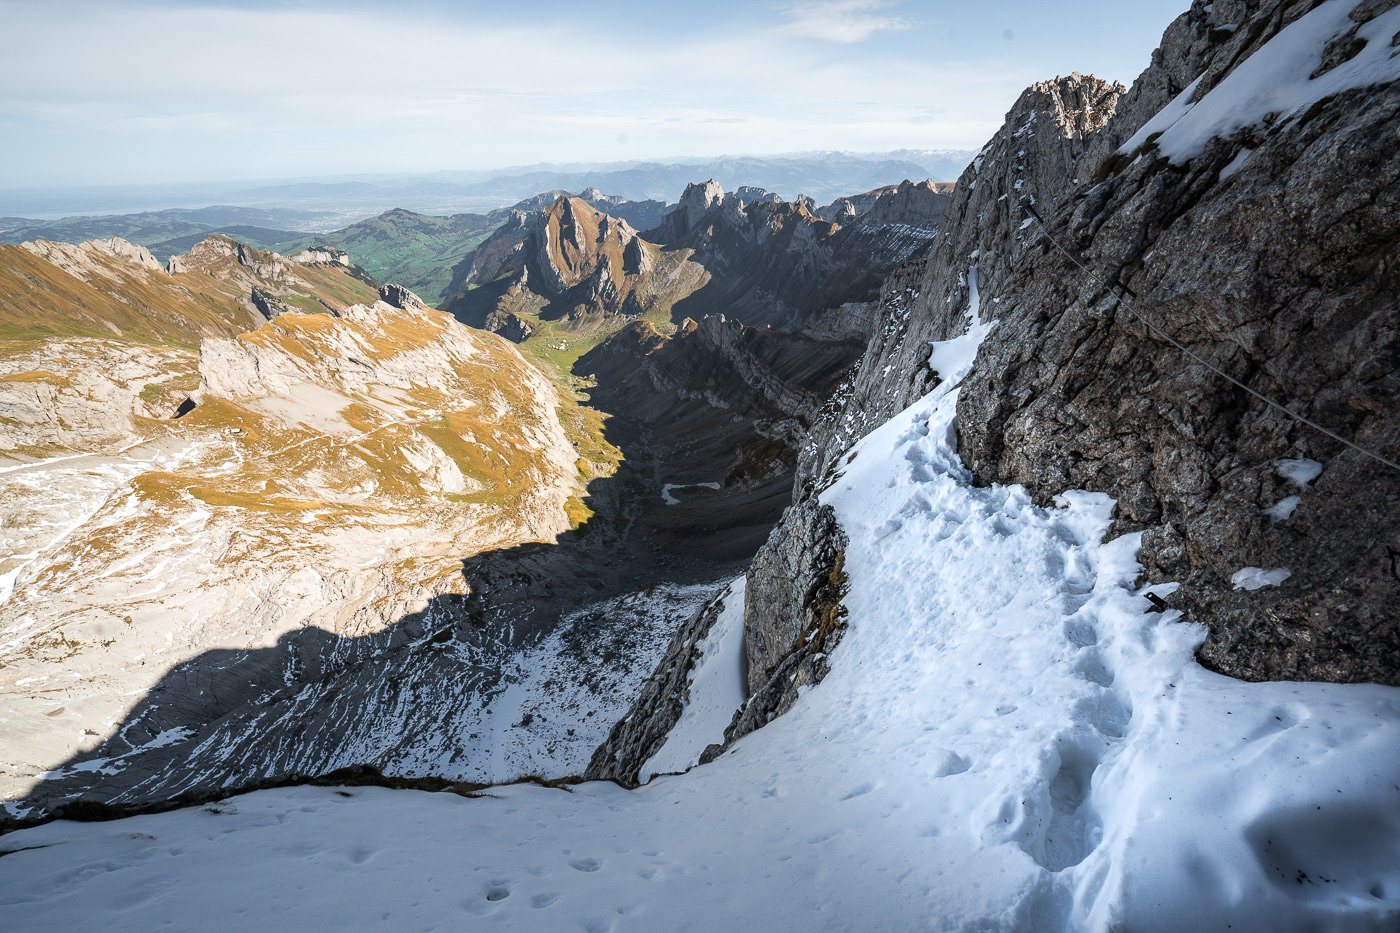
I did my best to document the hike during this phase but there were a few moments, where taking a photo was the last thing on my mind. I was making sure to survive first. Therefore the most dangerous moments are not captured but in the seconds before I entered a risky section, I did take some photos that explain why I was quite nervous.
Below you can see the width of the trail. It is just one-foot wide and packed snow on a slight angle. The drop here is huge. The cable was present the whole time but it seemed to be missing for a 3-meter stretch, which was quite stressful.
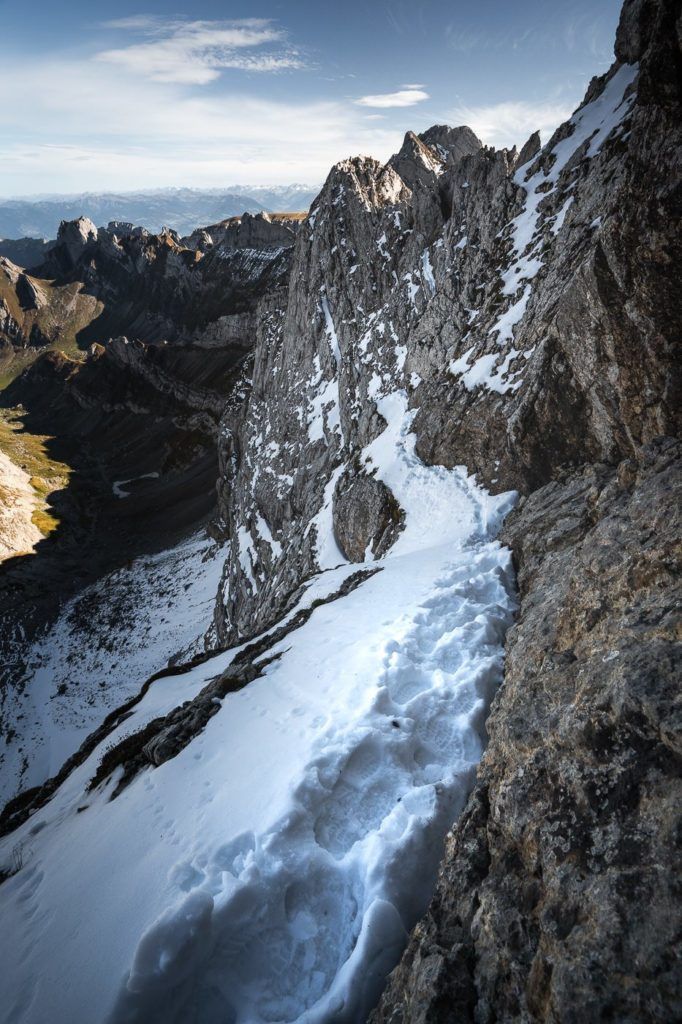
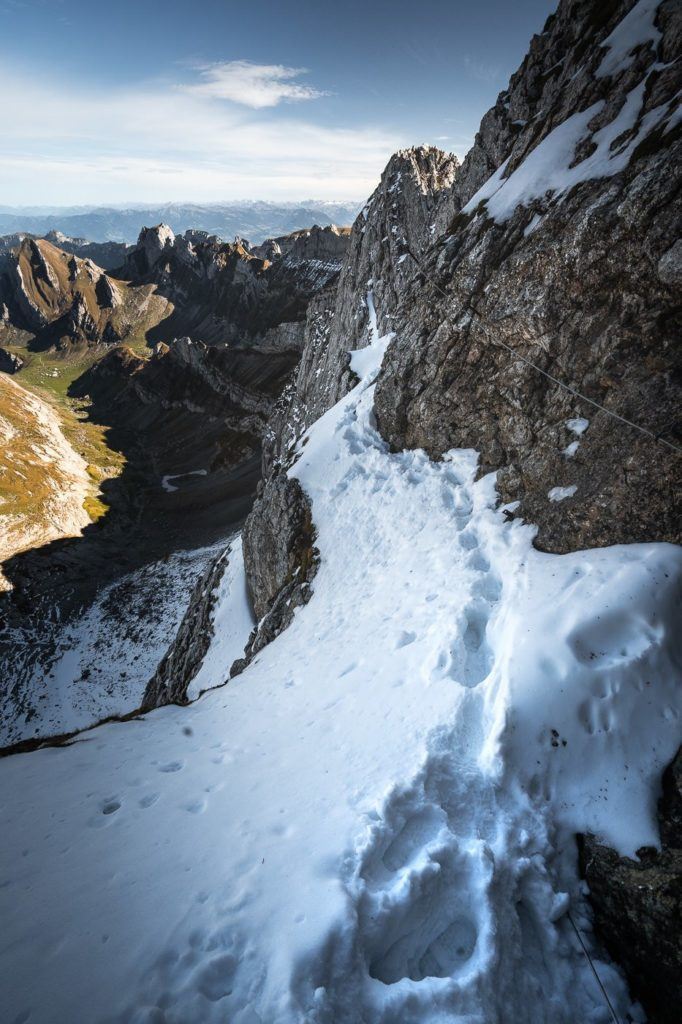
The photo below shows a mother and daughter, hugged against the wall trying their best to navigate the narrow path up to Säntis. They passed me as I headed in the other direction.
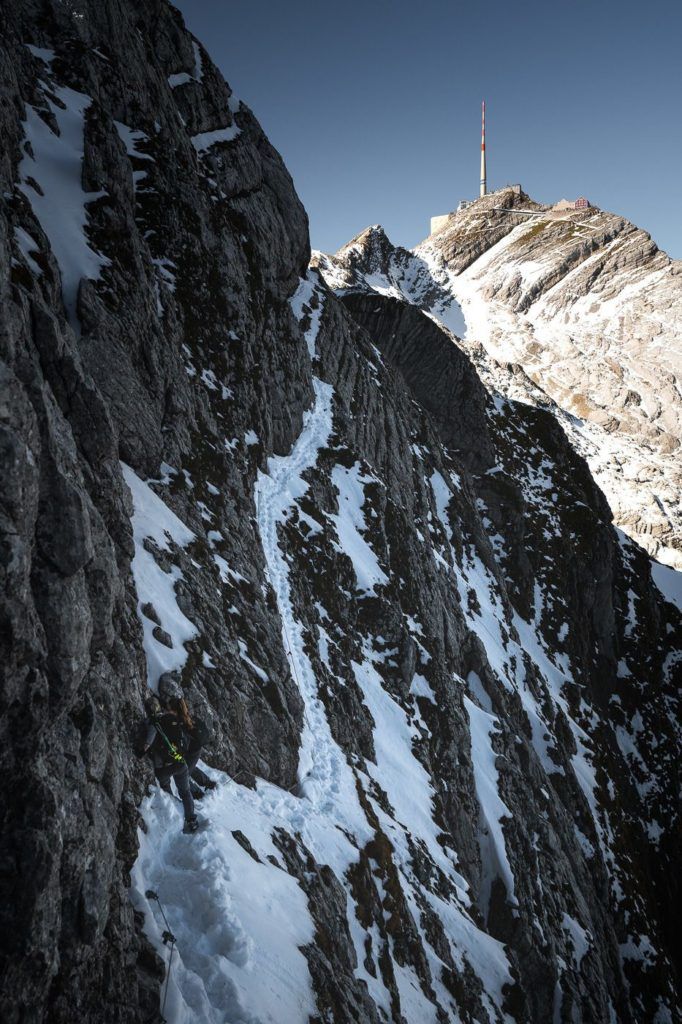
After this section the trail eased, the path widened and the cable was strong as ever. The danger of the Lisengrat Ridge seemed to have passed. Looking back towards Säntis, it was quite a sight. I think it is less imposing-looking from Säntis down the ridge because you can’t see what you are in for.
As I started down the path to Rotsteinpass, lots of hikers were asking me how it was. It seemed that the staff at Rostein Hut had been advising people not to go. Even Swiss hikers were asking me. I told them it was dangerous but doable. Assess the risk based on your experience and ability.
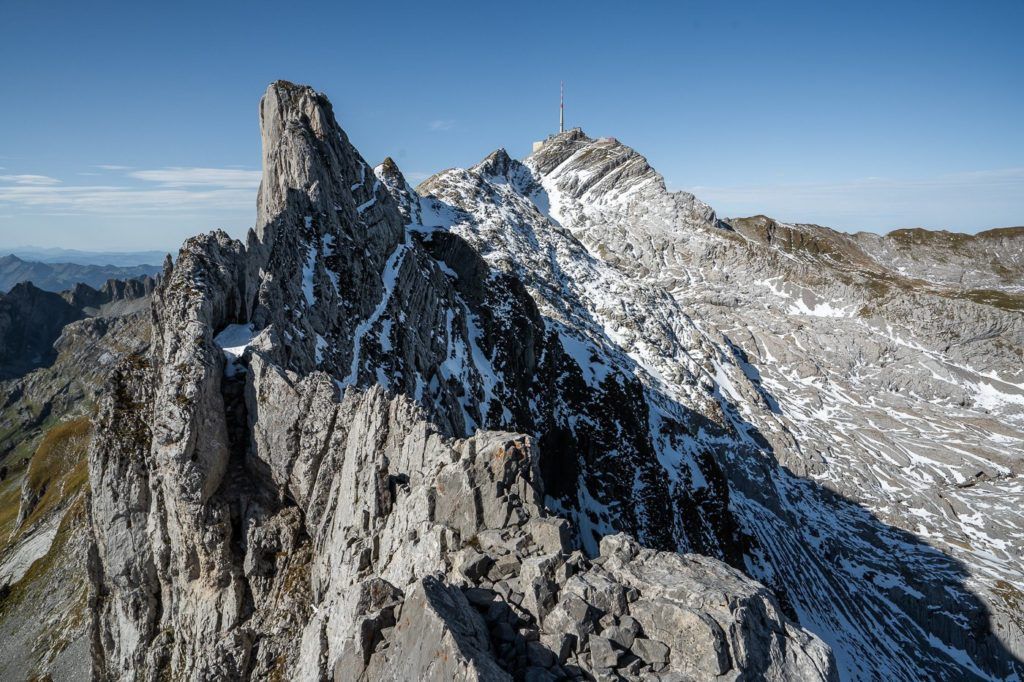
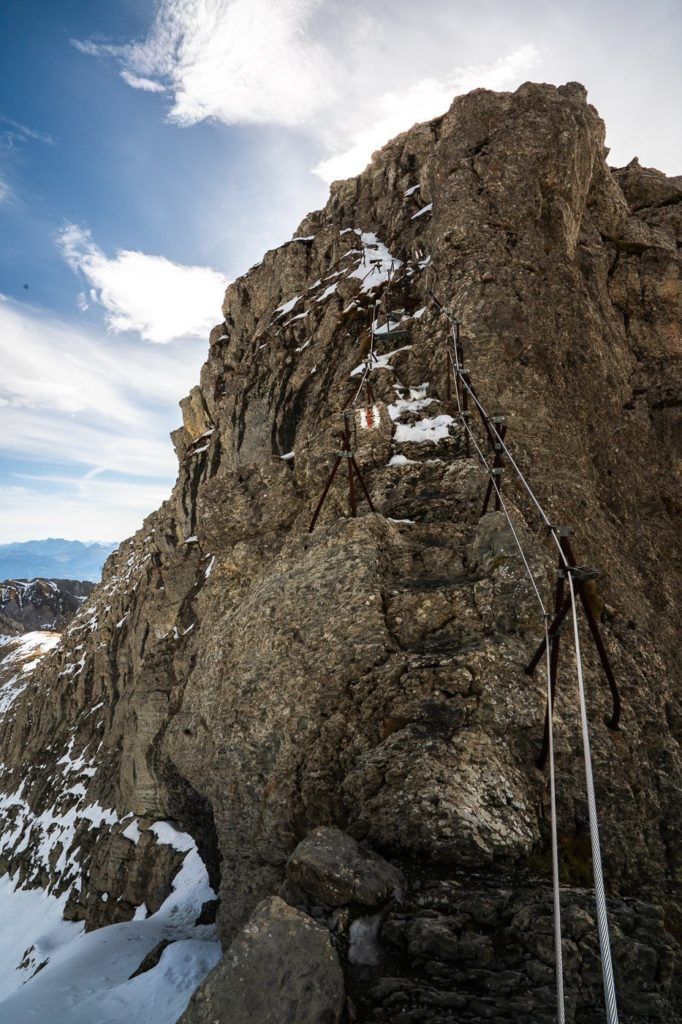
The final little climb before the descent down to Rotstein Hut was also quite rocky and interesting but after what I had just been through it looked very simple and proved to be also. After these stairs, it was just a regular trail. Because it was downhill and steep, you still needed to proceed with caution but not to the same degree as on Lisengrat Ridge.
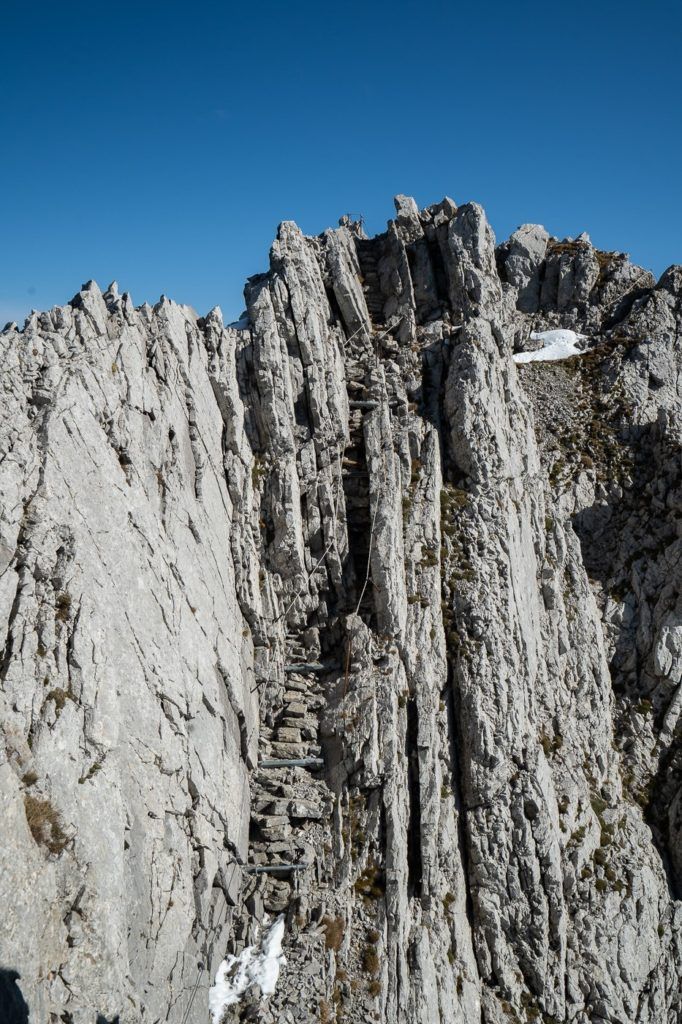
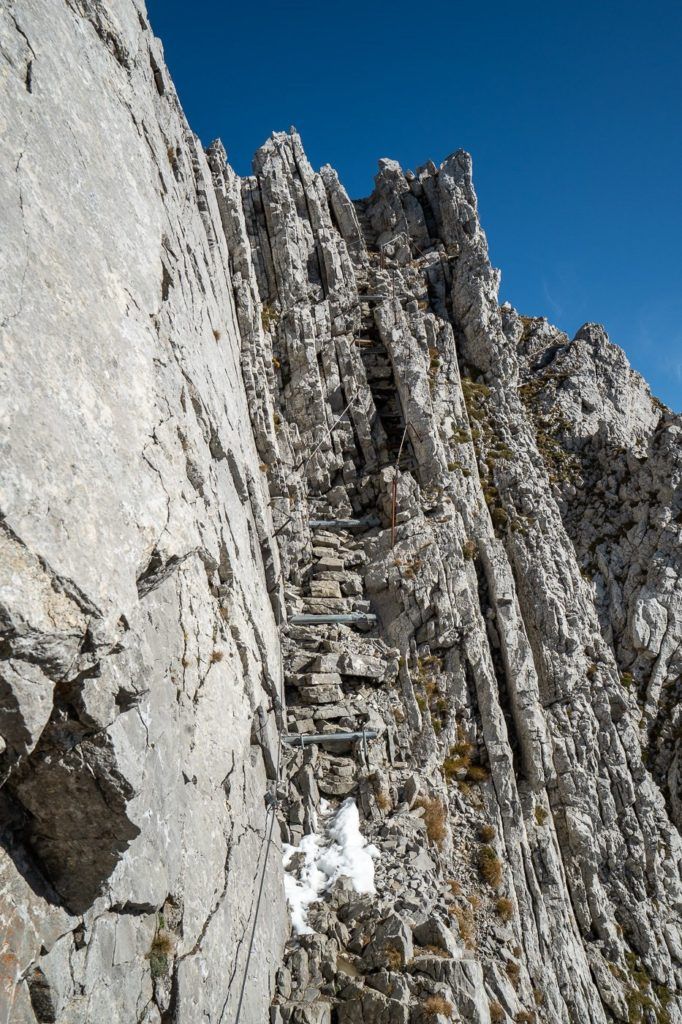
The final descent down to Rotstein Pass and Rotstin Hut looked a little something like the image below. It was still a technical hike but very manageable and without too much exposure. Again, I tried not to be too distracted by one of the best views of the Alpstein region but it was stunning.

I made it back down to Rotstein Pass and I had a celebratory plate of cheese pasta and a coffee before scurrying down to Wasserauen through Meglisalp to complete the Alpstein Loop. I was stoked that it had all come off and it was one of the best experiences throughout my Switzerland travels.
SWISS TRAVEL PASS or HALF-FARE CARD
OPTION 1: Buy the Swiss Half Fare Card: Switzerland trains, buses, and cable cars are EXPENSIVE! I found the best way to get around cheaply was to buy the Swiss Half-Fare Card before I arrived. It gives you 50% off every regular train, bus, and even many cable cars. It only costs $150 USD but pays itself off in just a few days with many train tickets in Switzerland costing close to $100 alone. If you are staying for more than 5 days, I suggest buying the Swiss Half-Fare Card.
OPTION 2: Buy the Swiss Travel Pass: The second option is to get the Swiss Travel Pass, which gives you unlimited train, bus, and (many) cable car rides but it’s pretty expensive at around $100 USD per day so if you don’t travel each day it isn’t worth it.
OPTION 3: Buy the FLEXI Swiss Travel Pass: The final (BEST) option is to get the FLEXI Swiss Travel Pass, which allows you to buy 8 days’ worth of transit but you can choose the night before if you want to activate the next day. That way you don’t need to travel every day to get your money’s worth, you can just activate the FLEXI Swiss Travel Pass on the days when you are doing sizeable transits. My advice is to book the Swiss Half-Fare Card or the FLEXI Swiss Travel Pass in advance before your trip so it’s ready to go when you arrive.
GET A SWISS TRAVEL PASS!
Enjoy UNLIMITED train, boat, and bus rides in Switzerland for up to 15 days. Click to book a flex Swiss Travel Pass or choose the Consecutive Swiss Travel Pass.
The Swiss Travel Pass starts at $260 for 3 days. Click here to check if it’s available on your travel dates.
MY SWITZERLAND HIKING GUIDES
I spent 100 days hiking in Switzerland and created a guide for different regions around the country. You can click on one of my Switzerland hiking guides below to help you plan your trip.
- The Complete Guide: 50 AWESOME HIKES IN IN SWITZERLAND
- The Via Ferrata Guide: 4 EPIC SWITZERLAND VIA FERRATA COURSES
- Lauterbrunnen Guide: 10 AWESOME HIKES NEAR LAUTERBRUNNEN
- Interlaken Guide: 15 AWESOME HIKES IN INTERLAKEN
- Grindelwald Guide: 12 AWESOME HIKES NEAR GRINDELWALD:
- Mürren Guide: 7 AWESOME HIKES IN MURREN
- Appenzell Guide: 9 AWESOME HIKES NEAR APPENZELL
- Chur Guide: 7 AWESOME HIKES NEAR CHUR
MY SWITZERLAND TRAVEL TIPS
- For Backpackers: SWITZERLAND BUDGET BACKPACKING GUIDE
- Travel Tips: 20 THINGS TO KNOW BEFORE VISITING SWITZERLAND
- Transport Tips: RENTING AND DRIVING A CAR IN SWITZERLAND
- Accommodation Guide: 30 BEST PLACES TO STAY IN SWITZERLAND

Bob
Thursday 30th of November 2023
I've hiked around the Alpstein since the mid-1970's (including Schwagalp-Santis-Lisengrat-Meglisalp-Wasserauen at age 71, 11 hours solo), as well as other areas of Switzerland. One thing I would recommend: you don't go hiking some of these exposed trails when rocks are wet, or just after a rain. Don't care what kind of profile/shoes you're wearing. Not all endings are happy.
Wani
Saturday 27th of June 2020
I love reading everything you write. Just did this hike yesterday. Started from Säntis to Rotsteinpass, down to Meglisalp and Seealpsee. Back up to Ascher and Ebenalp. What a gorgeous hike it was. Lots of snow on Lisengrat. Also it was raining with lightning and thunder as we took cable car up to Säntis. Had to wait out the storm and when we started the Lisengrat, visibility was incredibly poor, the winds were at top speed, but very soon, it cleared out. How magical.
Jackson
Saturday 27th of June 2020
Thanks so much. Yes Alpstein hiking is great hey! Oh wow it's snowy right now in late June. Didn't expect that?