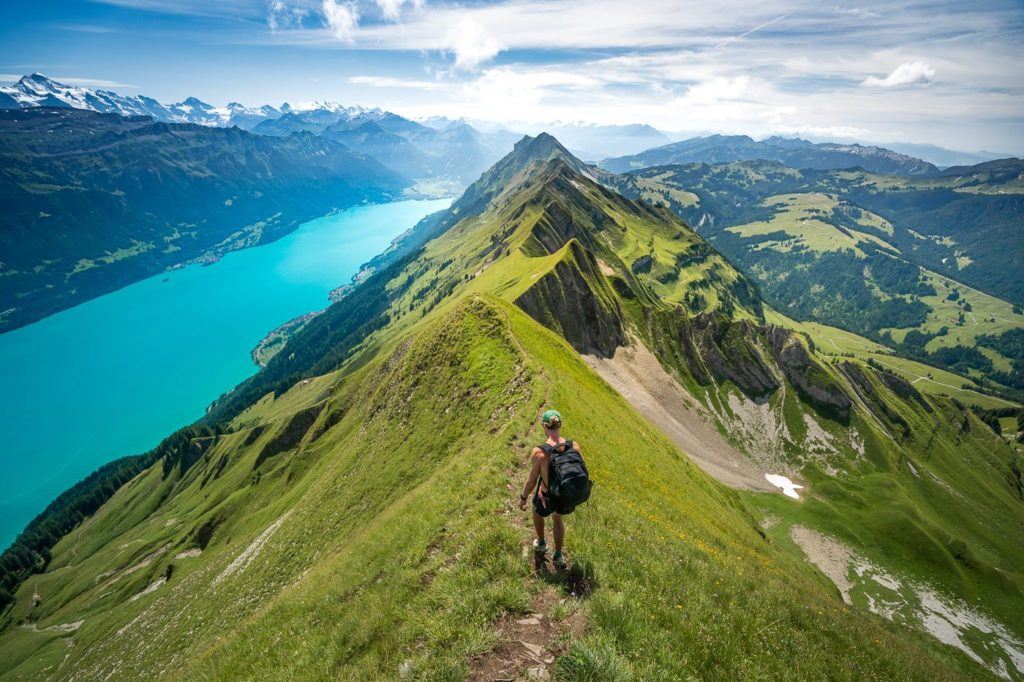
The Joriseen Hike epic 12km loop trail that takes you to multiple lakes and then to the summit of Jorihorn where you have amazing views of Joriseen and the Swiss Alps.
JORISEEN AND JORIHORN HIKE DETAILS
- Hike Distance: The entire loop was 12.75km but if you don’t summit Jorihorn the loop is just 11km.
- Hike Duration: The whole loop including Jorihorn will take 5-6 hours including rest times but you could bargain for an extra hour if you take lunch down by the lakes. The incline sections and Jorihorn climb are not quick parts of the trail. Our actual moving time or hiking time was just over three hours but we made a lot of photo stops and had a 1-hour lunch and drone-stop.
- Hike Difficulty: The incline is what makes this hike a little challenging although it is spread out in different sections so it isn’t one big block of climbing. There are no dangerous spots on this trail with high exposure although many spots do have a big drop on one side a chain is offered. Usual care needs to be taken. Children can do this hike but with many drop-offs, close supervision would be advised. The climb to Jorihorn is more difficult than the regular loop with exposure on both sides, steep slippery slopes and rock clambering required. Keep in mind, I did this hike in October so it would be much safer all around if there was no snow.
- Hike Incline: 1002 meters.
YOU WILL ALSO LIKE MY SWITZERLAND HIKING GUIDE: 50 AWESOME HIKES IN SWITZERLAND
HOW TO GET TO JORISEEN
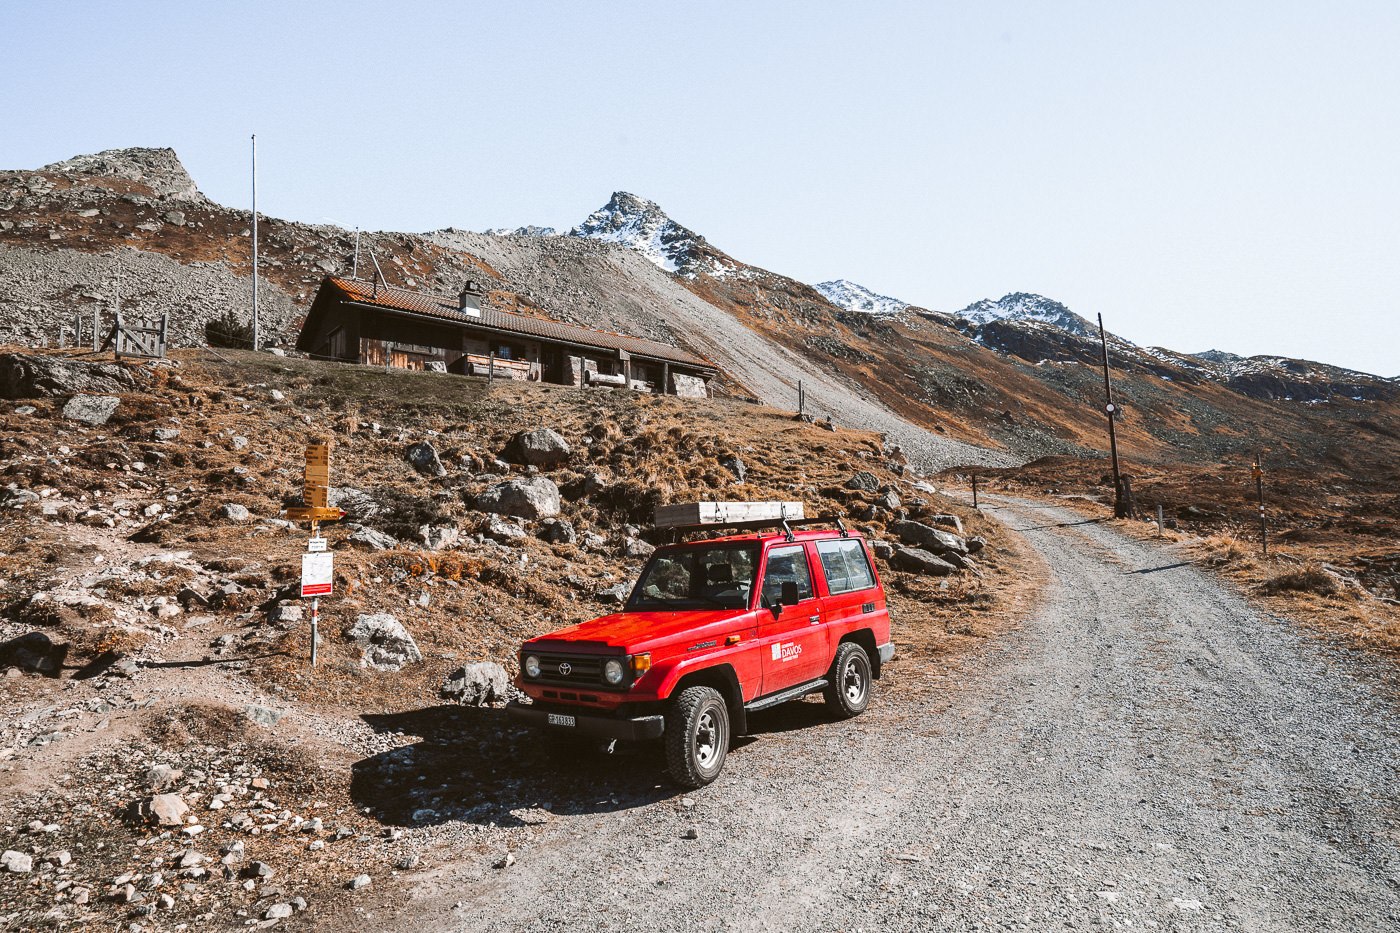
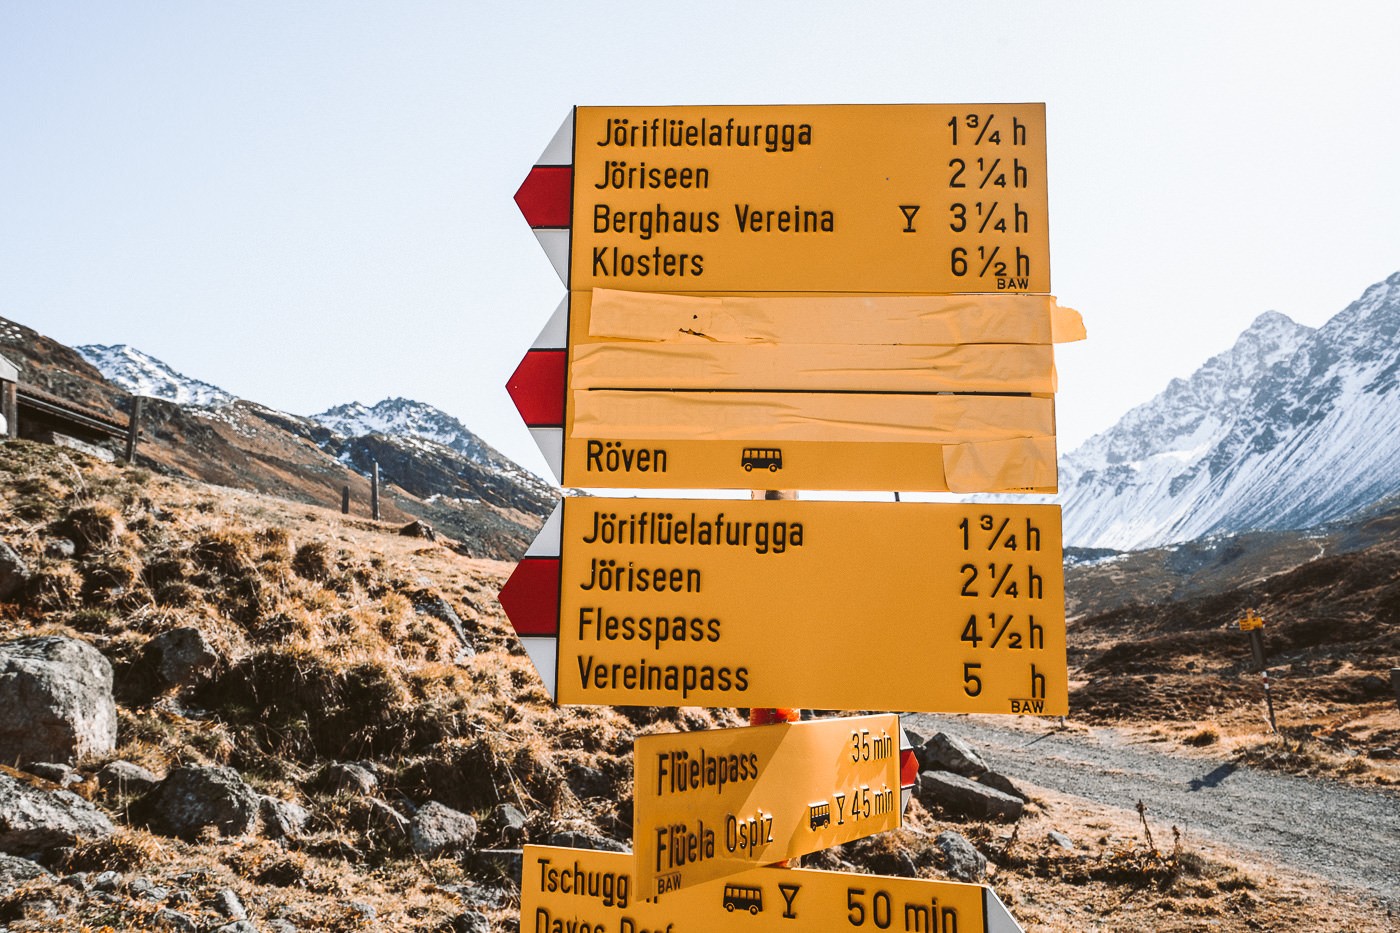
The hike is near Davos and begins directly at the Wagerhus Bus Stop. This is on google maps just type in Wagerhus Bahnhof. At the bus stop, there is parking available in a designated parking lot, so you can drive here and park at the bus stop with no fee also.
The hike is a loop hike or an out and back hike depending on your route. Important to note is that you will finish in the same spot you started at the Wagerhus Bahnhof. Make sure you check the schedules of the bus in this region if you stay for sunset like us. We drove and parked so it was simple for us but you can stay for sunset and still catch the bus back to the nearby train stations.
If you have the Swiss Half-Card you will receive a huge discount on your tickets. I bought mine when I arrived in Switzerland and it has saved me over a thousand dollars throughout my trip.
MY JORISEEN HIKING MAP
I’ve included my hiking map below so you can see our starting point, exact route, and waypoints. We made a few little detours to viewpoints as you can see and, of course, we summitted Joihorn. Jorihorn is not part of the normal loop but only takes about 15-minutes to reach from the trail intersection so I highly recommend heading up there to the cross. You can download my map in GPX form to use on your Garmin or smartwatch by clicking here.
MY EXPERIENCE ON THE JORISEEN LAKE & JORIHORN SUMMIT HIKE
The starting point for the Joriseen Hike is the Wagerhu bus stop as I mentioned before (pictured above). We parked in the parking lot next to the bus stop and set off on our way up the hill. It was October, so the grass had an orange tinge and snow covered the higher stages of the trail.
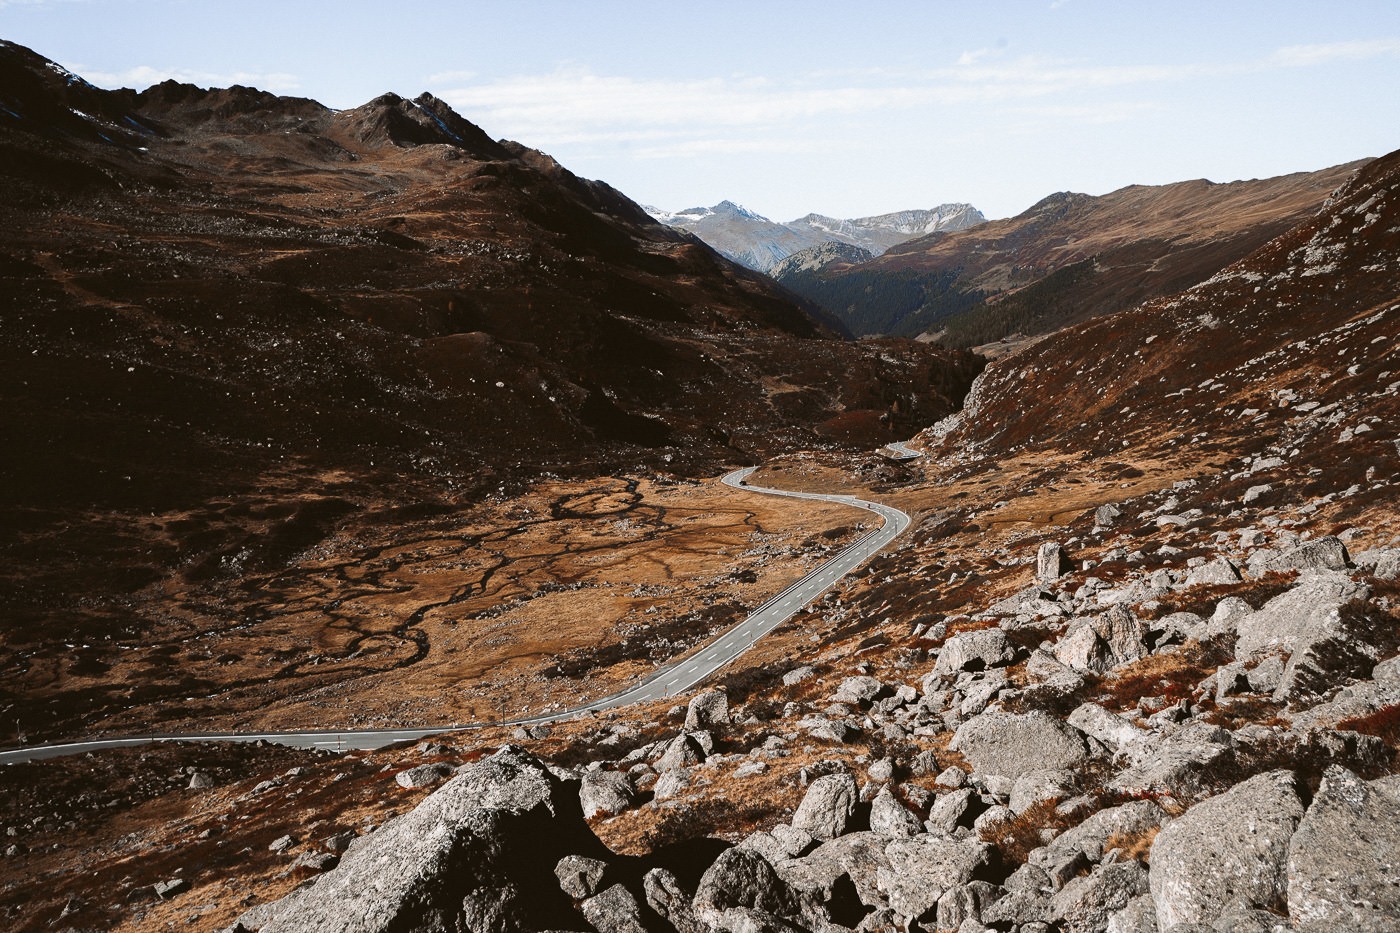
The hike begins with a series of switchbacks on a well-defined and well-marked trail. The views back through the valley are quite impressive with one main highway striking through the base of the mountains on either side.
You can take the loop in either direction, but I advise starting on the right-hand side of the loop, that way you can be at Jorihorn or the viewpoint above the three lakes for sunset.
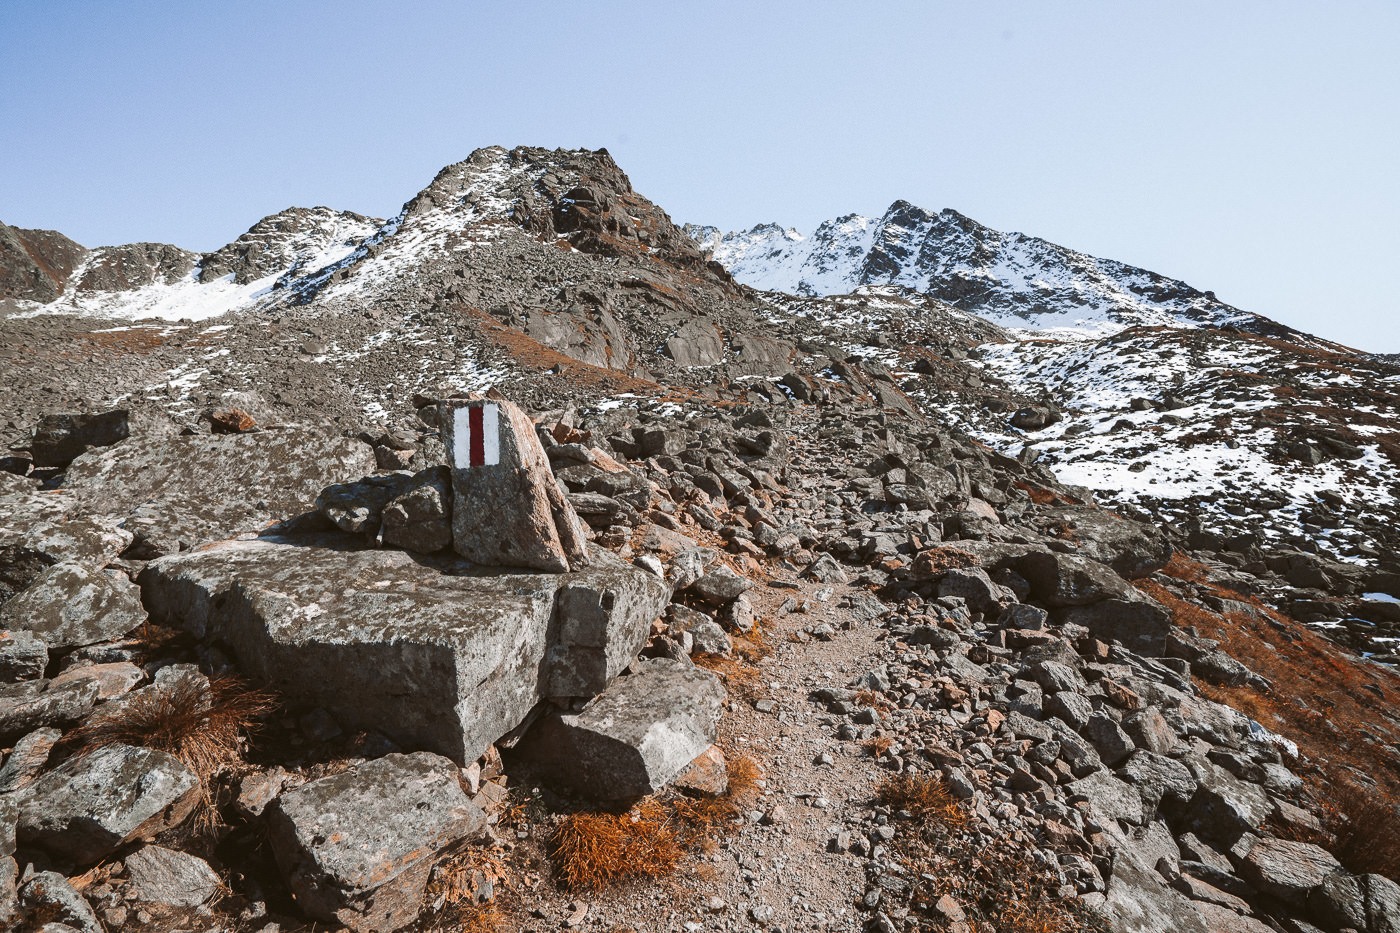
The Joriseen hike has two sections with solid incline. From the first moment of the hike until you reach the ridge, you are basically in climbing mode, grabbing more than 500m of incline in the first few kilometers. With snowfall covering lots of the trail, we had an interesting time staying on track as we clambered over the rocks trying to maintain close proximity to the correct route.
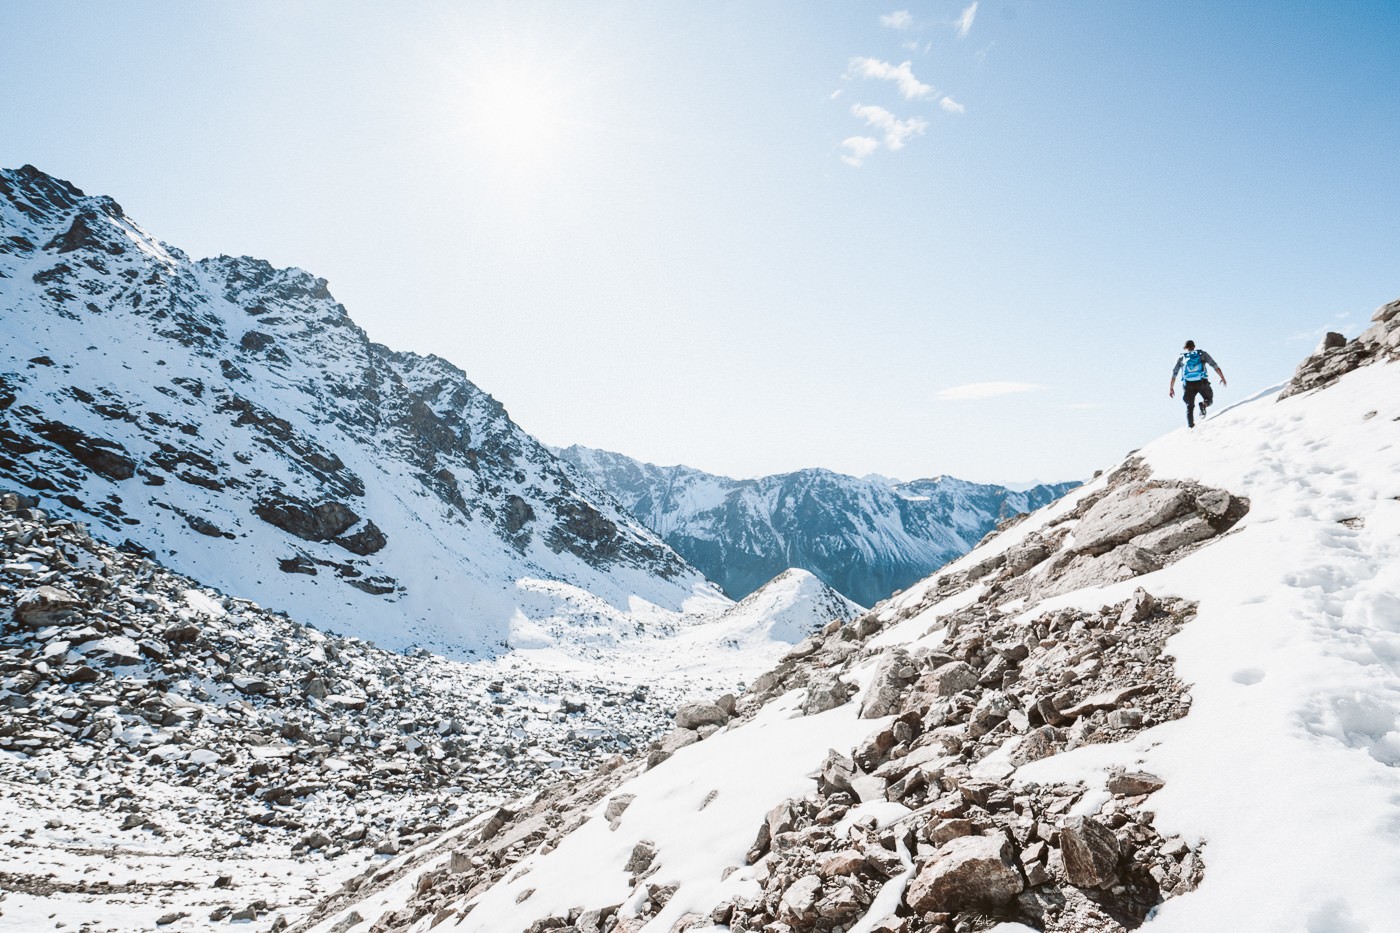
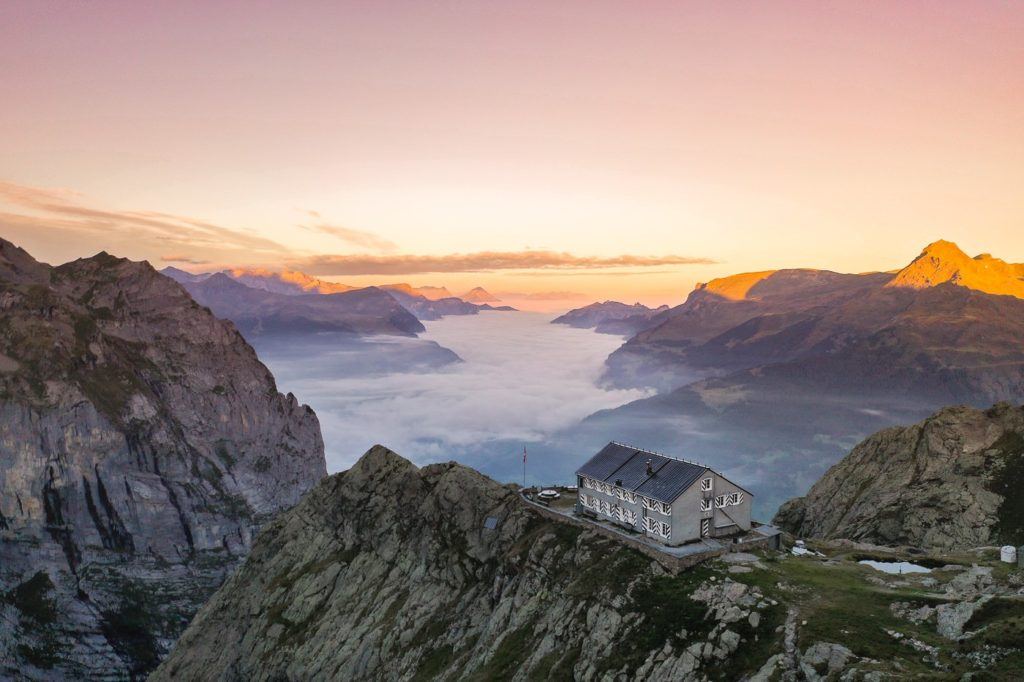
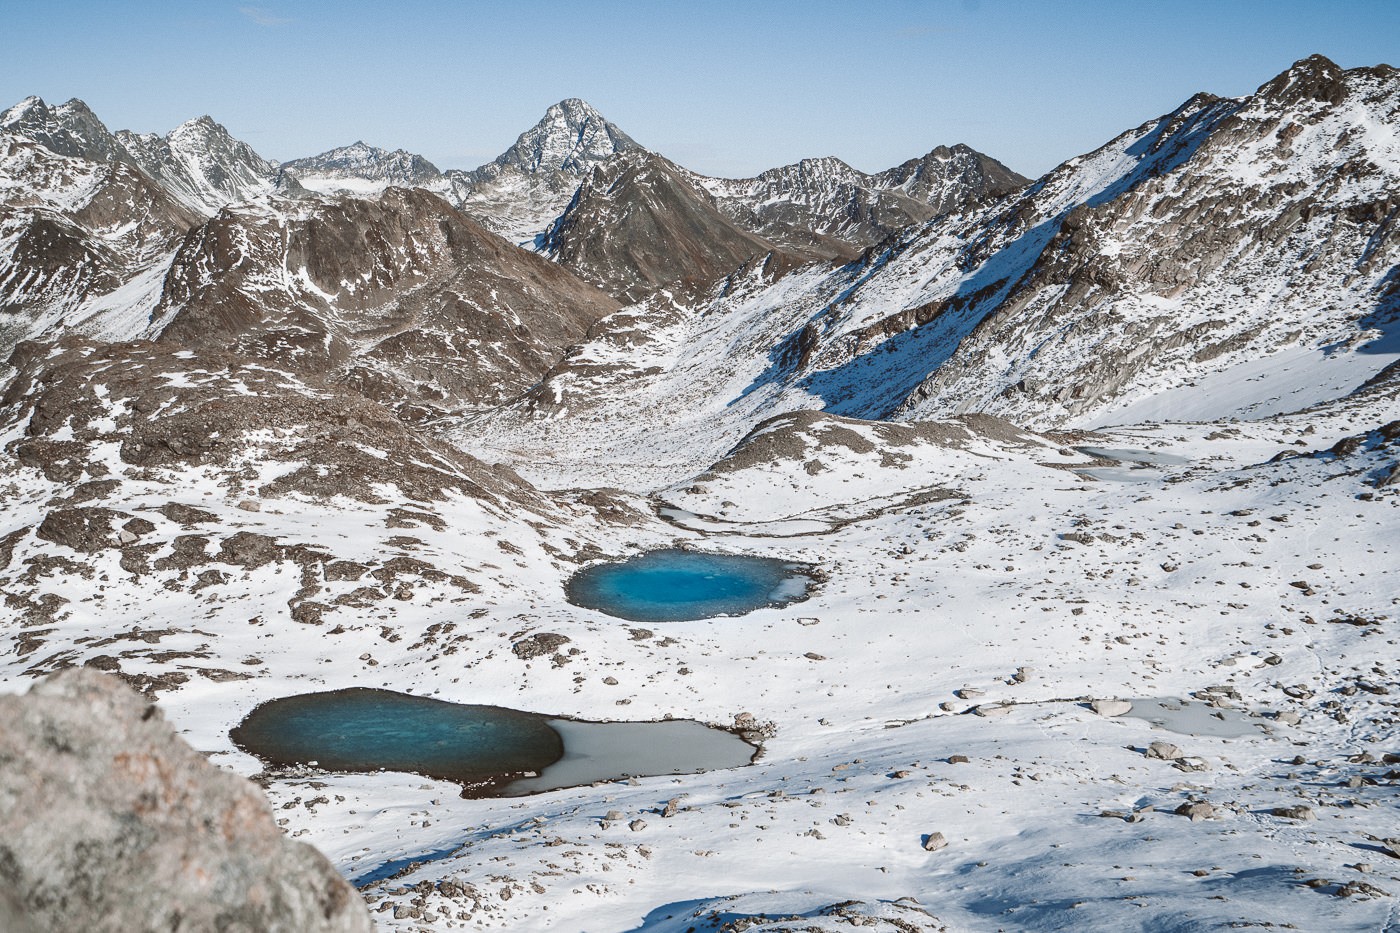
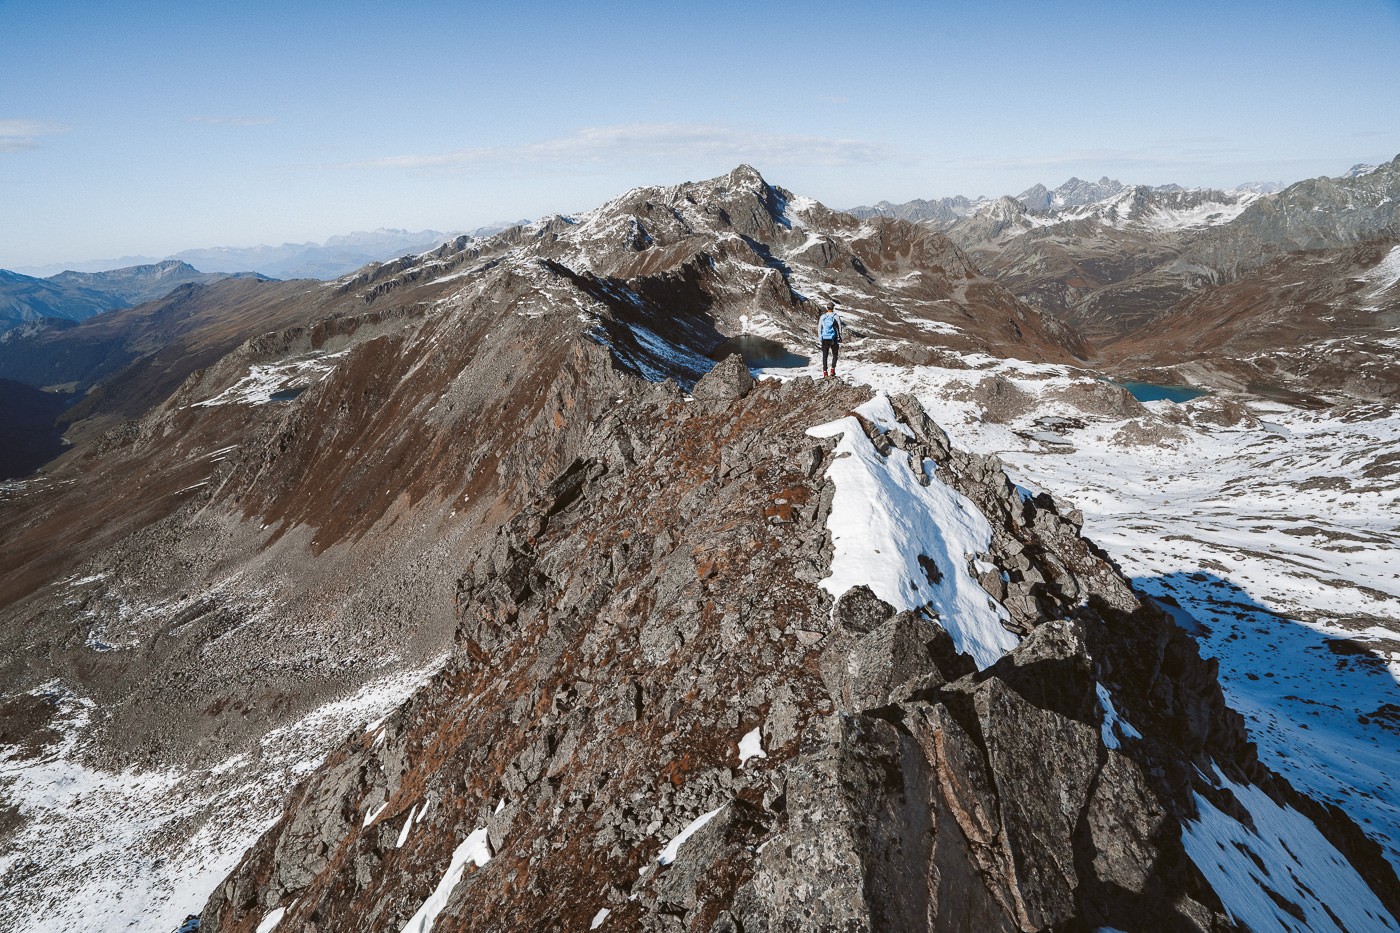
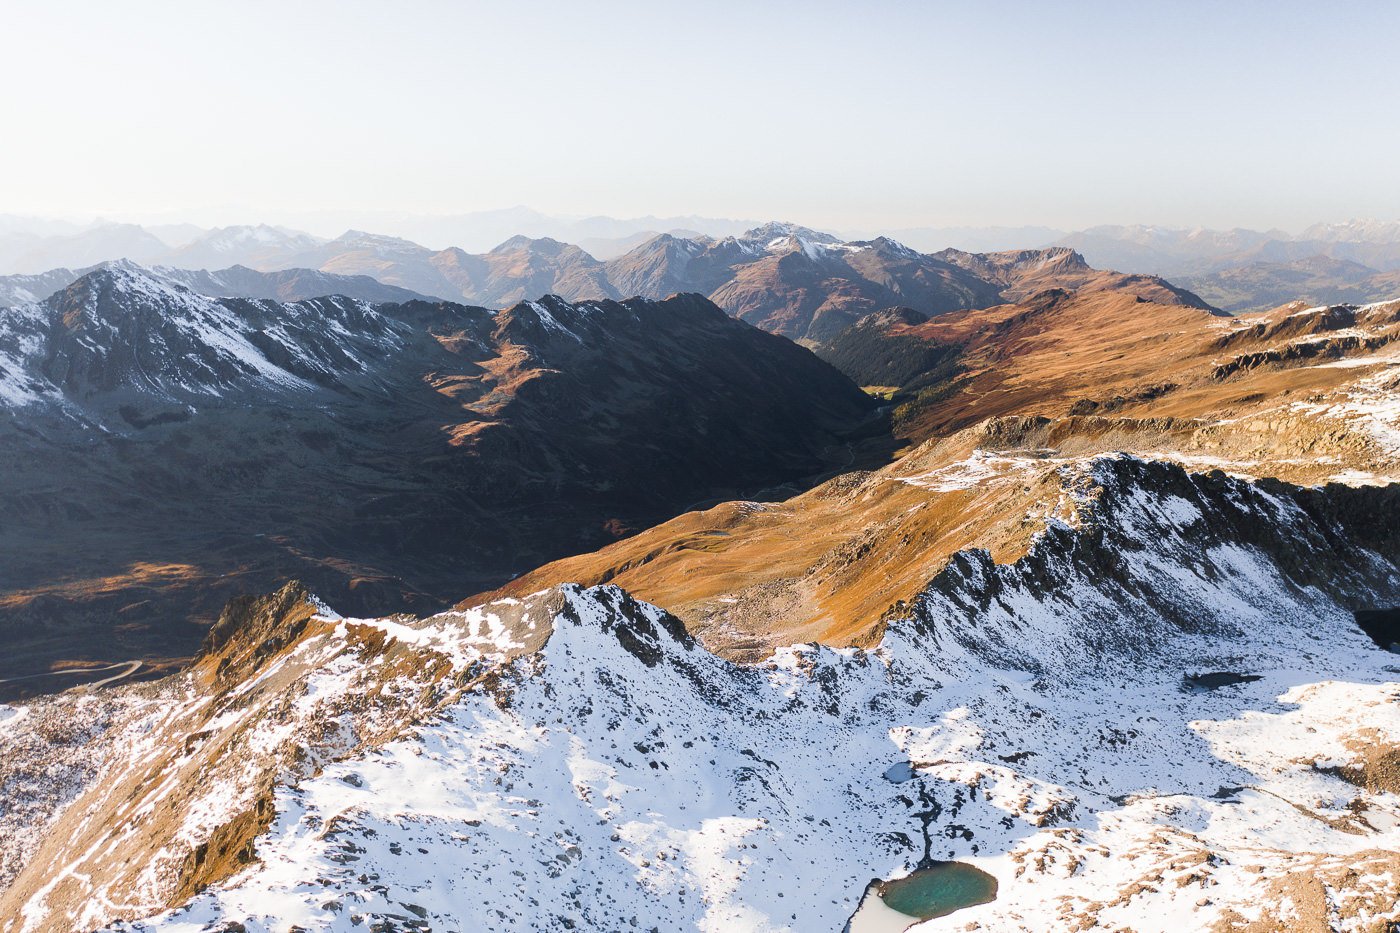
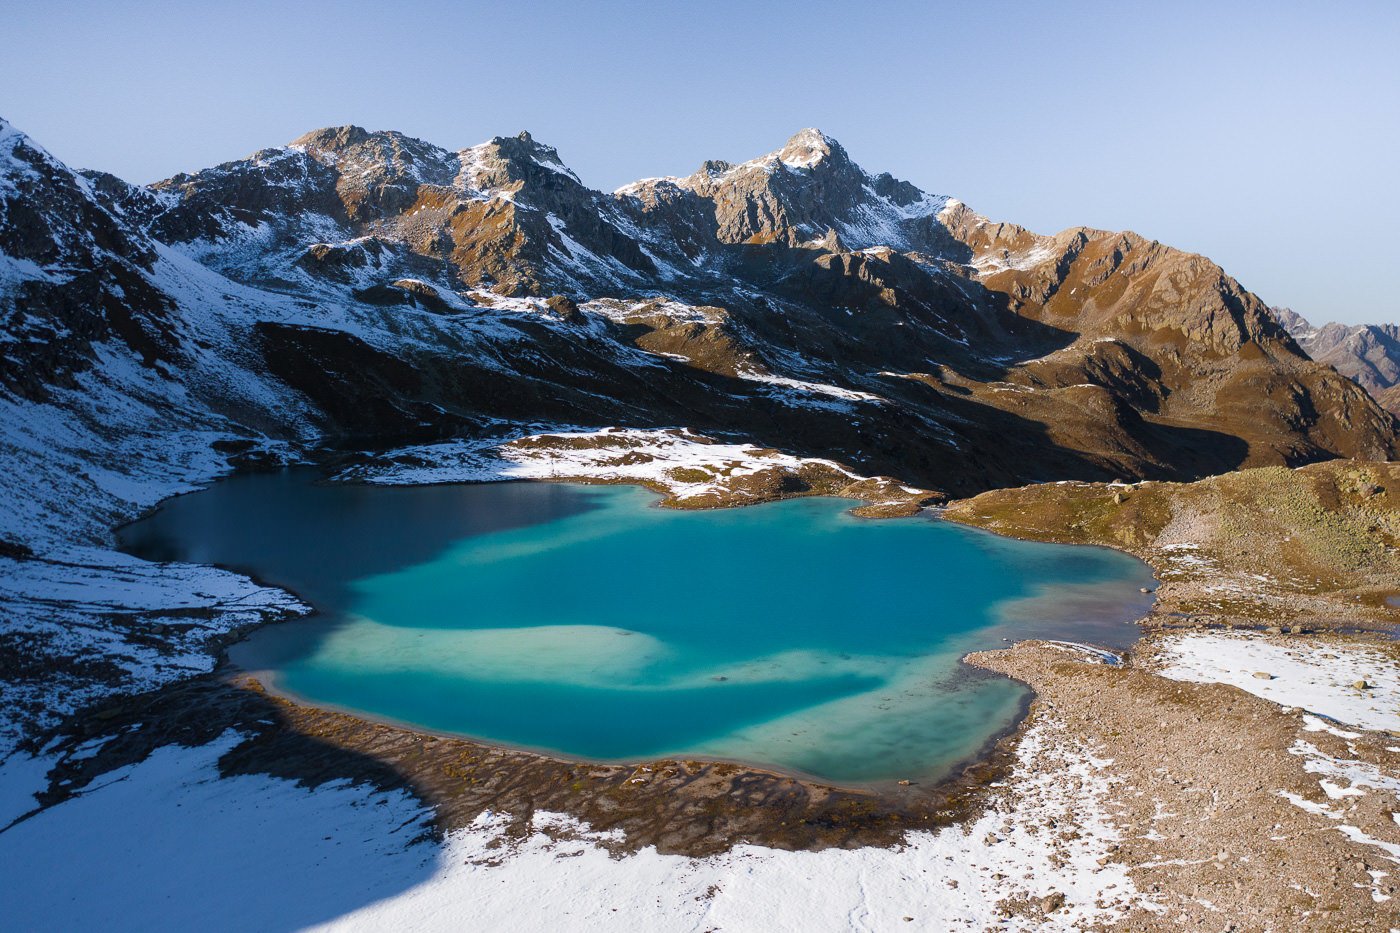
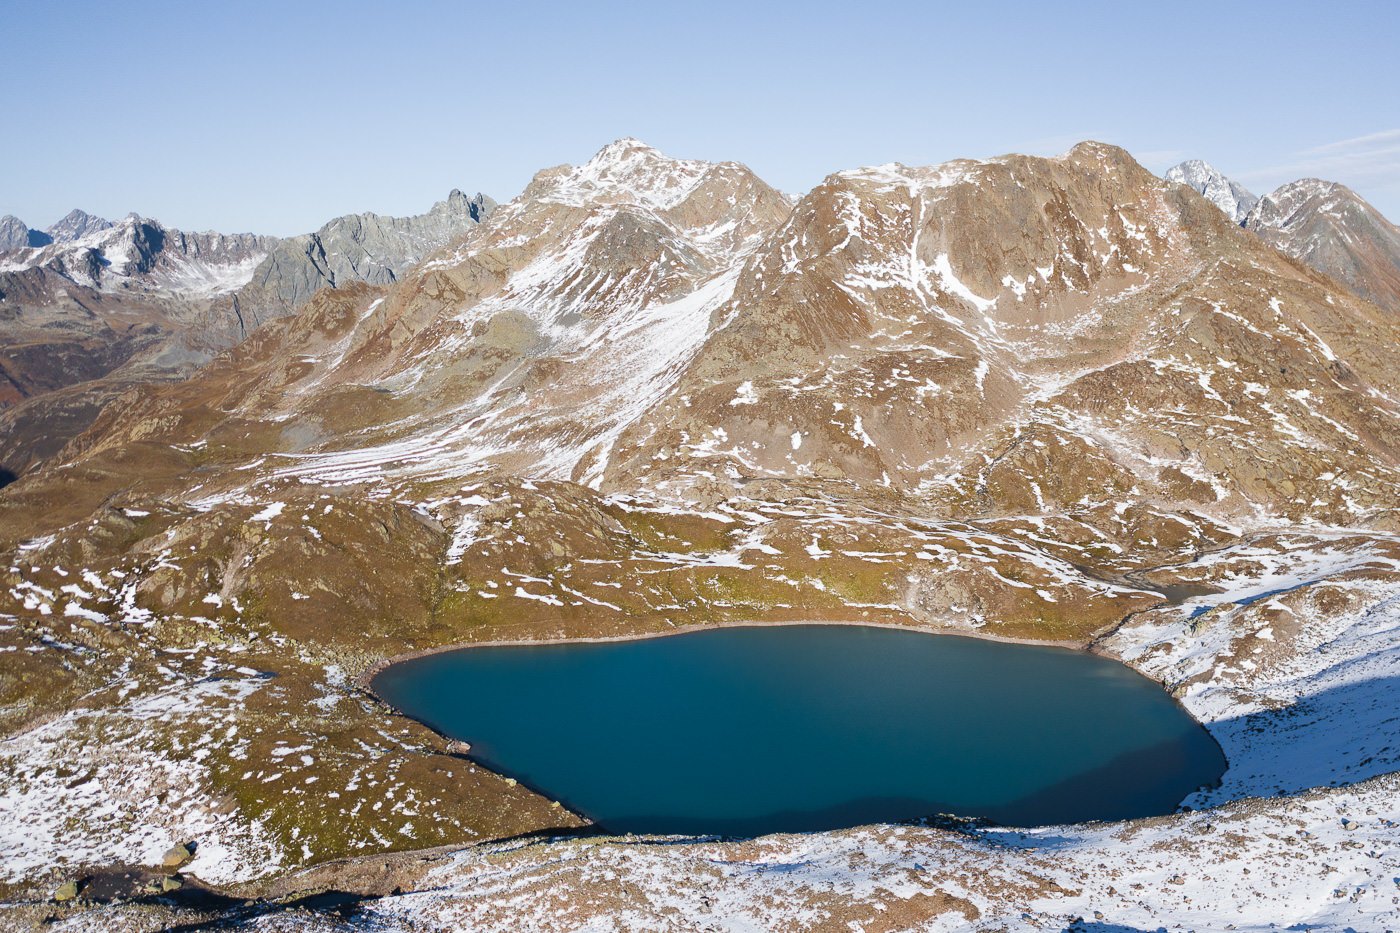
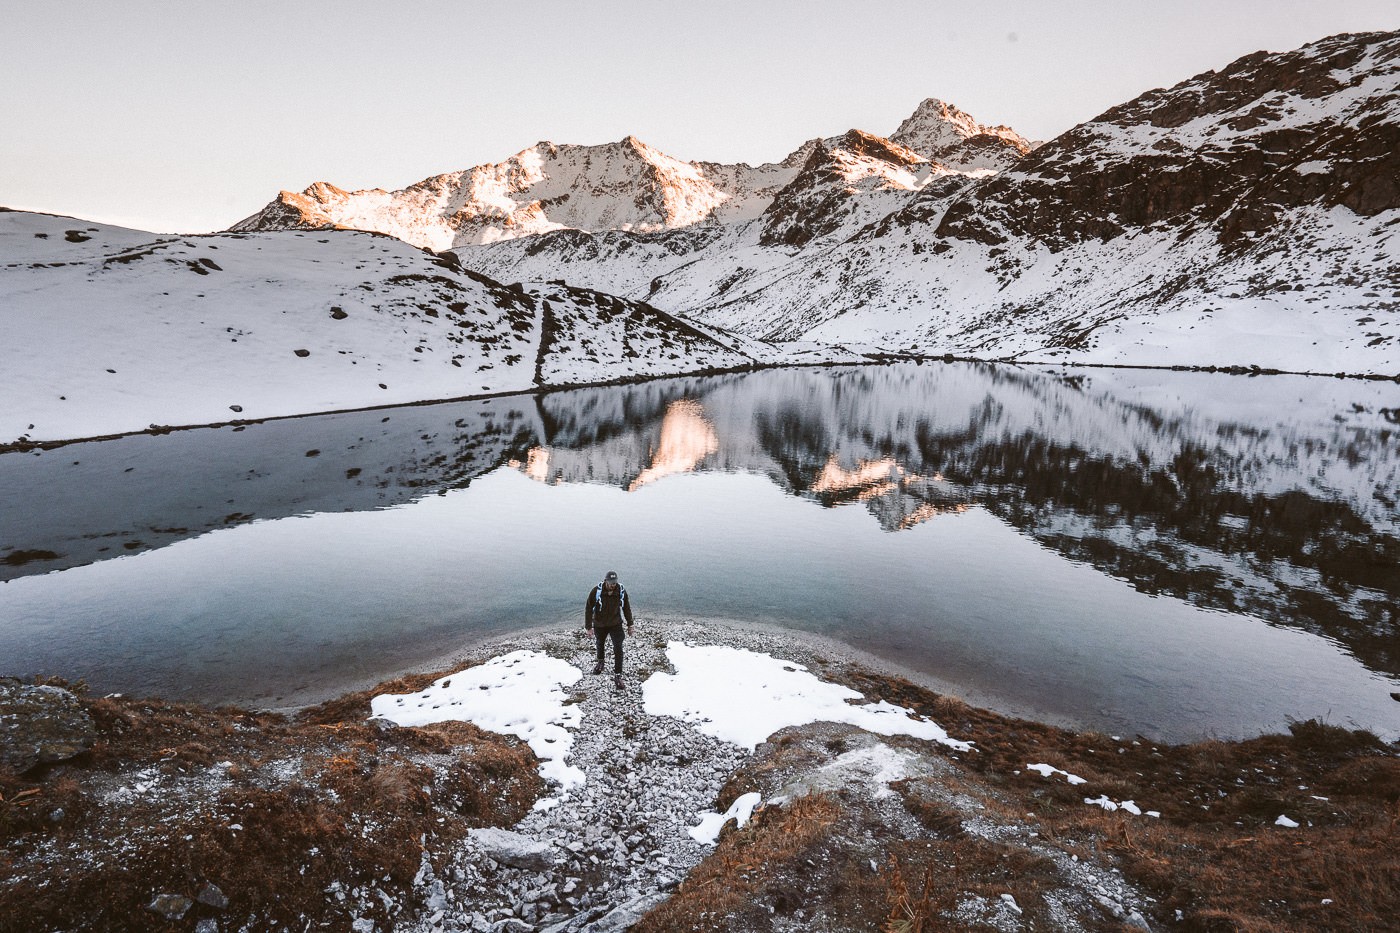
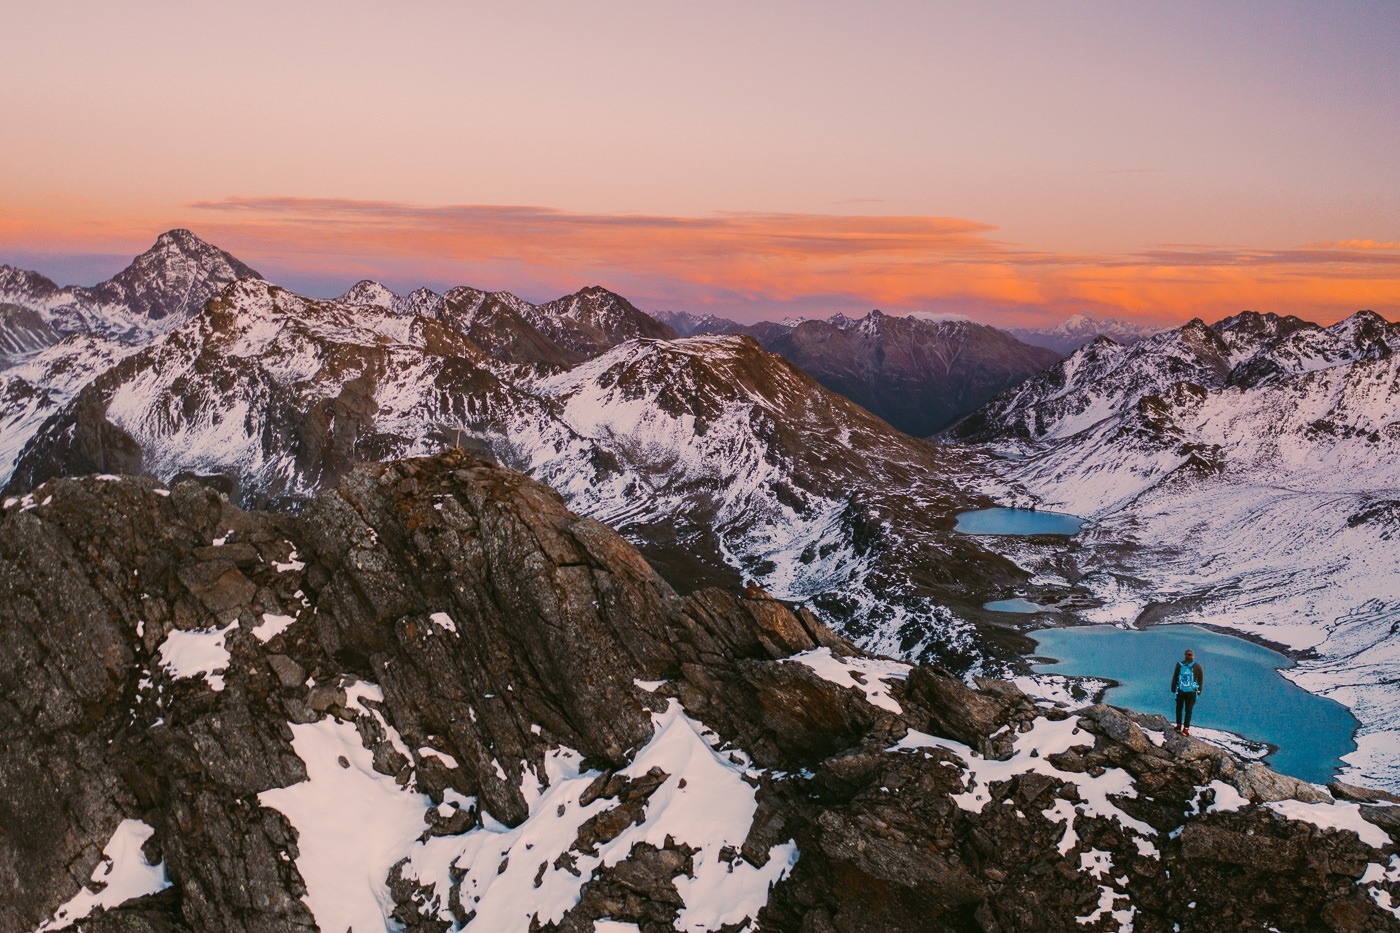
At this point in the trail, you are at around 2,500m so climbing consistently feels just that little bit harder with the oxygen beginning to thin. The final ascent to the ridge is quite steep and slippery with loose gravel so take care in this section. Once you reach the ridge you will get a view of the first two glacial lakes. In the summer they may be surrounded by green grass but for us, they contrasted magnificently with a striking blue cast against the white snow.
At the ridge, you can hike up a small viewpoint for a better view of the region. It only takes a few minutes and is a great spot for a rest and to take in the journey so far. The photos below are just some optional parts to explore and not necessary for the trail.
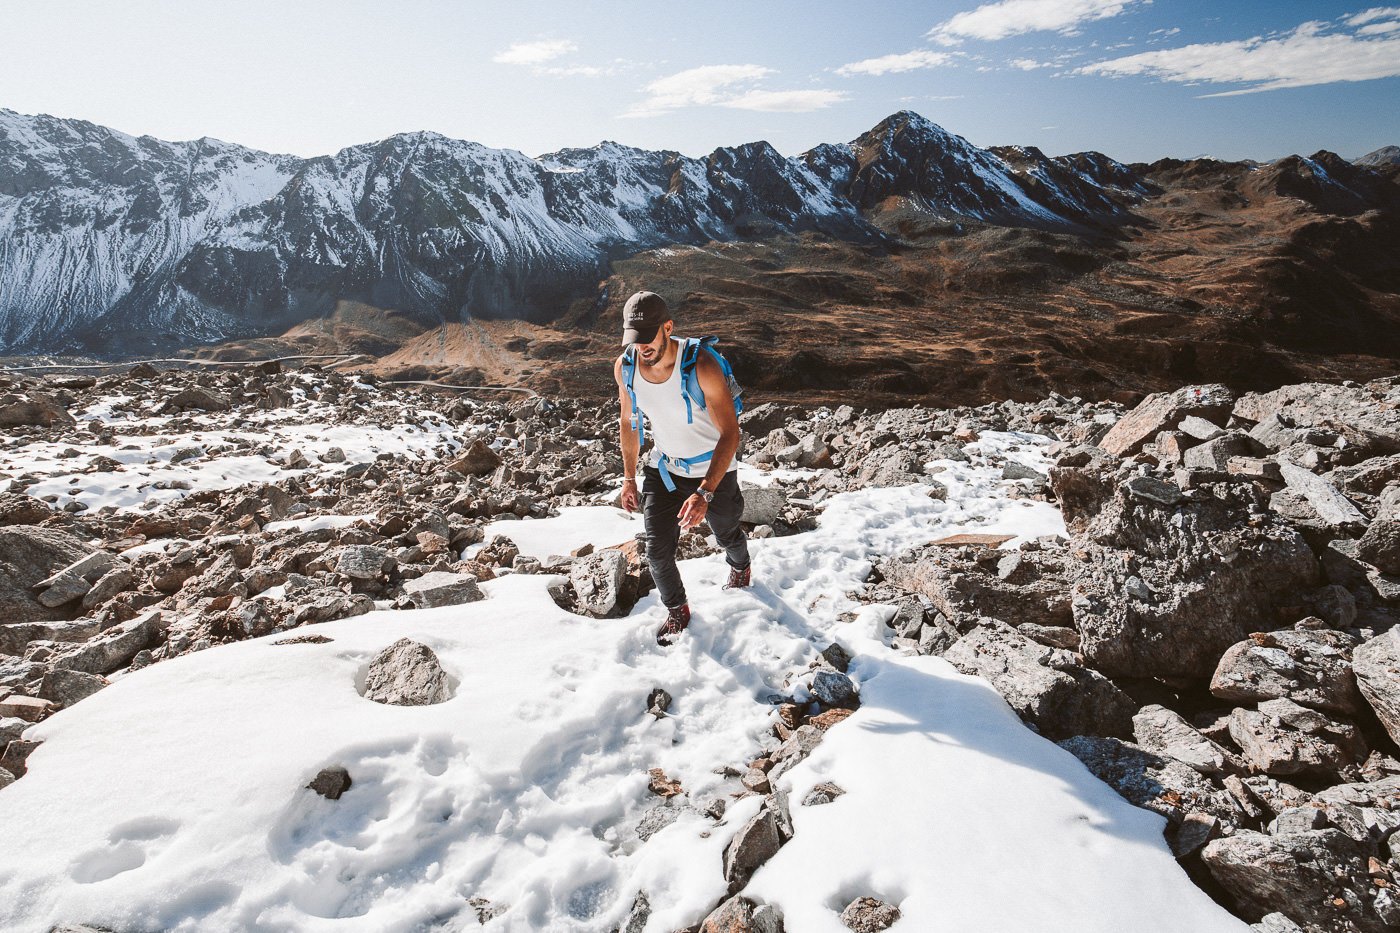
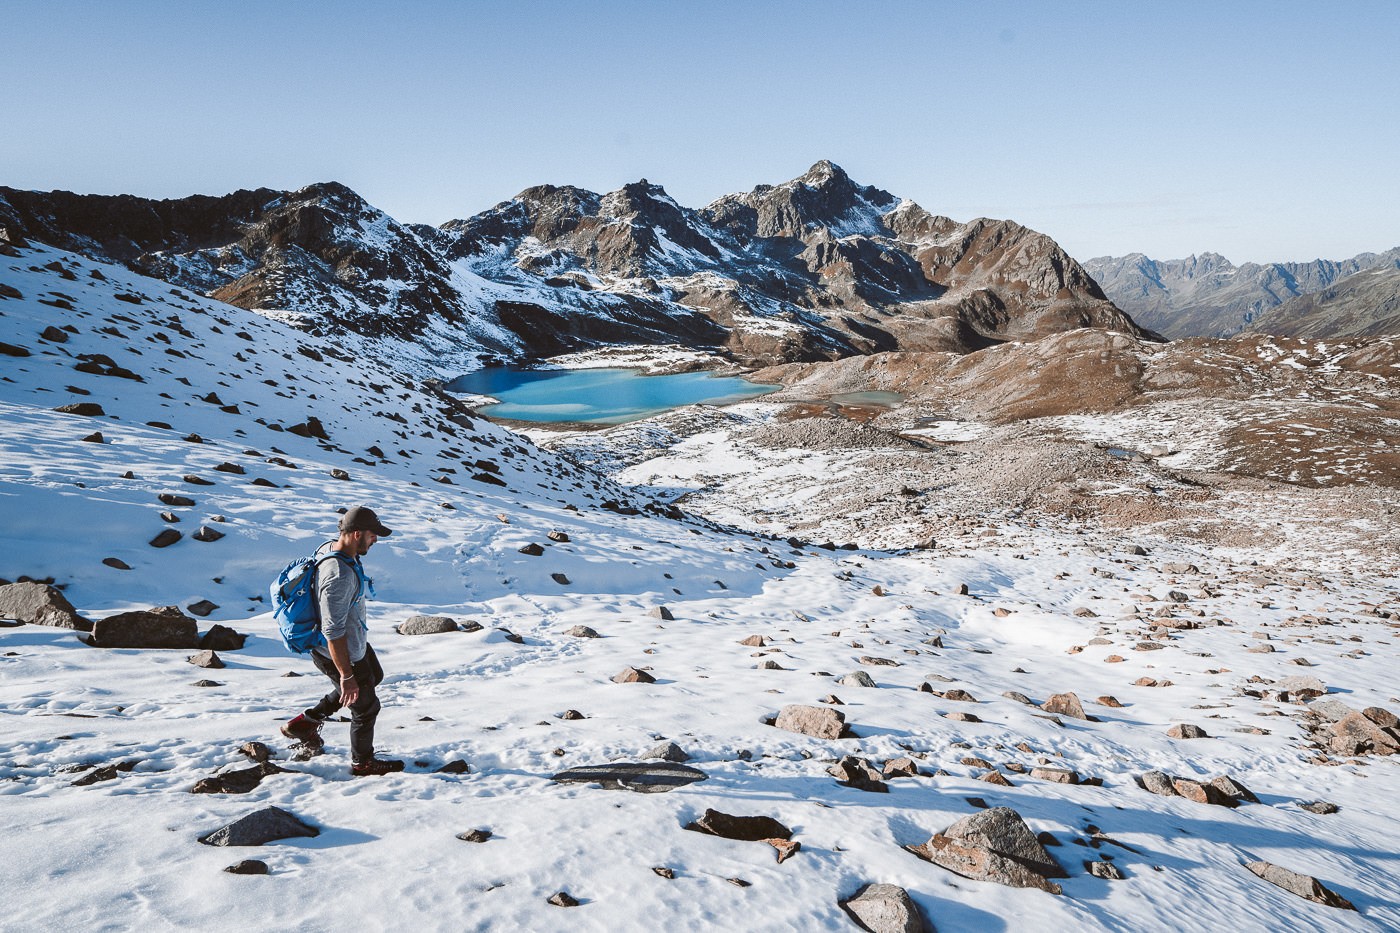
We now headed down through the snow towards the lakes. The downhill was fun but we knew we would be climbing back up further along the ridge later.
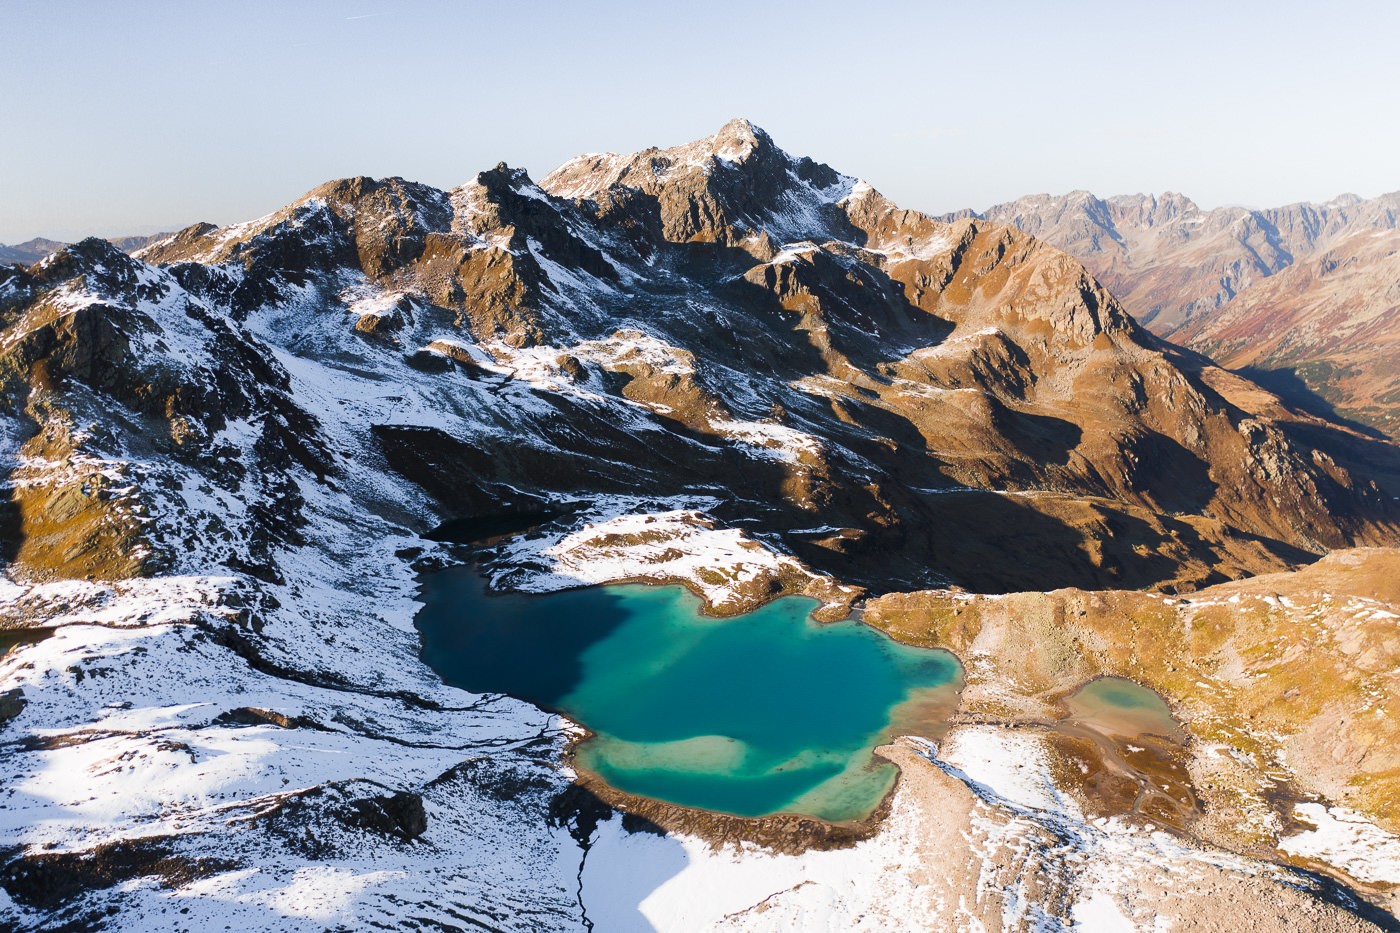
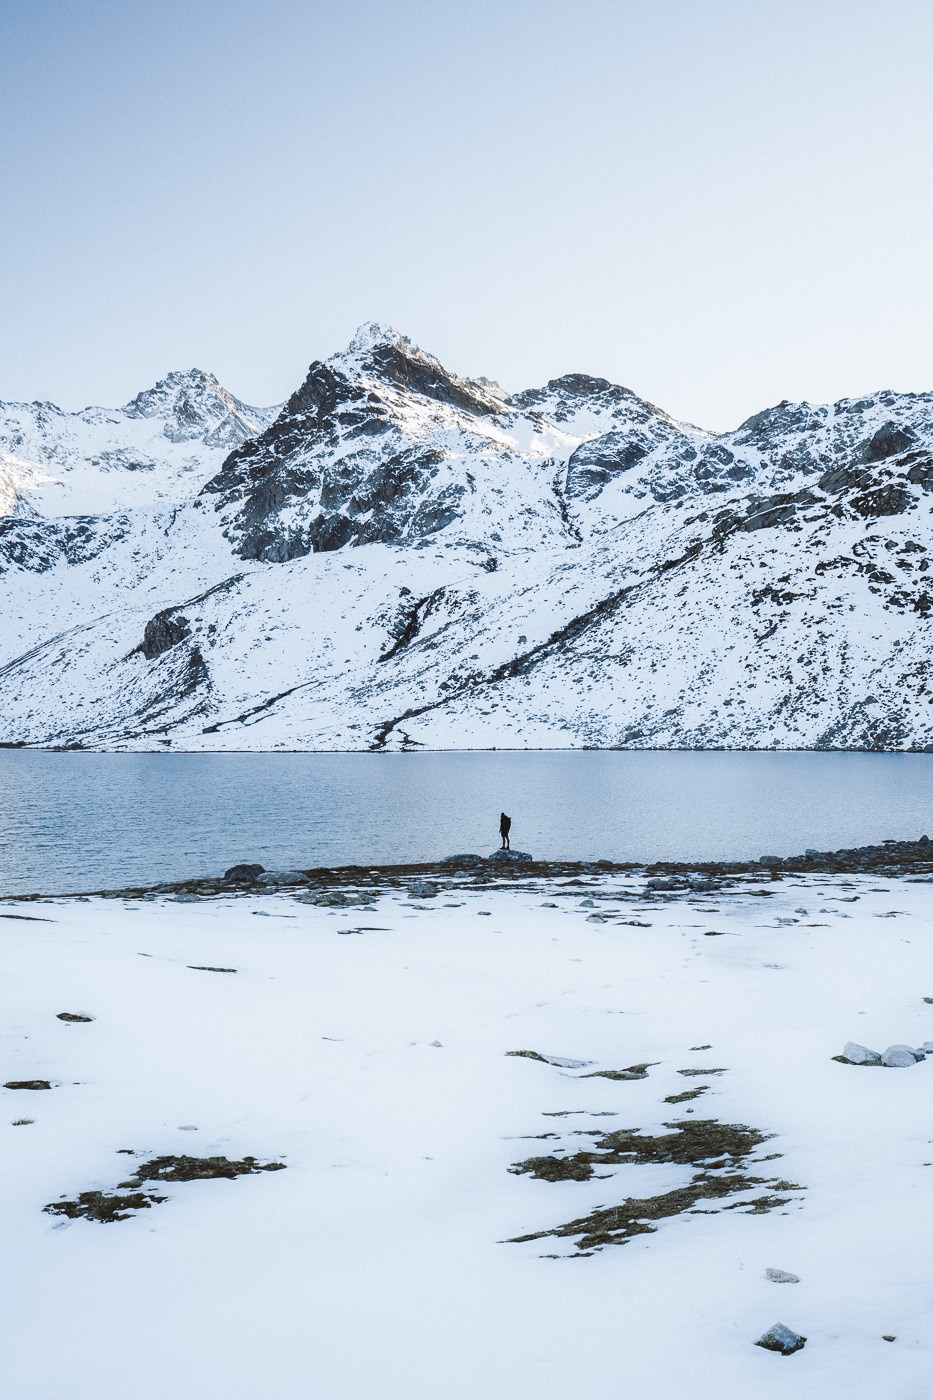
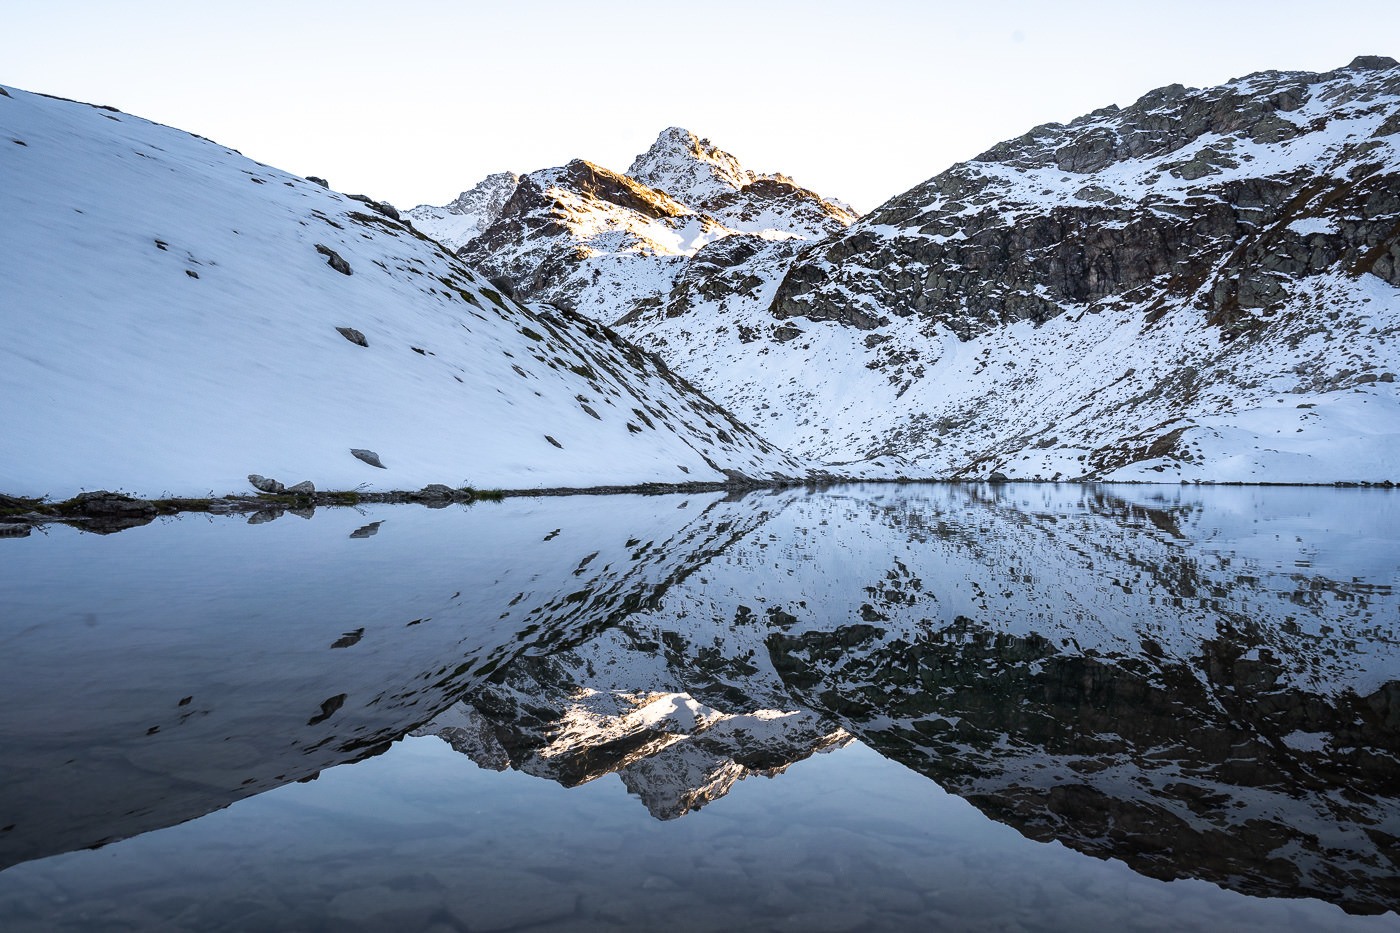
At lake-level, the scene was incredible with the crystal clear lakes partly frozen over. Not another person was in the region for the entire day and it was very calm inside the valley with the lakes. We also found a trail marker on a huge boulder where hundreds of people had tried to balance smaller rocks.
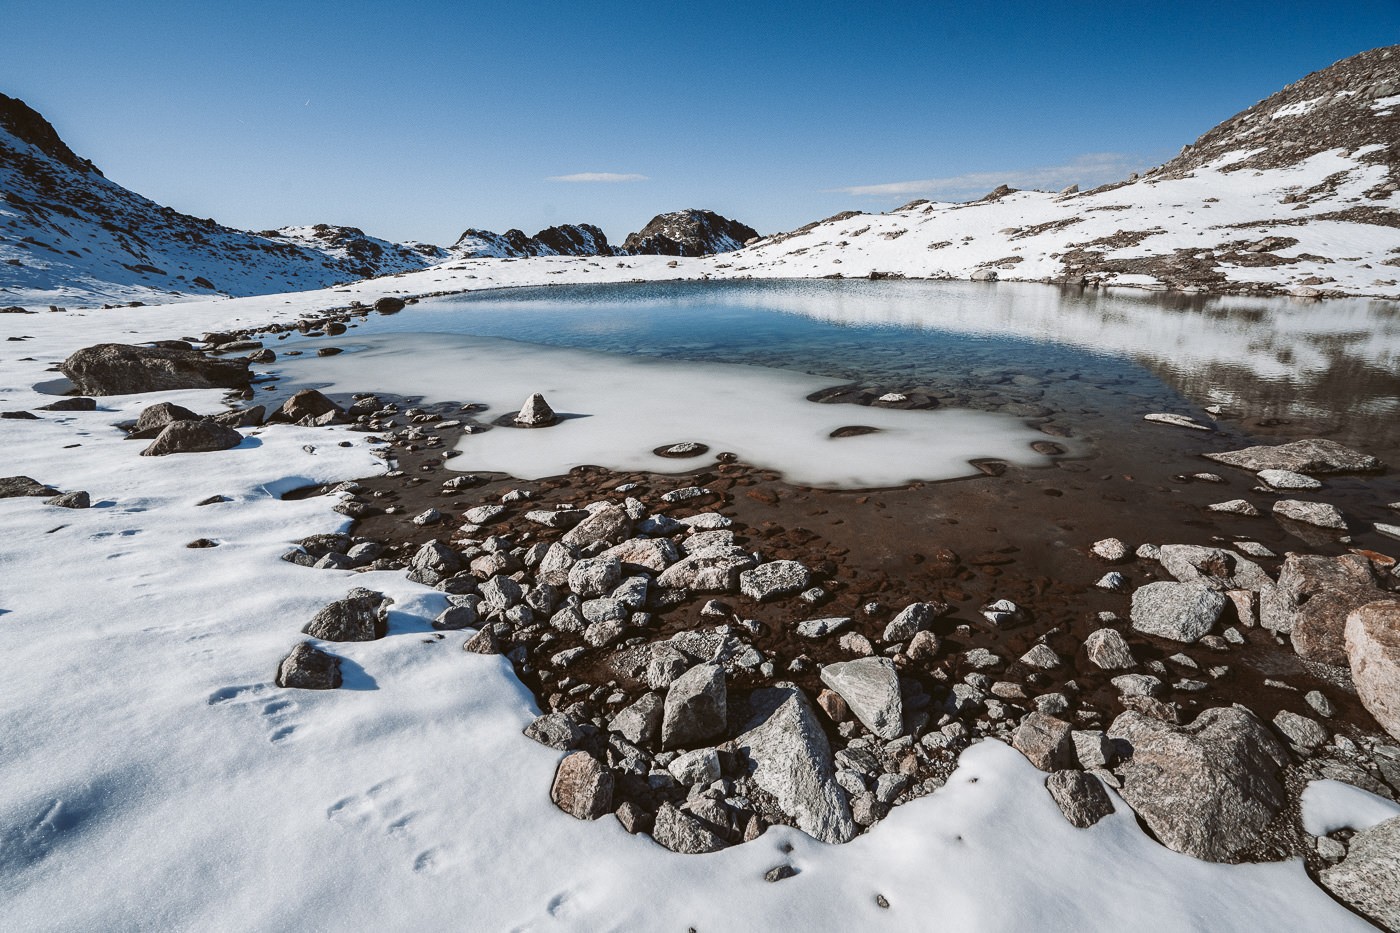

We sat down by the lakes and I sent up the drone to capture the entire landscape.
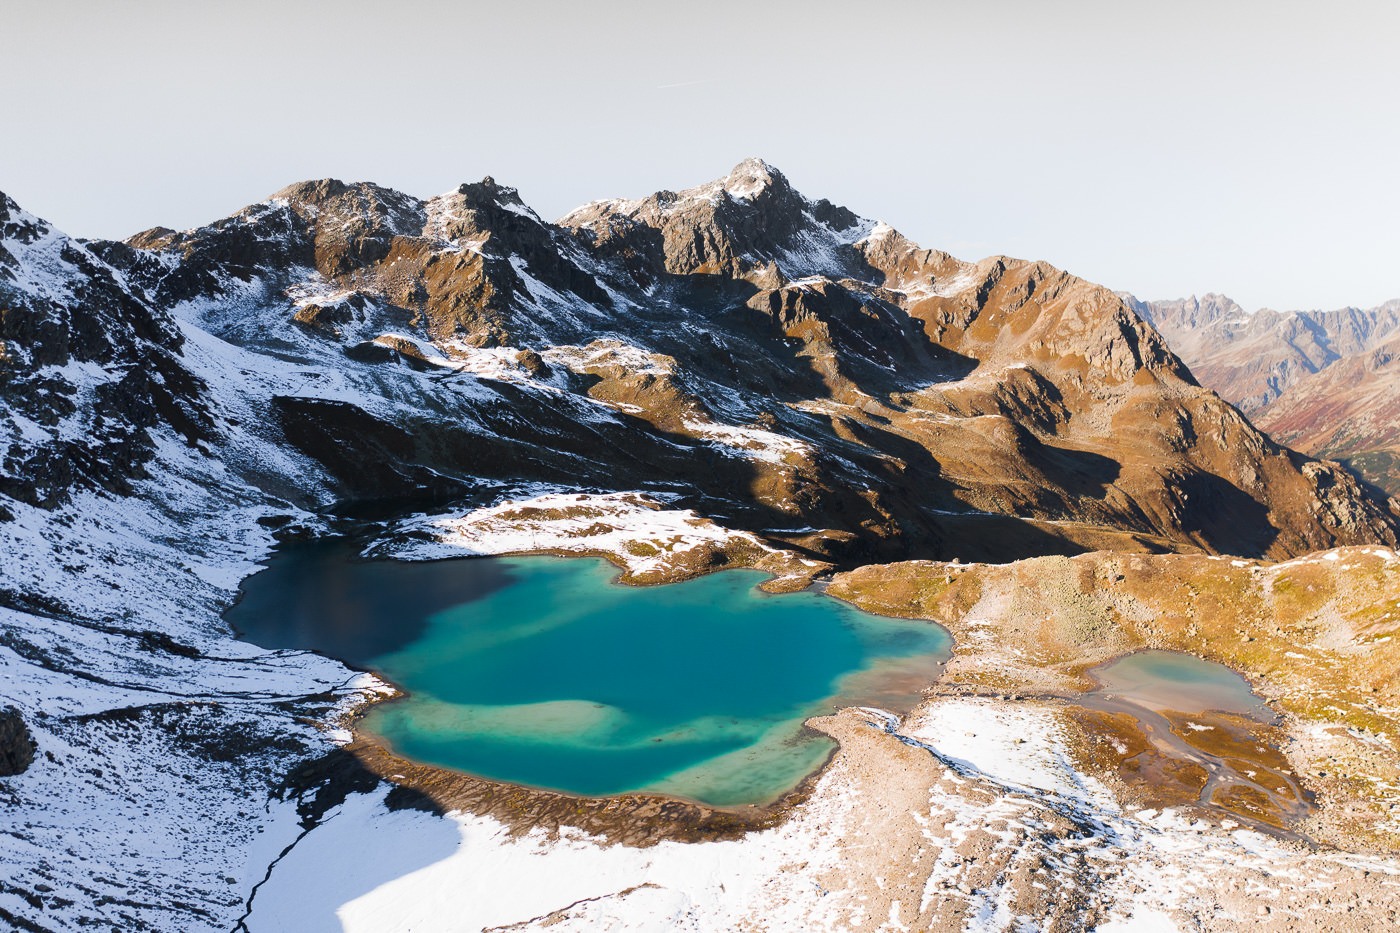
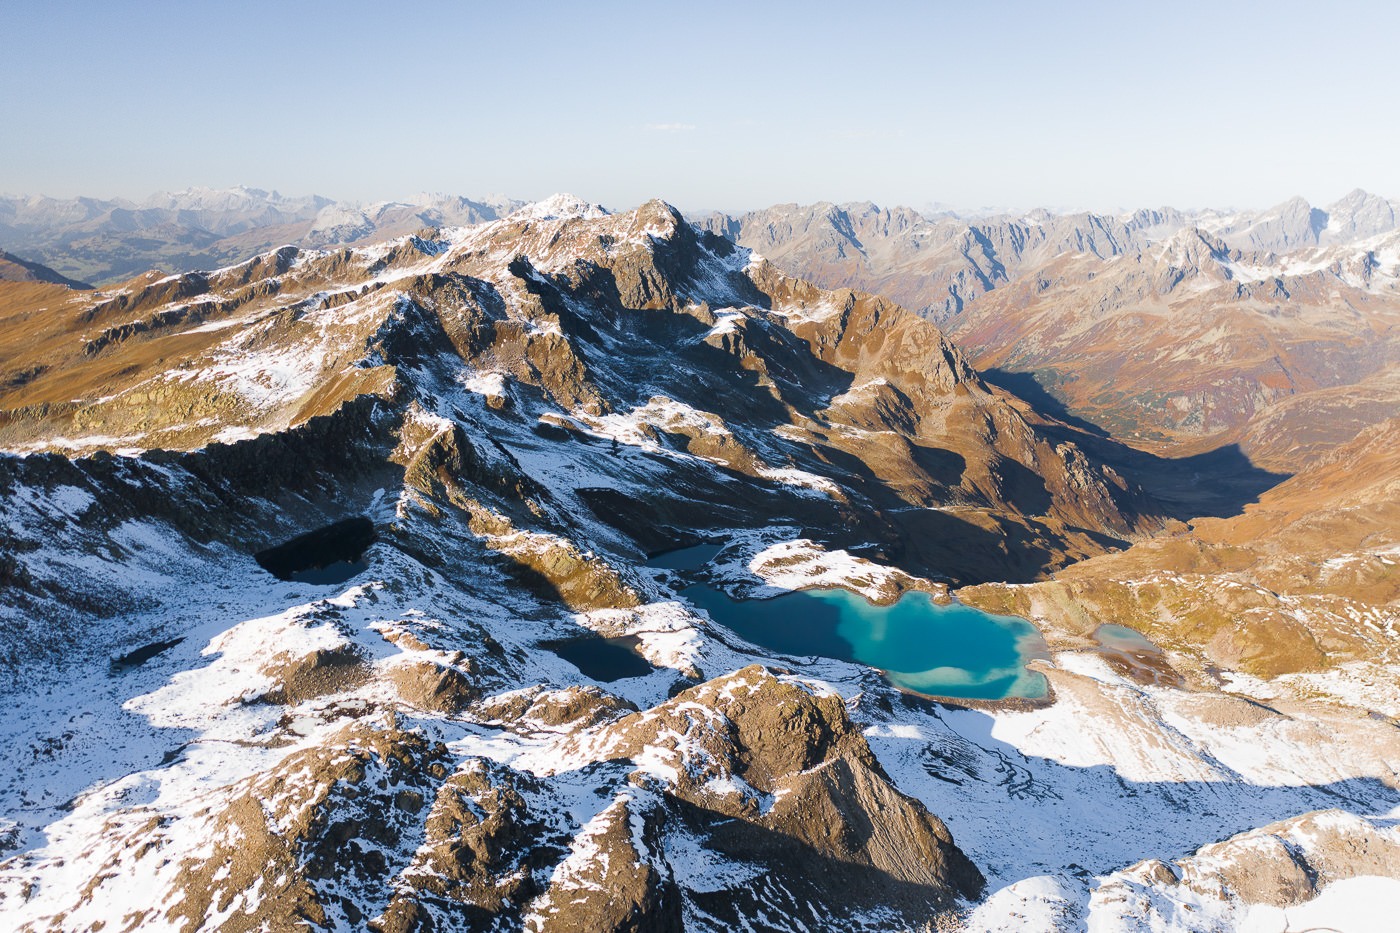
The trail now continues down to the base of both lakes and leads you right through the middle of the two. This is a great chance to enjoy the reflections you can find on the lakes at different times of the day.
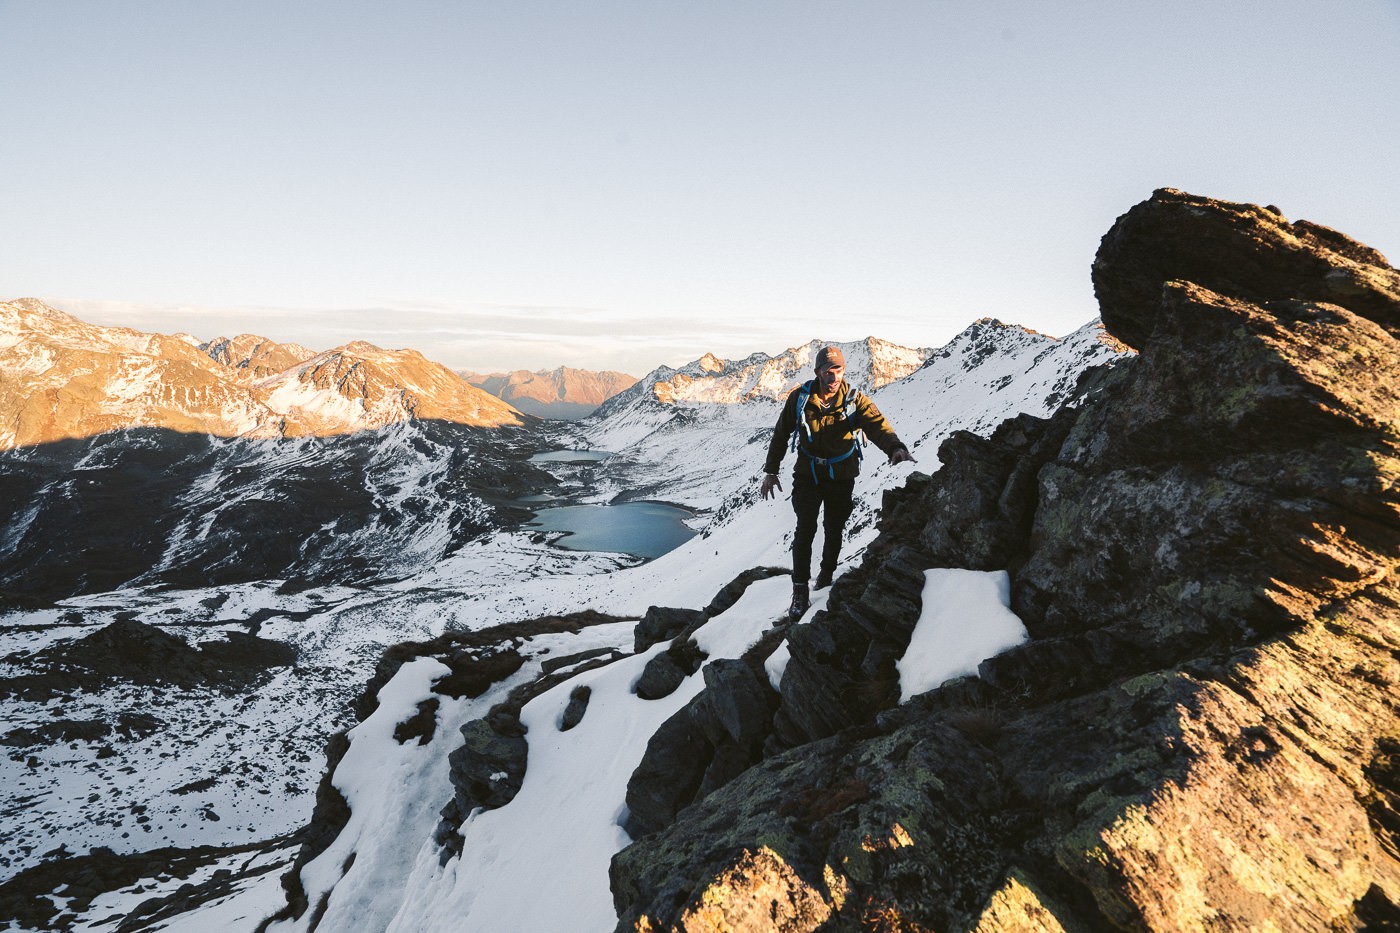
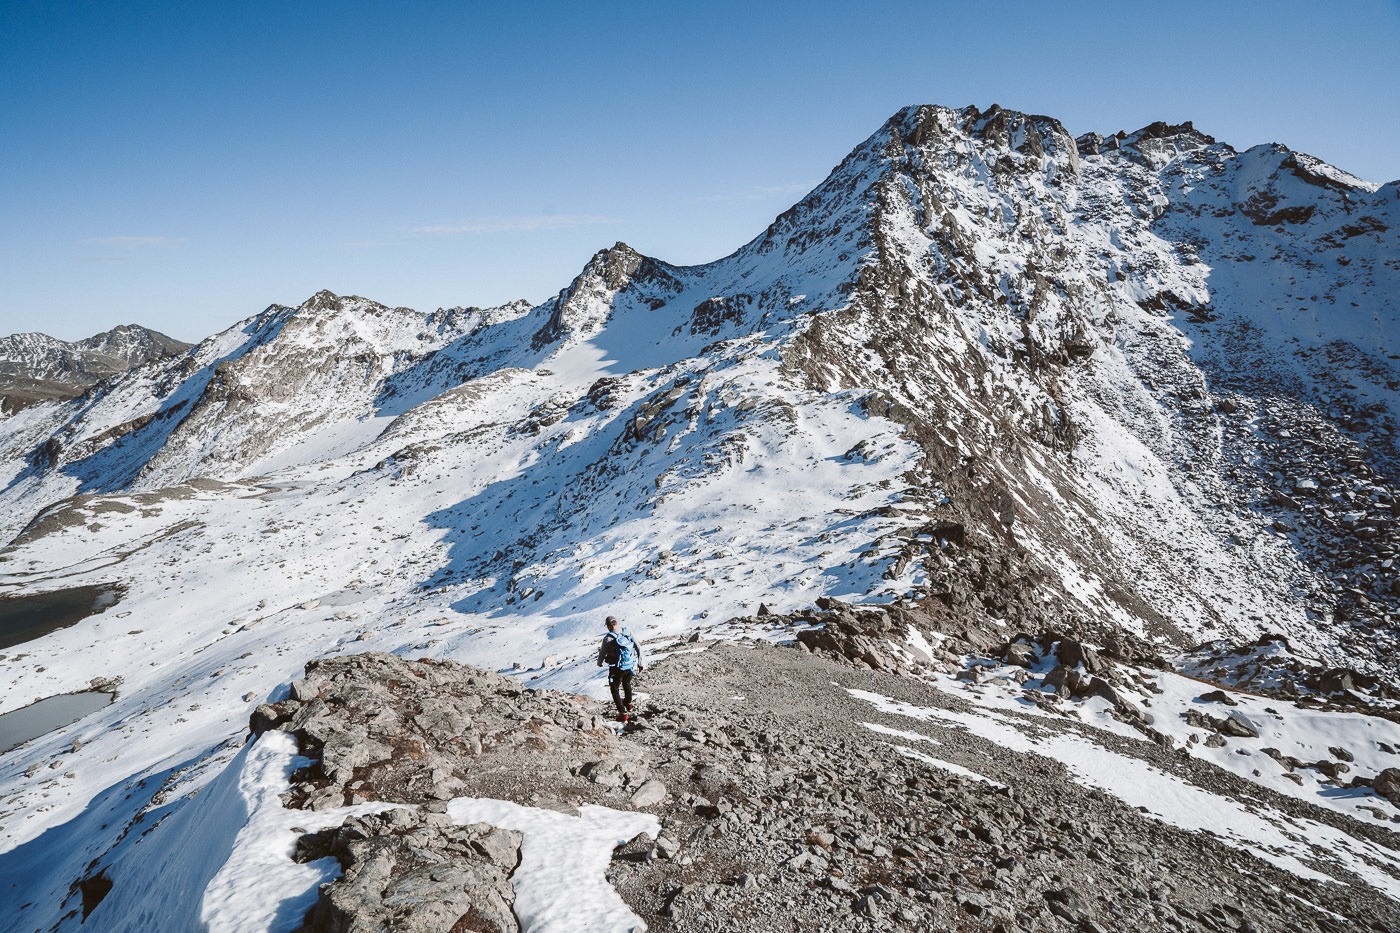
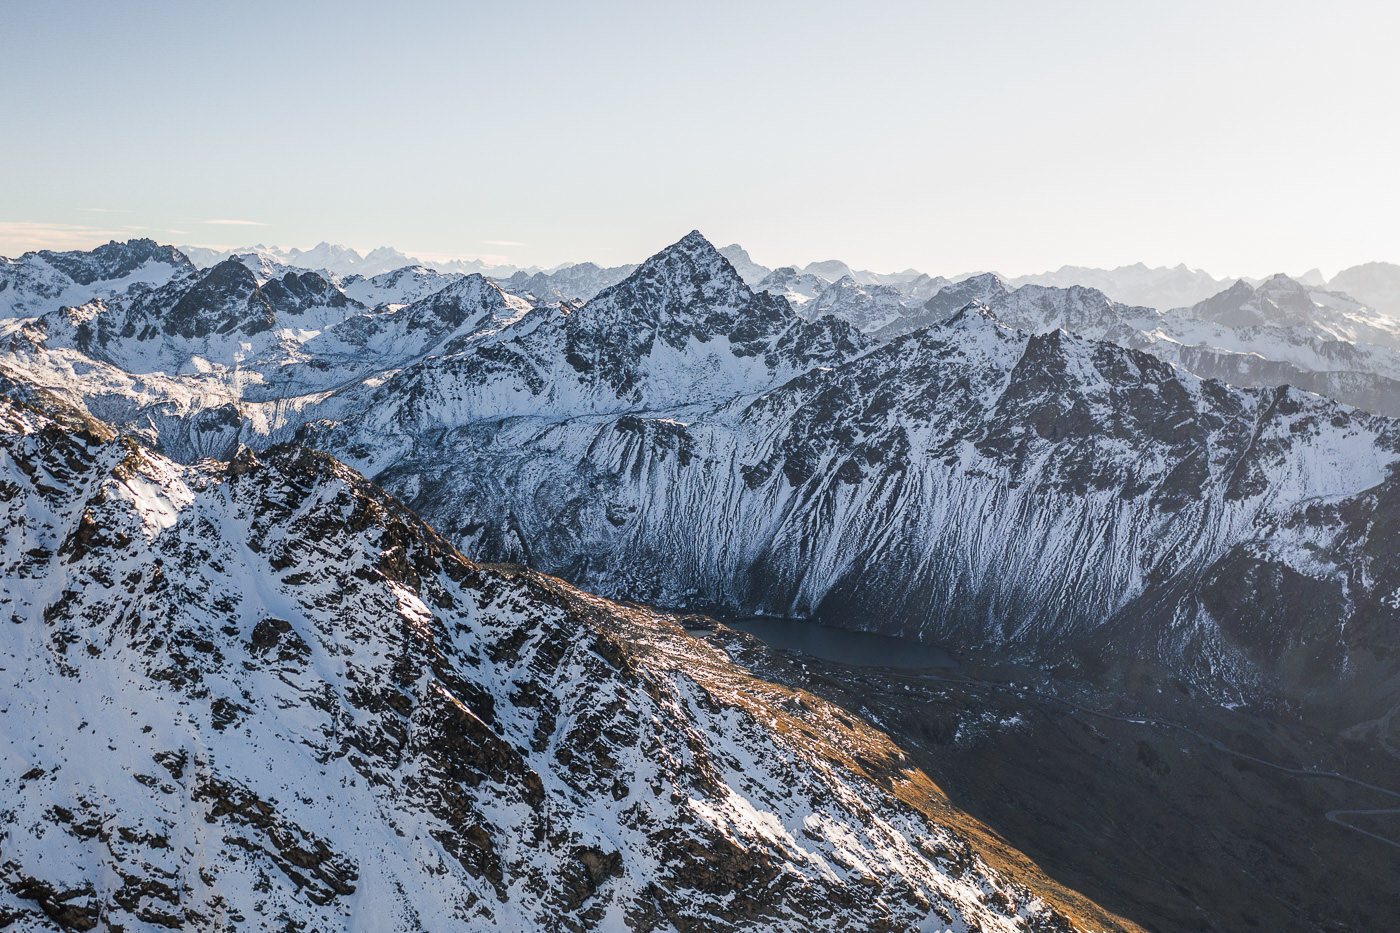
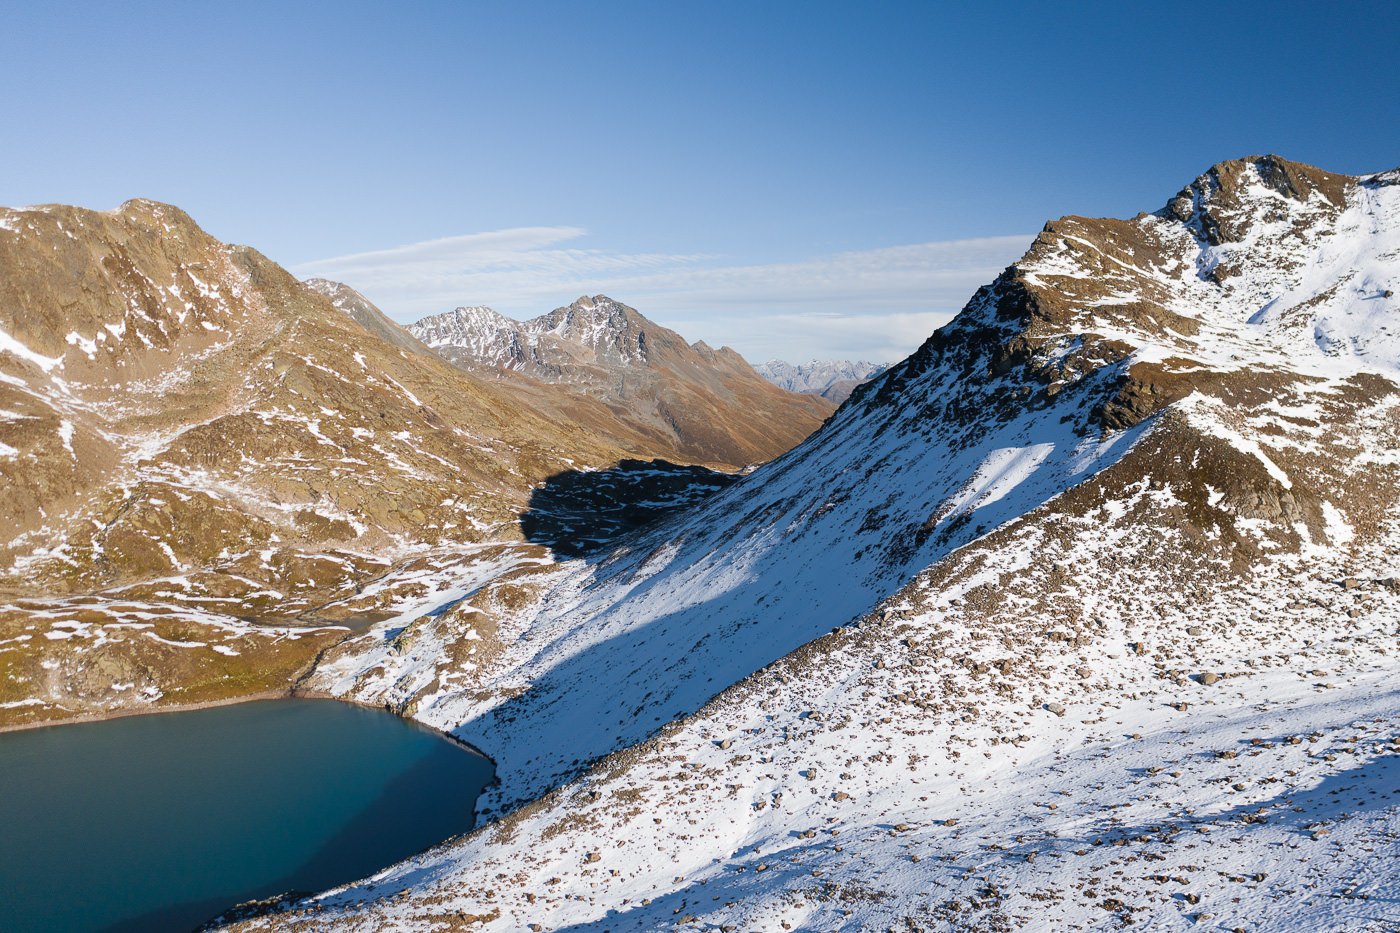
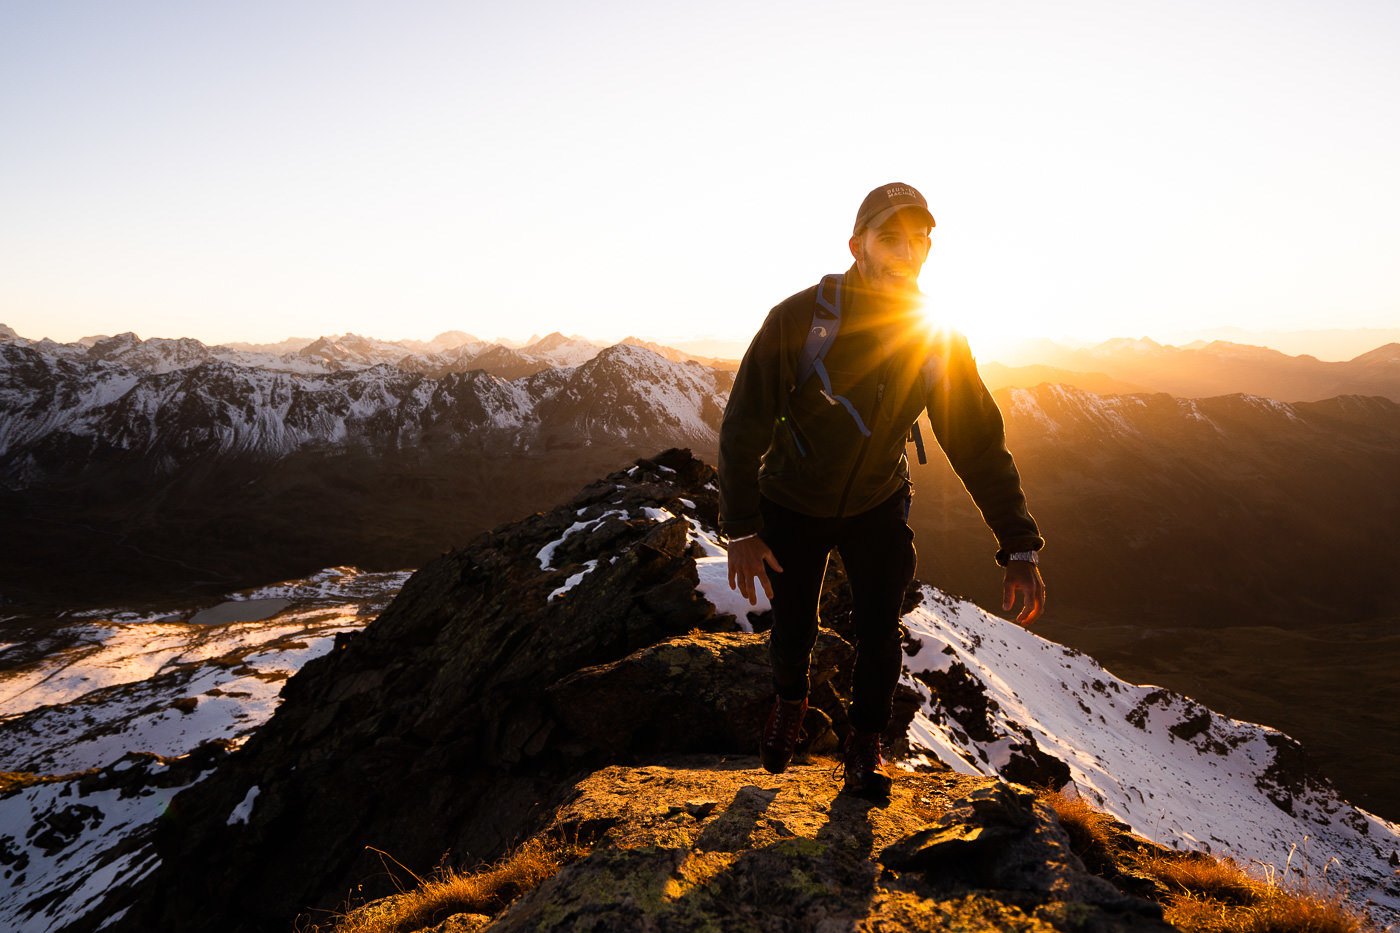
With the sun quickly fading, we attacked the second section of incline on the hike. This time you are further along the ridge, but still, need to climb all the way back up the very steep cliff. There are only a few exposed parts but even with snow on the trail, I didn’t feel the need to use the cable that was attached to the cliff. We could see the sun was beaming on the tips of mountains on the other side of the ridge and we were more than excited to make up back up to the ridge and enjoy the golden glow on the other side.
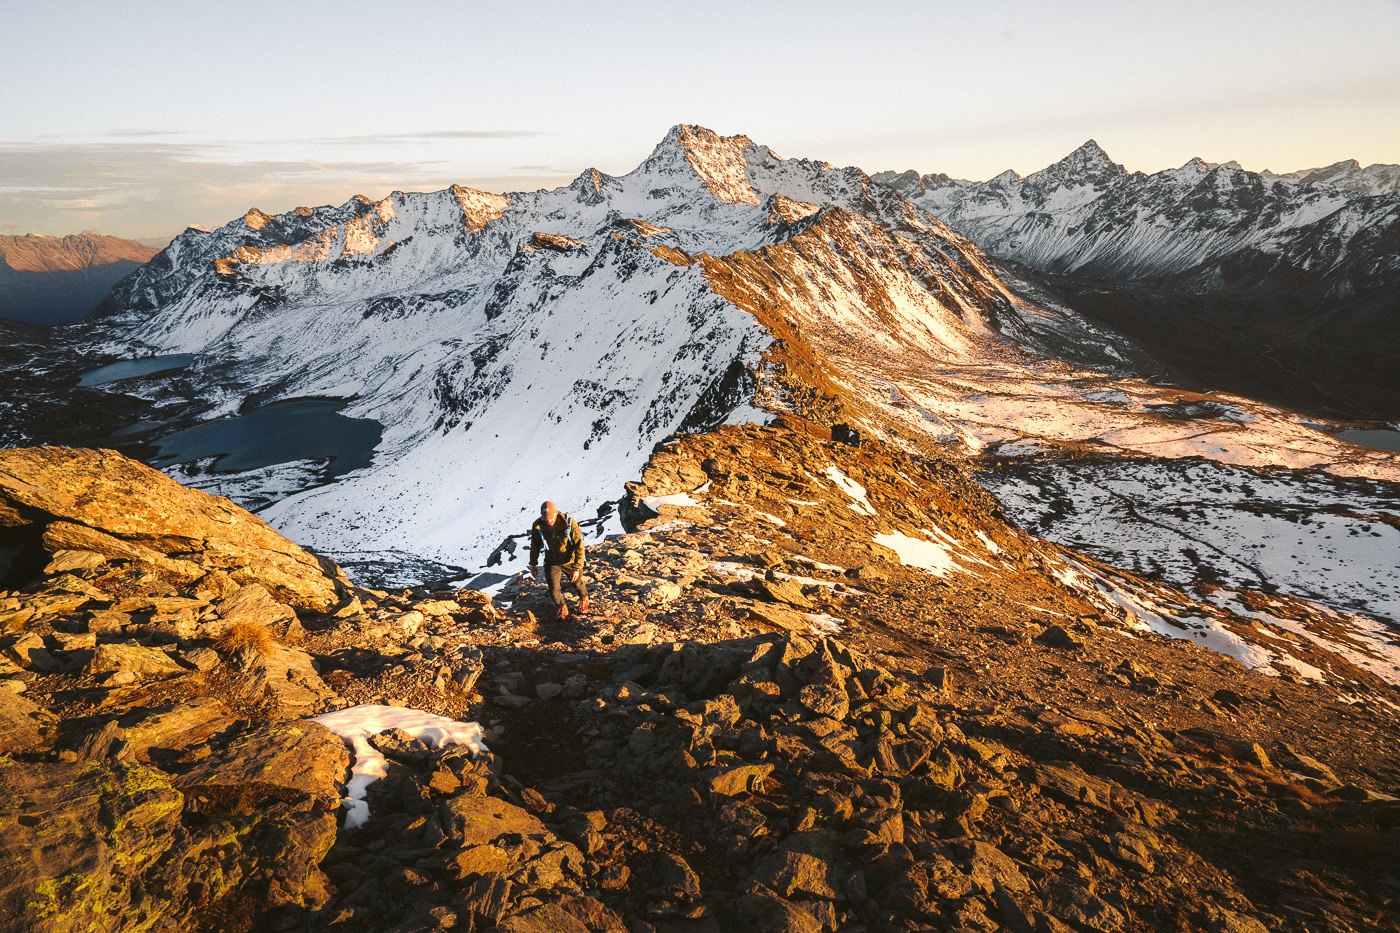
Once we made it back to the ridge, there is a set of yellow signs here. It’s common for most people to head back down now and complete the loop. However, up along the ridge, you can see a small cross in the distance. This is the Jorihorn and isn’t as far as it looks.
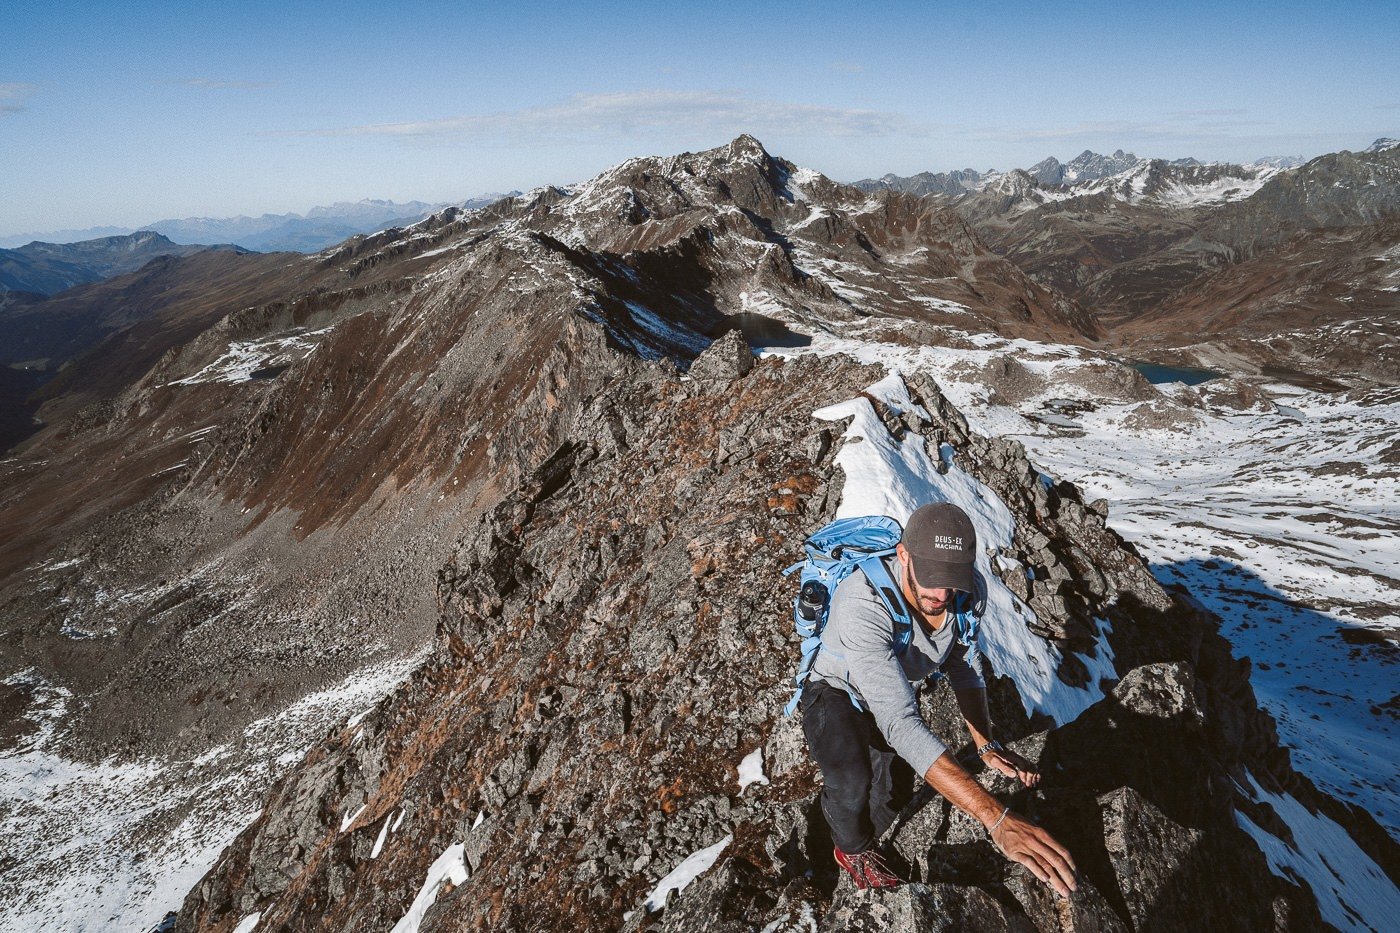
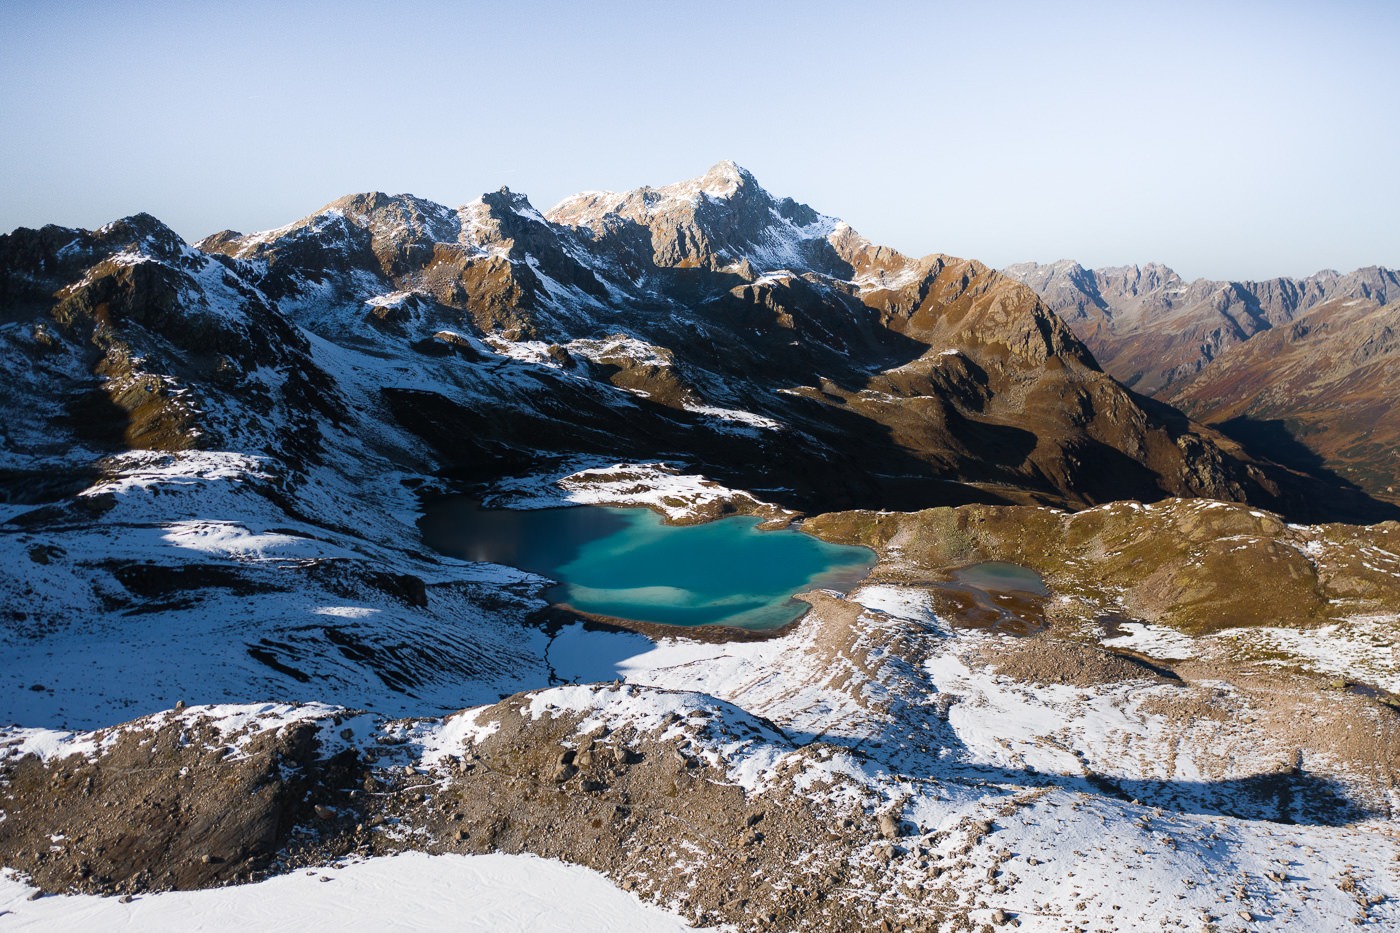
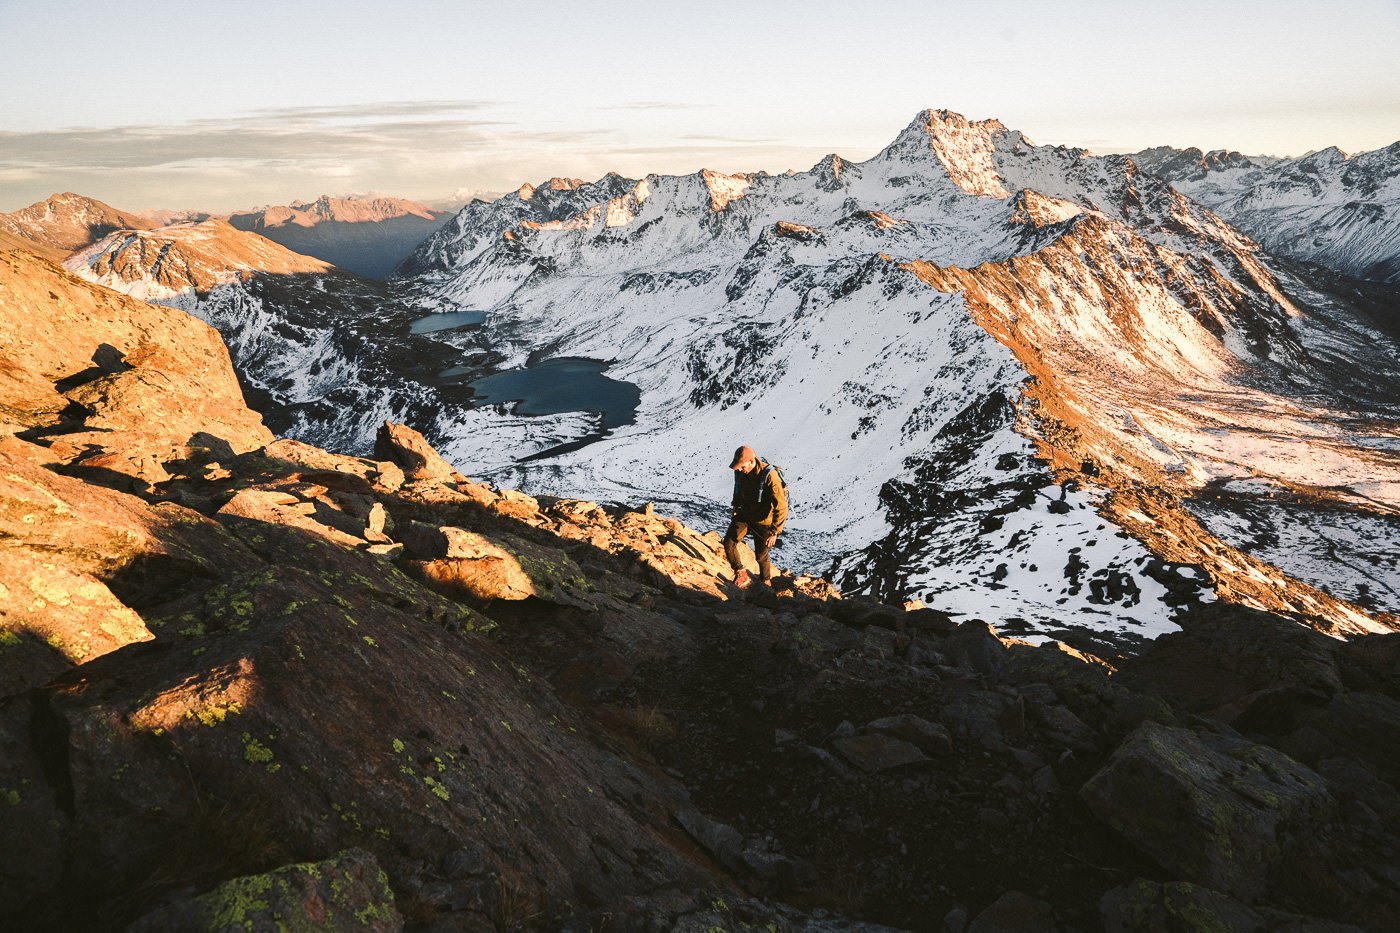
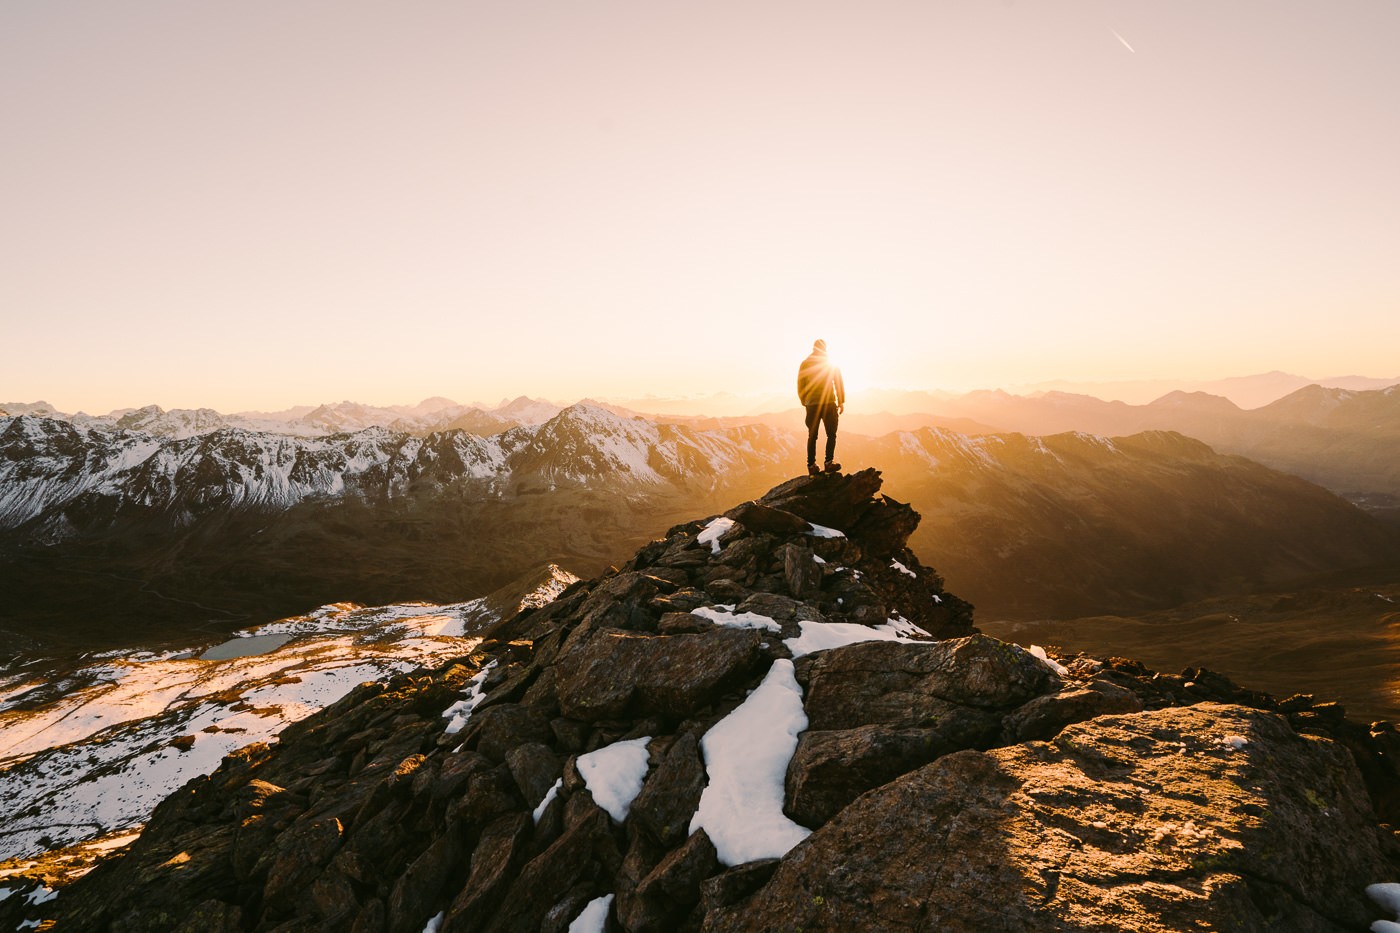
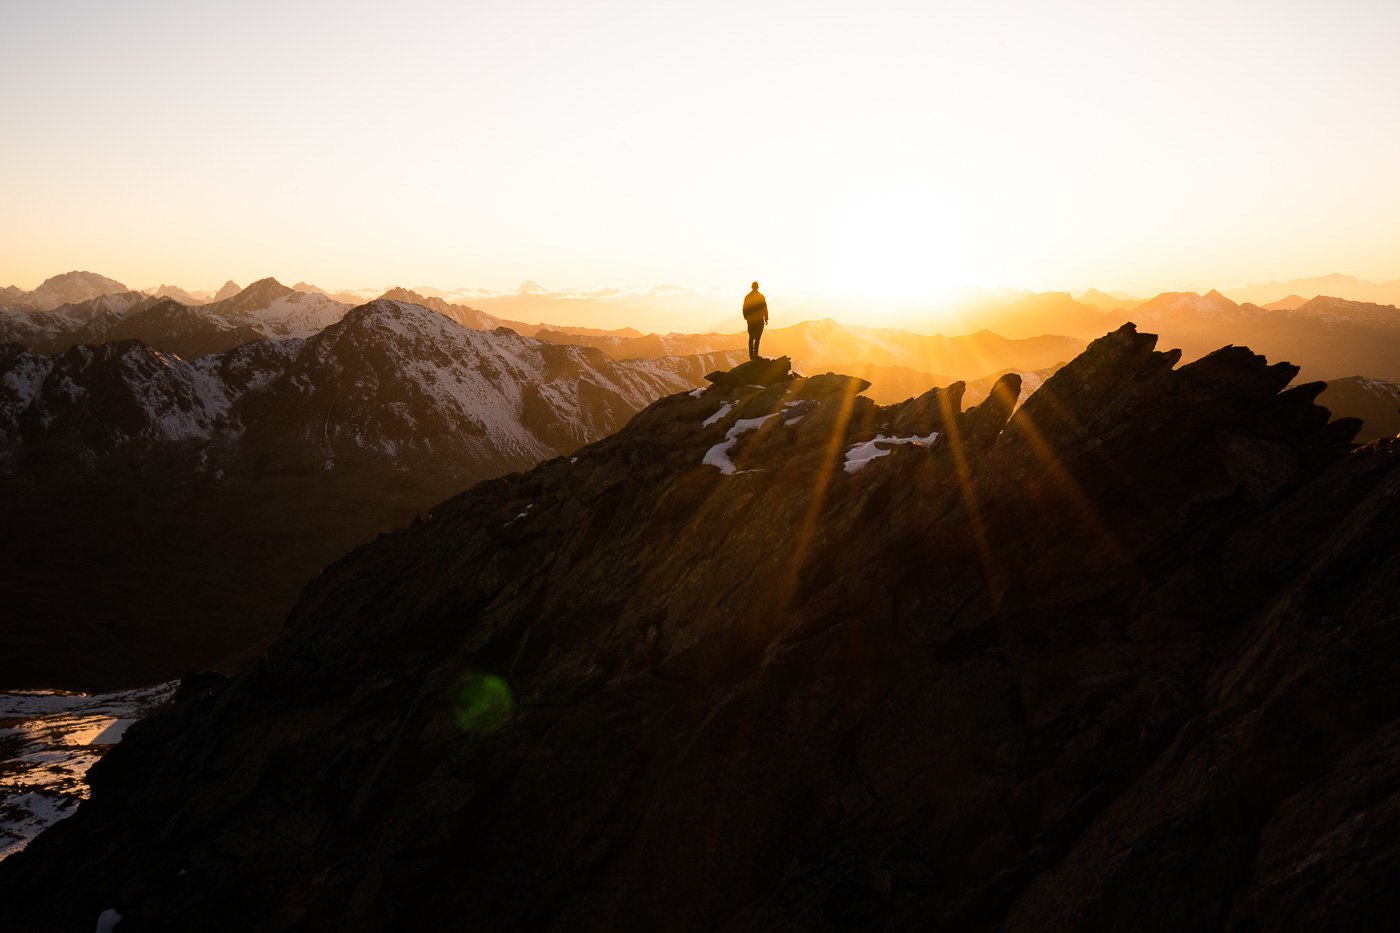
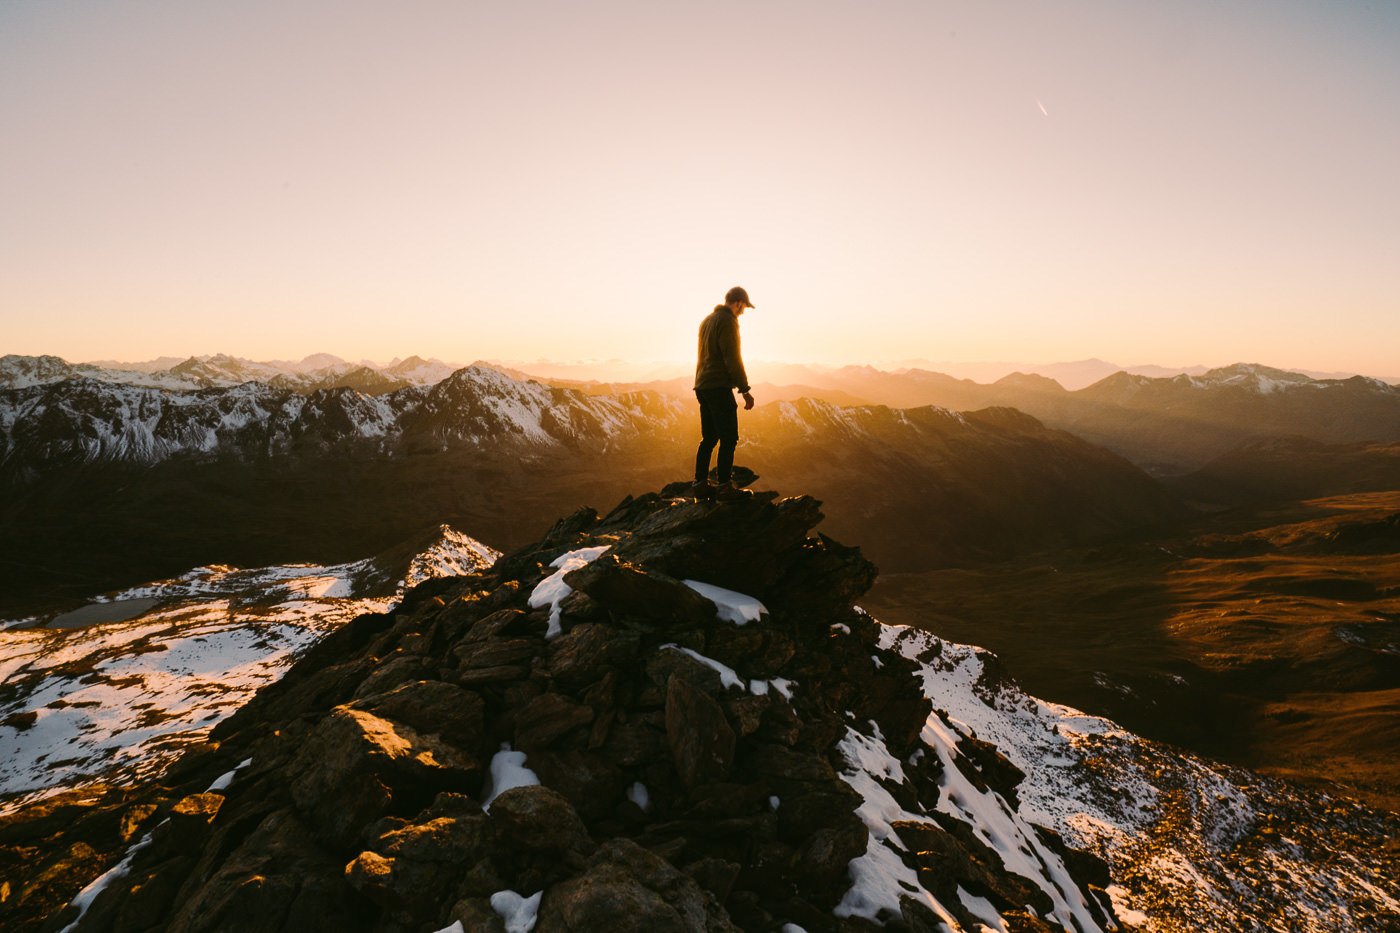
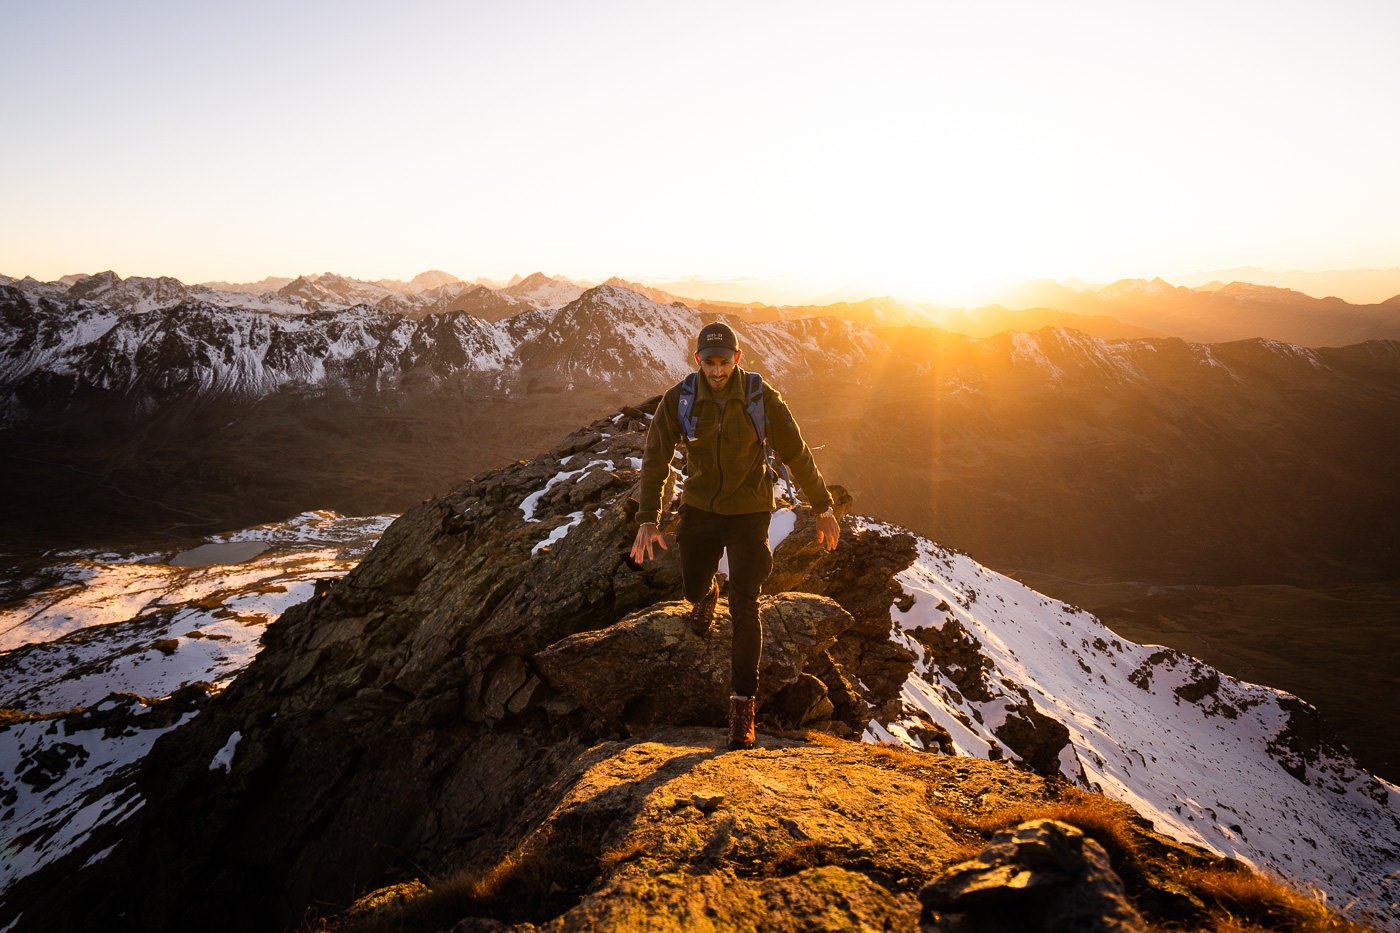
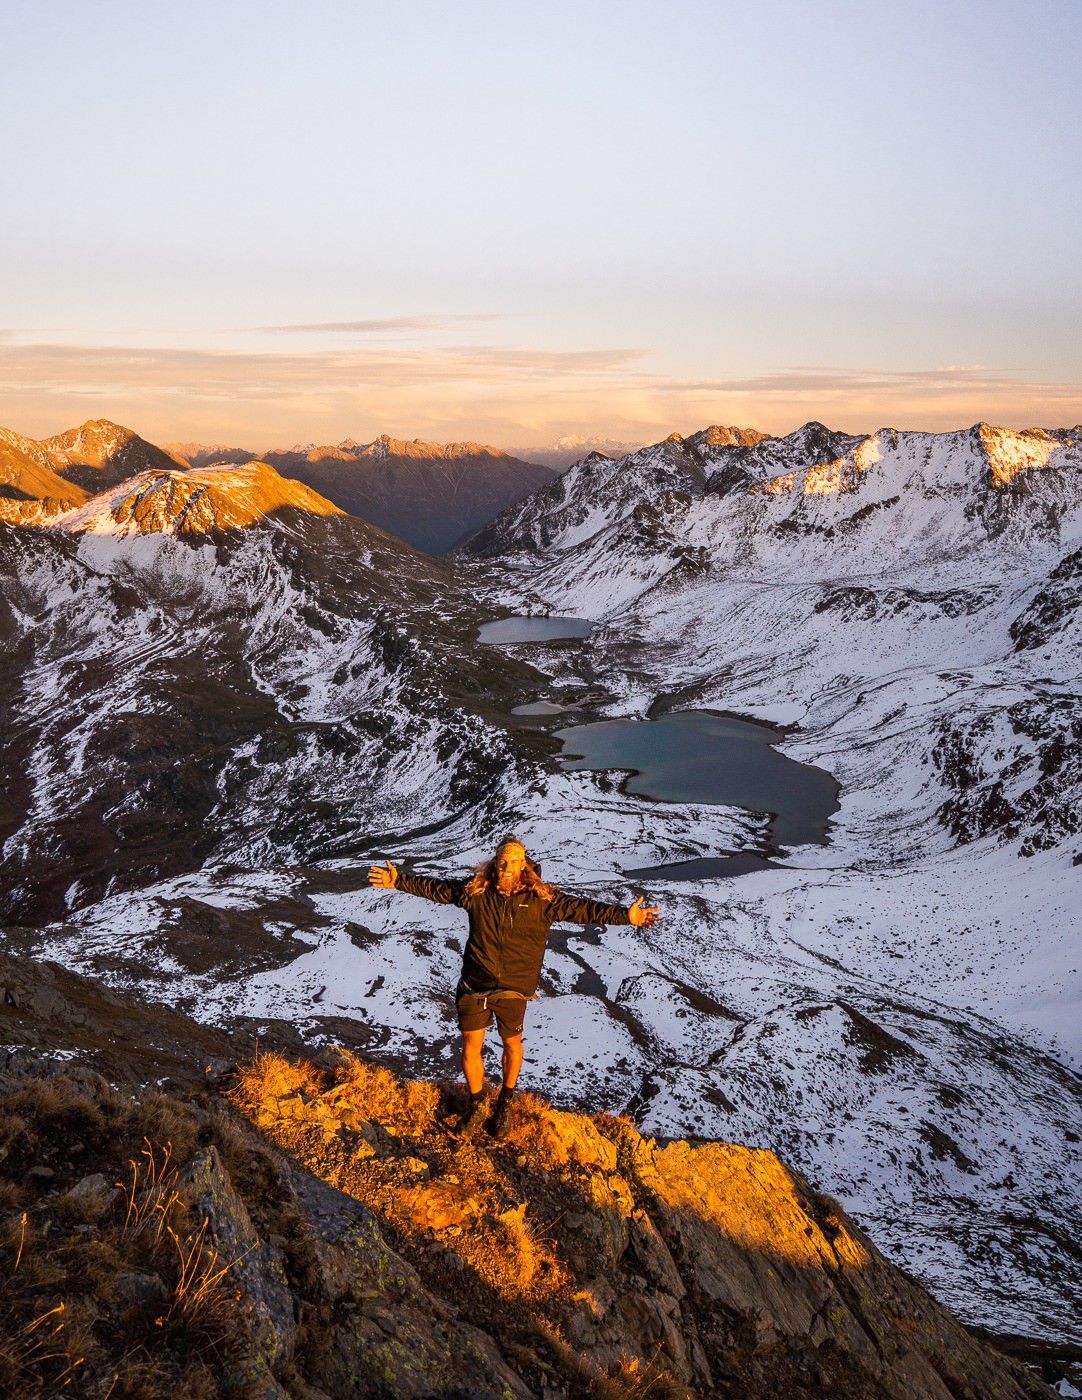
In just 15 to 20-minutes, you can reach the cross and enjoy the panoramic view of the entire region. It’s one of my favorite views in Switzerland and when half covered in snow, this area is beyond beautiful.
We made it just in time for sunset and watched out over the layers of alps in the distance. On the other side, we looked back to the lakes of the Joriseen Trail as the sky glowed pink and purple during the prime of the sunset. The hike back down was partly in the moonlight but then it did get dark and we used our headlamps to light the way. It only took us 50-minutes from Jorihorn summit back to the parking lot so it’s a pretty simple descent in the dark if you do want to stay up for sunset.
These are my favorite photos from our sunset session on the Jorihorn summit.

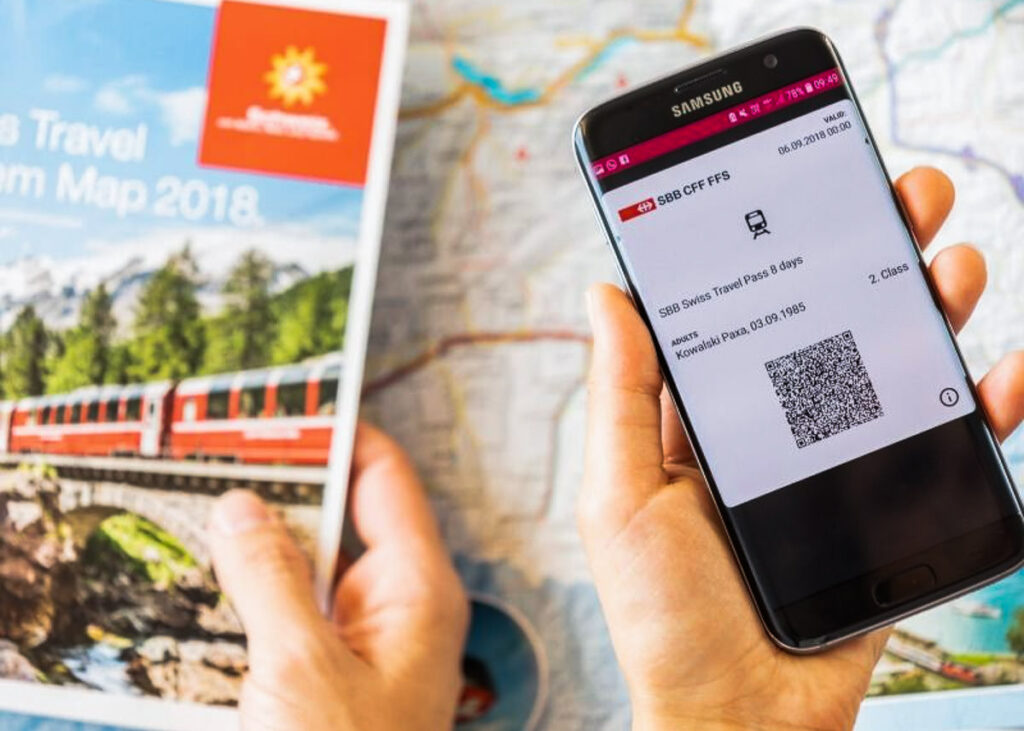
SWISS TRAVEL PASS or HALF-FARE CARD
OPTION 1: Buy the Swiss Half Fare Card: Switzerland trains, buses, and cable cars are EXPENSIVE! I found the best way to get around cheaply was to buy the Swiss Half-Fare Card before I arrived. It gives you 50% off every regular train, bus, and even many cable cars. It only costs $150 USD but pays itself off in just a few days with many train tickets in Switzerland costing close to $100 alone. If you are staying for more than 5 days, I suggest buying the Swiss Half-Fare Card.
OPTION 2: Buy the Swiss Travel Pass: The second option is to get the Swiss Travel Pass, which gives you unlimited train, bus, and (many) cable car rides but it’s pretty expensive at around $100 USD per day so if you don’t travel each day it isn’t worth it.
OPTION 3: Buy the FLEXI Swiss Travel Pass: The final (BEST) option is to get the FLEXI Swiss Travel Pass, which allows you to buy 8 days’ worth of transit but you can choose the night before if you want to activate the next day. That way you don’t need to travel every day to get your money’s worth, you can just activate the FLEXI Swiss Travel Pass on the days when you are doing sizeable transits. My advice is to book the Swiss Half-Fare Card or the FLEXI Swiss Travel Pass in advance before your trip so it’s ready to go when you arrive.
GET A SWISS TRAVEL PASS!
Enjoy UNLIMITED train, boat, and bus rides in Switzerland for up to 15 days. Click to book a flex Swiss Travel Pass or choose the Consecutive Swiss Travel Pass.
The Swiss Travel Pass starts at $260 for 3 days. Click here to check if it’s available on your travel dates.
MY SWITZERLAND HIKING GUIDES
I spent 100 days hiking in Switzerland and created a guide for different regions around the country. You can click on one of my Switzerland hiking guides below to help you plan your trip.
- The Complete Guide: 50 AWESOME HIKES IN IN SWITZERLAND
- The Via Ferrata Guide: 4 EPIC SWITZERLAND VIA FERRATA COURSES
- Lauterbrunnen Guide: 10 AWESOME HIKES NEAR LAUTERBRUNNEN
- Interlaken Guide: 15 AWESOME HIKES IN INTERLAKEN
- Grindelwald Guide: 12 AWESOME HIKES NEAR GRINDELWALD:
- Mürren Guide: 7 AWESOME HIKES IN MURREN
- Appenzell Guide: 9 AWESOME HIKES NEAR APPENZELL
- Chur Guide: 7 AWESOME HIKES NEAR CHUR
MY SWITZERLAND TRAVEL TIPS
- For Backpackers: SWITZERLAND BUDGET BACKPACKING GUIDE
- Travel Tips: 20 THINGS TO KNOW BEFORE VISITING SWITZERLAND
- Transport Tips: RENTING AND DRIVING A CAR IN SWITZERLAND
- Accommodation Guide: 30 BEST PLACES TO STAY IN SWITZERLAND