Ama Dablam Mountain in Nepal stands at 6,813m and is known as the ‘mountaineers mountain’ due to its technical nature and difficult terrain. Many mountaineers come from all over the world to test their technical ability amidst the high altitude of the Himalayas.
Despite its technical nature, Ama Dablam is a relatively safe expedition compared to many of the more deadly peaks in the Himalayas. However, the ‘mountaineers mountain’ comes with its perils as well.
Ama Dablam means “Mother’s necklace”. The long ridges on each side of the mountain represent the arms of a mother (ama) protecting her child. The hanging glacier (or serac) is thought of as the dablam, the traditional double-pendant containing pictures of the gods, worn by Sherpa women. In 2006 a big accident occurred when the Dablam partially collapsed and caused several deaths at the exposed camp three.
In this blog post, I will cover everything you need to know about the logistics of climbing Ama Dablam and also share with you my stories and photos from the climb. This will give you an idea of what to expect and a great insight into the scenery you will find at each camp en route to the summit. Before sharing my experience of the climb in the second section of this blog post, I will detail all of the information you need to know in this complete guide about climbing Ama Dablam.
TRY THE 3 BEST TREKS IN NEPAL
Manaslu Circuit: My personal favorite 2-week trek through Tibetan villages and stunning scenery. Less crowded and more authentic.
Annapurna Circuit: The most beautiful & scenic 2-week trek in Nepal although can be crowded at times.
Everest Base Camp Trek: The most iconic 2-week route reaching the famous (EBC) Everest Base Camp at 5,300m.
AMA DABLAM MOUNTAIN DETAILS
- Days required: 10-15 days (add on 10 days in total if you trek in or out)
- Height of Ama Dablam Summit: 6,812m
- Cost: $7,000 – $10,000
- Season to climb Ama Dablam: It can be climbed in winter but it is uncommon. The regular season is October to January.
- Difficulty: Ama Dablam is known as the ‘mountaineers mountain’ due to it’s technical nature. However, don’t be intimidated by that label. I had no prior rock climbing experience although I had experience with a Jumar and belay device from my climbs on Spantik and Manaslu. If we assume you can handle the altitude of almost 7000m without oxygen, the climbing itself is all on fixed ropes and you never have moments of exposure without being clipped in. It’s important to note that I summitted with Sherpa assistance but as like most others, I did not use oxygen on Ama Dablam. It’s definitely a difficult climb, but I think the technical nature of the route is hyped up a little too much given you are on a fixed line for the entire climb after Camp 1.
- Recommended prior climbs: While there are many climbs you can do to warm-up for Ama Dablam, some common options are Island Peak (6,189), Baruntse Peak (7,129m), Spantik Peak (7,030), Himlung Himal (7,126m) or Lobuche Peak (6,119m). Rock climbing and climbing with exposure are both great skills to practice on other mountains before coming to Ama Dablam.
BEST TREKKING COMPANY IN NEPAL
Interested in trekking in Nepal or doing the Everest Base Camp Trek?
I recommend booking your trek with Himalayan Masters, which is the company I use for all of my treks in Nepal. Use my code JACKSON5 when you book to receive a 5% DISCOUNT.
GETTING TO AND FROM AMA DABLAM BASECAMP
There are several different options for how to arrive and depart from Ama Dablam Base Camp (4,600m).
- Helicopter: These days, many mountaineers can afford to fly into Ama Dablam base camp via helicopter. The flight runs directly from Kathmandu or you can fly by plane to Lukla and then helicopter from Lukla. The flight from Base Camp to Kathmandu is $3000 USD as of 2021. Most tour operators will organize this helicopter option as part of the package if you choose it as an add-on.
- Trekking in from Lukla: One of the most scenic ways to reach base camp is to trek along the Everest Base Camp route after flying by plane to Lukla. It takes 3-5 days, depending on your pace, to reach Ama Dablam Base Camp by trekking in. Along the way you will stay at beautiful tea houses, pass by historic Tibetan monasteries and most importantly, slowly acclimatizing your body to the altitude. This is a much safer option for your body’s adaptation to altitude rather than flying in directly by helicopter, which gives your body no time to adjust. I trekked in and loved staying in the historic Namche Bazaar and Phortse, which is the town with the most Everest Summiteers.

TOP 3 PLACES TO STAY IN KATHMANDU

- Ultimate Luxury: The Dwarika’s Hotel – Luxury, Spa-service, Pool
- Best Value: Aloft Kathmandu Thamel – Swimming Pool, Gym & Great Restuarant
- Budget Choice: Hotel Jampa is easily the top cheap hotel in Kathmandu
IS AMA DABLAM MOUNTAIN DANGEROUS?
During our expedition of 2021, there were no deaths but there were a few helicopter evacuations due to snow-blindness or altitude sickness/edema. Due to being on fixed lines for almost the entire climb, I would classify the actual route as relatively safe compared to mountains with greater exposure when not fixed with ropes.
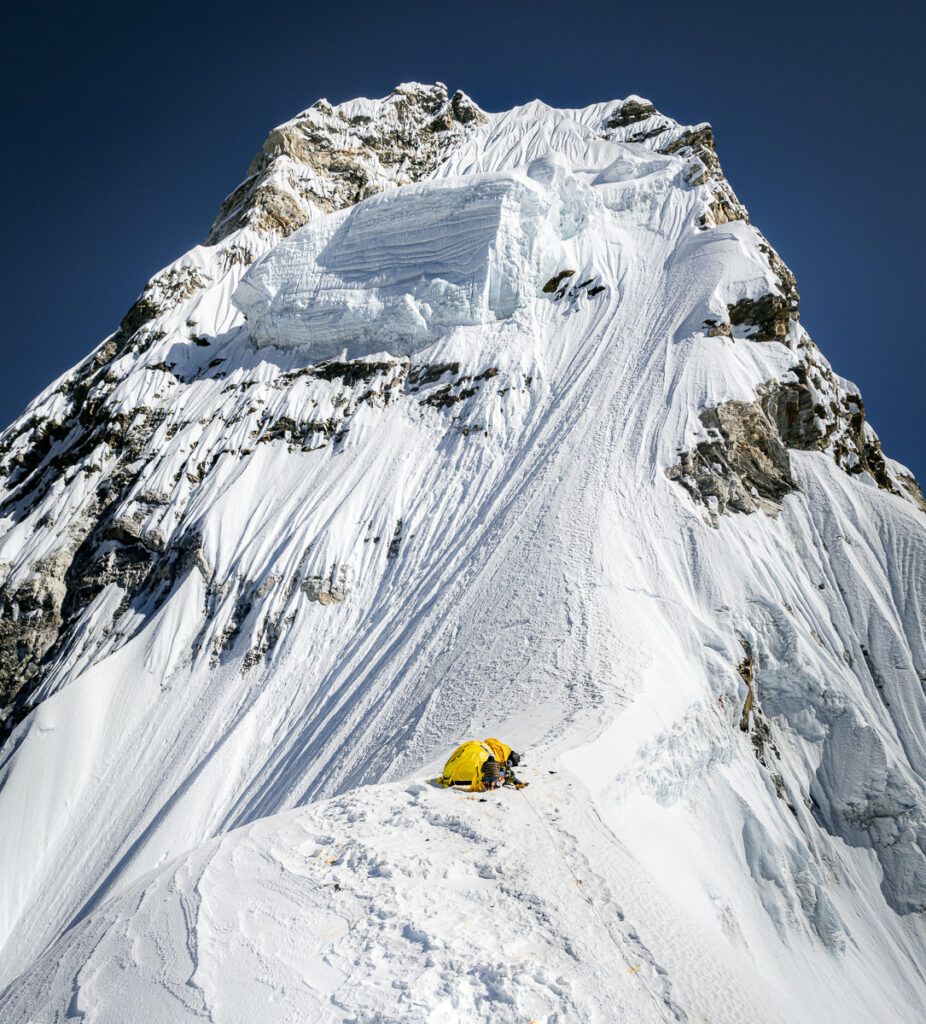
The main cause for concern on Ama Dablam is the hanging serac above Camp Three. Climbers generally avoid climbing and camping below this serac although we camped there before our summit push.
In 2006, a piece of serac fell and killed six of the climbers in Camp Three. Three more climbers were also killed below the serac in 2014. Nepali climber Thundu Sherpa was killed when an earthquake in 2016 triggered an avalanche on the face.
TREKKING TO AMA DABLAM BASE CAMP
Our Journey began at Kathmandu airport where we boarded a flight on a rickety old plane taking off in the direction of the infamous Lukla Airport. Flying out of the busy and colorful Kathmandu was the last time we would see city civilization for a month, as we headed deep into the Khumbu. The plane flight isn’t for the faint-hearted. The pilot cruised perilously close to the mountains before landing on the upward sloped and dramatically short runway into Lukla, the port to the Himalayas.
It was a reminiscent landing for me, having trekked to Everest Base Camp four years earlier. Not much has changed in Lukla. Despite the huge influx of trekkers and tourists over the years, Lukla has kept its mountain charm. Our trek would not be quite as long as that of Everest Base Camp.
The journey to Ama Dablam Base Camp is quite a pleasant hike over five days with one ‘rest’ day or acclimatization period. There are a couple of different route options but our itinerary was as follows.
- DAY 1: Lukla to Phakding (7km)
- DAY 2: Phakding to Namche Bazaar (10km)
- DAY 3: Rest day
- DAY 4: Namche Bazaar to Phortse (12km)
- DAY 5: Phortse to Ama Dablam Base Camp (11km)
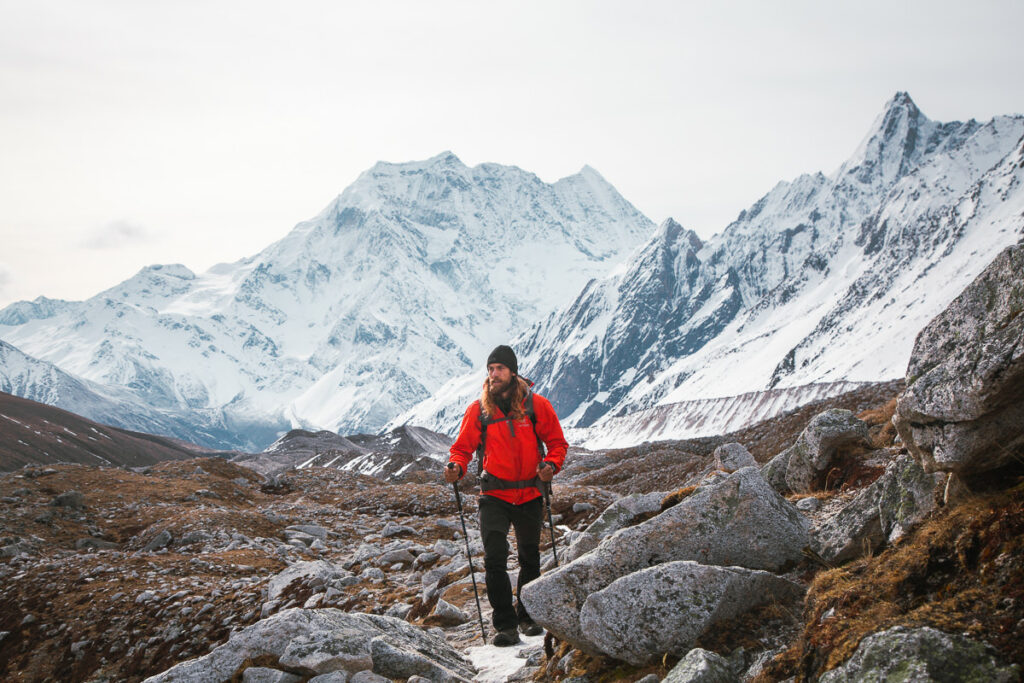
I won’t go into great detail about the trek because the focus of this article is the Ama Dablam Climb. In fact, many people simply flew by helicopter to Ama Dablam Base Camp and skipped the trek entirely. However, I believe it’s a great part of the expedition and helps climbers acclimatize but also to get a feel of the towns and local culture along the way. Therefore, I’ll share a few photos and thoughts from our five-day trek from Lukla to Ama Dablam Base Camp.
After landing in Lukla, we had a short, 7-kilometer walk to the small riverside town of Phakding. This first day of walking is actually mostly downhill despite some undulation with a net loss of a few hundred meters. It will be the last day downhill until you return from the summit of Ama Dablam! The shady route winds through the forest while maintaining close proximity to the river rapids below.
With just a couple of hours’ worth of walking, you will find your rhythm and learn how to avoid the donkey and yak caravans, which cart supplies up and down the mountain. Phakding has a number of cute teahouses and coffee shops to help you settle in for your first night in the Himalayas.
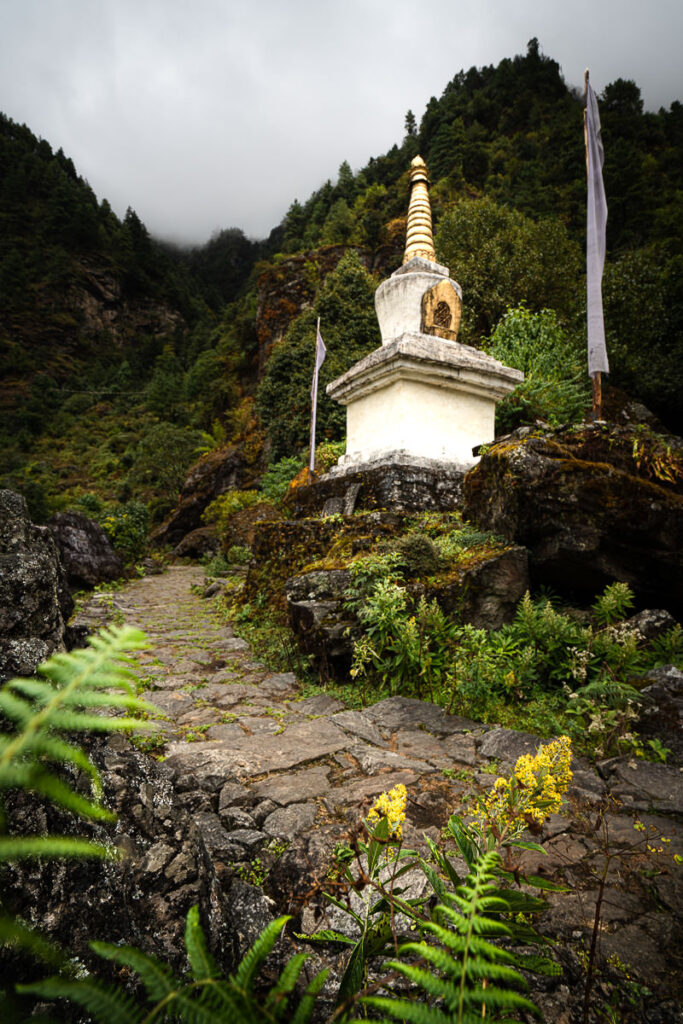
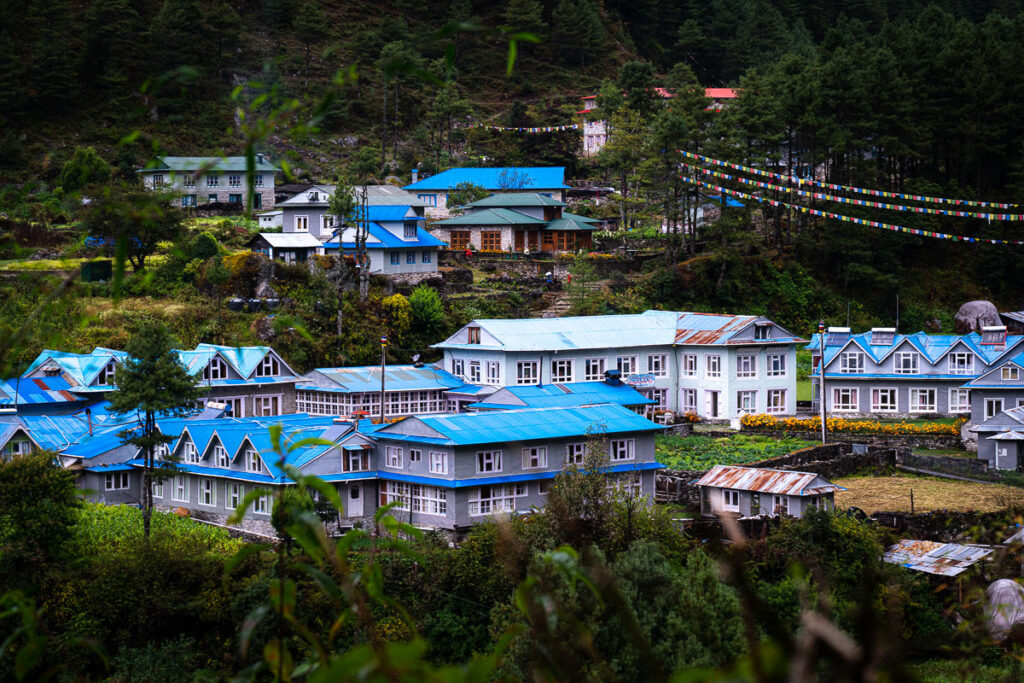
The second day of our trek to Ama Dablam Base Camp saw us heading towards the famous trading town of Namche Bazaar. The route crosses the river several times today, often on long suspension bridges draped in Tibetan prayer flags. After crossing the Hillary Bridge, there is some significant climbing to be done before reaching Namche Bazaar.
The total incline for the day surpassed a vertical kilometer with more than 1000 meters climbed. Namche is one of my favorite towns with a rich history of climbing, Sherpa culture, and trekking.
In Namche, you can find just about everything from trekking stores to cafes and even an Irish Bar. It’s one of the last times you will have a lot of ‘city luxuries’ available and a good chance to add anything to your pack you may have forgotten for the climb. We had a couple of nights here to help acclimatize and spent them at the Irish Bar for beers at night and the Sherpa Barista Cafe for coffee during the day.
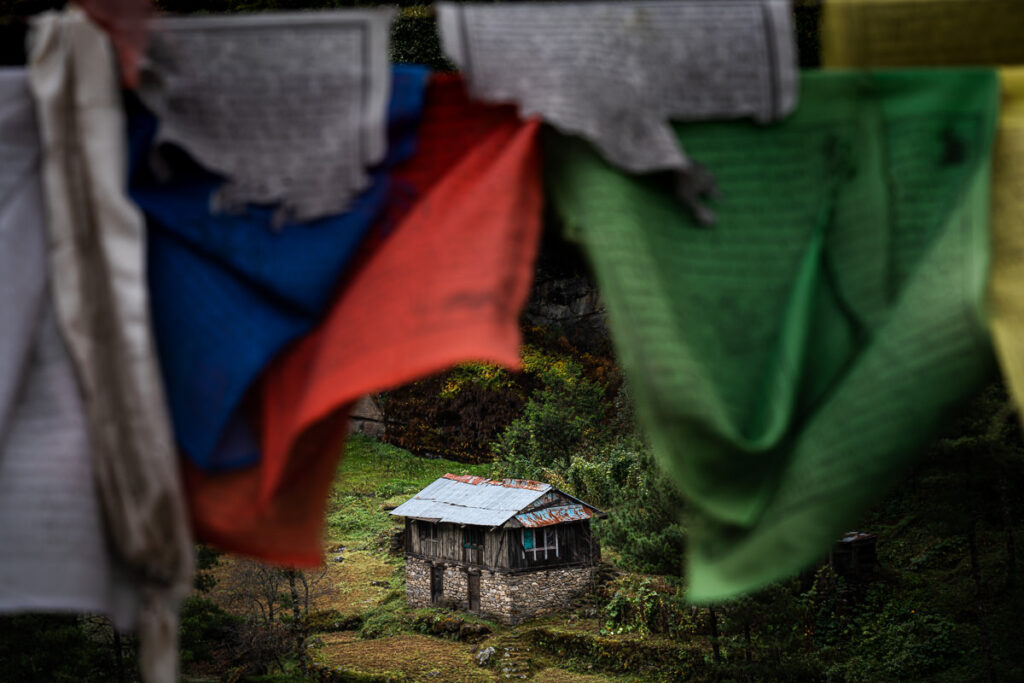
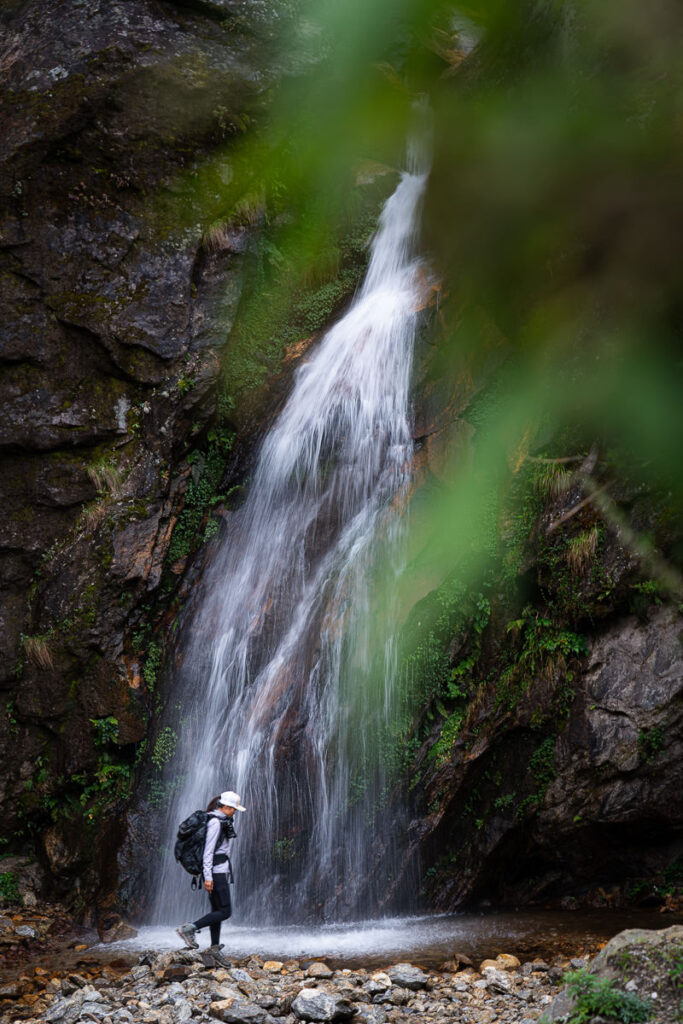
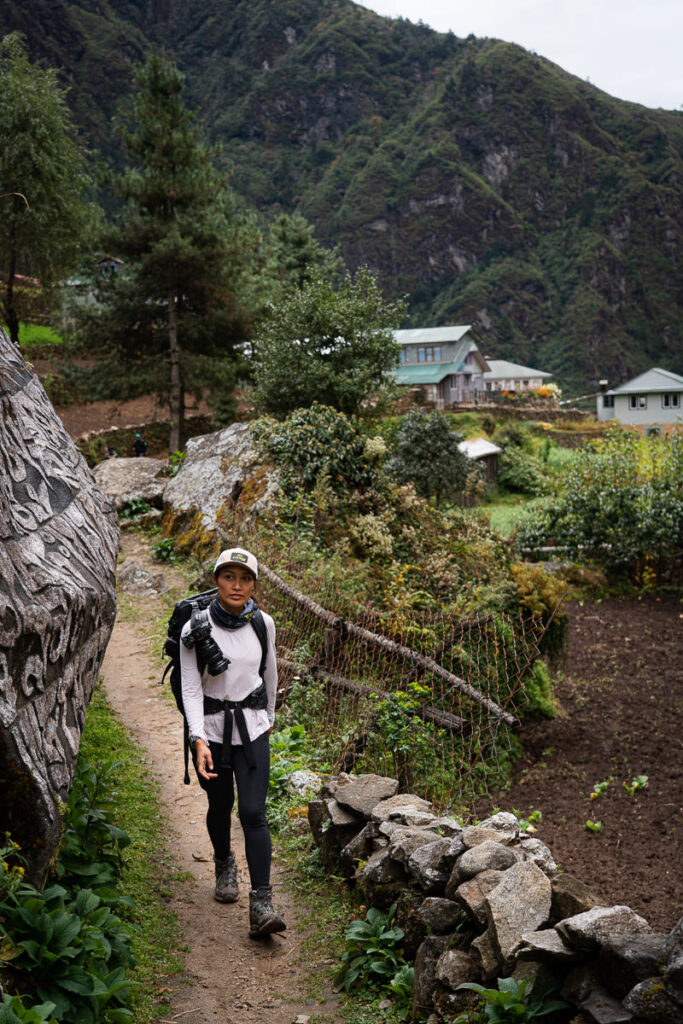
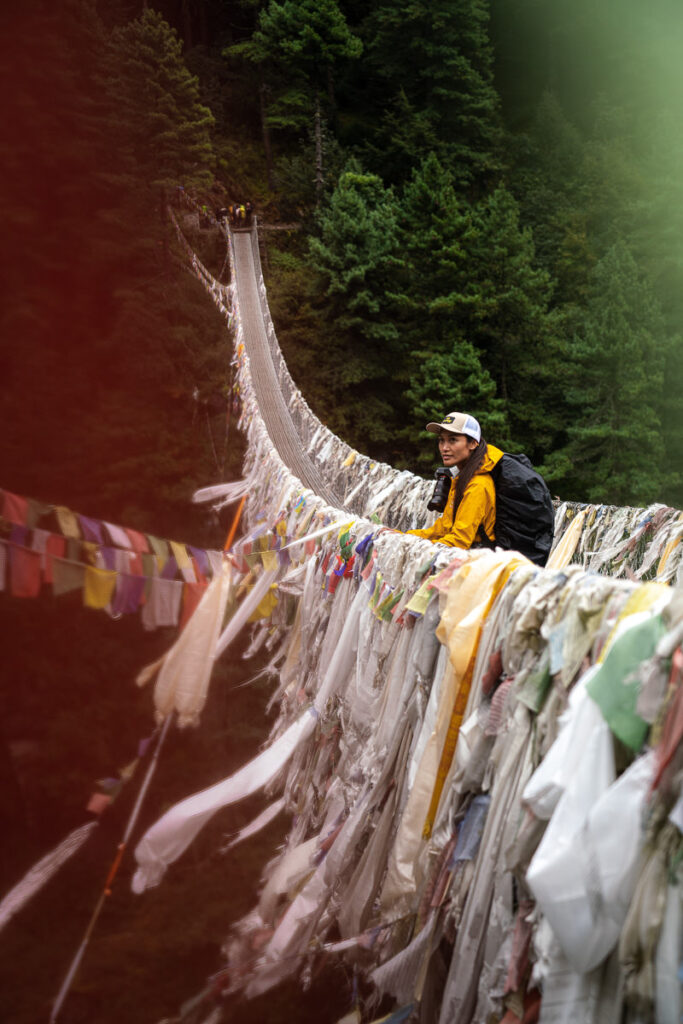
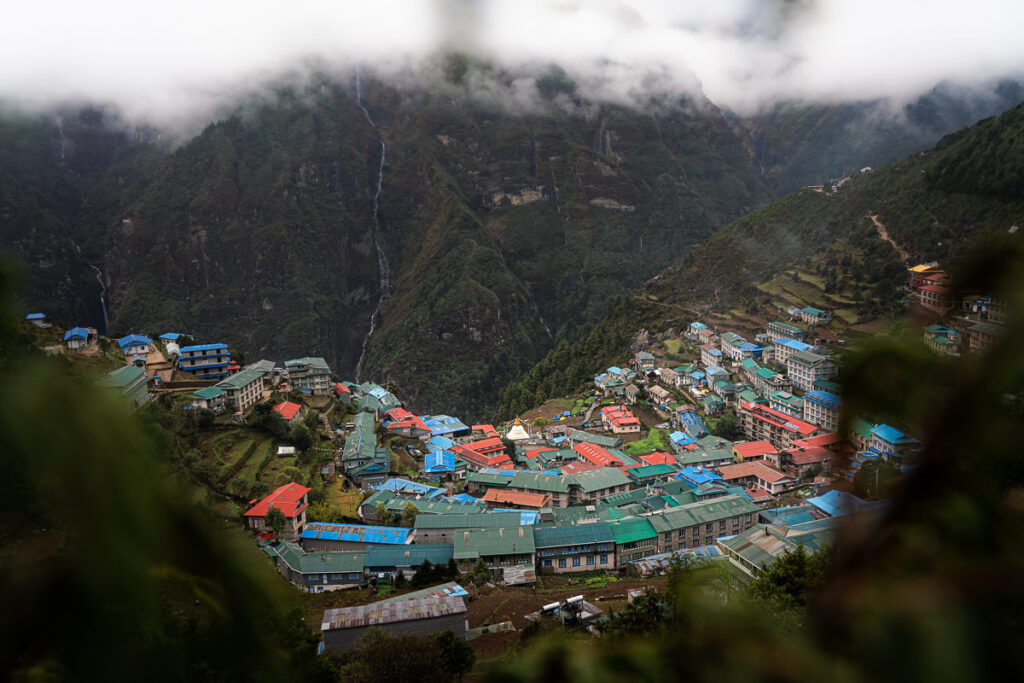
From Namche Bazaar, we trekked on to the village of Phortse. While it may be a small and seemingly innocuous village, there is something in the water of Phortse. This village has the most Everest summiteers per household of anywhere in the world. We had now settled into a trekking rhythm and were enjoying the coziness of the tea lodges along the way.
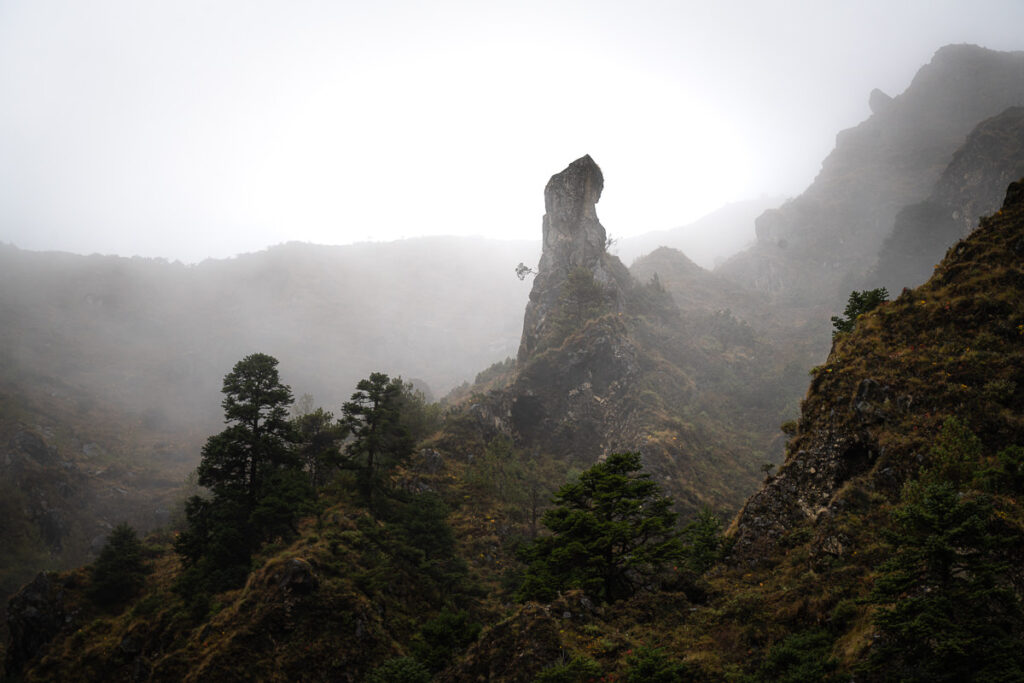
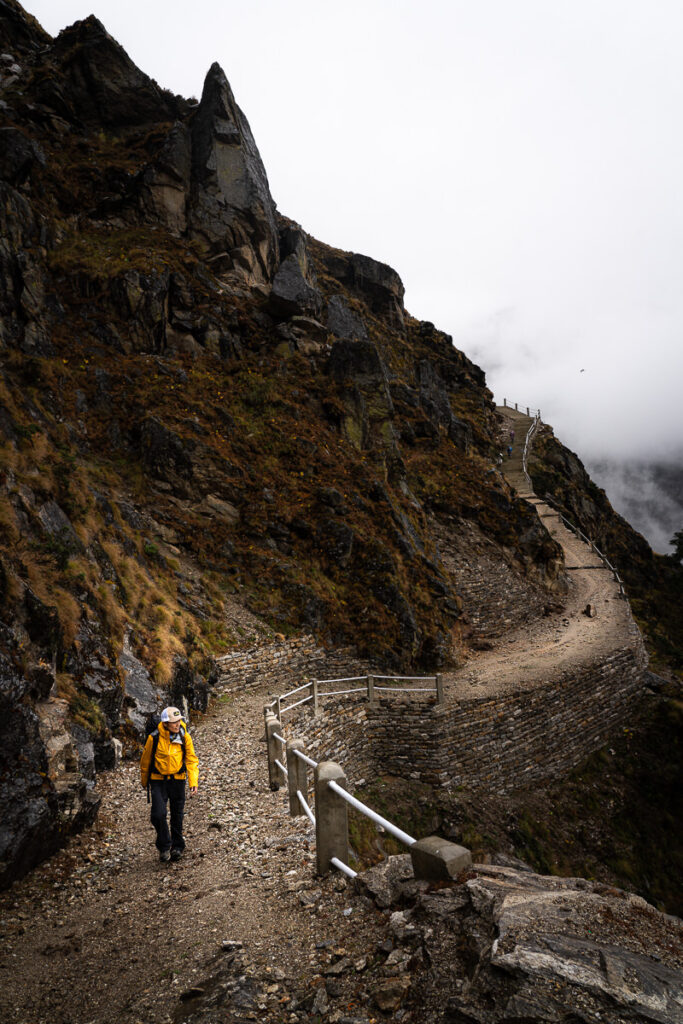
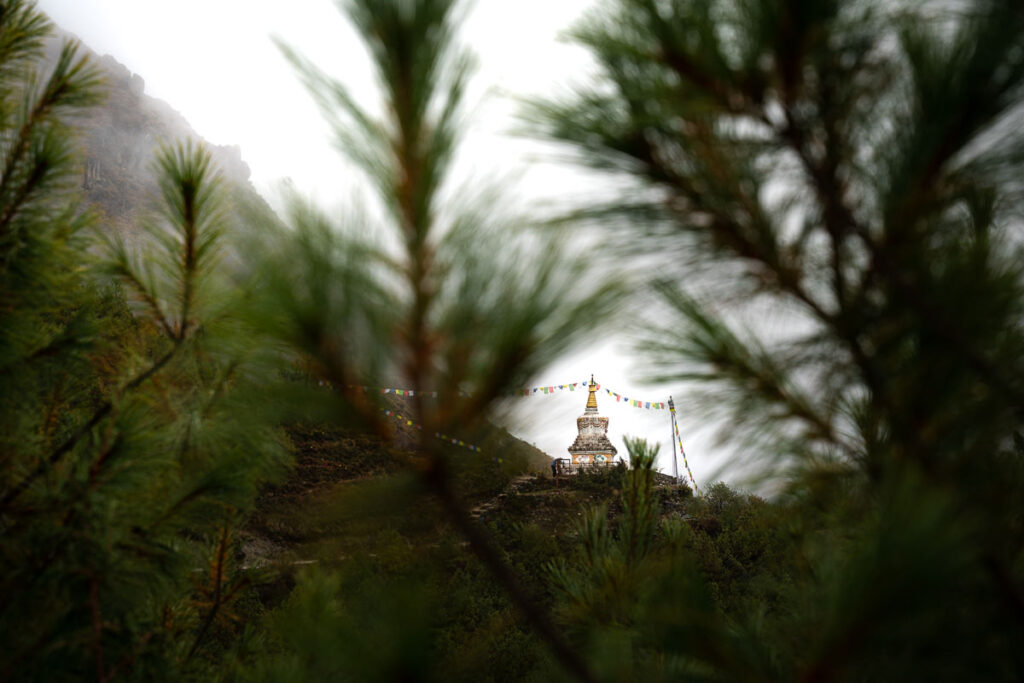
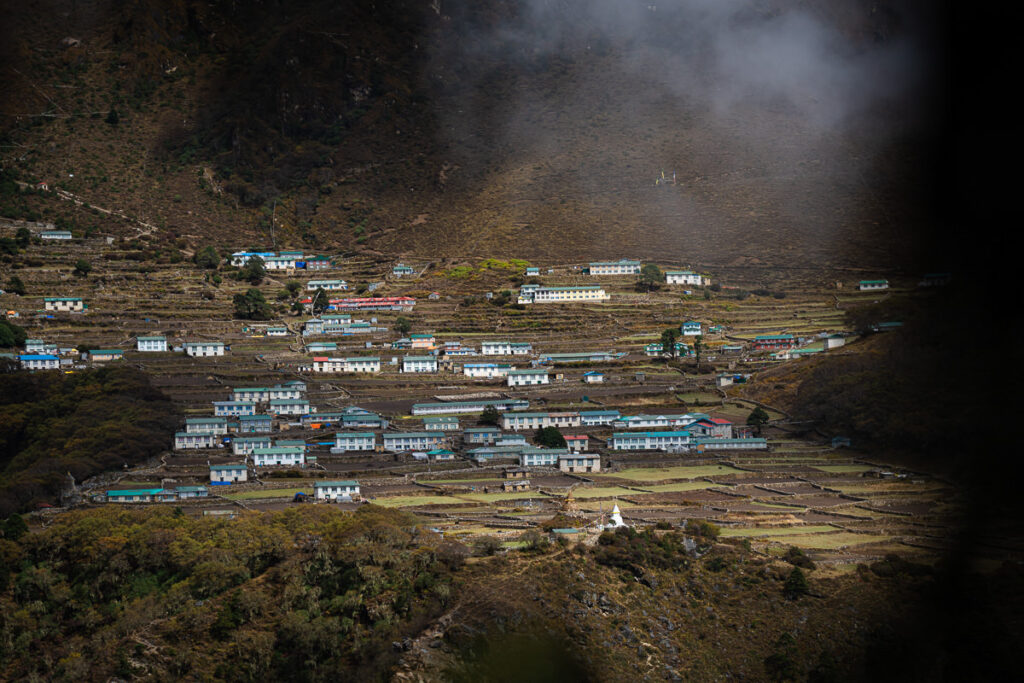
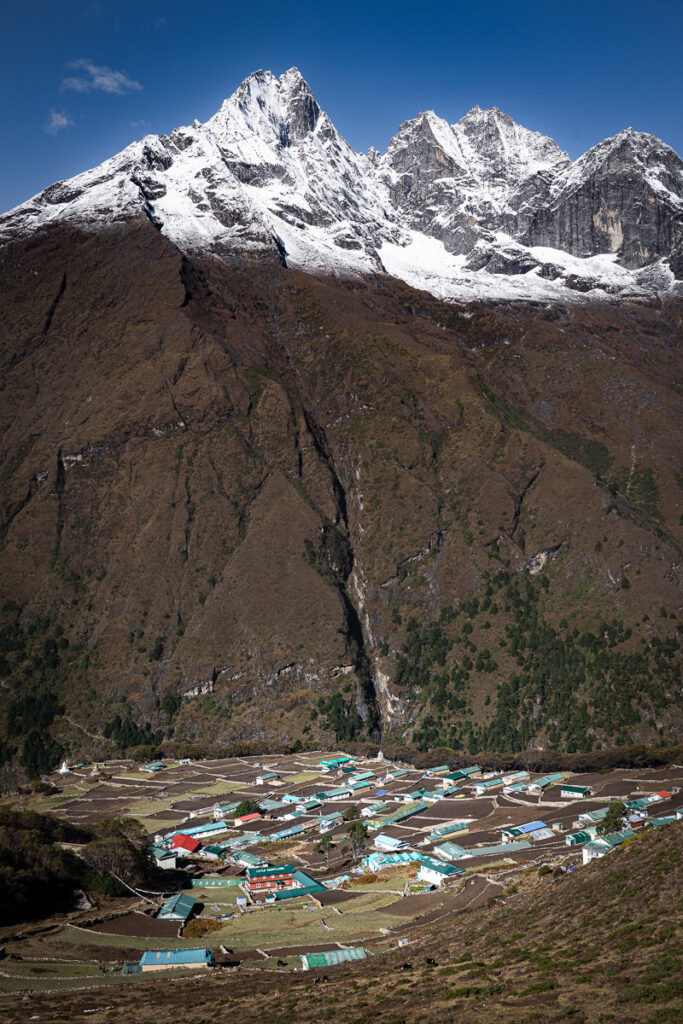
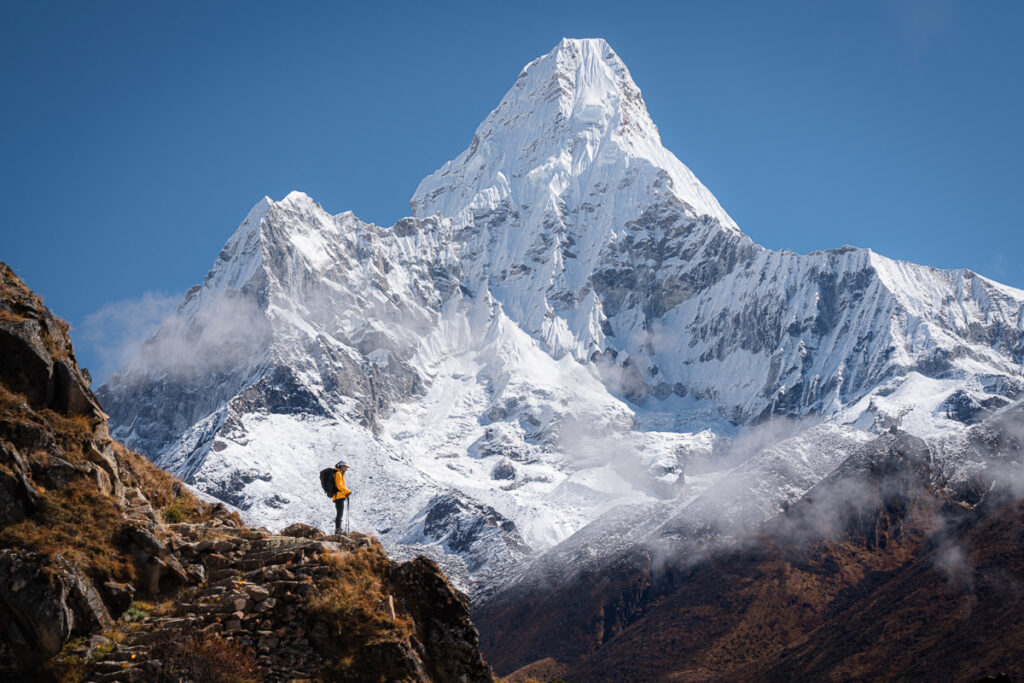
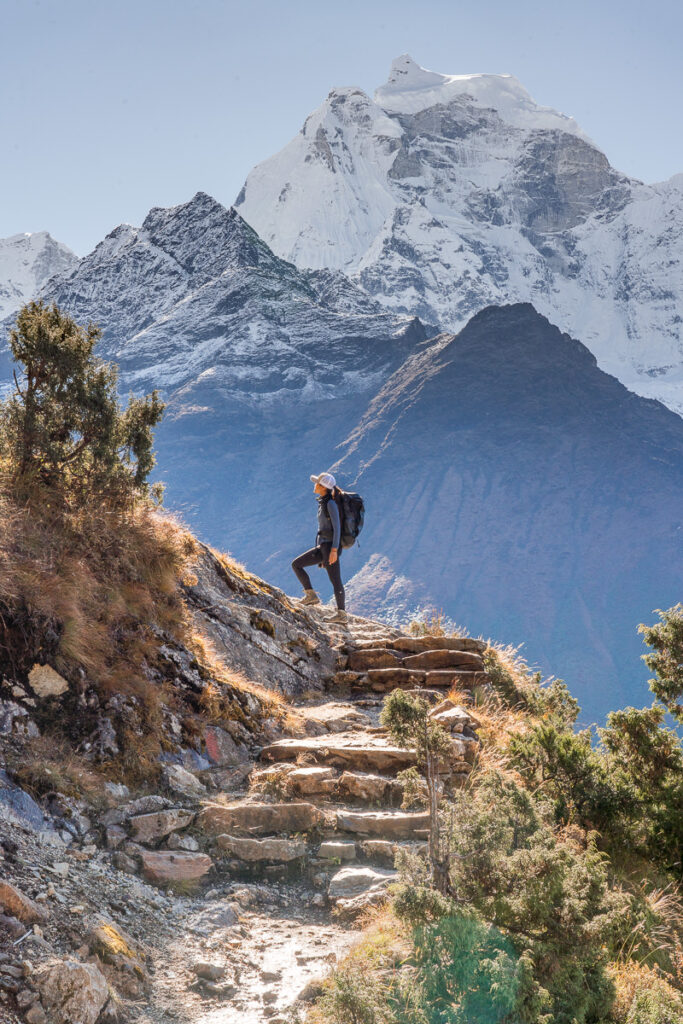
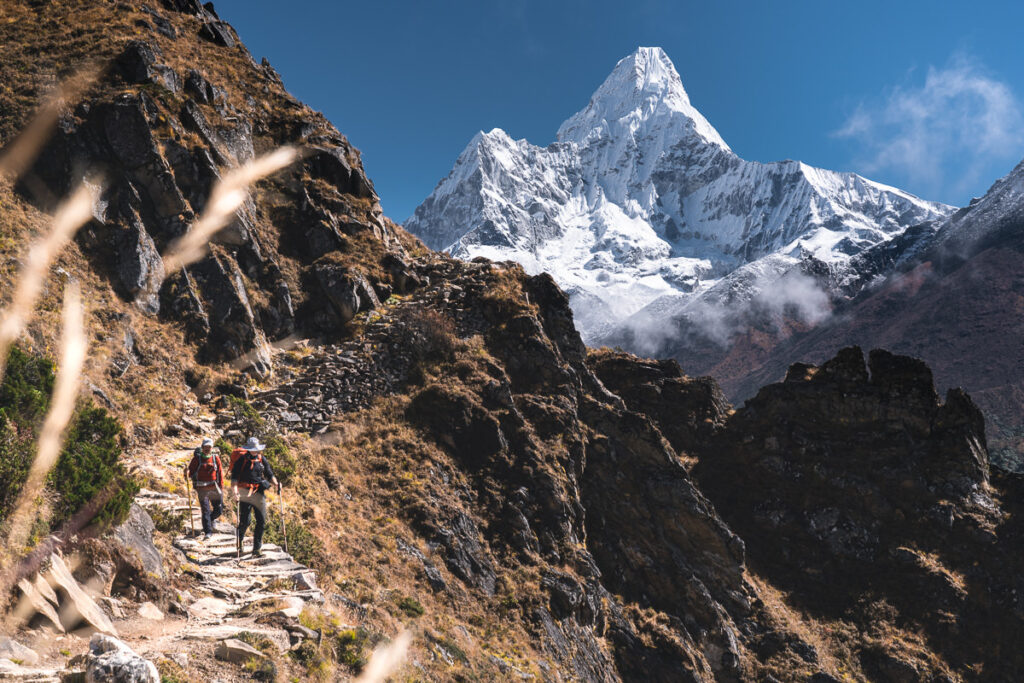
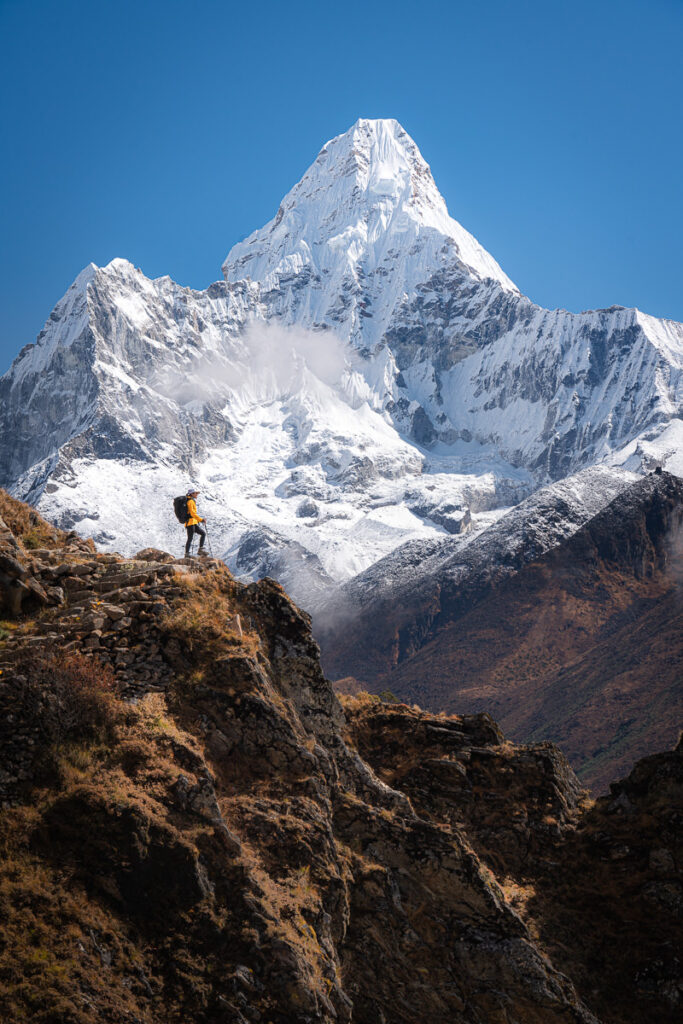
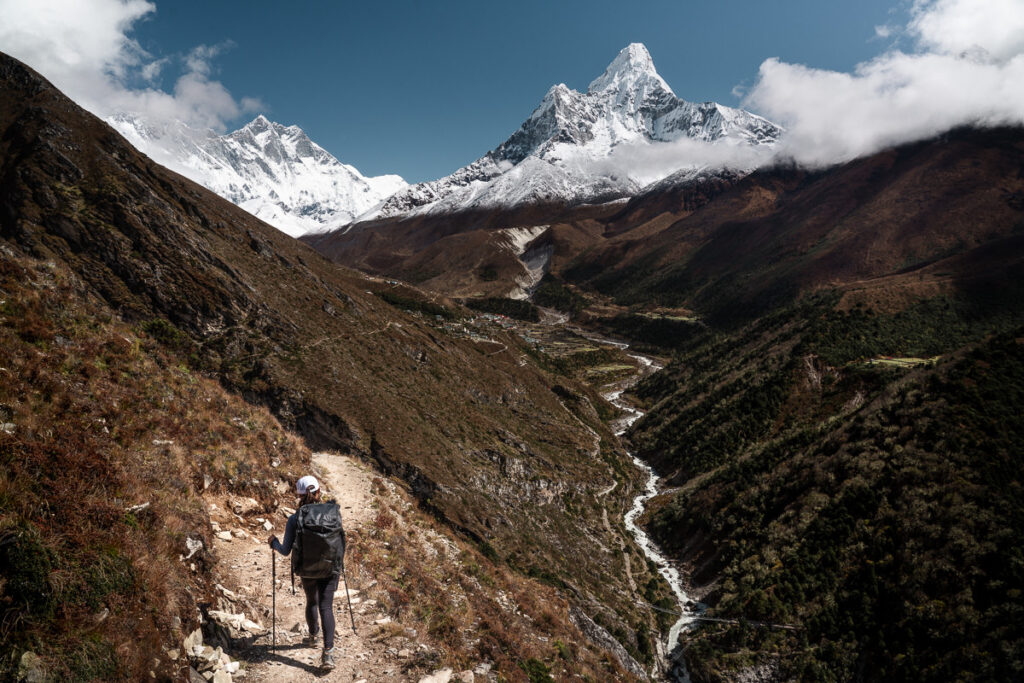
Our fifth and final day of trekking was arguably the most exciting. Not only were we nearing Ama Dablam Base Camp but after some gloomy weather in the previous days, we caught our first glimpses of the mountain we were going to climb. As the trail winds along the cliffside from Phortse to Pangboche, the view of Ama Dablam was just stunning.
Once we reached Pangboche, we had to cross the river and make the steep but short climb up to Ama Dablam Base Camp at 4,600m. This would be our new home for the foreseeable future.

BASE CAMP & THE PUJA CEREMONY
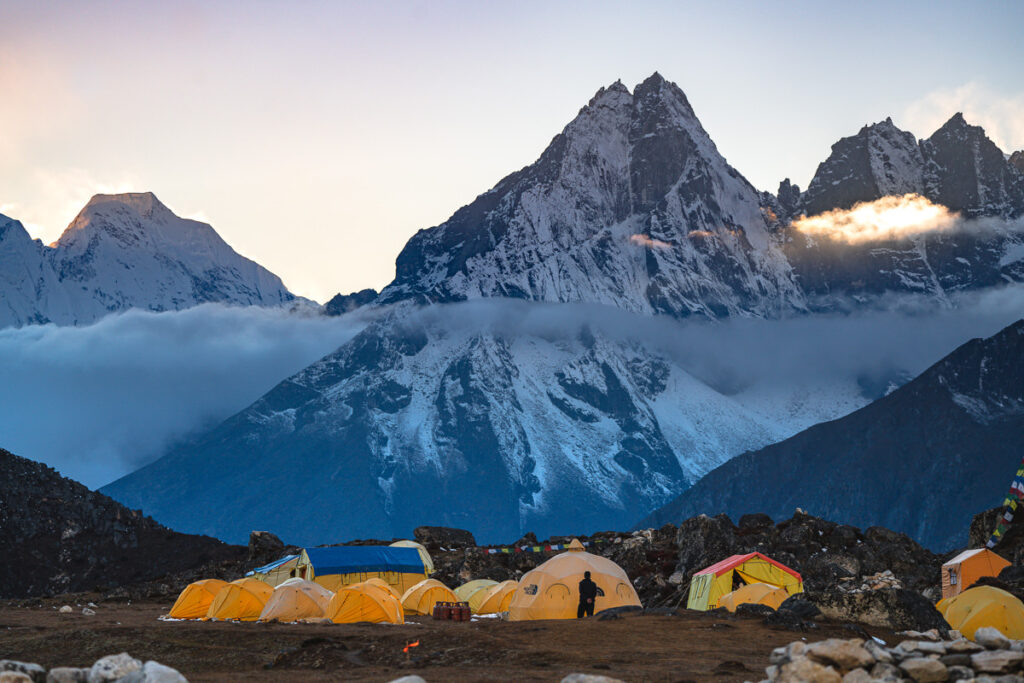
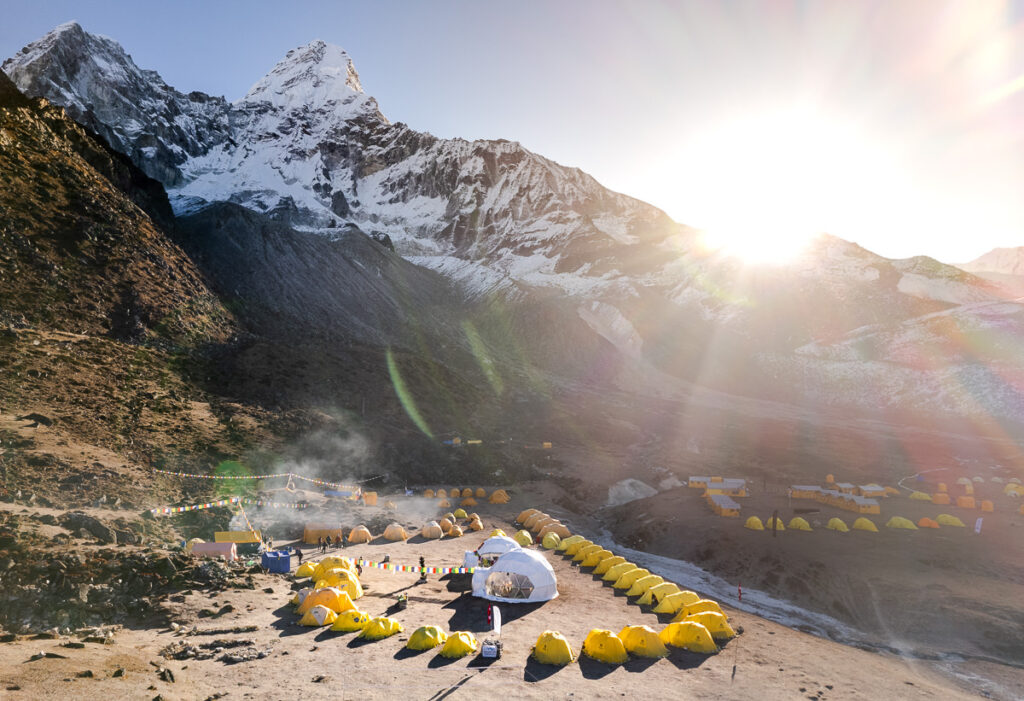
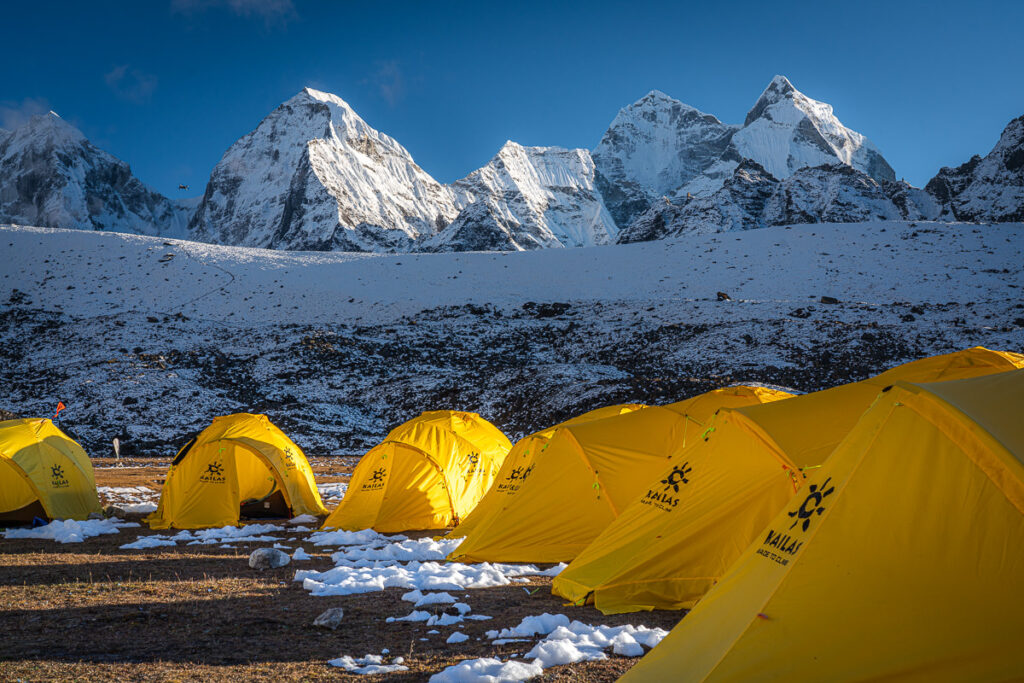
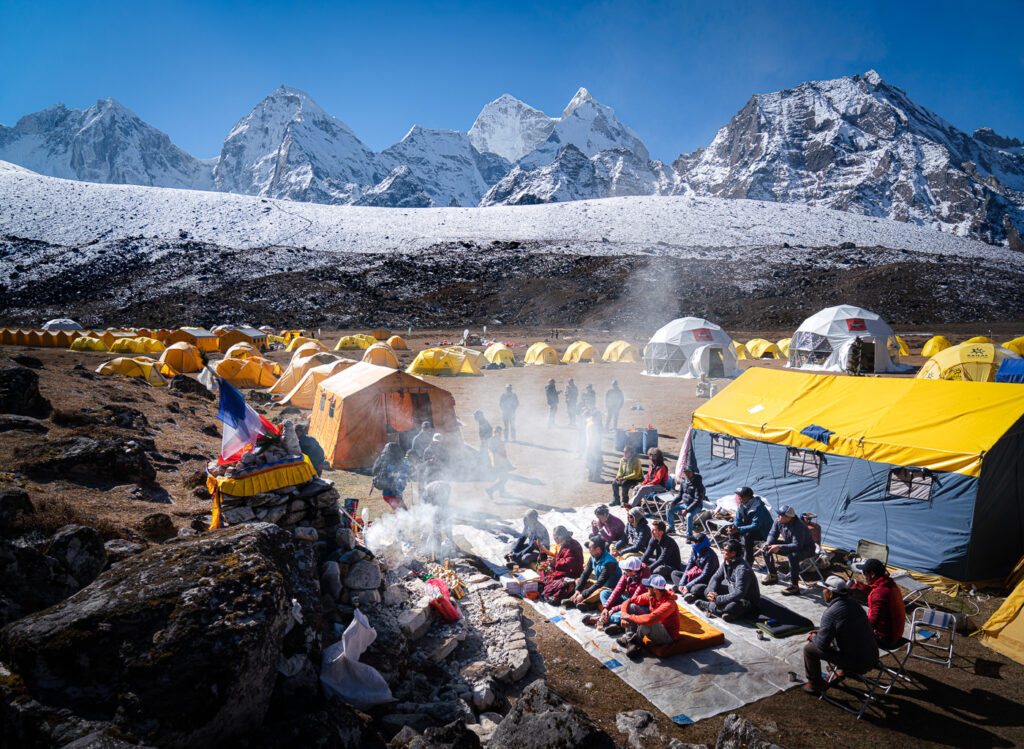
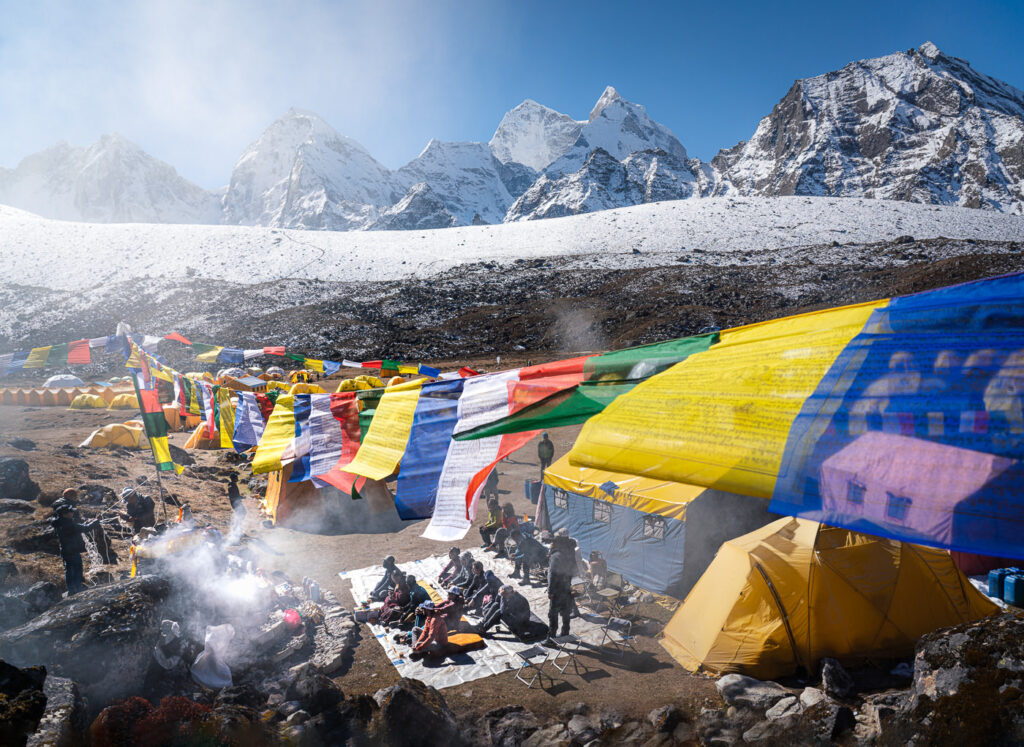
Ama Dablam Base Camp is known to be one of the best camps in the world. It has a lot going for it. With walls on all sides, this flat plateau has great wind and weather protection. Each morning the weather was perfectly clear and then clouds would roll in during the afternoon, but we did not experience one single day of rain. With a small river running through the center of the plateau, the water supply was fixed.
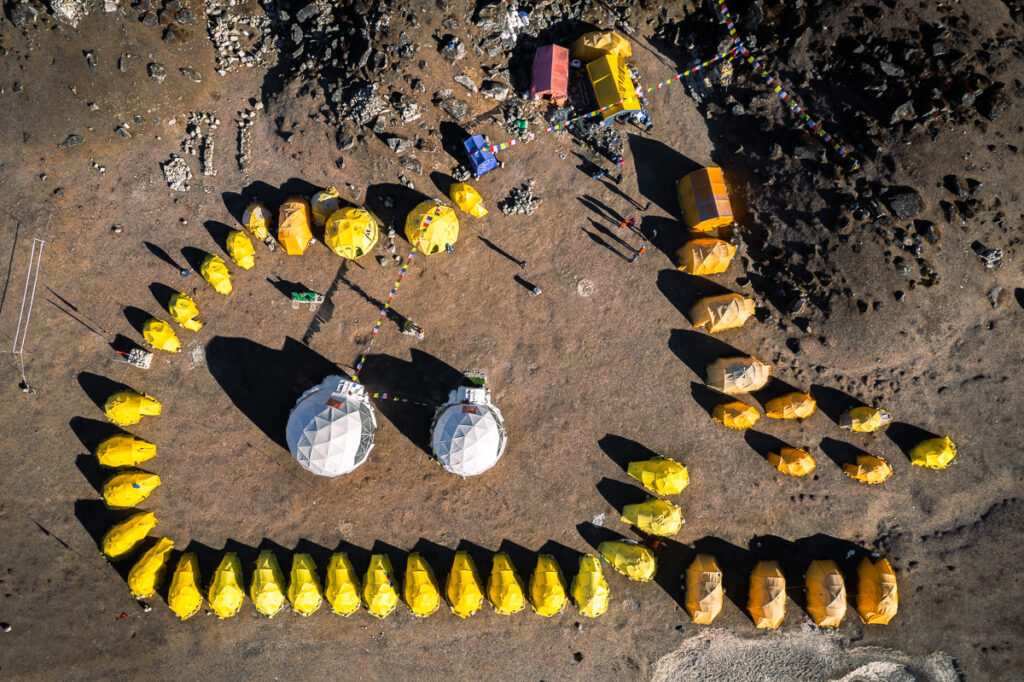
Seven Summit Treks definitely had the best base camp set up with two big dome tents for mess halls and dining rooms. Each had a heater inside and multiple charging areas for gadgets and gear. WiFi is connected from Everest Link and sometimes worked and sometimes struggled. I managed to share photos on social media and send emails so it was enough for me but video calls were often a stretch.
Surrounding the dome tents were the twin-share base camp tents, which were fitted with a plush, foam mattress and real pillows. It’s a great night’s sleep from within a tent and I found it very comfortable. The toilet is basically a small tent with a bucket that is beneath the rocks and emptied regularly. It’s basic but it works.
Each day we had breakfast, lunch and dinner served in a warm dome tent. The quality of the food was great overall and had a good mixture of western dishes and Nepali classics. Throughout the day, snacks and drinks were always ready and available to keep you nourished.
There were many different companies set up throughout the base camp but each had its own area and most people stuck to their own site. Seven Summit Treks was probably the most visited by other climbers and day-hikers due to the welcoming nature of the large dome tents and the volleyball court that held some intense matches.
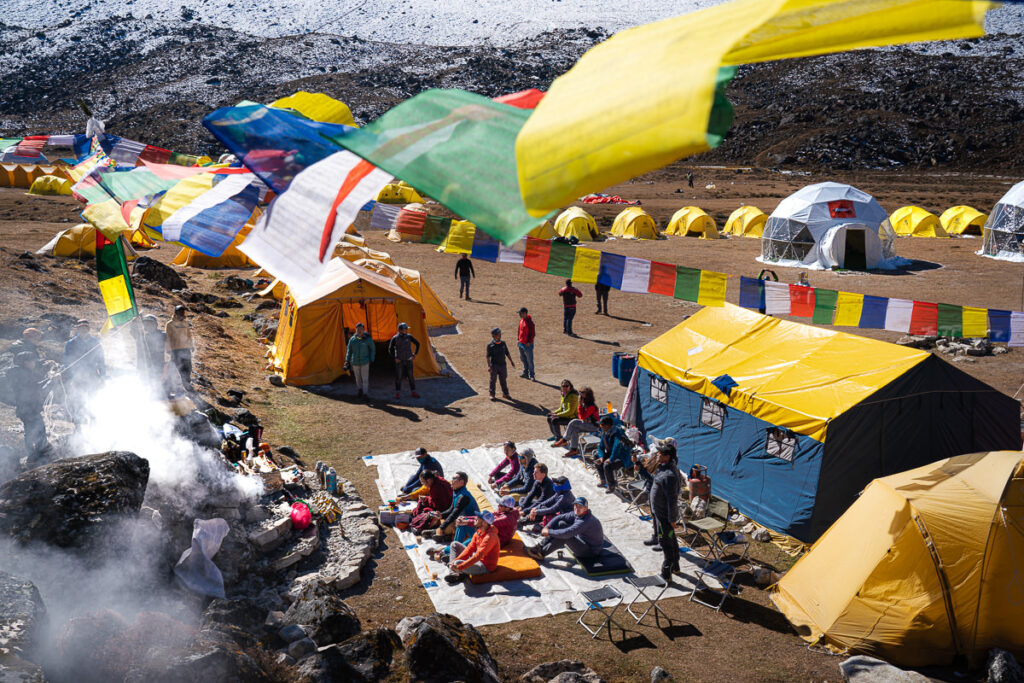
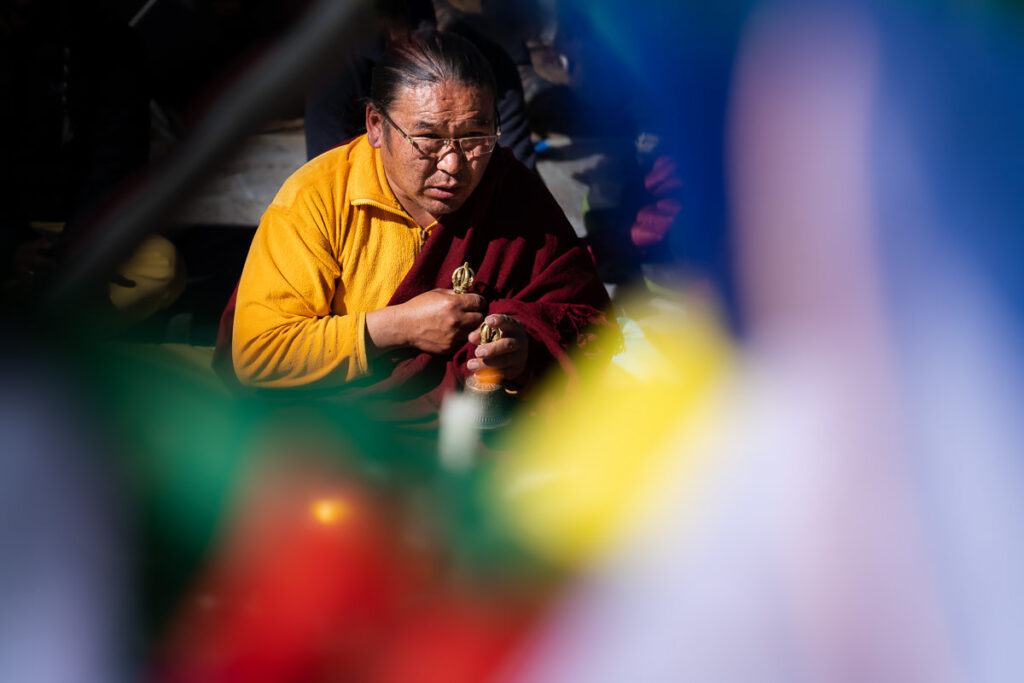
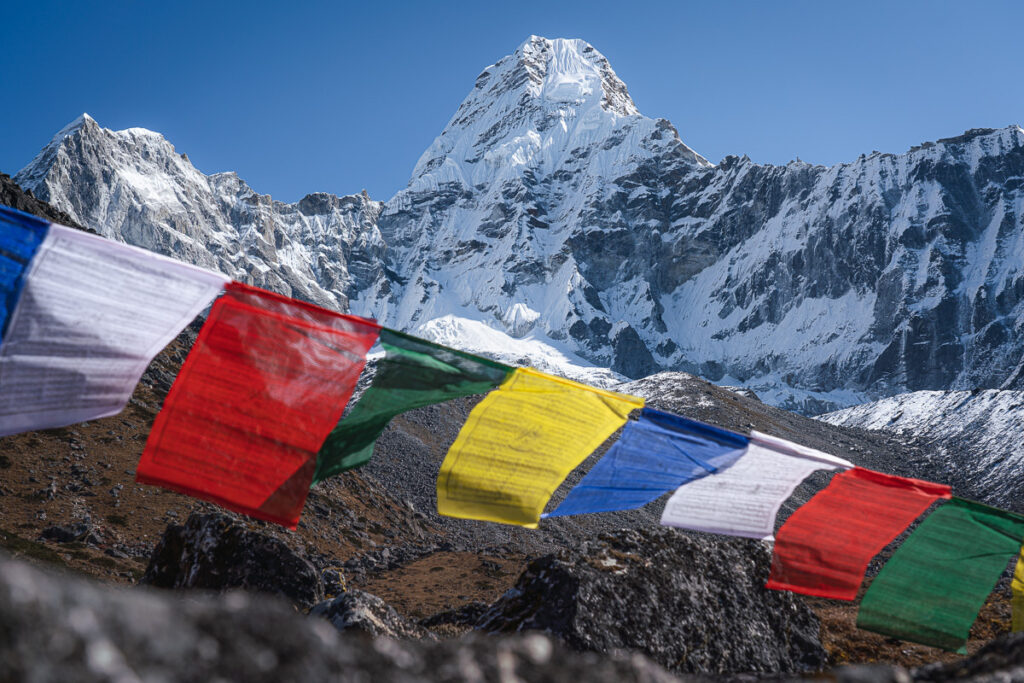
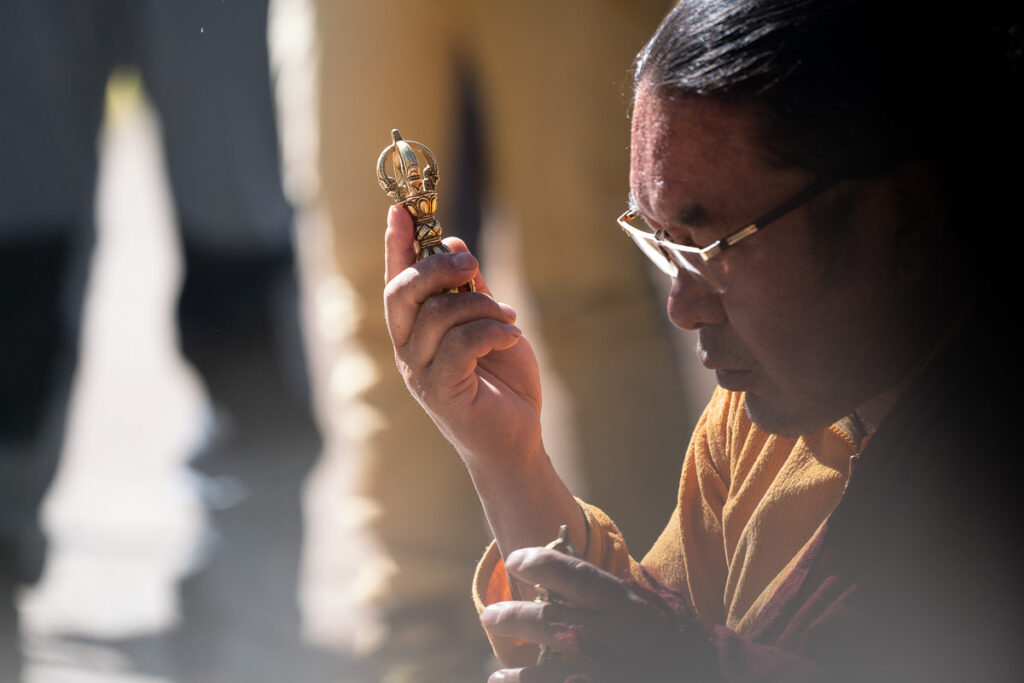
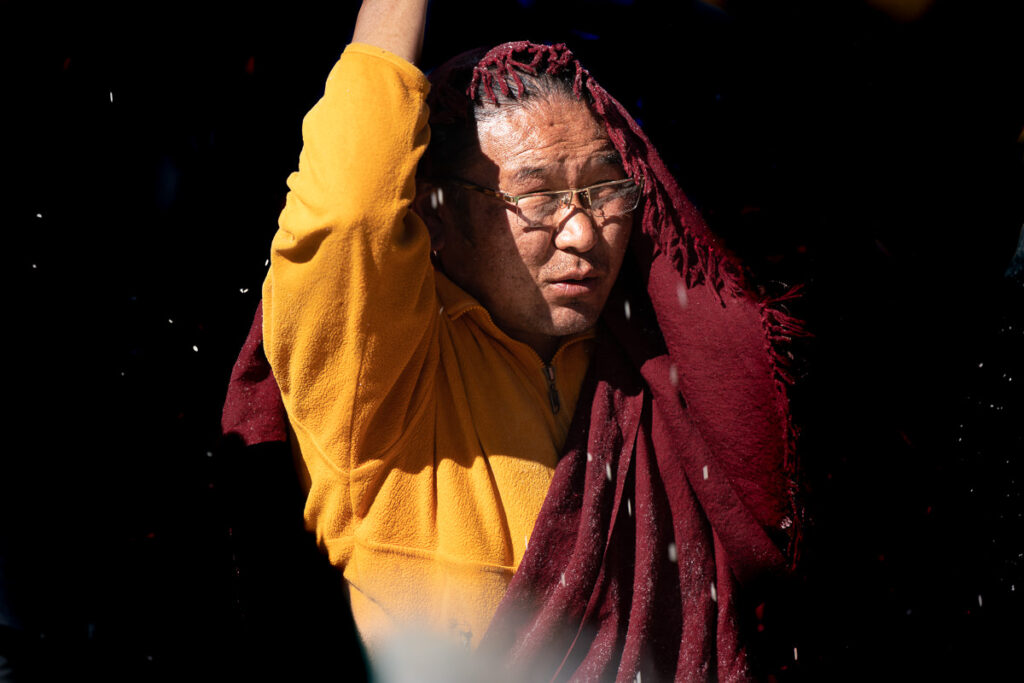
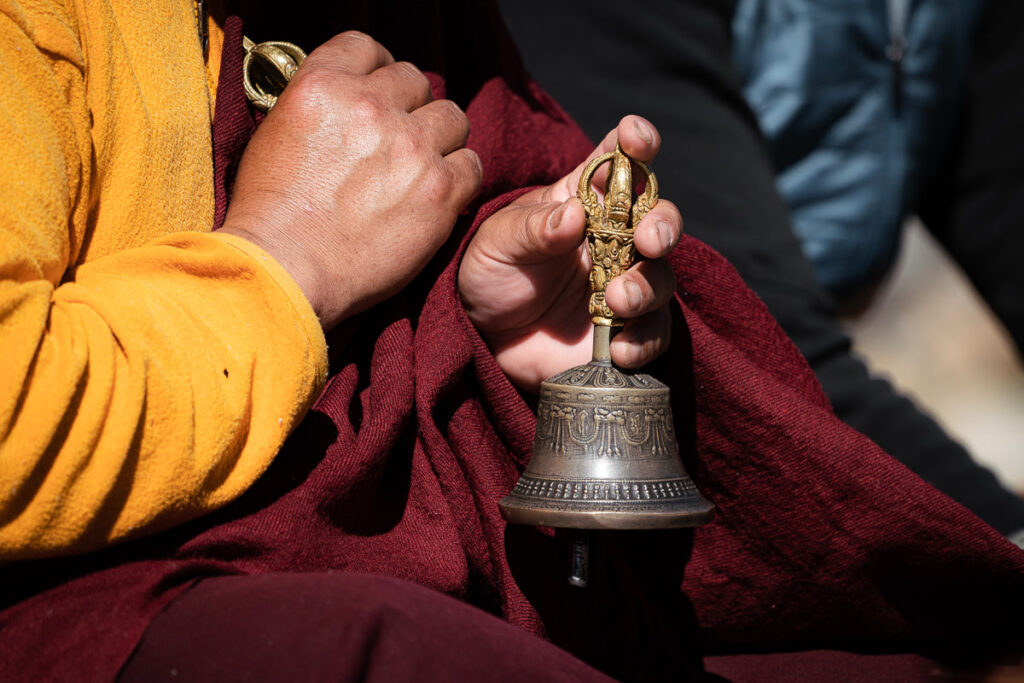
The Puja Ceremony is a tradition where the mountains are honored and we pray for safe passage. Local Sherpa people consider these mighty peaks to be Gods, and so the Puja ceremony is held not only to ask for safe passage but forgiveness for climbing up to these holy places. Our ceremony was held under an auspicious blue sky and with high spirits and is also a time for all the climber’s and staff to come together and begin to focus on the climb forthcoming.
ACCLIMATIZATION ROTATION TO CAMP TWO
There are many different ways to acclimatize for Ama Dablam (6,812m). Some people trek in, some make several journeys up to the lower camps and some don’t bother to acclimatize at all. Our plan was to sleep one night at Camp One and spend another up at Camp Two.
We had previously been up on Manaslu a month earlier and took oxygen around 7000m. Therefore, maybe we had some lasting acclimatization from that prior climb. Regardless of the acclimatization, I was looking forward to getting up on the mountain, tackling the ‘Yellow Tower’, and spending a night at the iconic Camp Two.
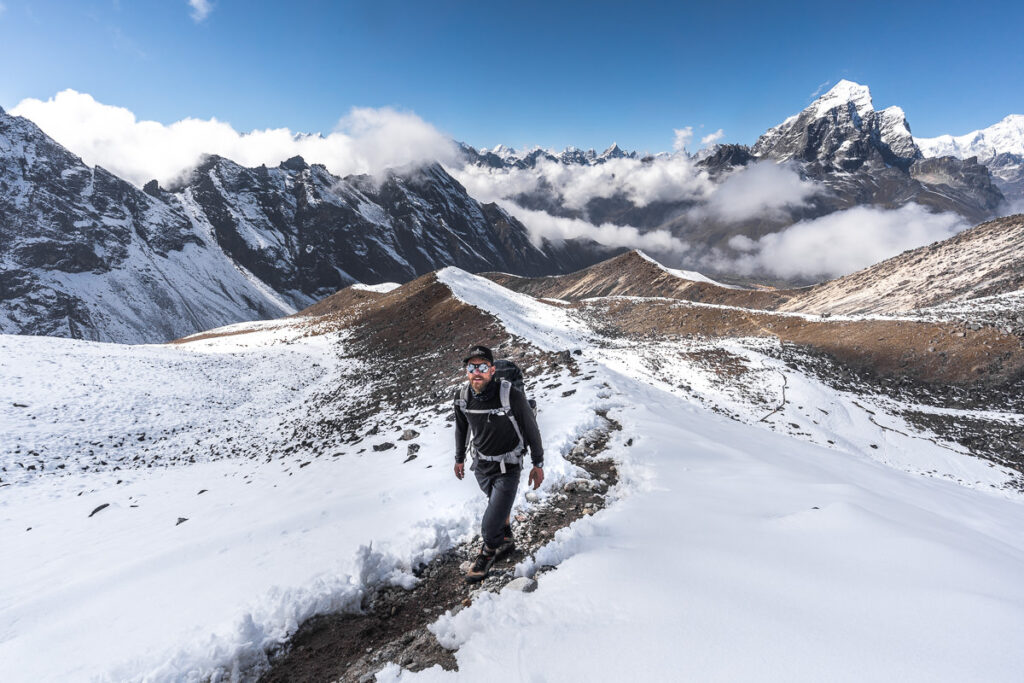
We began the trek up to Camp One in the late morning. The route involves 1,100m of incline and takes you up to about 5,600m of elevation. Depending on the snowfall, you can quite easily make it up to Camp One and even Camp Two in regular trekking boots.
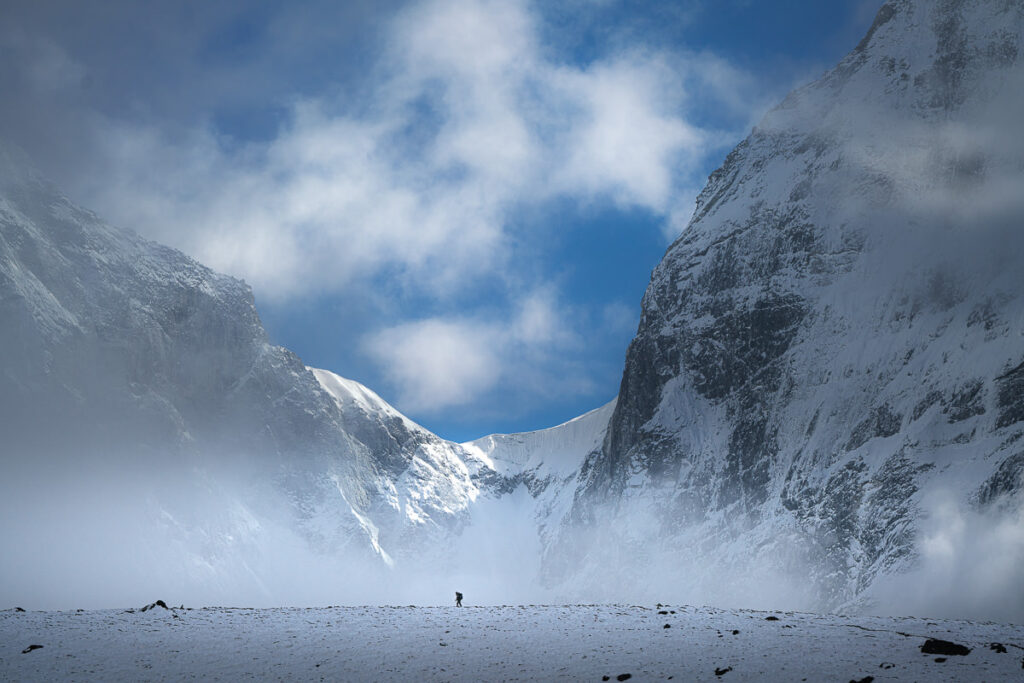
The trail leads you up and over the hills and winds you around the right side of Ama Dablam to join the Southwest Ridge. It’s not tough terrain but you are reaching higher elevation and it can be quite exposed to the sun or wind, which can make it a fatiguing journey. It takes most people about 4-5 hours although slower hikers can take upwards of six hours. Constant views of the peak and a promise of a hot meal at Camp One kept us moving at a good pace.
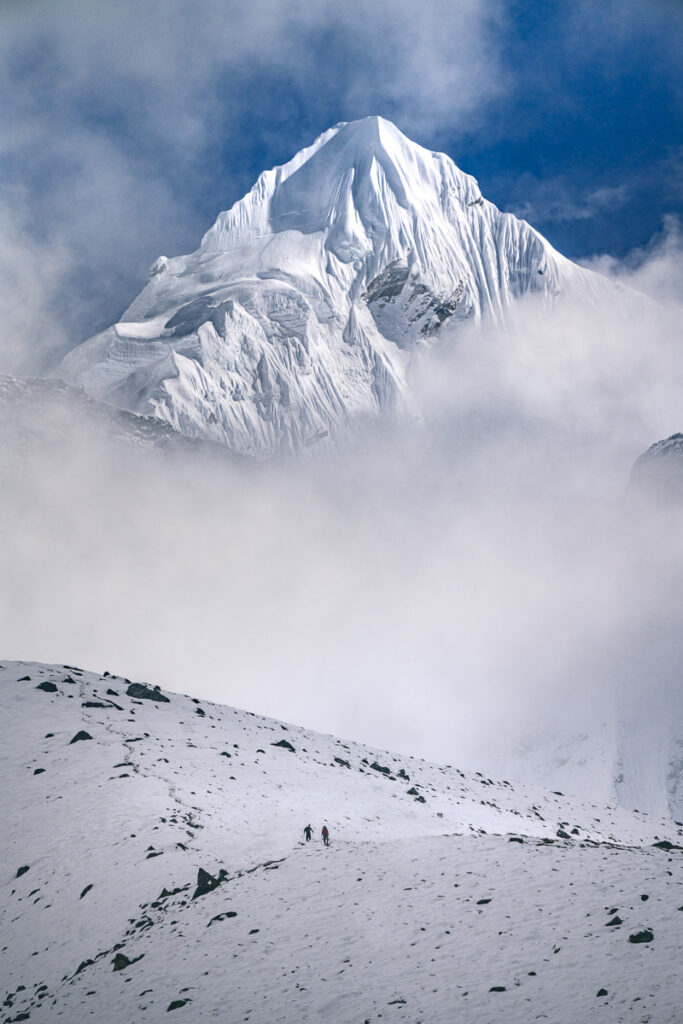
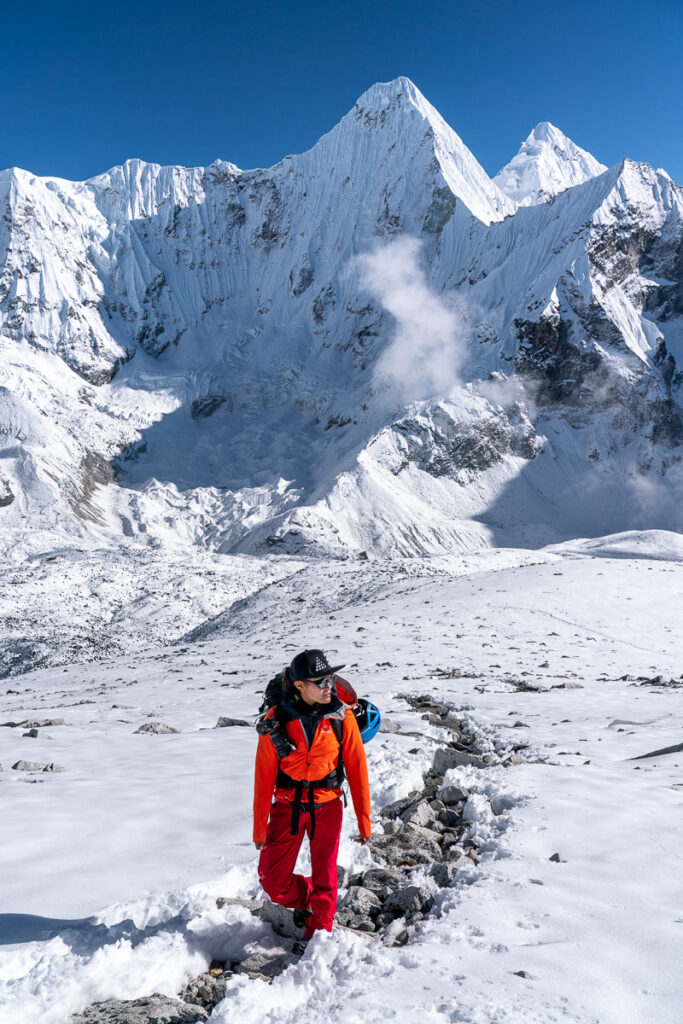
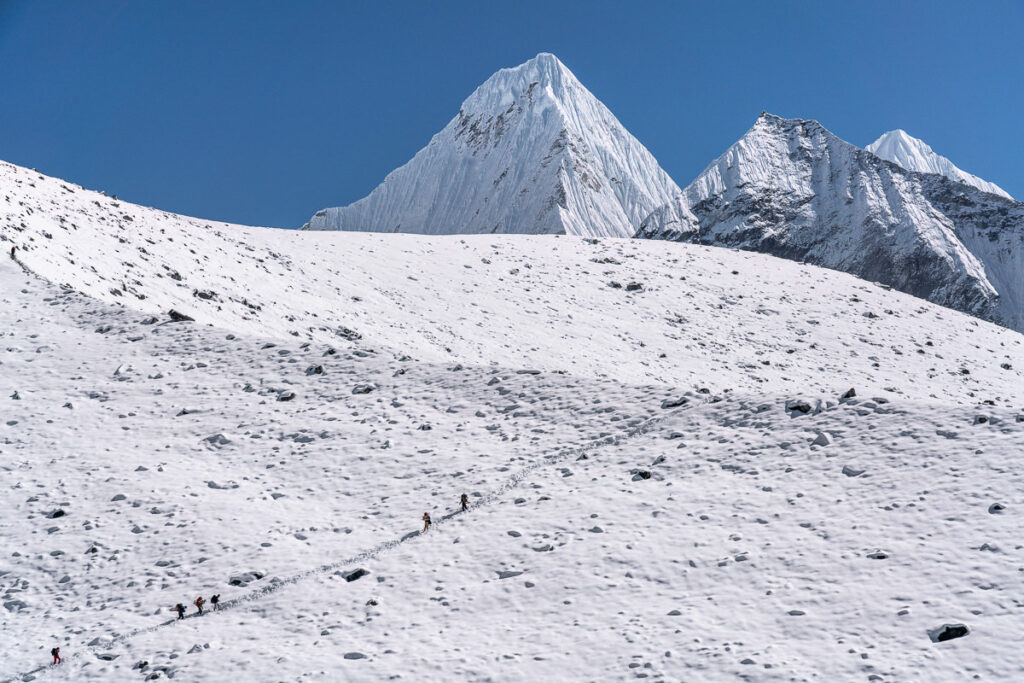
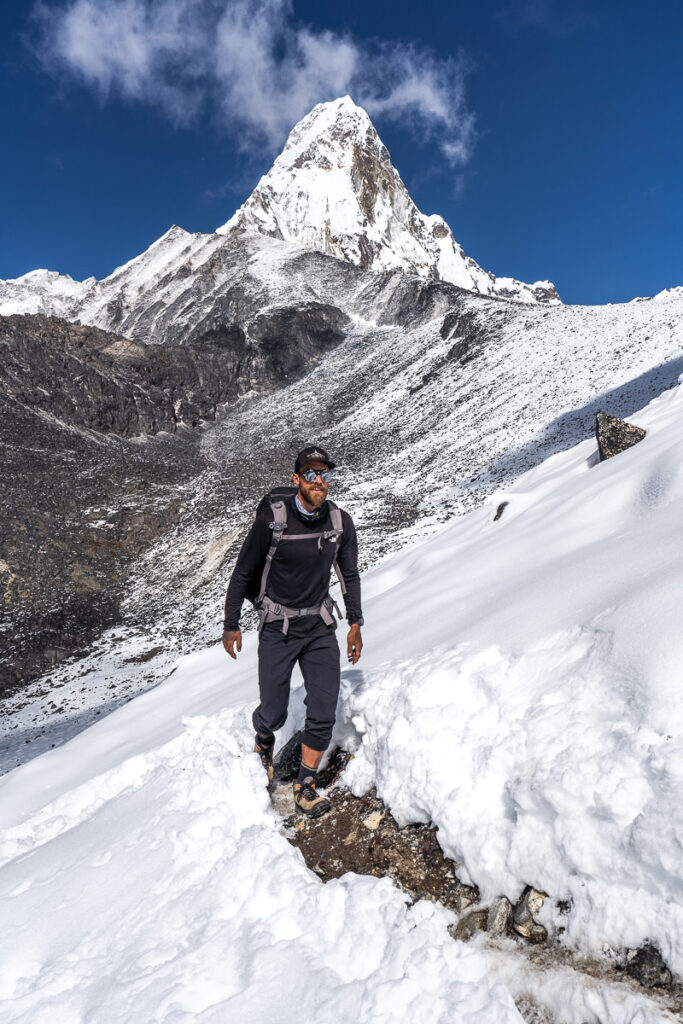
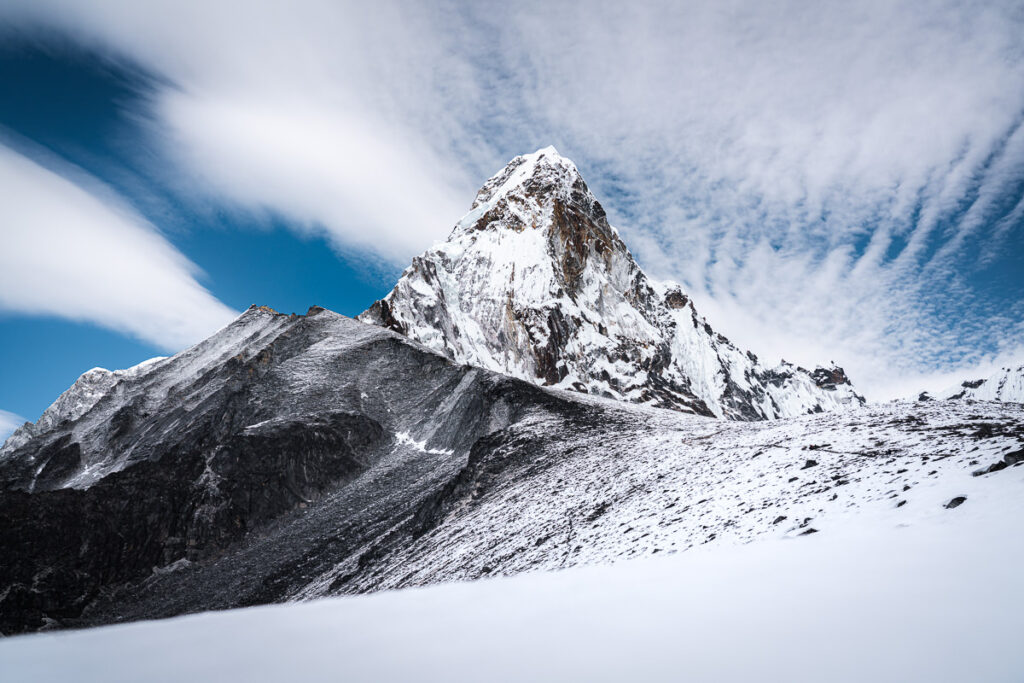
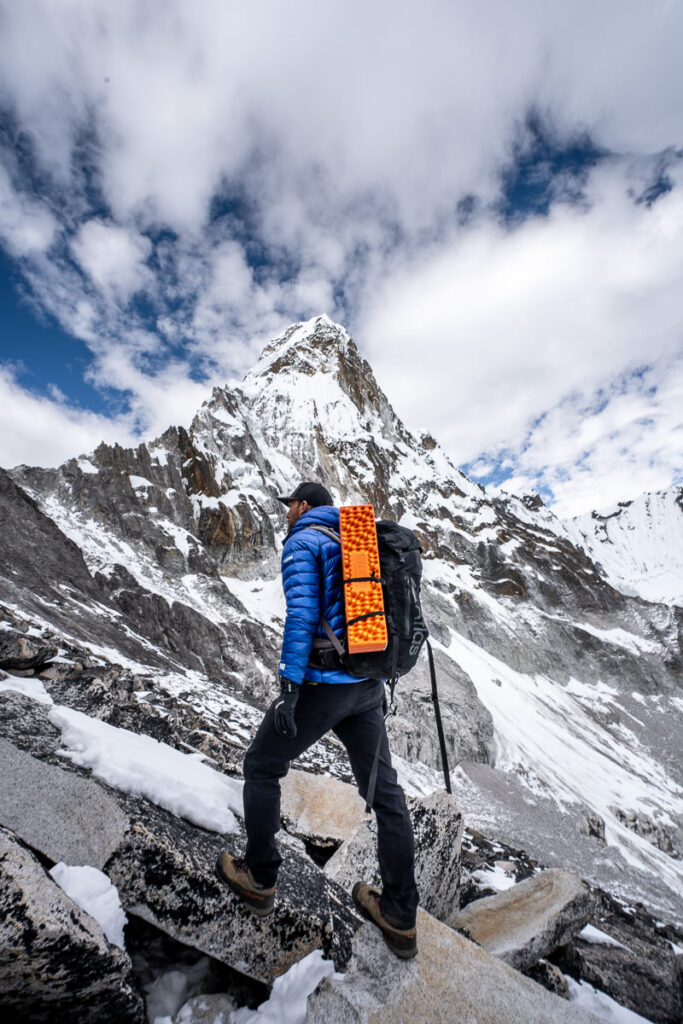
Camp One is not as famous as the iconic Camp Two on Ama Dablam. However, it’s pretty impressive sitting right at the start of the Southwest Ridge. Looking up towards the summit from Camp One, you can see directly up the route and start to visualize your journey for the next day.
Down below, views of the base camp are great if the highly probable cloud inversion of the afternoon doesn’t roll in to block the view. We had a stunningly still night with pastel sunsets and a Dhal Bat to top off the evening.
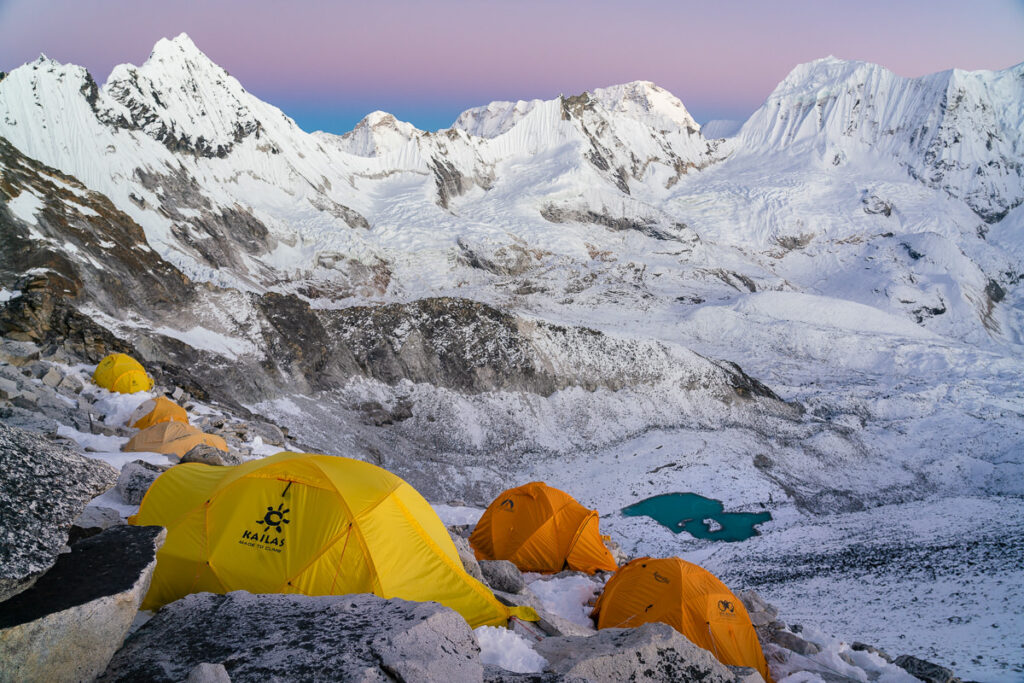

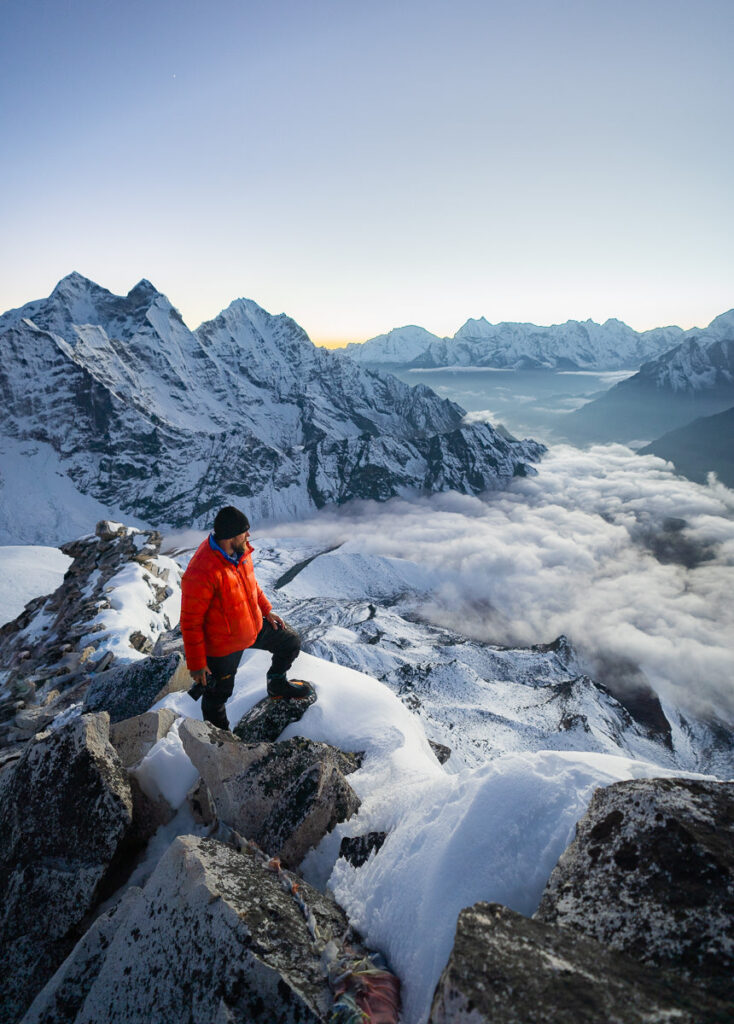
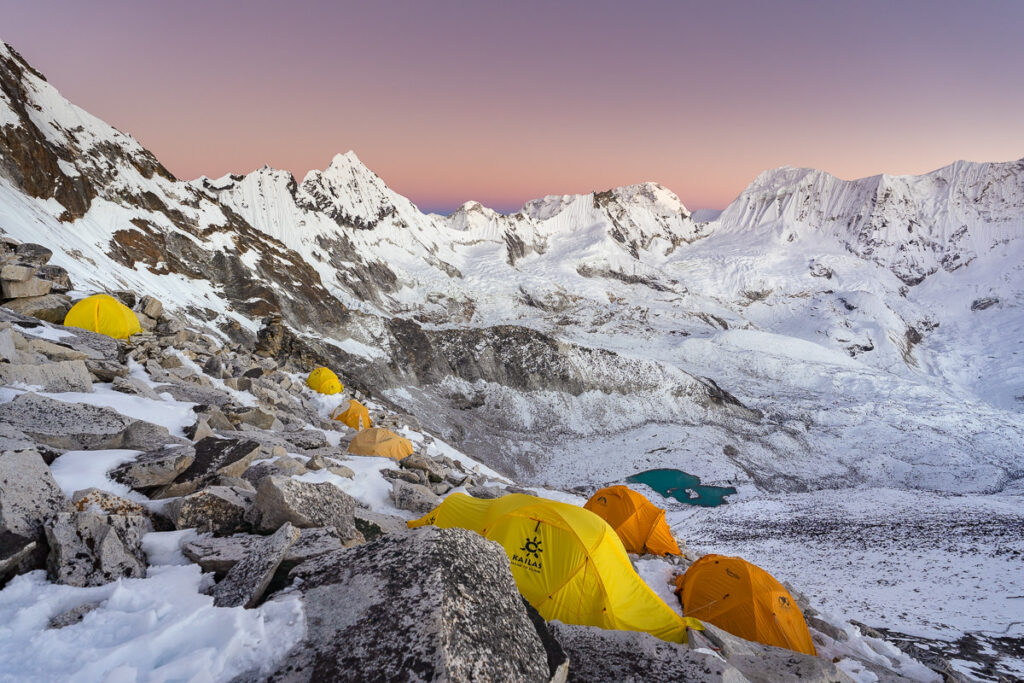
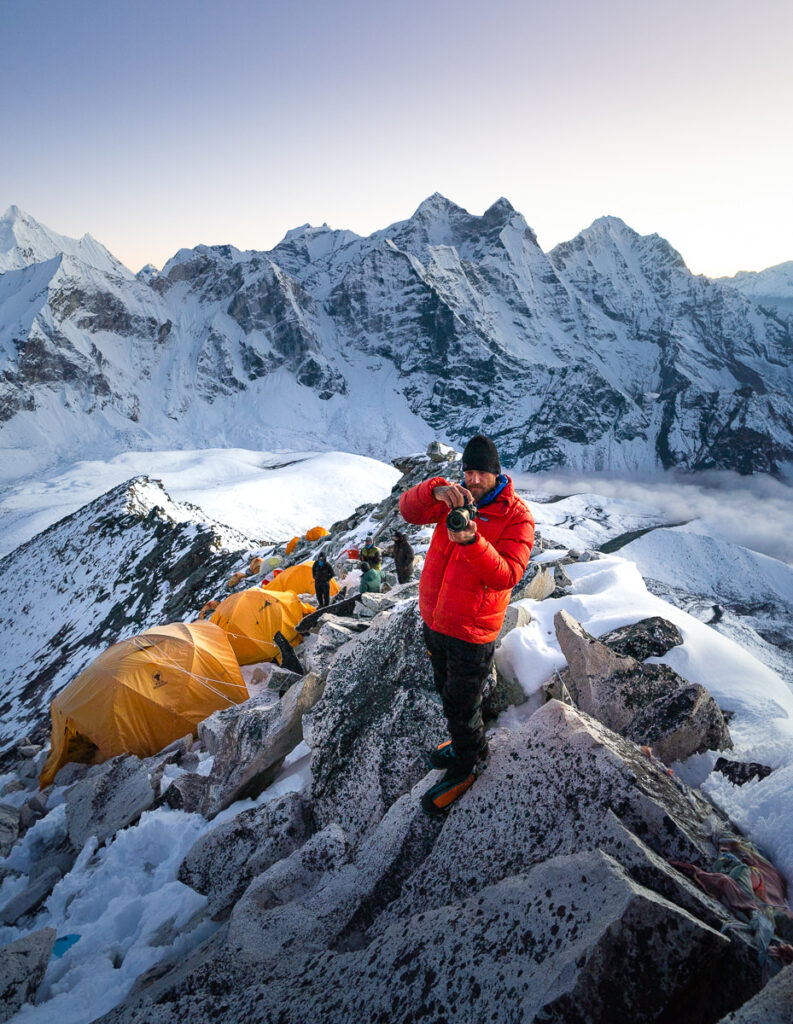
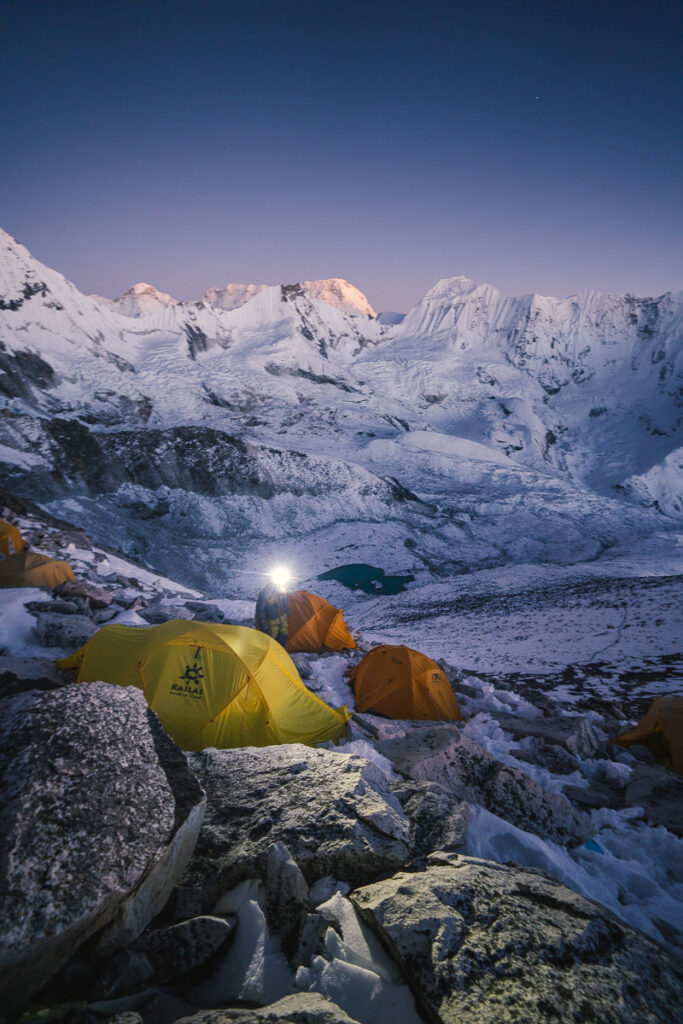
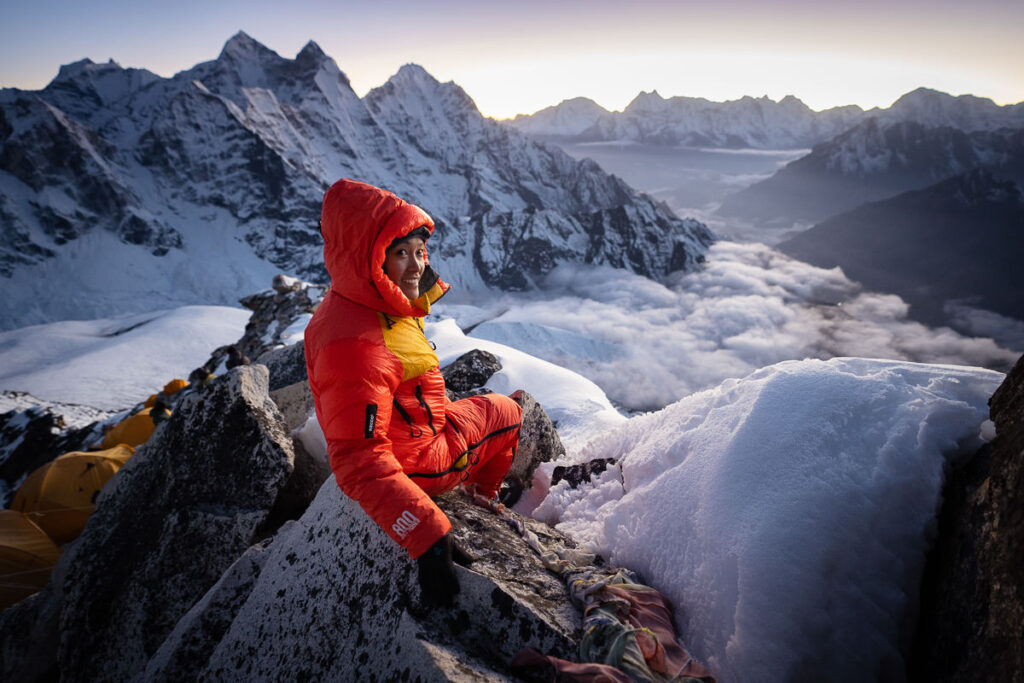
I won’t lie, the sleep at Camp One wasn’t great. Not because of altitude sickness but the uneven rocky surface is rough. We were told just to bring a sleeping pad, but an inflatable mat would go a long way at these campsites on Ama Dablam.
Nevertheless, we woke up to a beautiful sunrise and had a quick drone flight above Camp One, capturing the first light hitting the peak. There were some cold fingers for this flight.
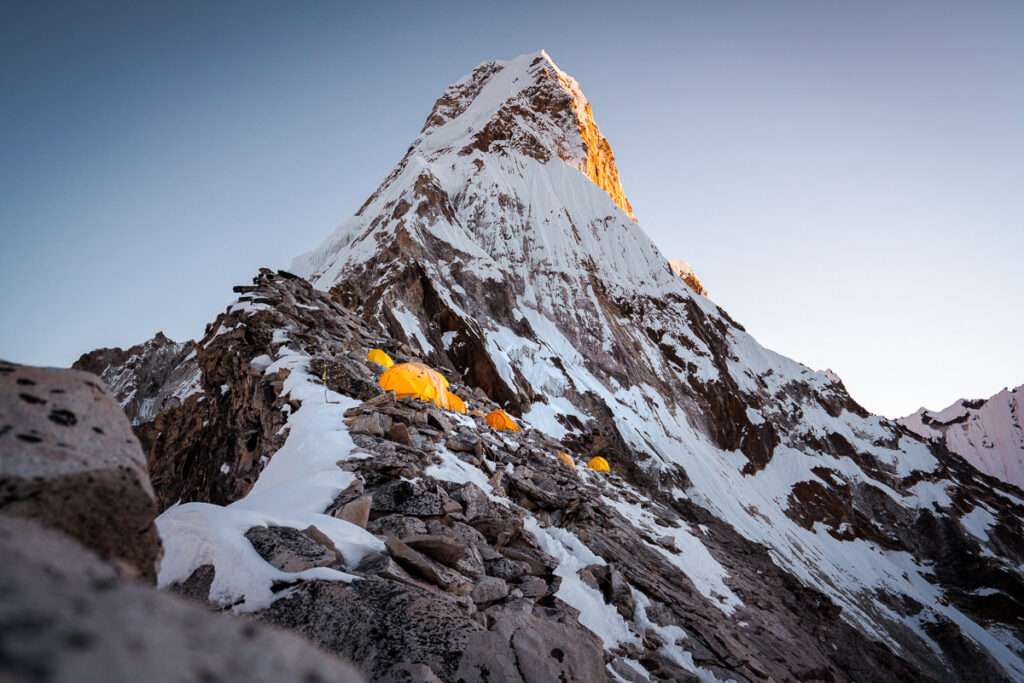
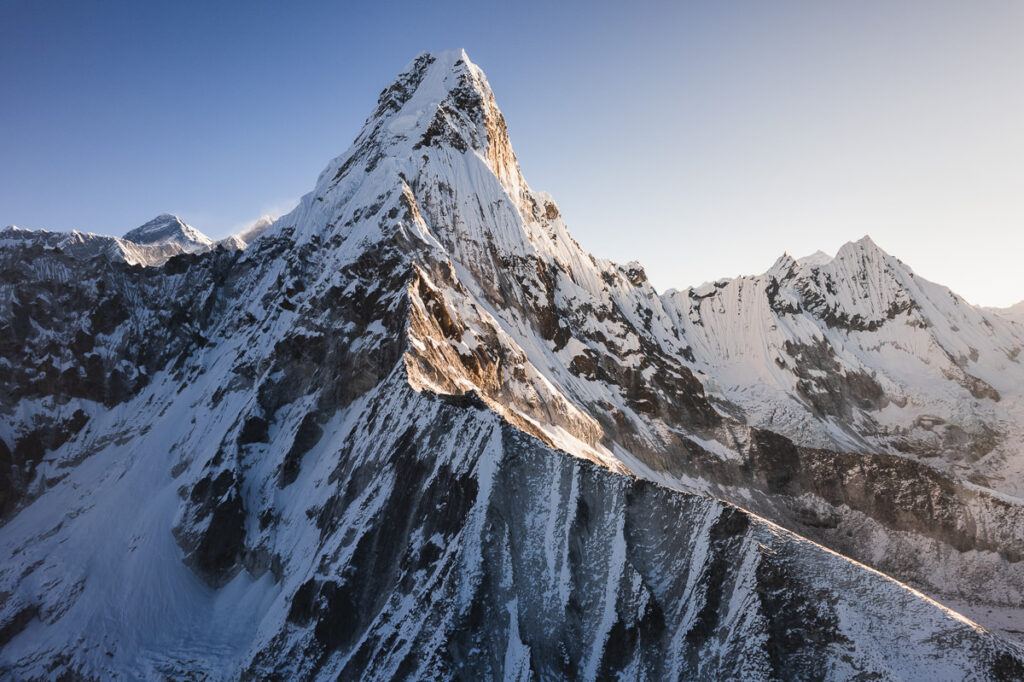
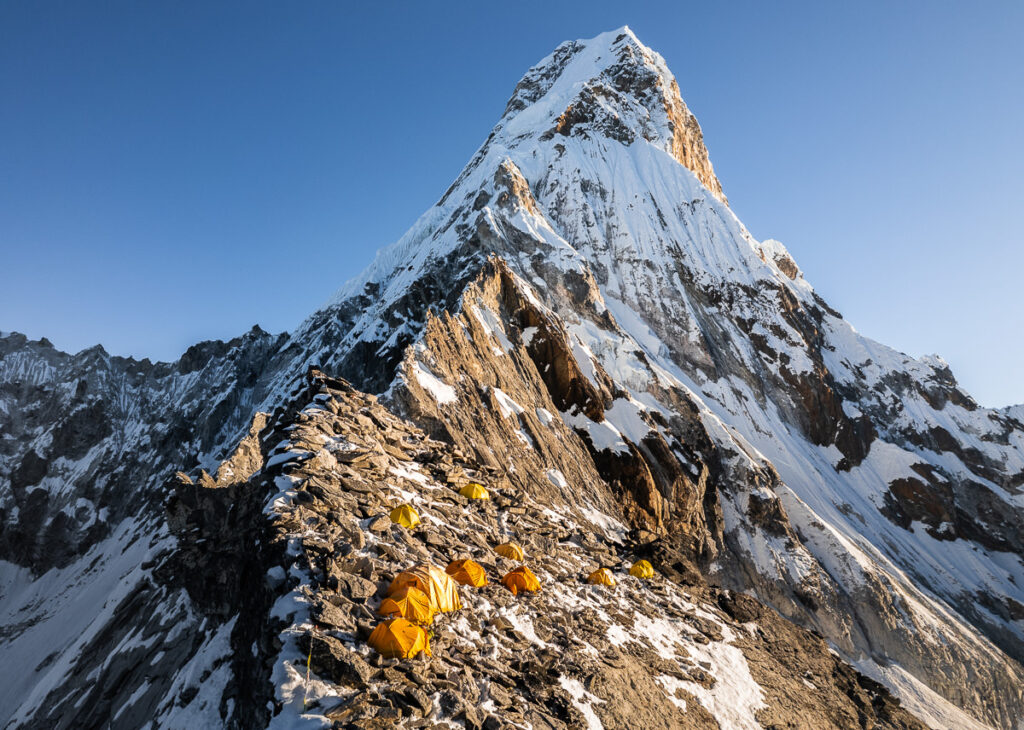
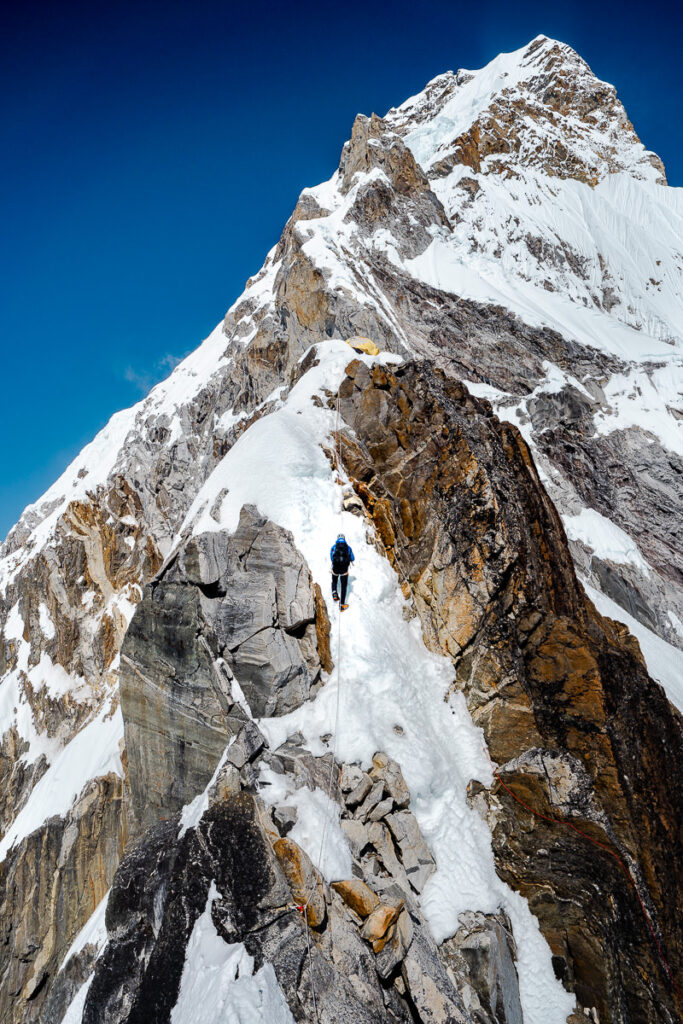
The mission for today was to reach Camp Two after tackling the Yellow Tower. We had heard a lot about how technical this mountain was and that the Yellow Tower was a big test. As soon as you leave Camp One you clip into the fixed line and you will be clipped in until you return all the way from the summit. This makes the climb relatively safe.
The route begins with some basic traverses on the underside of the ridge before you criss-cross your way up and over with some simple jumar work.
The difficulty of a climb is always relative to the climber, but I like to think of myself as a decent measuring stick for regular climbers. I have relatively low mountaineering experience but I am in quite good physical shape. I think a lot of hikers or beginner climbers can relate. I found the traversing quite basic and never felt under pressure.
The main component to manage is the fear of heights with many of the sections involving a huge drop and heavy exposure. Hopefully, this extensive set of photos from Camp One to the Yellow Tower will give you an in-depth look at what to expect on this part of the route.
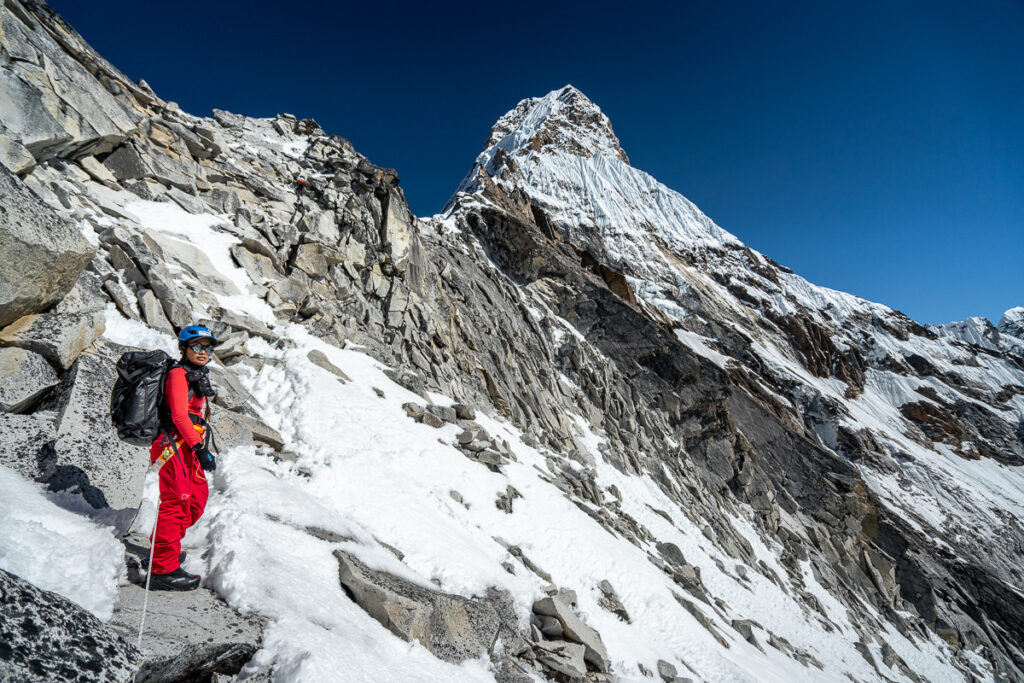
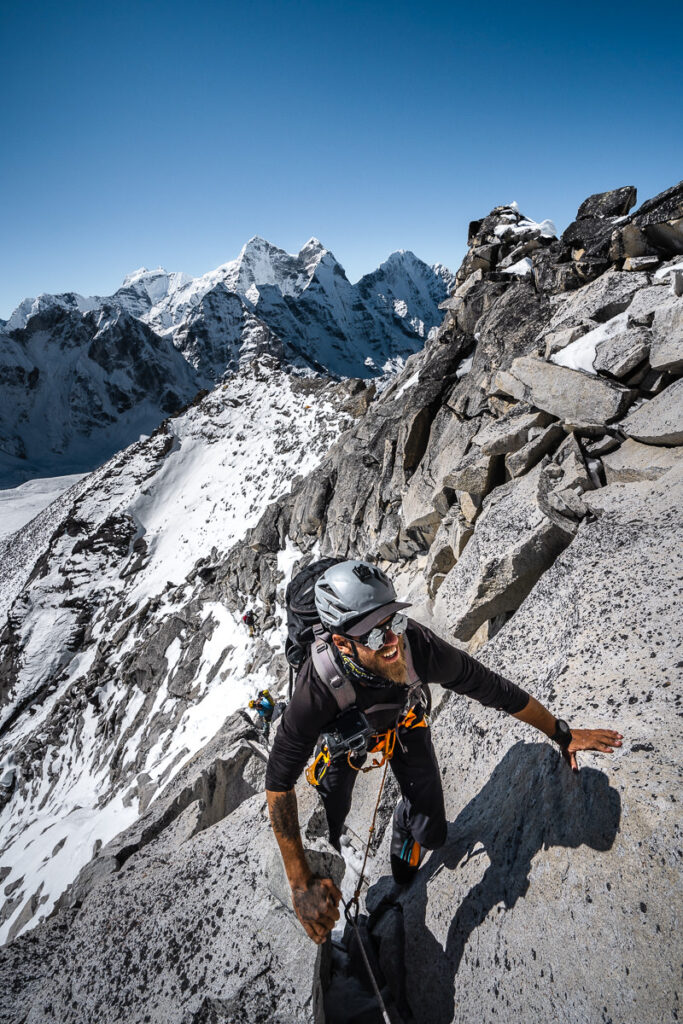

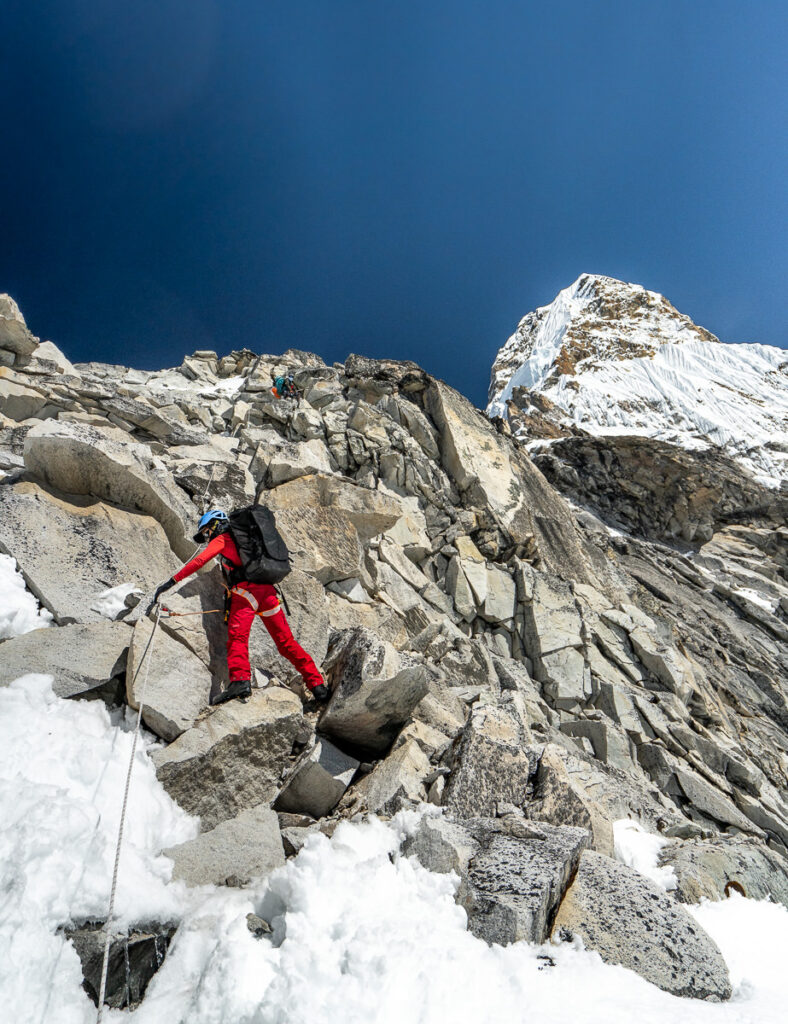
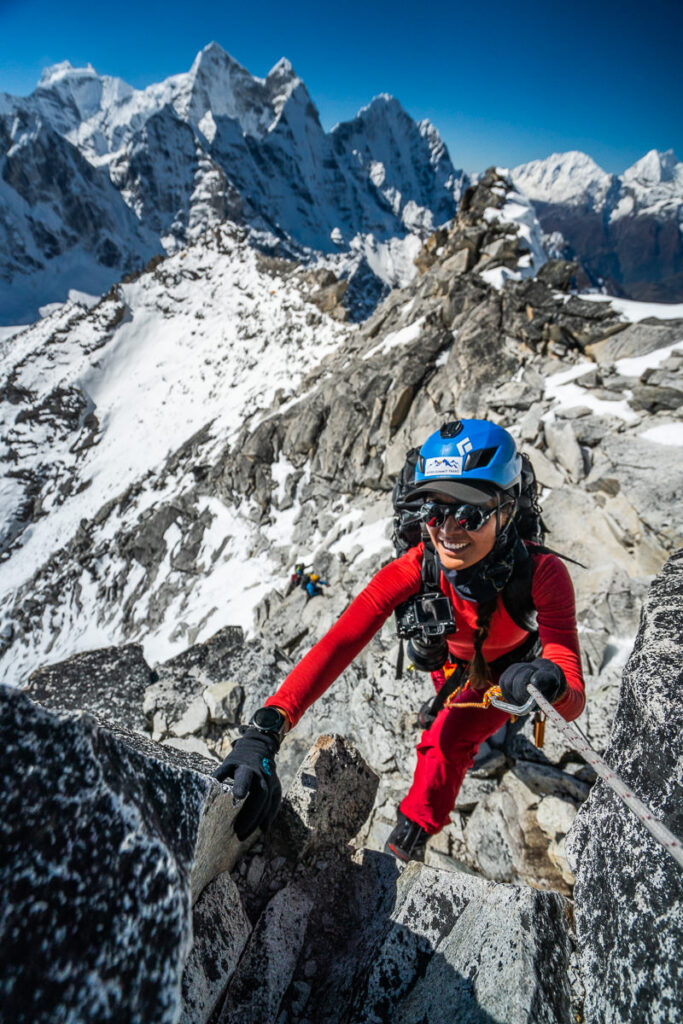
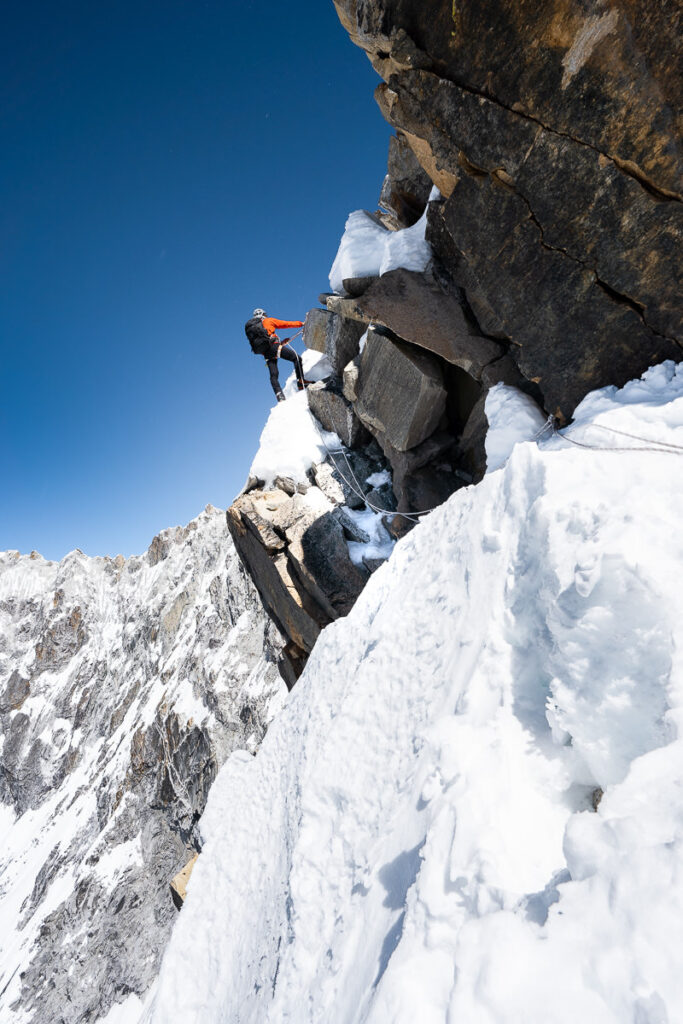
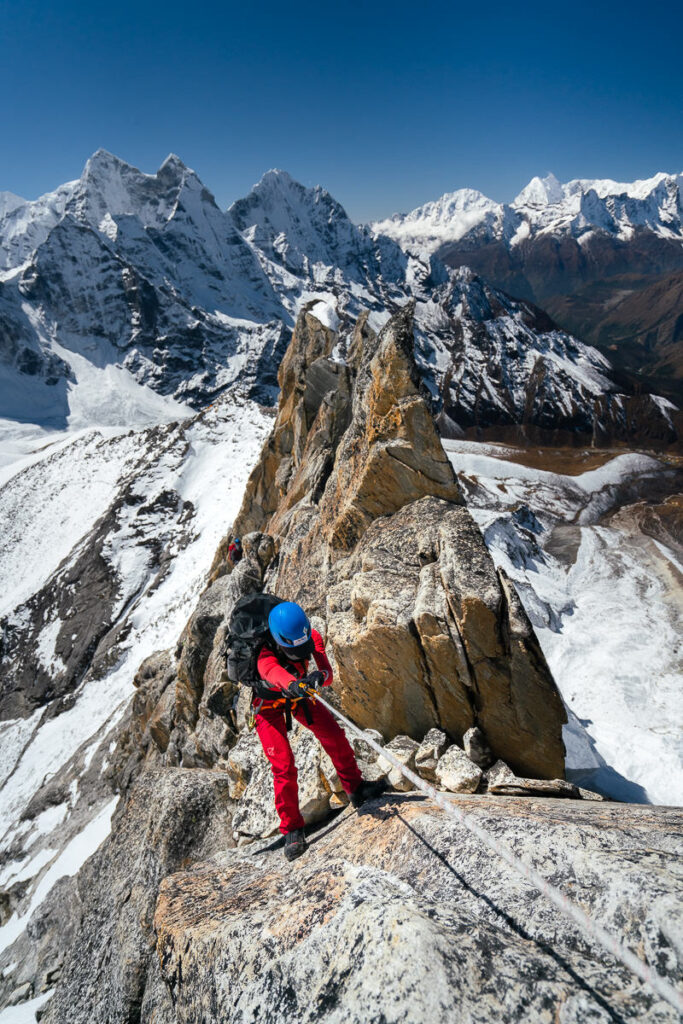
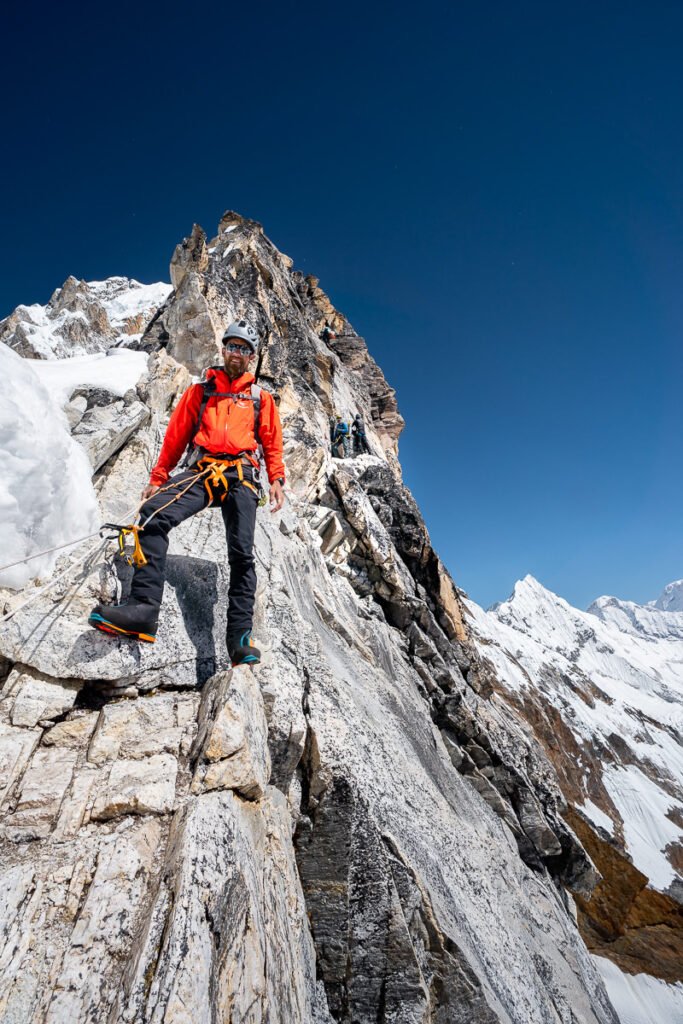
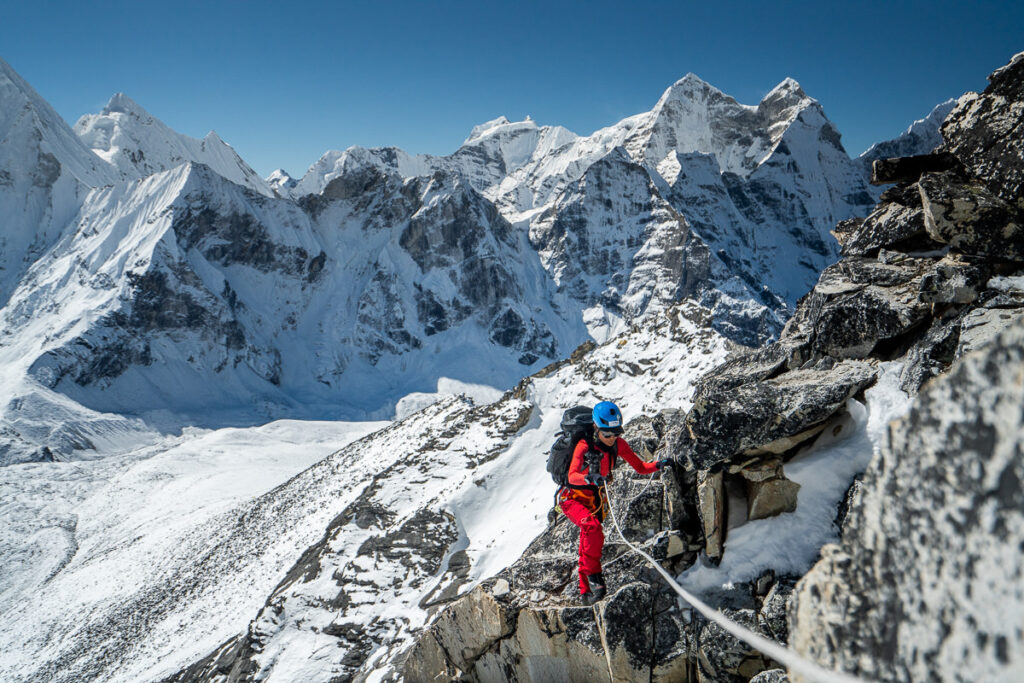
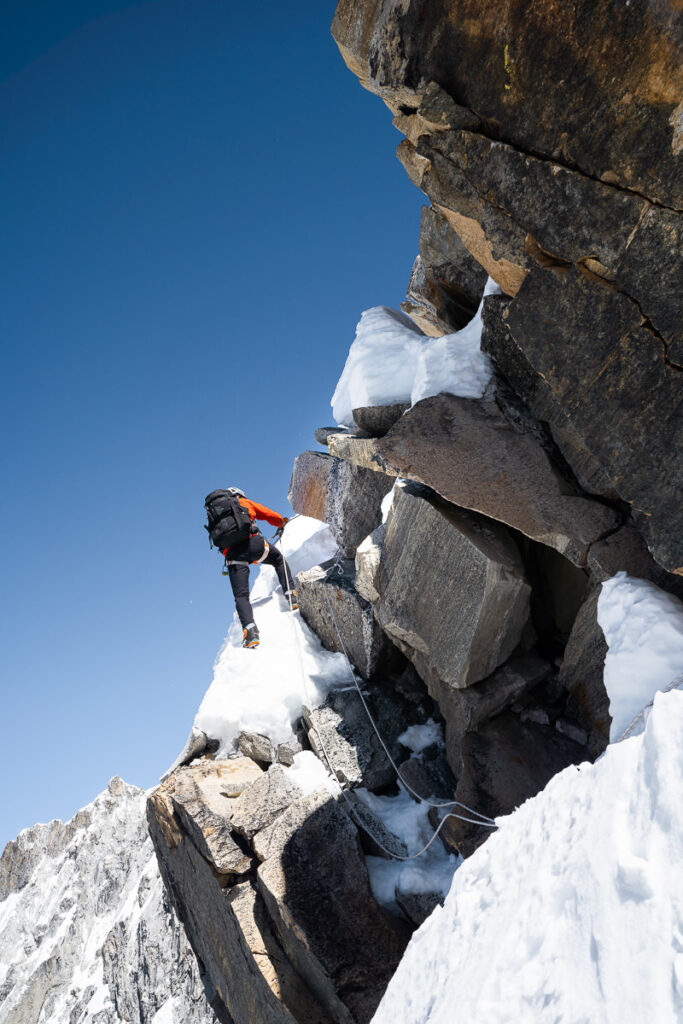
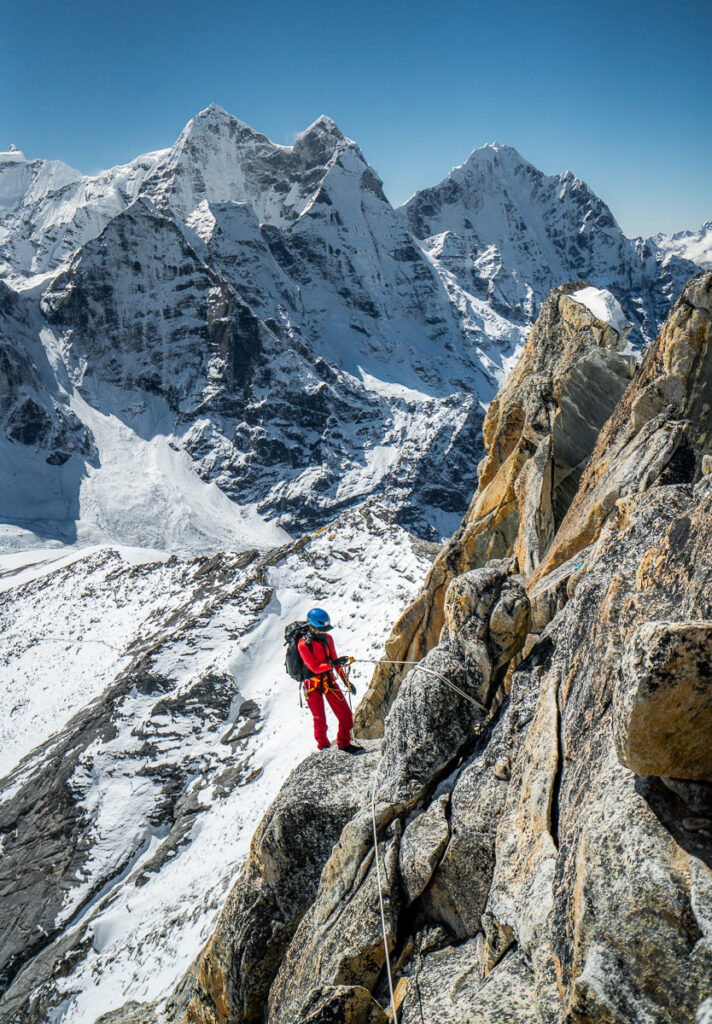
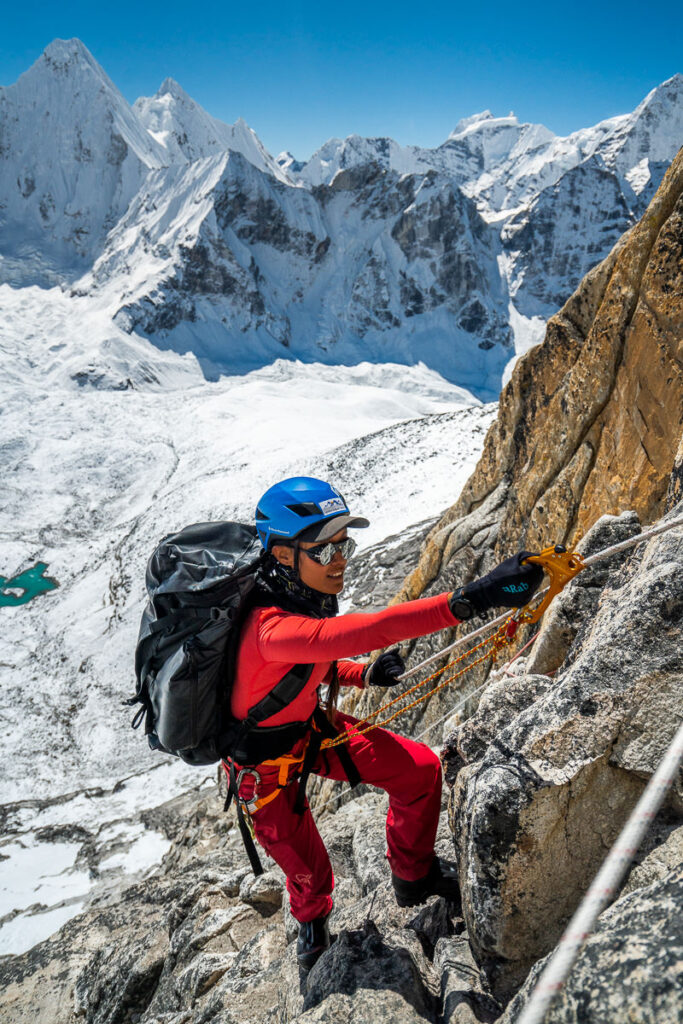
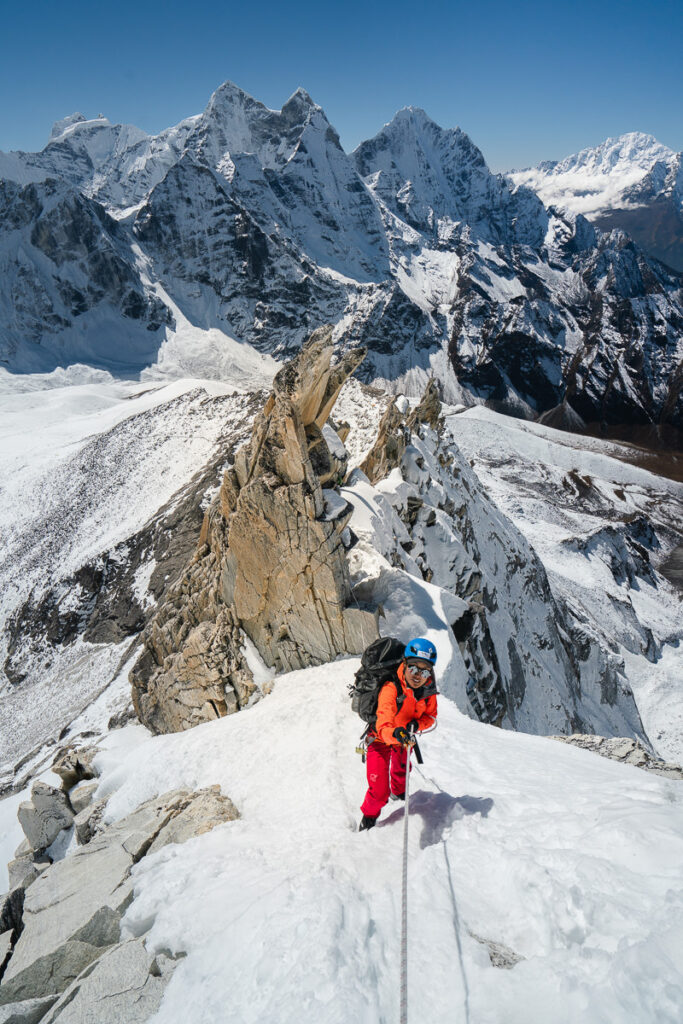
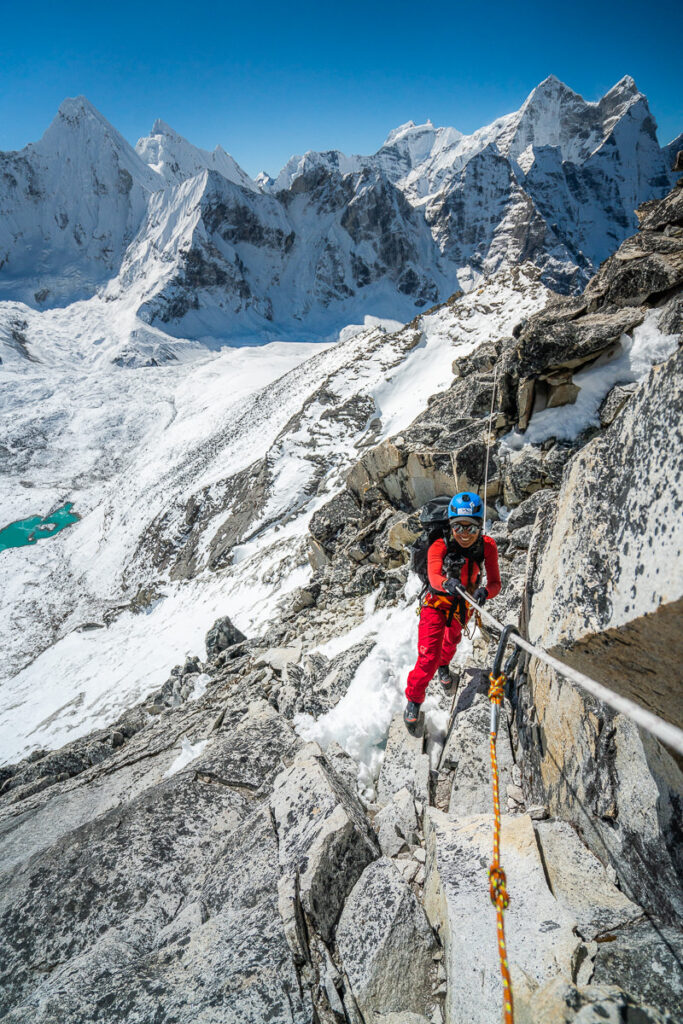
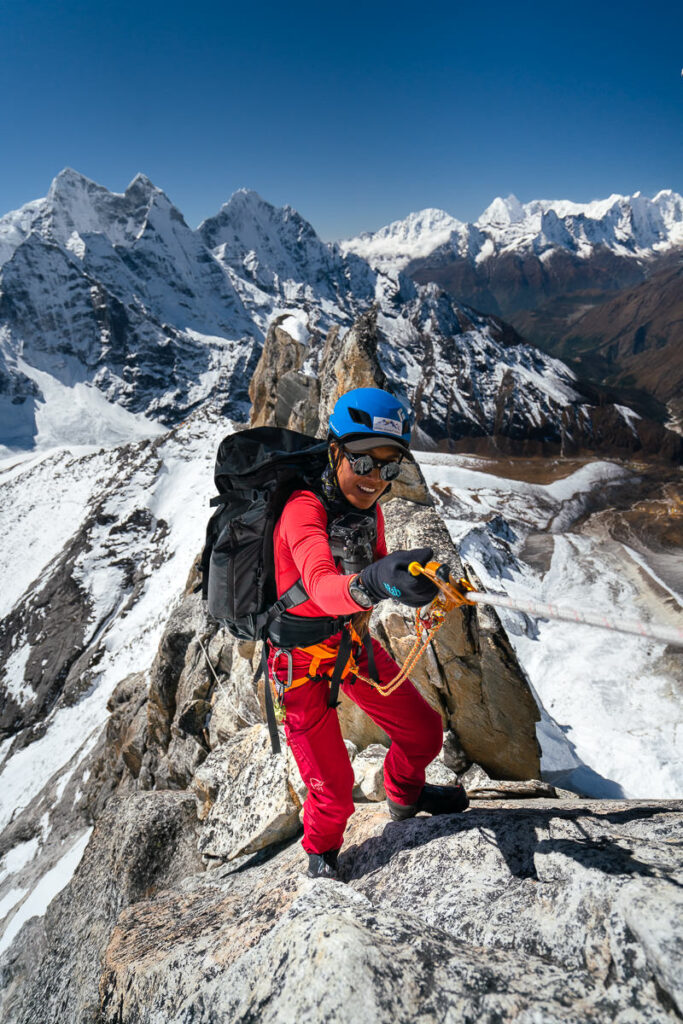
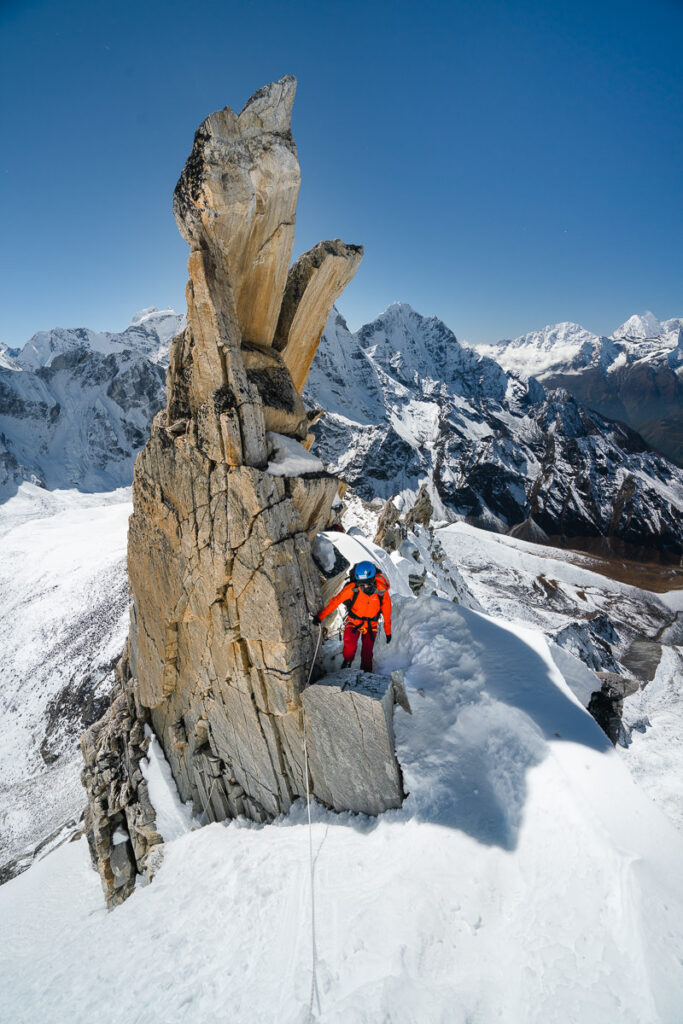
As we neared the Yellow Tower, I was quite surprised when our guide pointed it out. I expected the Yellow Tower to be much larger and seemingly more challenging. It ended up being much smaller and more manageable than expected.
With the assistance of the jumar, it took just a few minutes to scale the steep, yellow wall. With good technique and upper body strength, this was far from a rock climb and more of a jumar ascent. However, the thousand-meter drop below was wildly exhilarating should you choose to look down.
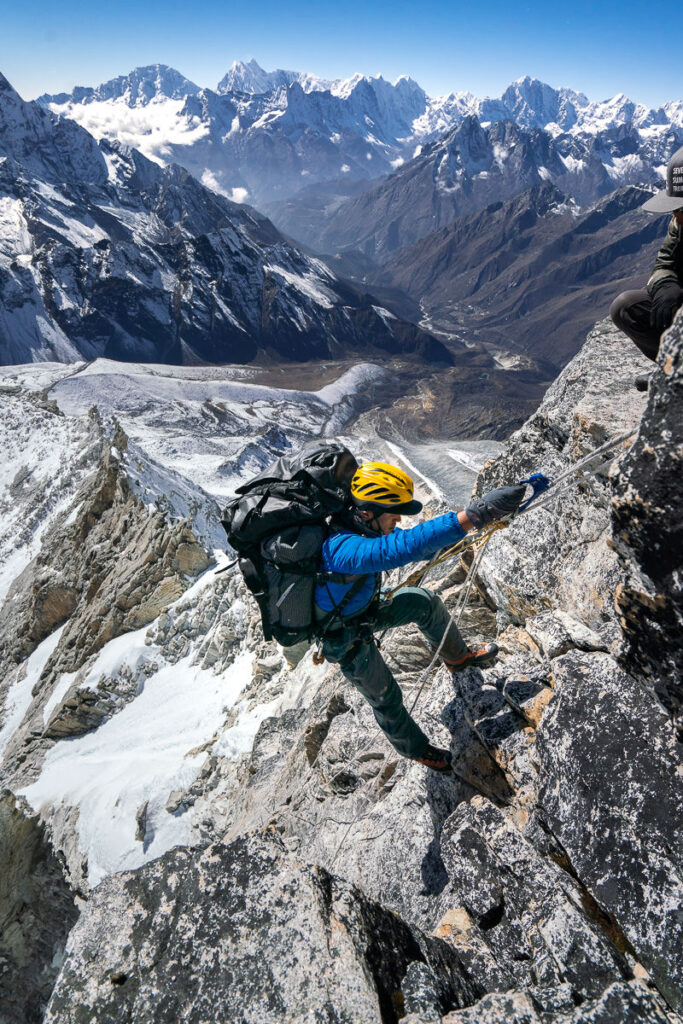
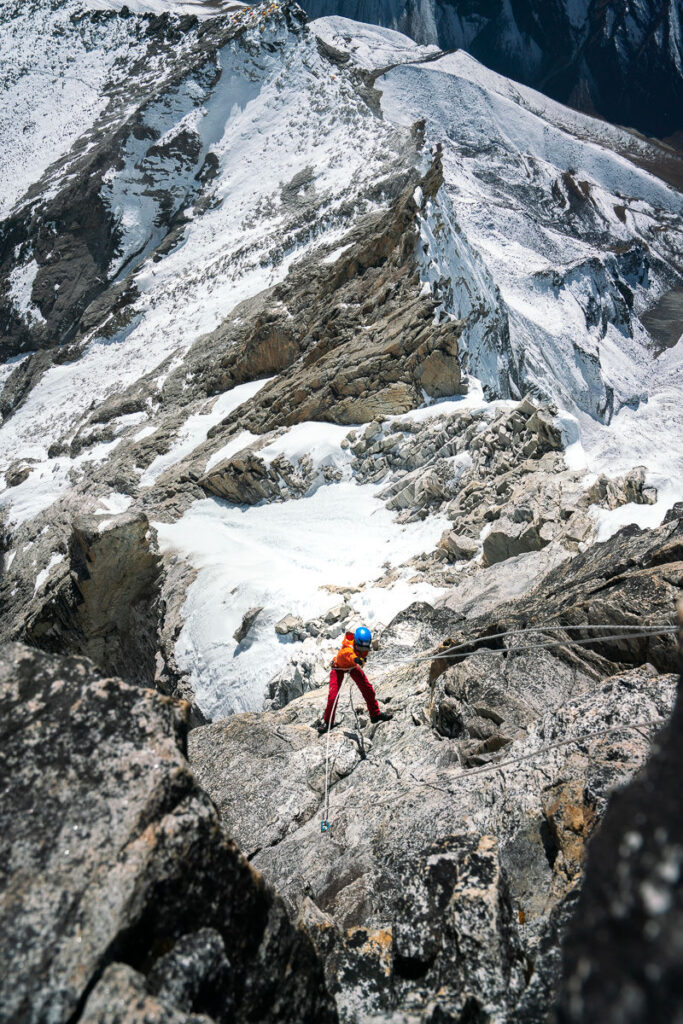
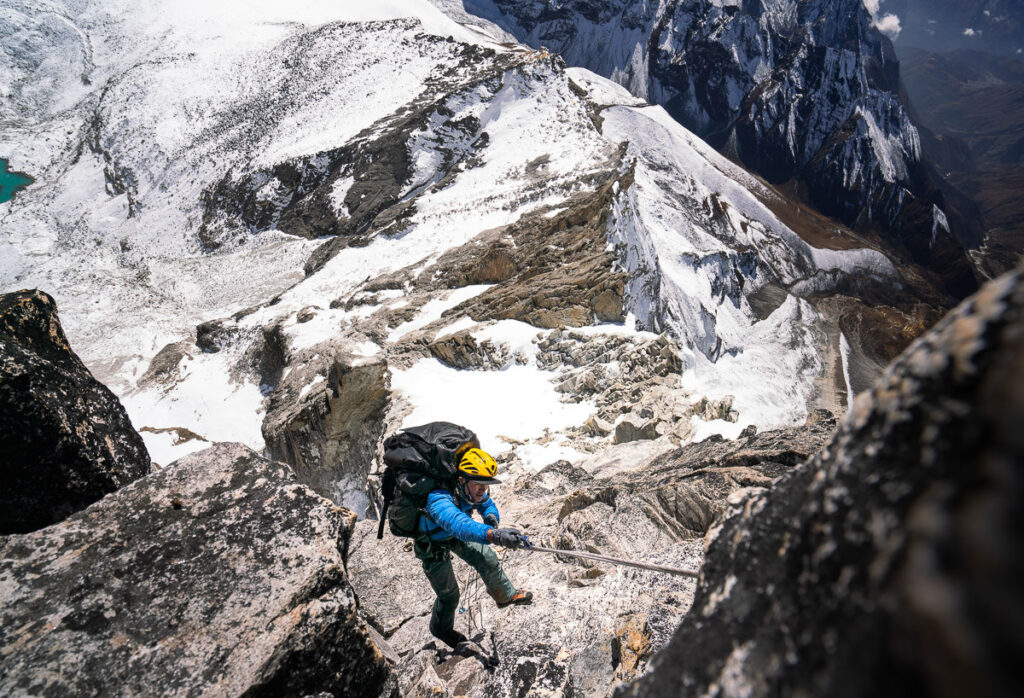
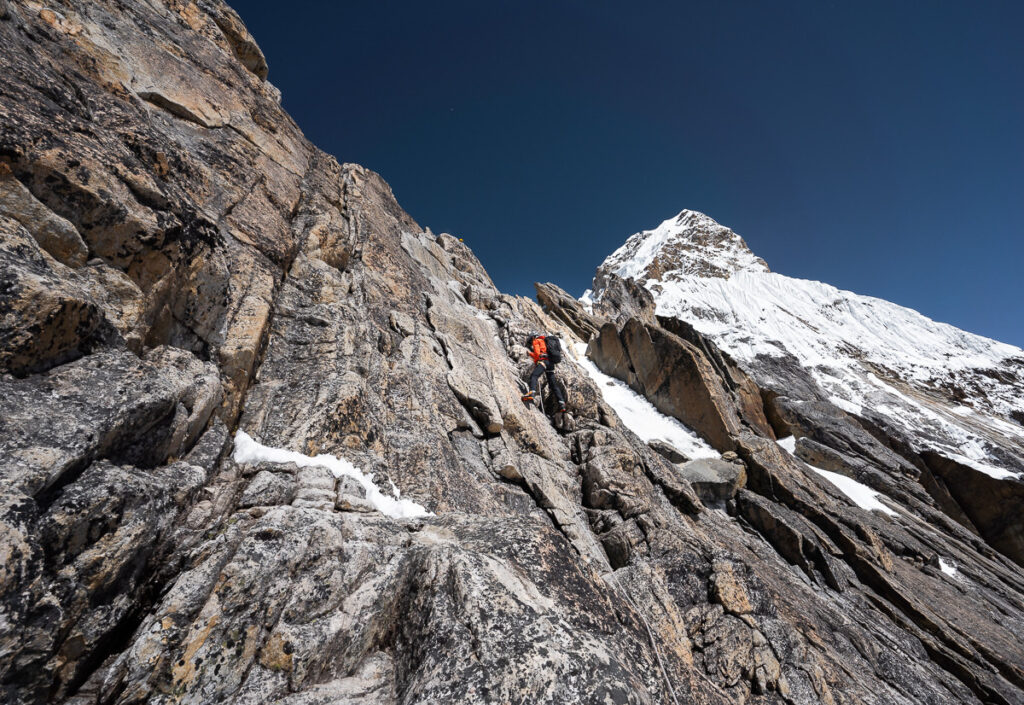
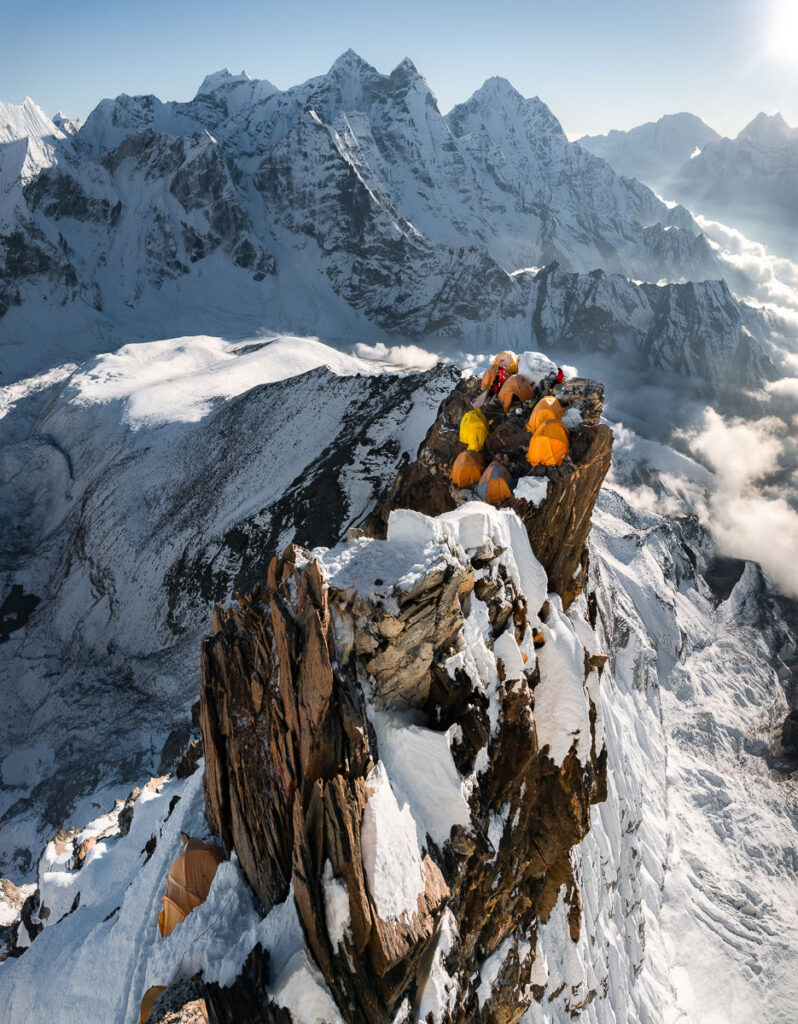
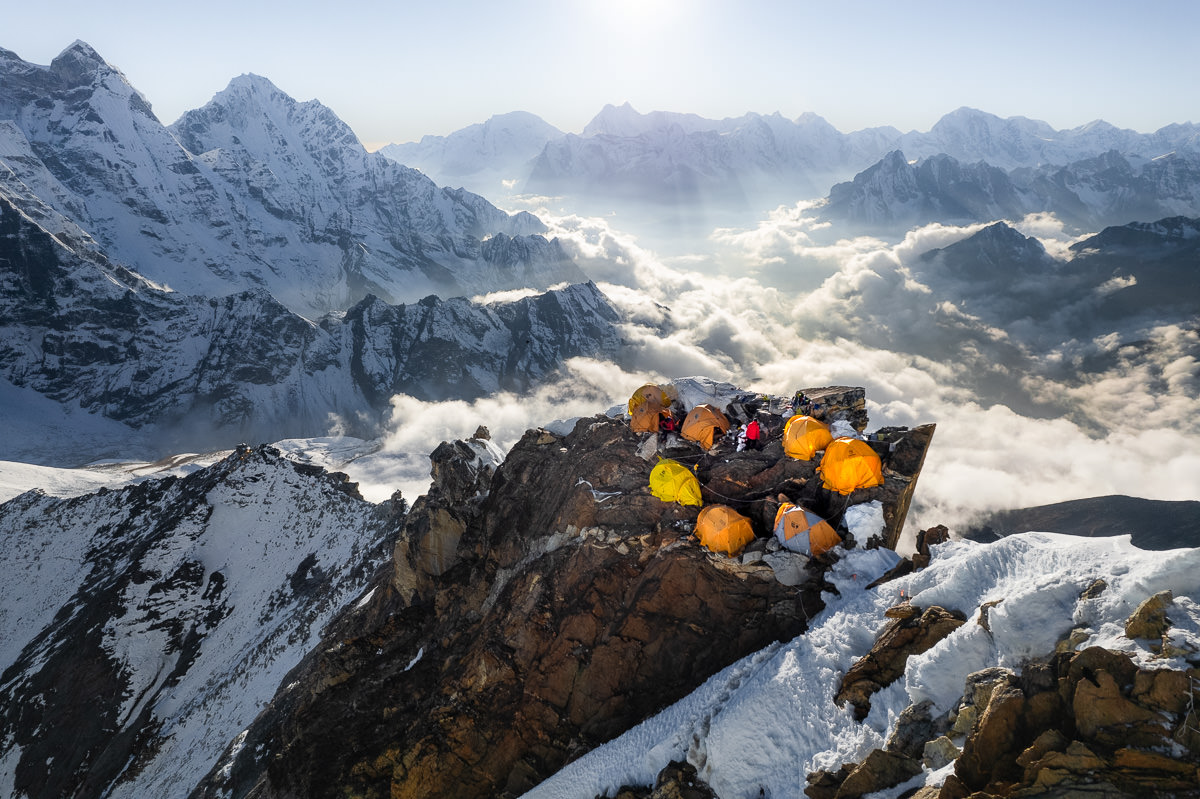
After conquering the Yellow Tower with our jumar, it was just a few minutes further to reach the iconic Camp Two. This cliffside campsite seems to be literally sliding off the angled rock into the abyss below. Tents are erected at unimaginable angles and fixed to the rock by ropes. Moving around the campsite often involves being clipped in.
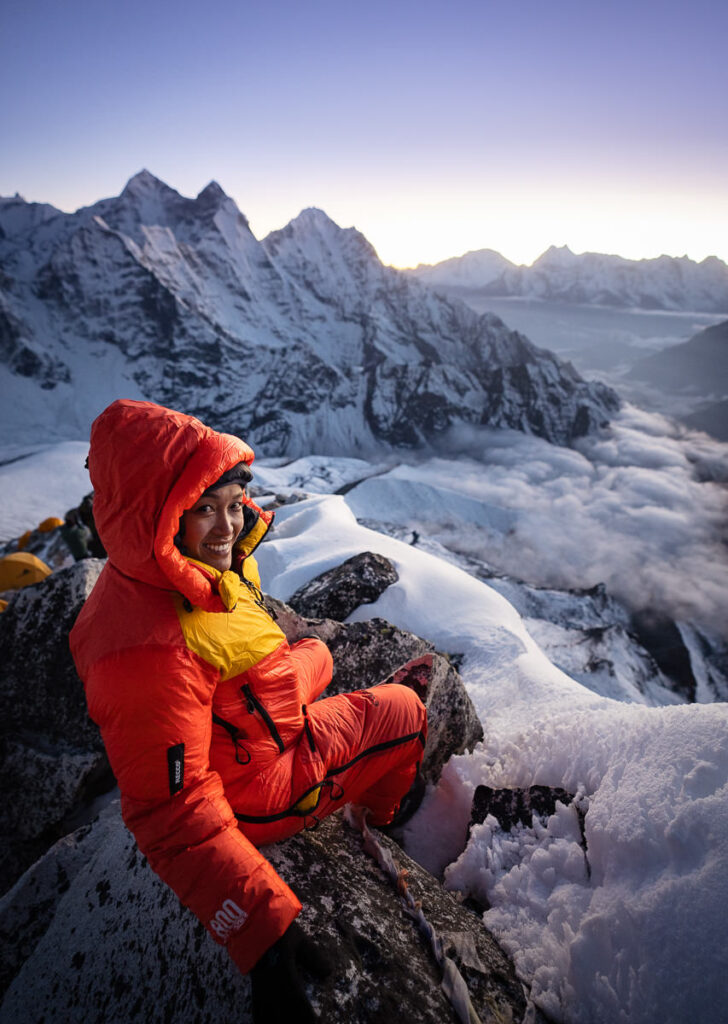
The views down to basecamp and beyond Pangboche are phenomenal from this camp, and spending a night up here was our best decision for the trip. Sleeping up here allowed us to get the golden hour in the evening and the following morning, which helped us create some unforgettable images. Here are a few of my favorites.
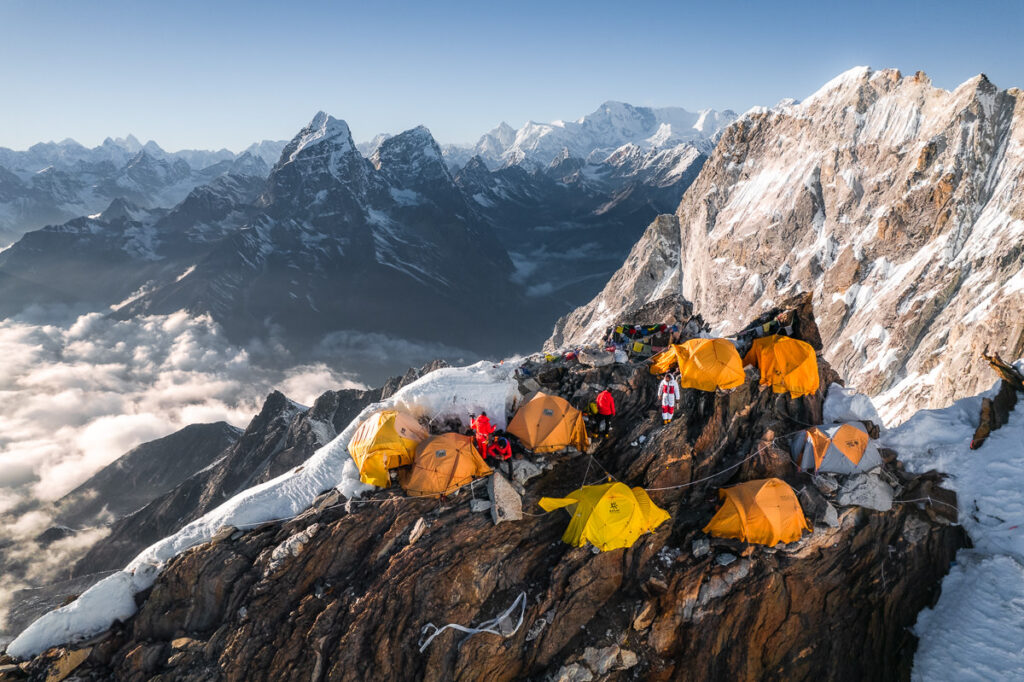
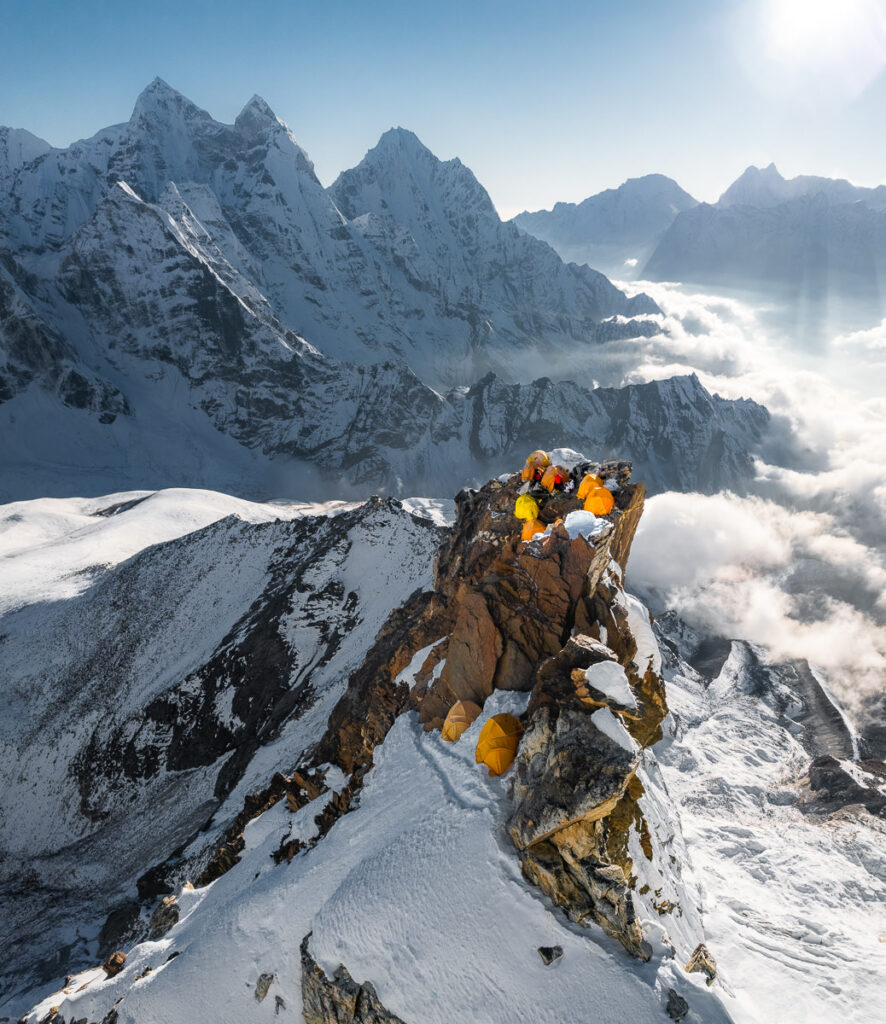
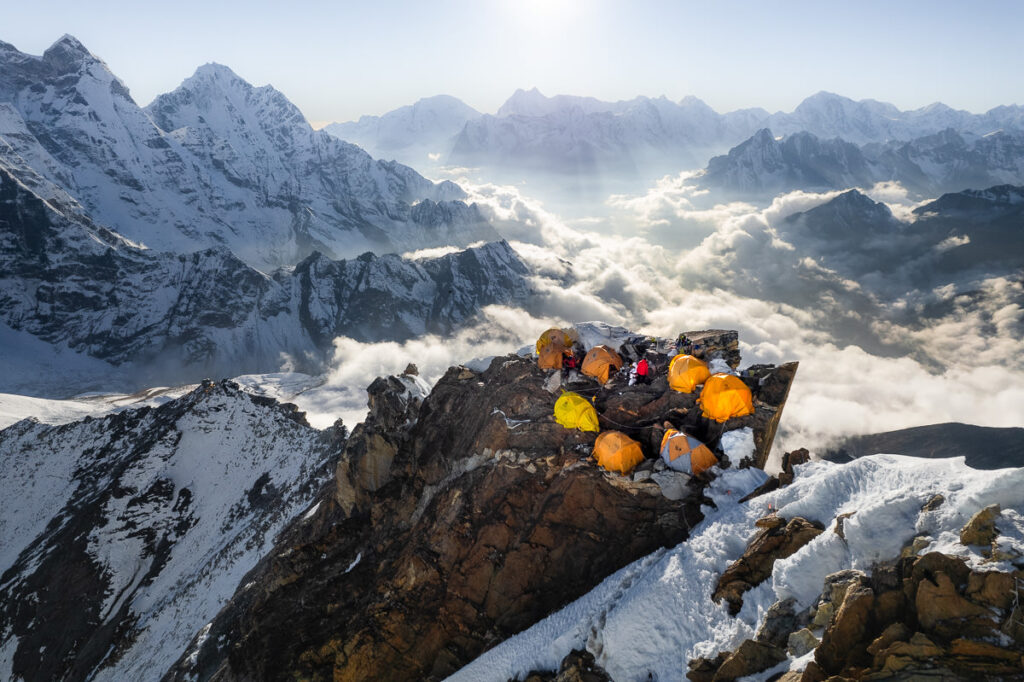
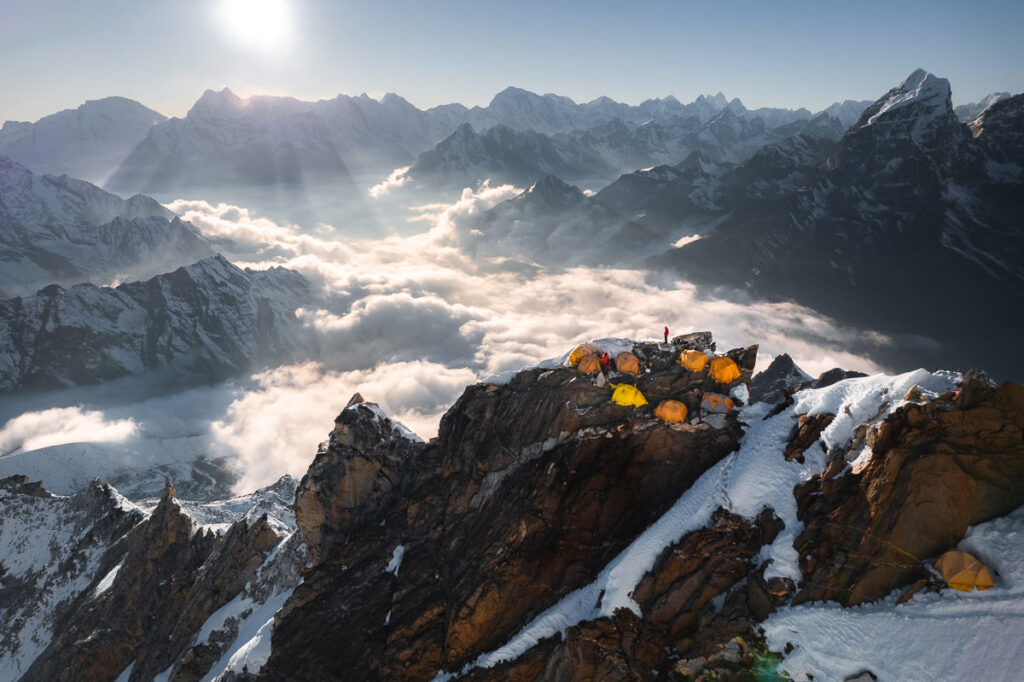

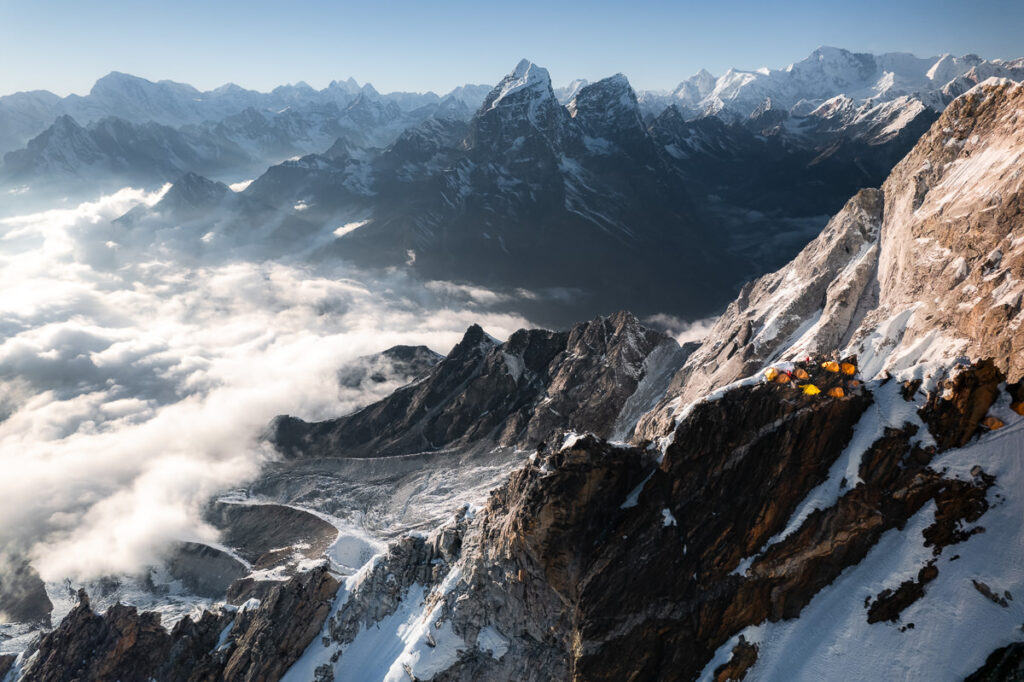
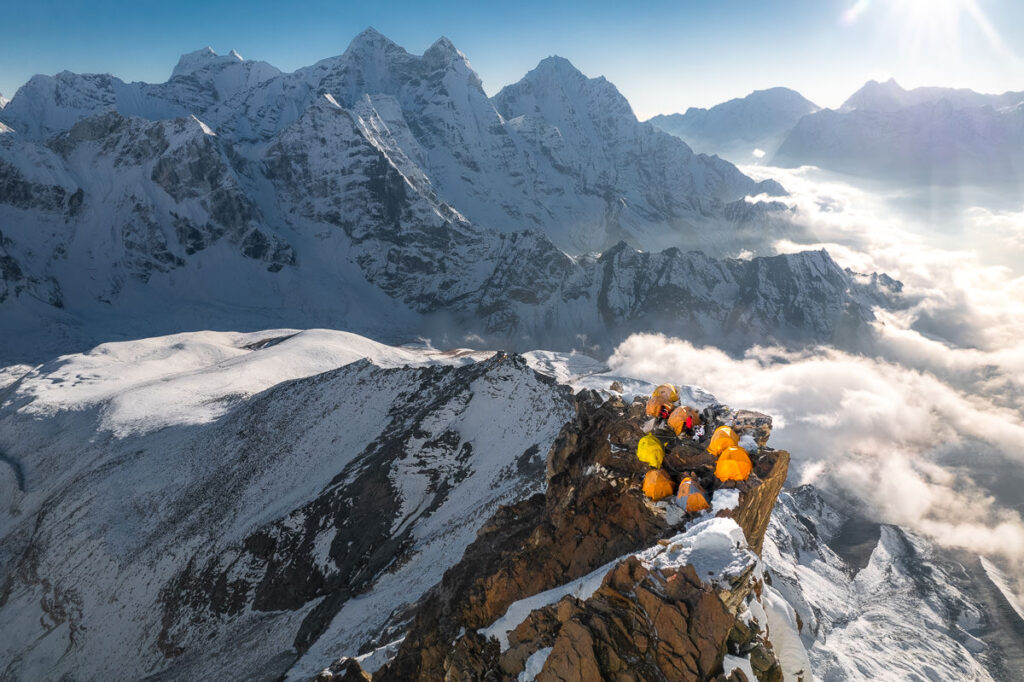
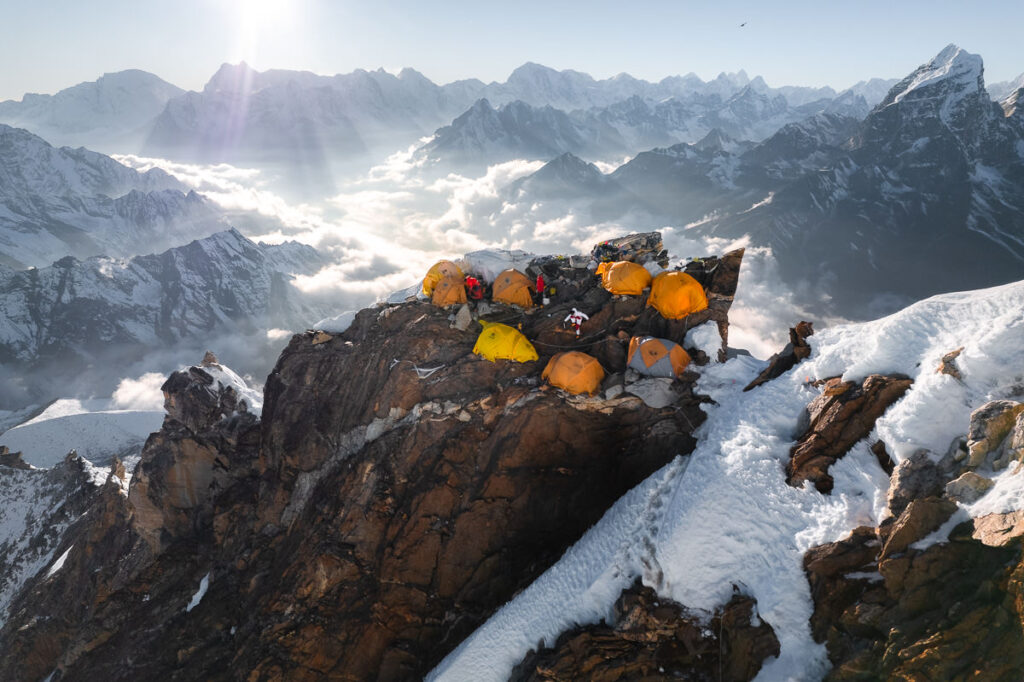
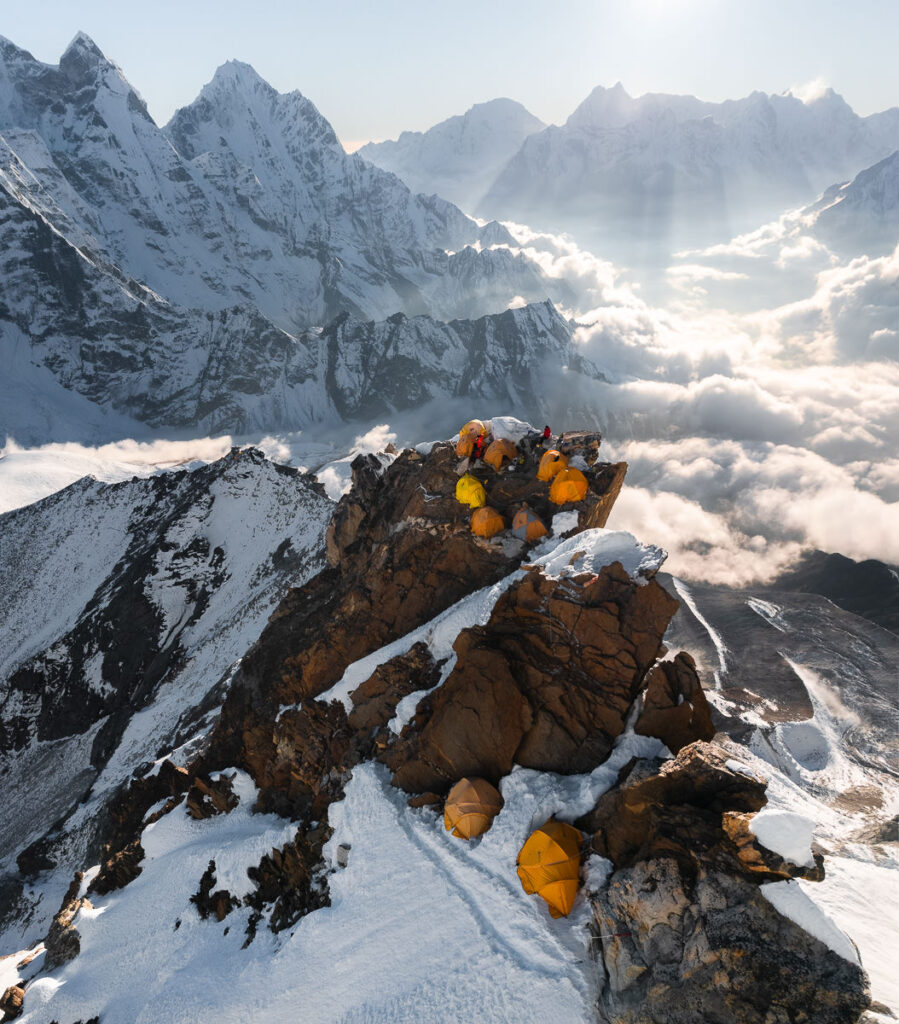
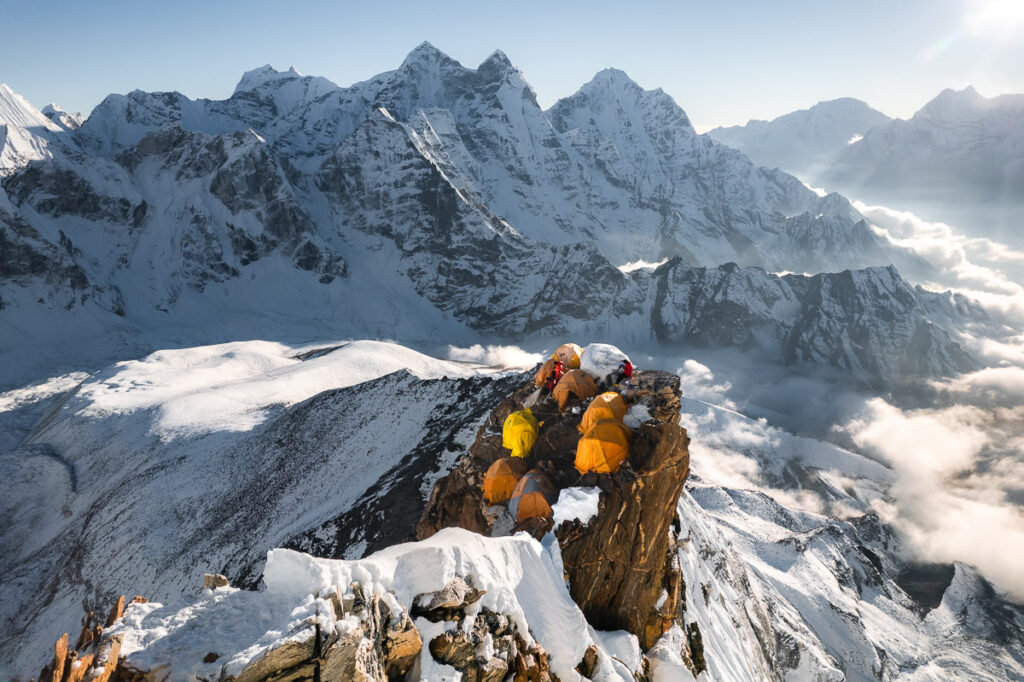
The night slept at Camp Two involved some interesting body contortions shaped like a Tetris block to avoid laying directly on large rocks beneath the tent. However, all went well and we grabbed a valuable night of acclimatization at 6,200m above sea level that would serve us well on our summit push. We headed back down to basecamp in one day to rest up before our summit push.
SUMMIT PUSH ON AMA DABLAM
After a rest down at basecamp, it was time to return for our summit push. Just like our acclimatization, there are multiple strategies to ascend to the summit.
The most common strategy is to sleep at Camp One and then Sleep at Camp Two (briefly) before pushing off around midnight to shoot for the summit. Camp Three is often avoided due to the large serac (dablam) hanging dangerously above. It is relatively stable but in 2006 there were multiple deaths at Camp Three when part of the serac dislodged.
We decided to spend a night at Camp One and then a night at Camp Three. This strategy would make our summit moring much shorter with less time spent in the extreme wind and cold. Advice had been given that the serac looked safe this year, but of course, nature can be unpredictable. The advice turned out correctly and this year there have been no reports of the serac having any parts dislodged.
Since I’ve already shown you the route from Ama Dablam Base Camp to Camp Two, I will detail the route from Camp Two onwards in this section about our summit push. We actually reached Camp Two around midday on our second day of the summit push after sleeping the first night at Camp One. Despite the Yellow Tower being hyped up, it was actually the traverses, ridges, and couloirs we encountered beyond Camp Two that were the most enduring and challenging.
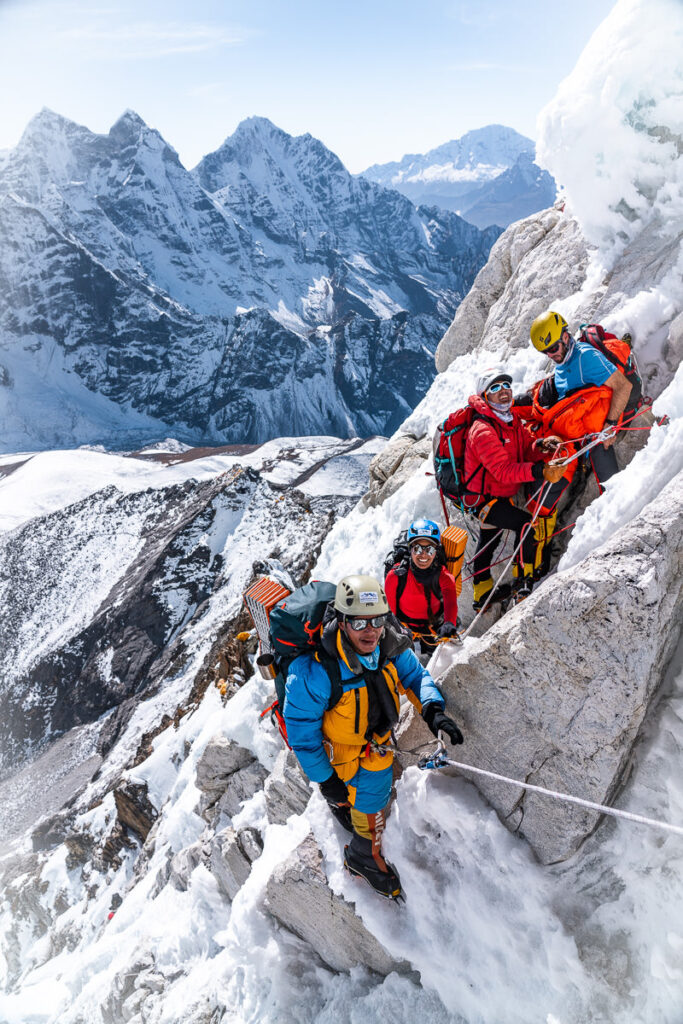
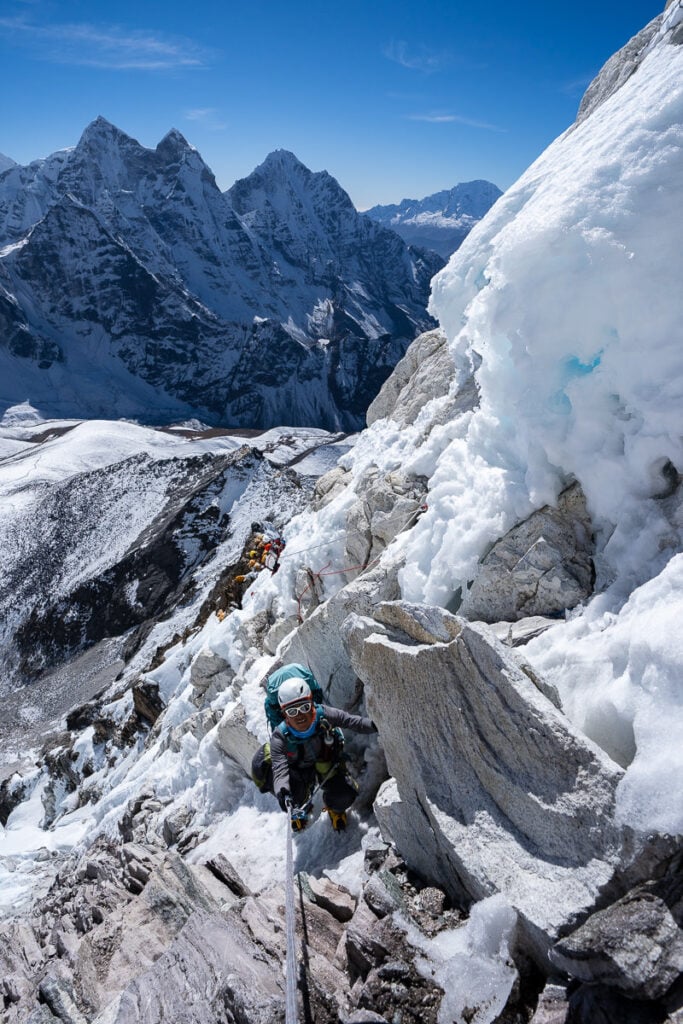
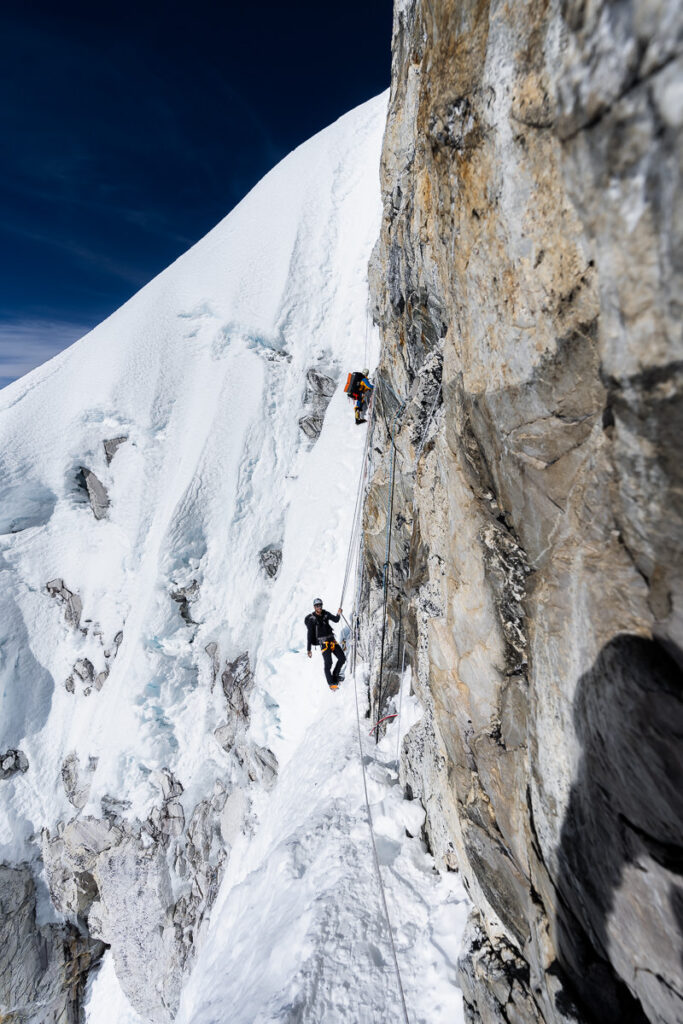
After leaving Camp Two, you immediately hit the Grey Tower (Grey Couloir). Slightly less vertical than the Yellow Tower, the Grey Tower is about 75 degrees and filled with crumbly rock. Unlike at the Yellow Tower, we now had our crampons on. Rock on crampon is never fun and the scraping noises in this section were likened to fingernails on a chalkboard.
This narrow tower is one of the prime places to be vigilant and have the helmet firmly strapped on. Loose rocks and chunks of ice are often falling down in all directions from the flow of climbers heading up or descending from their summit.

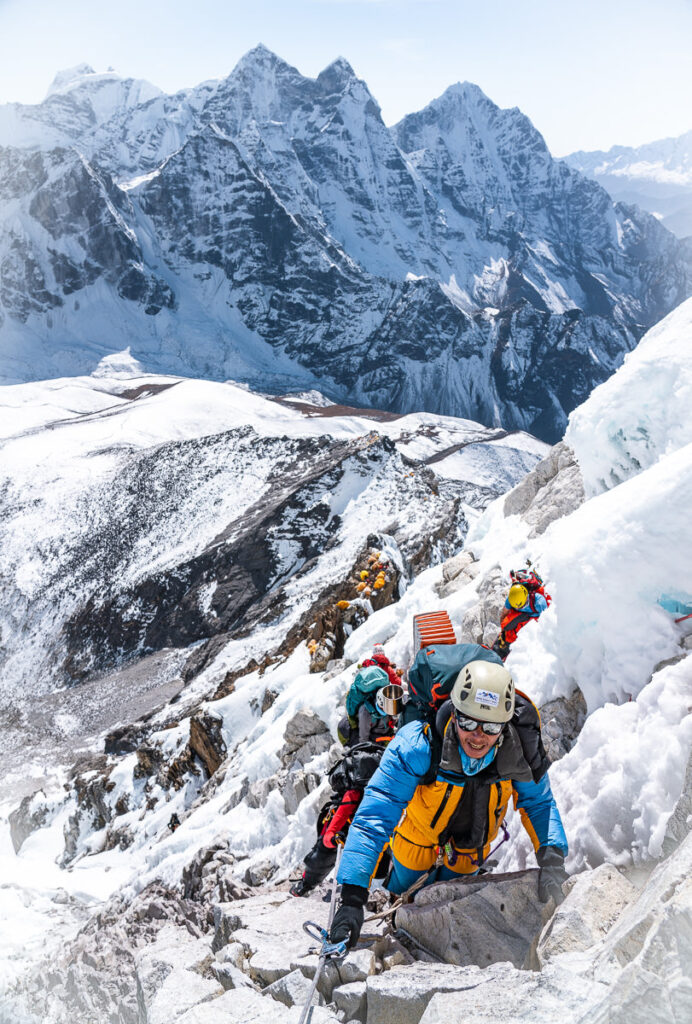
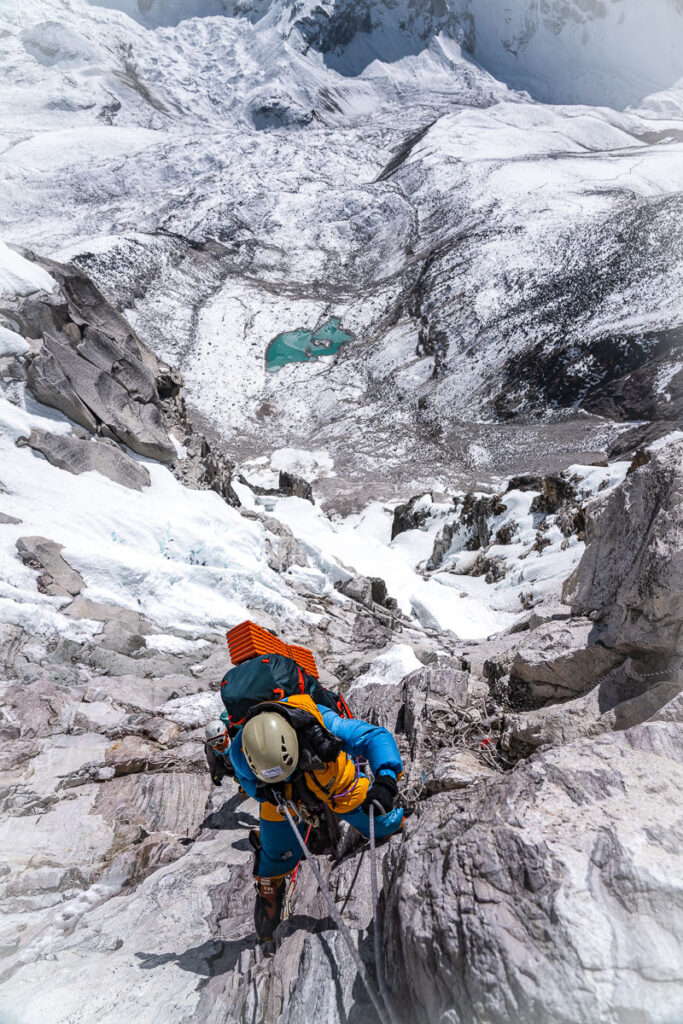
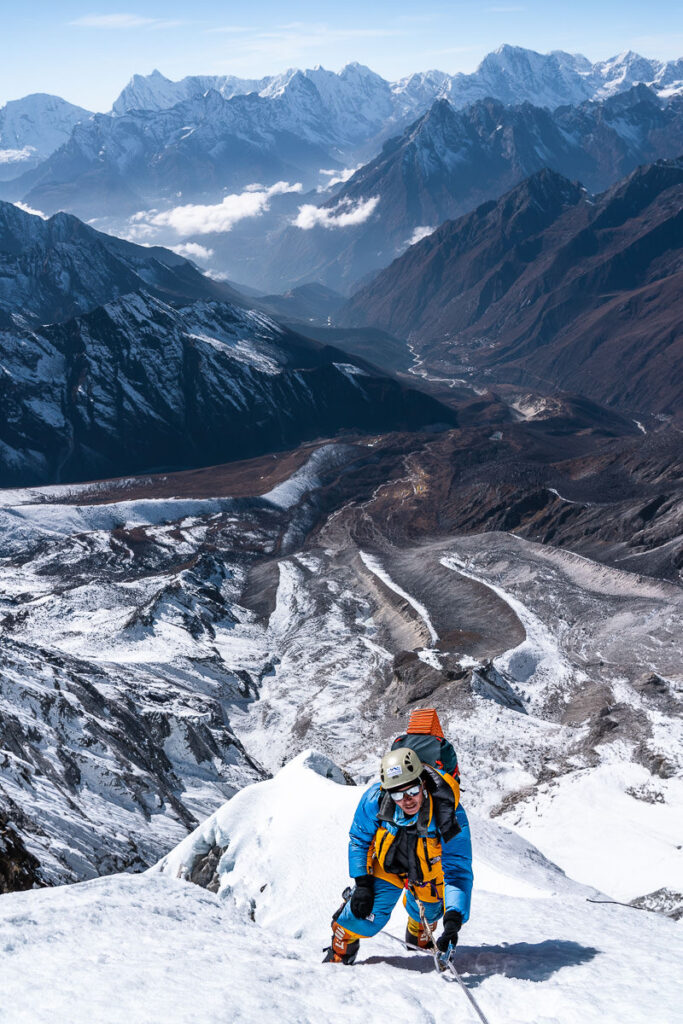
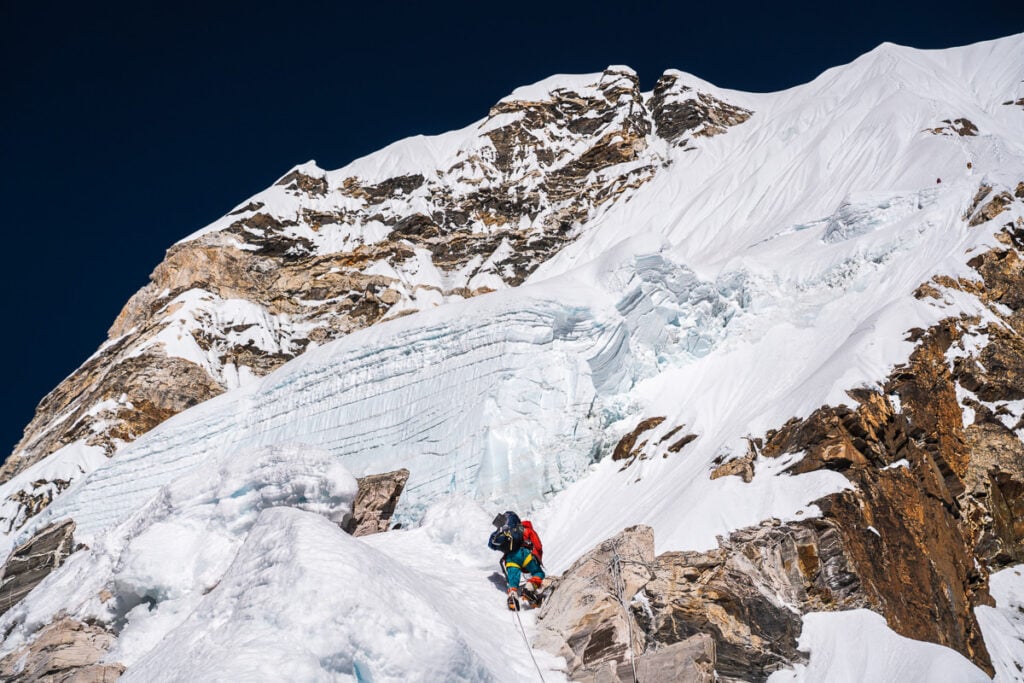
After the Grey Tower, you will come across the Mushroom Ridge. This is a very narrow, icy, and snowy ridge that winds you further up the mountain towards Camp Three. Looking up, the summit gets closer and closer but you will never glimpse Camp Three until the very last moment when you arrive at the tents. I really enjoyed climbing this section in the day to enjoy the surroundings and views, but I understand many try to avoid the perils of sleeping at Camp Three.
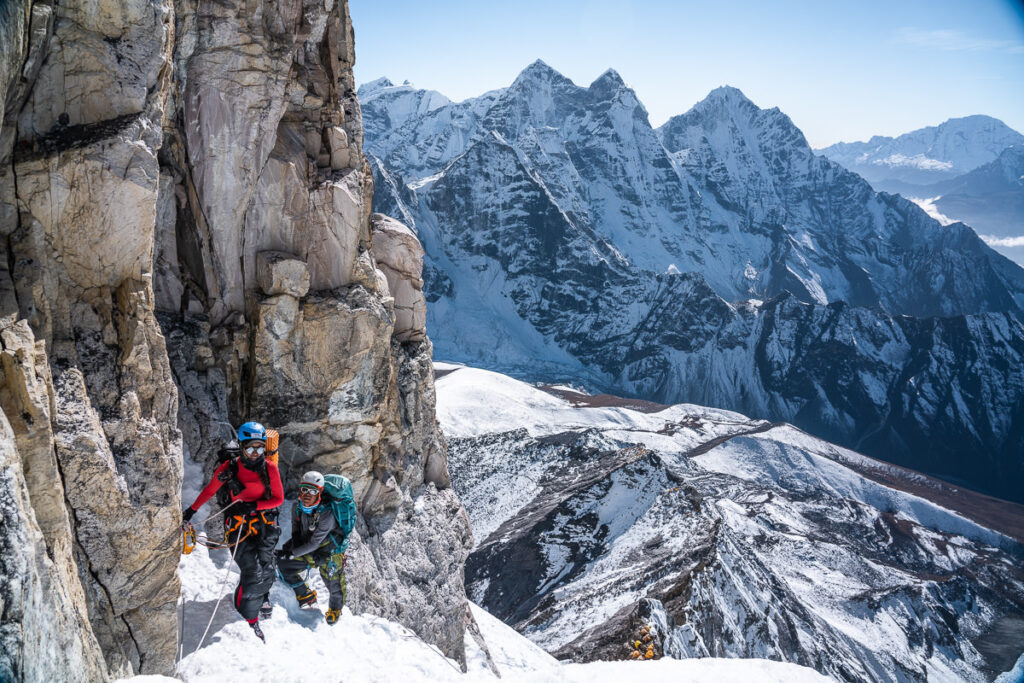
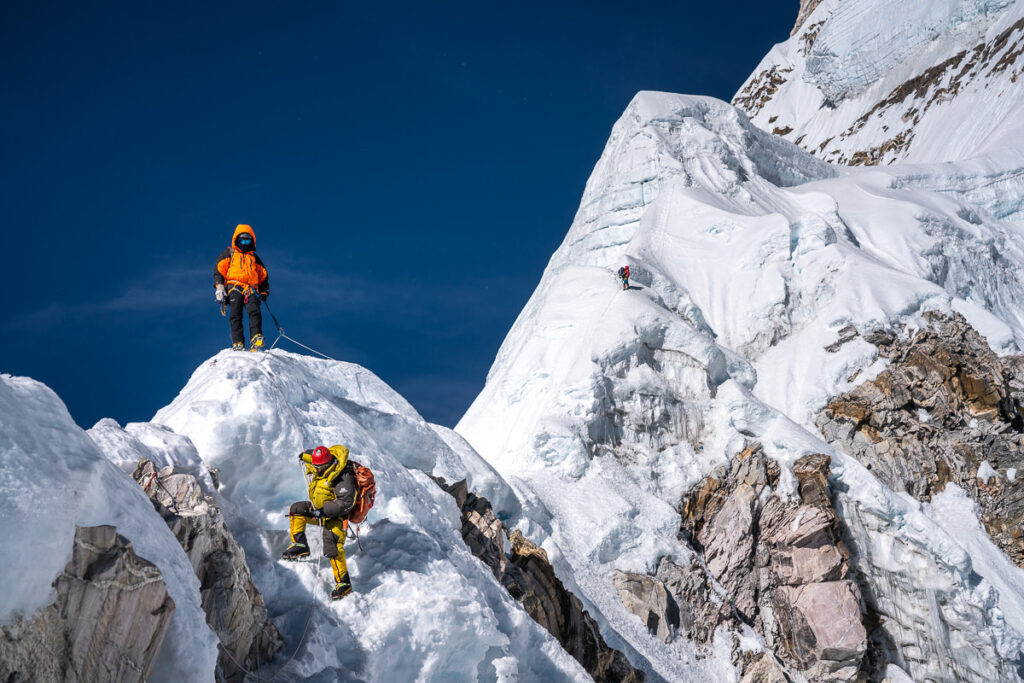
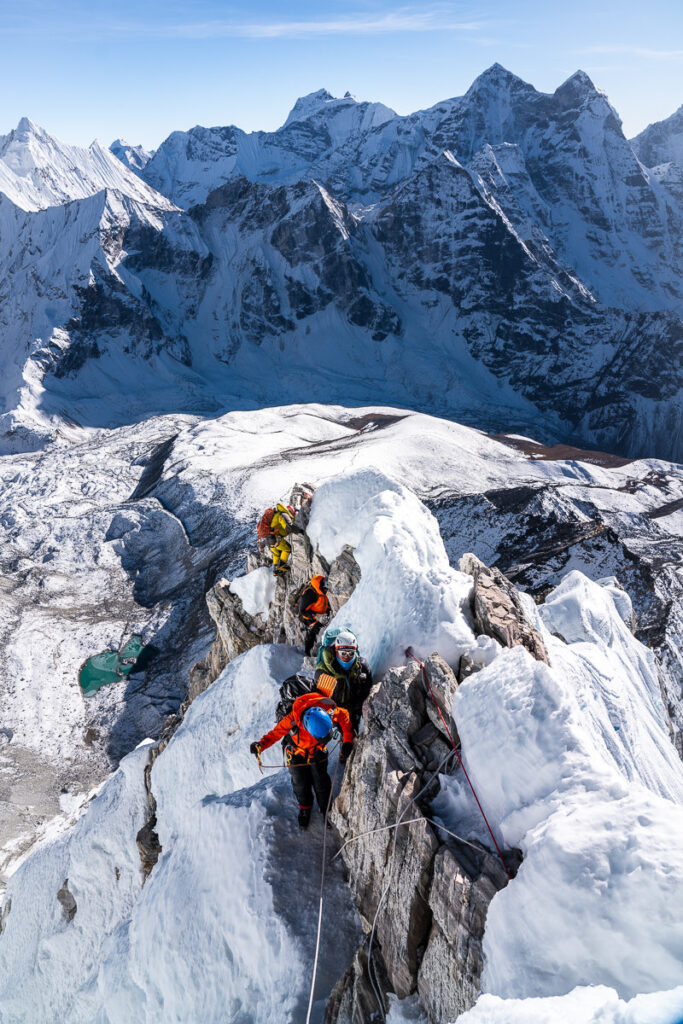
I guess we will never know if sleeping at Camp Three was a good decision or not. We survived the night but many do claim it is a dangerous decision. The one thing I do know is that this campsite is heavily exposed to the wind because of the angle of the ridge.
Many climbers complain about strong winds here despite calm conditions lower down the mountain. We had a ridiculously windy night, where I was sure the tent would blow off the mountain. However, despite the strong winds, we managed some decent sleep due to the flat snowy terrain compared to the rocky, uneven surface of the lower camps. I managed to get a few aerial photos of Camp Three showing its proximity to the hanging serac and the summit.
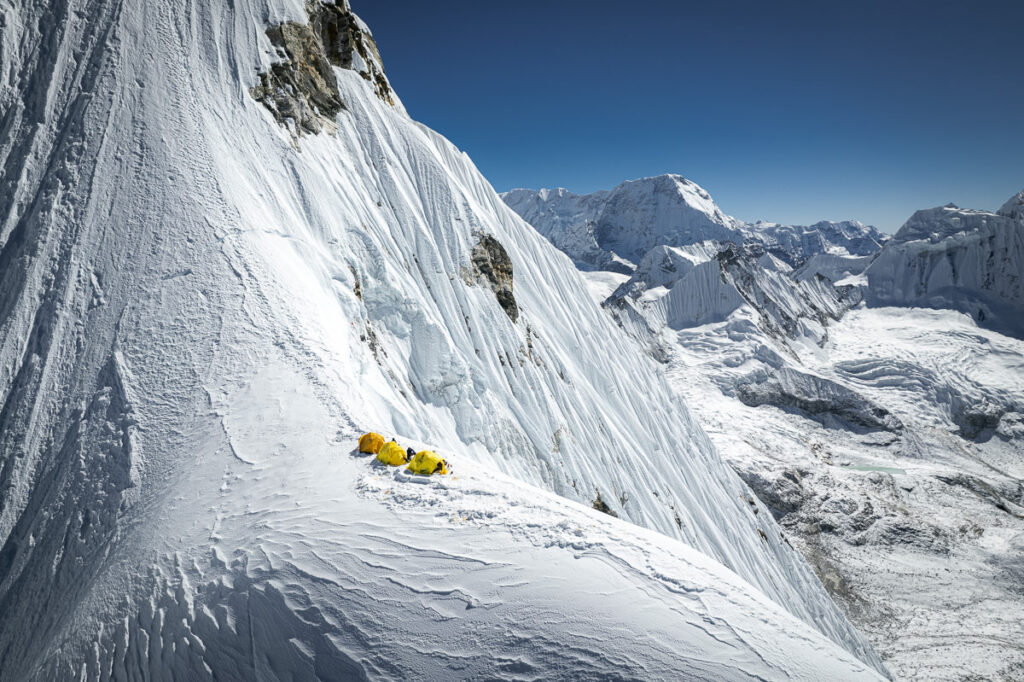
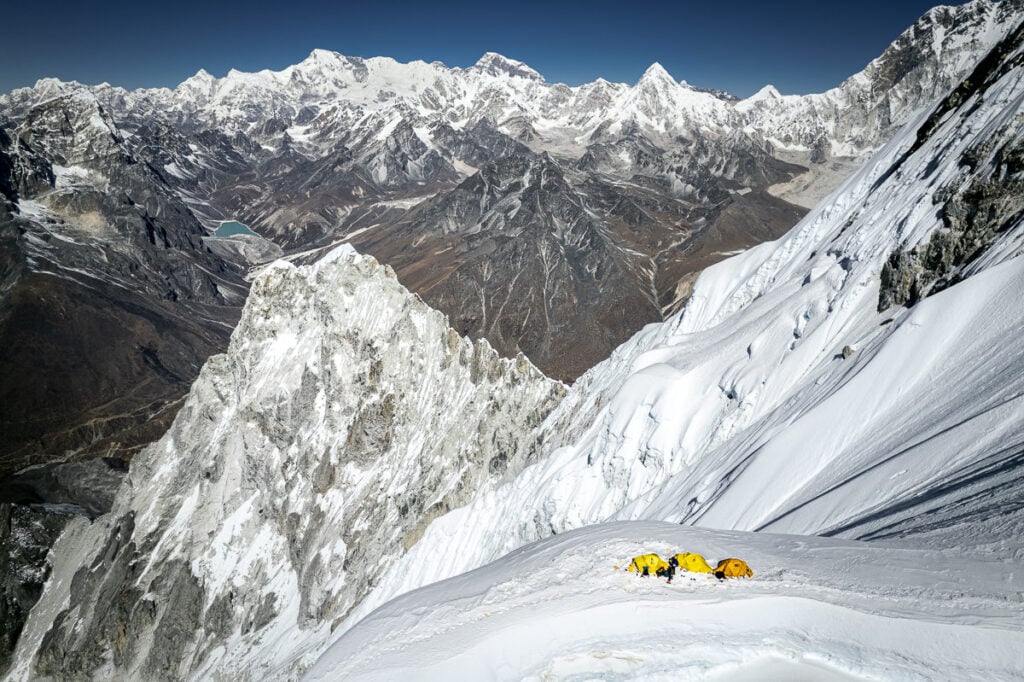
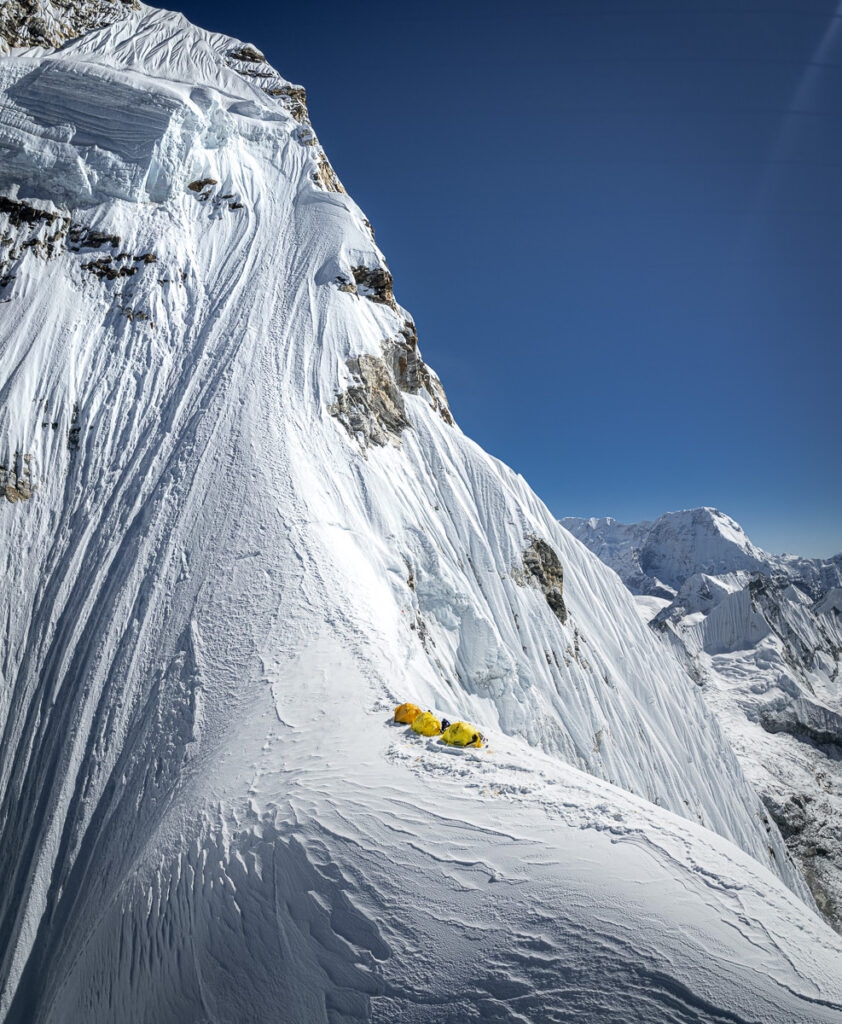
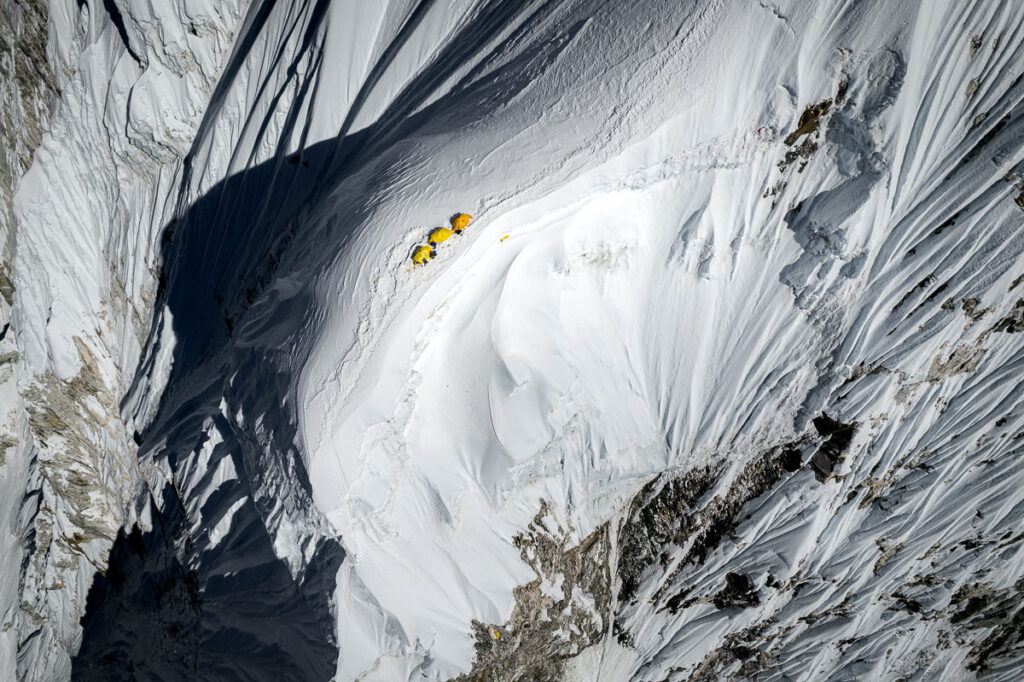

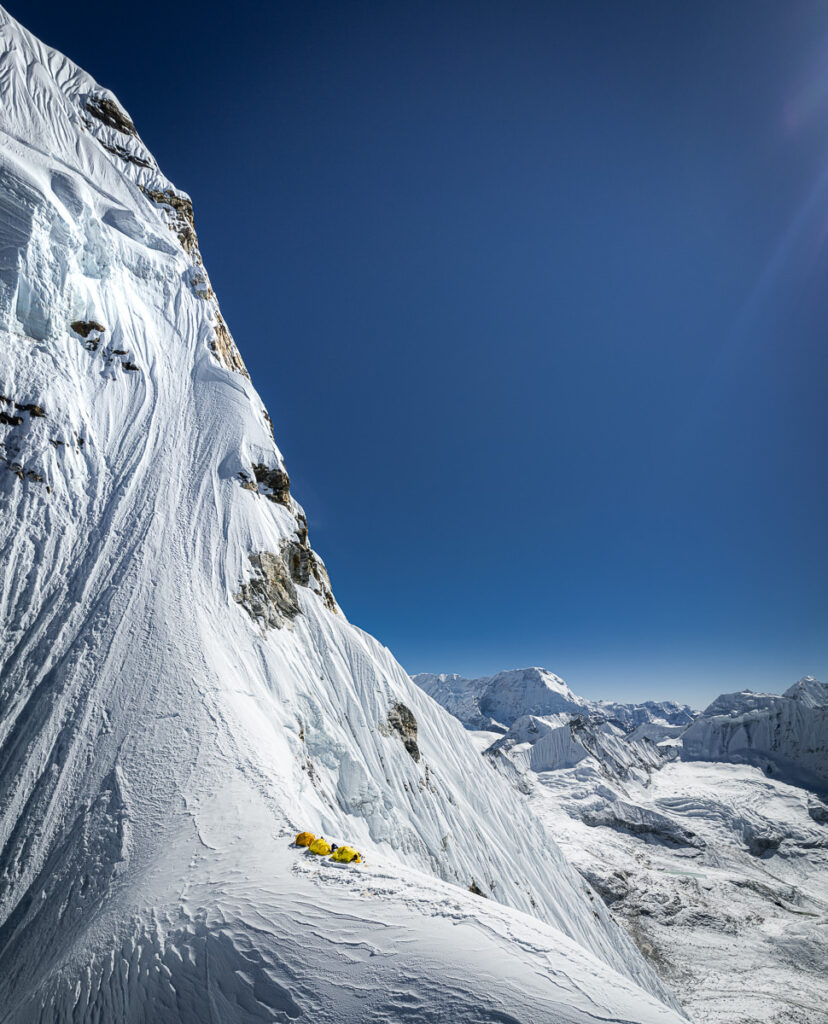
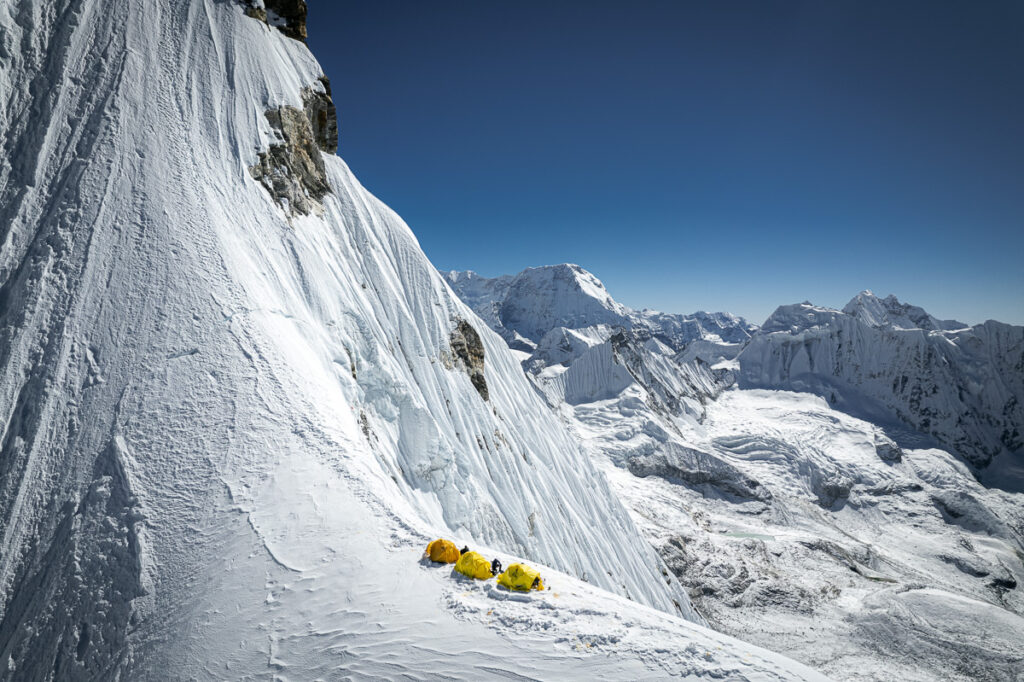
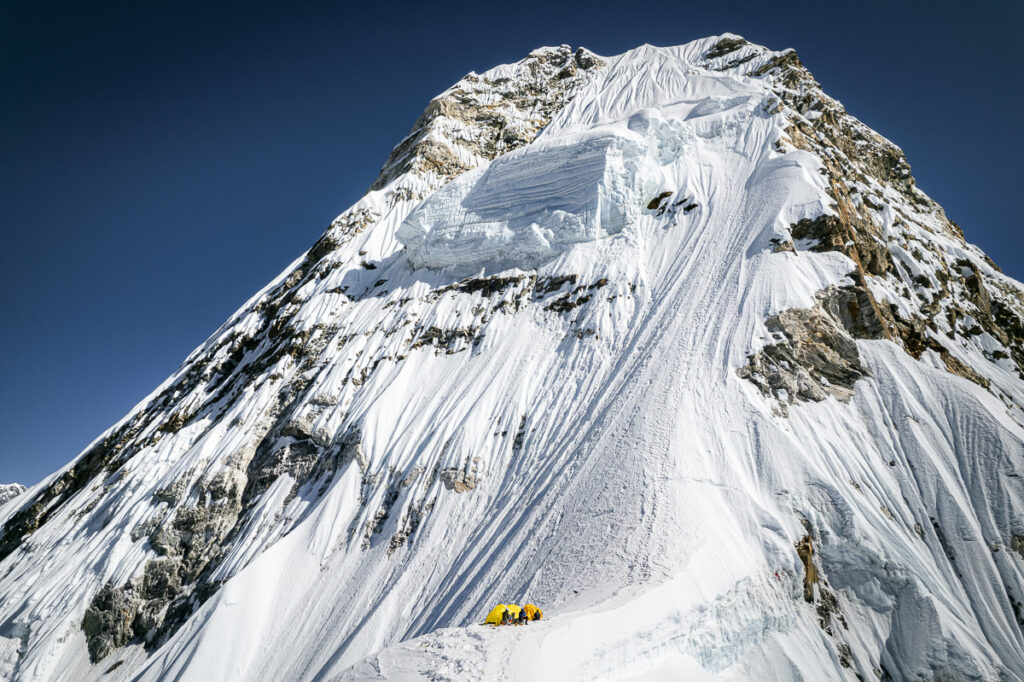
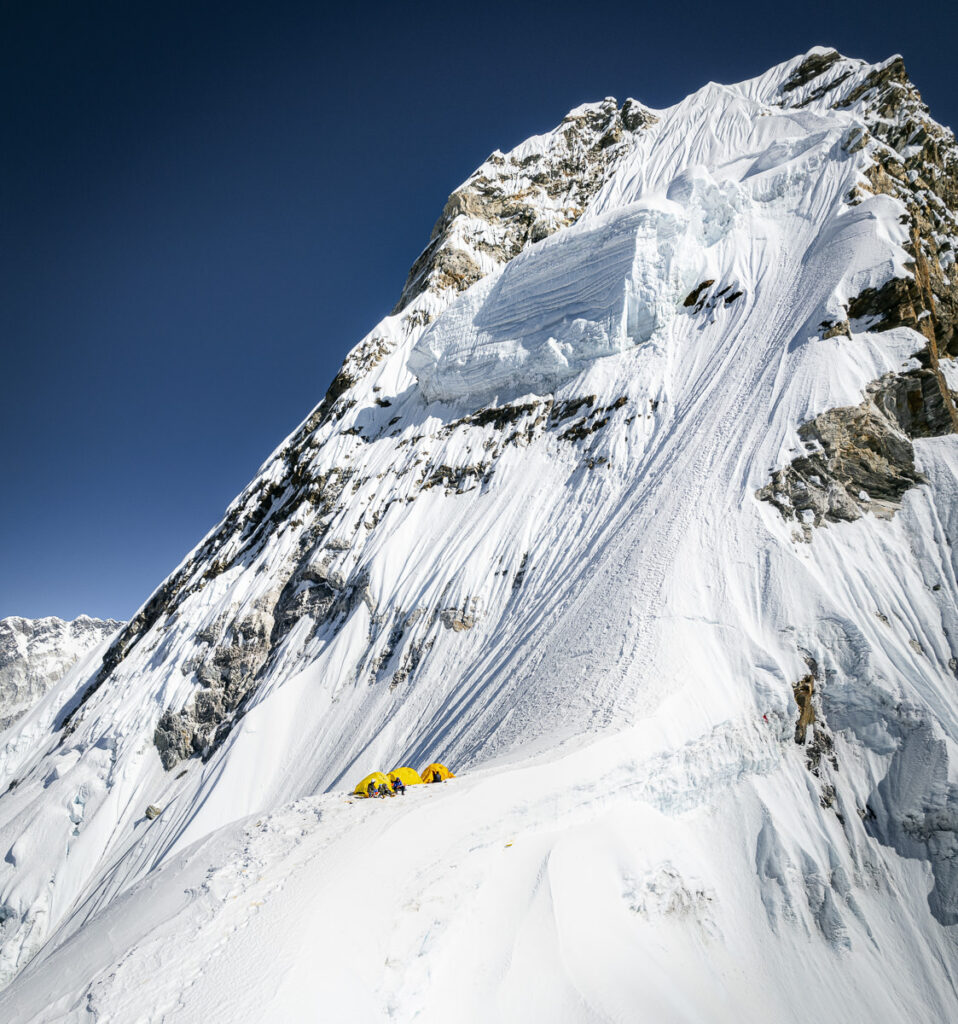
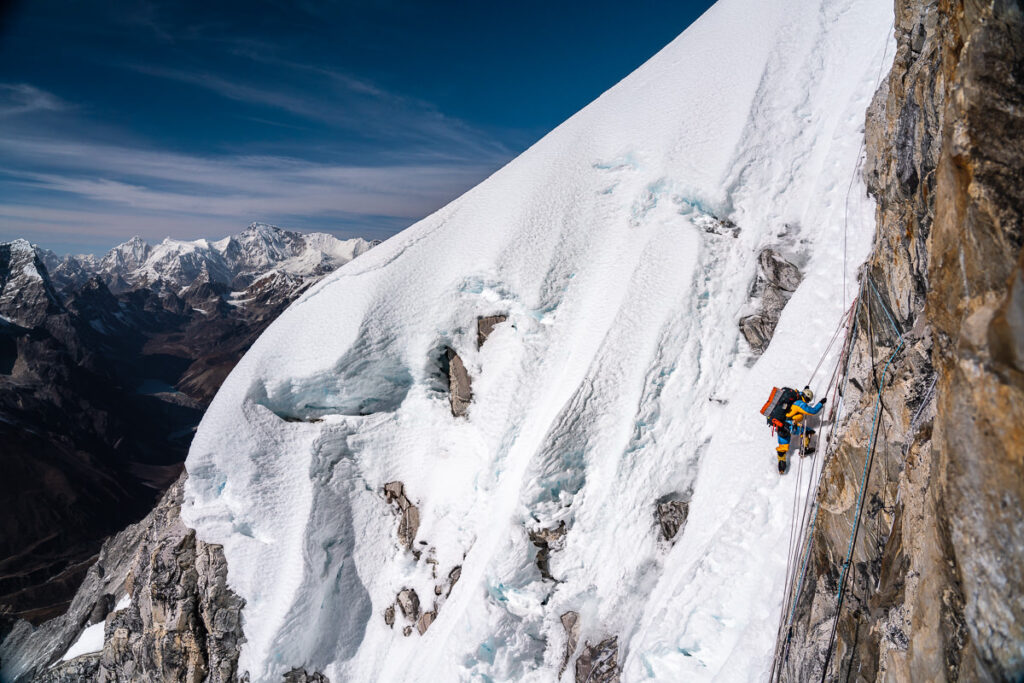
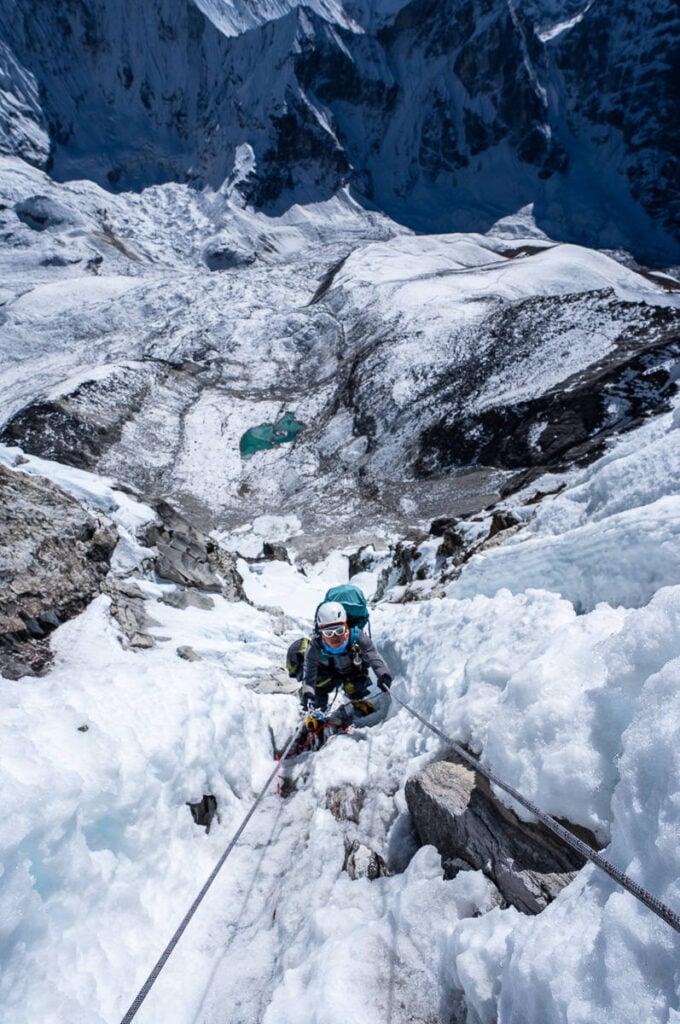
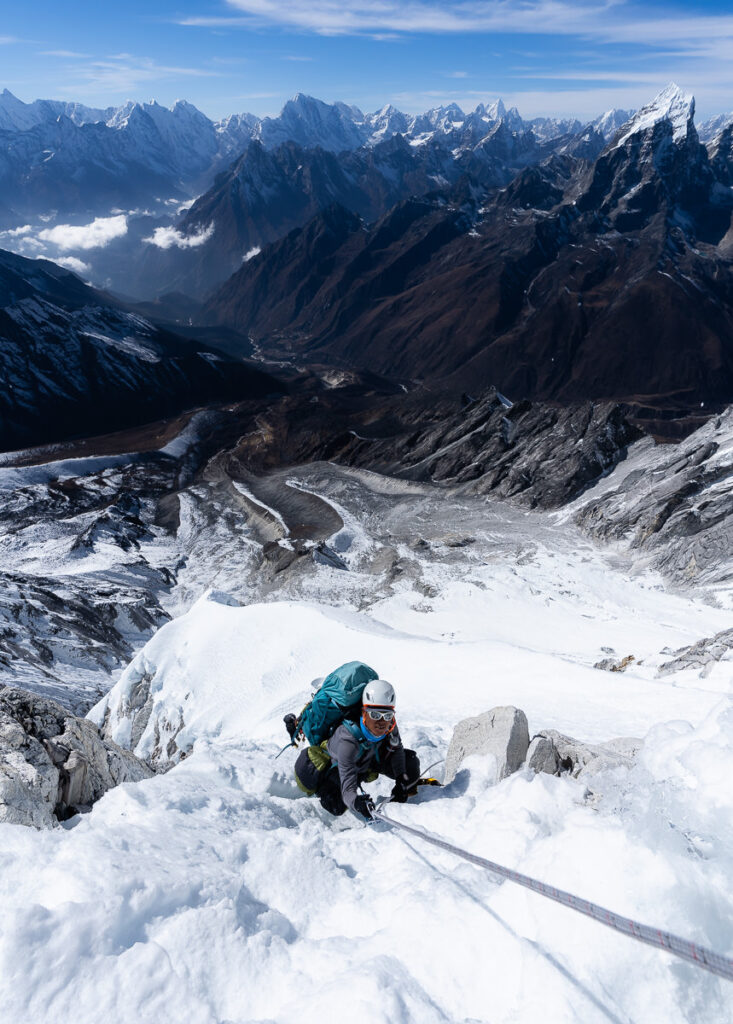
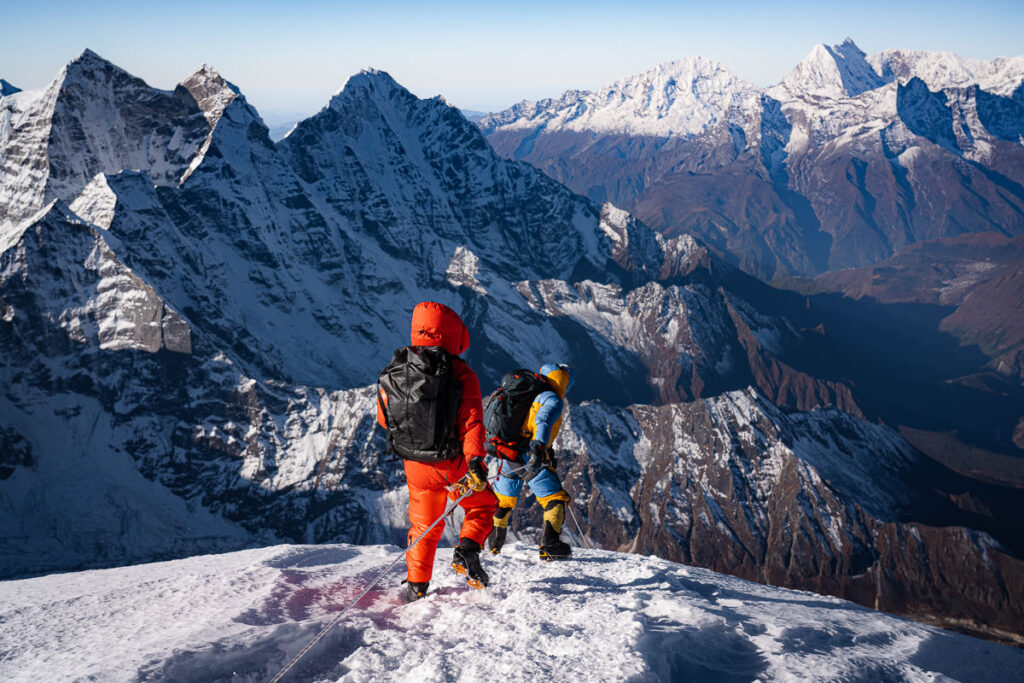
At 3 am we woke with the wind still blowing heavily. Our guides seemed unperturbed so we got our gear together, had a quick coffee, and set off for our summit push just after three. The climb begins in the dark, which was helpful because we couldn’t see the horrific scale of the steep wall we were attempting to climb. It’s an alpine ice and snow climbing ascent with the use of a fixed rope and jumar.
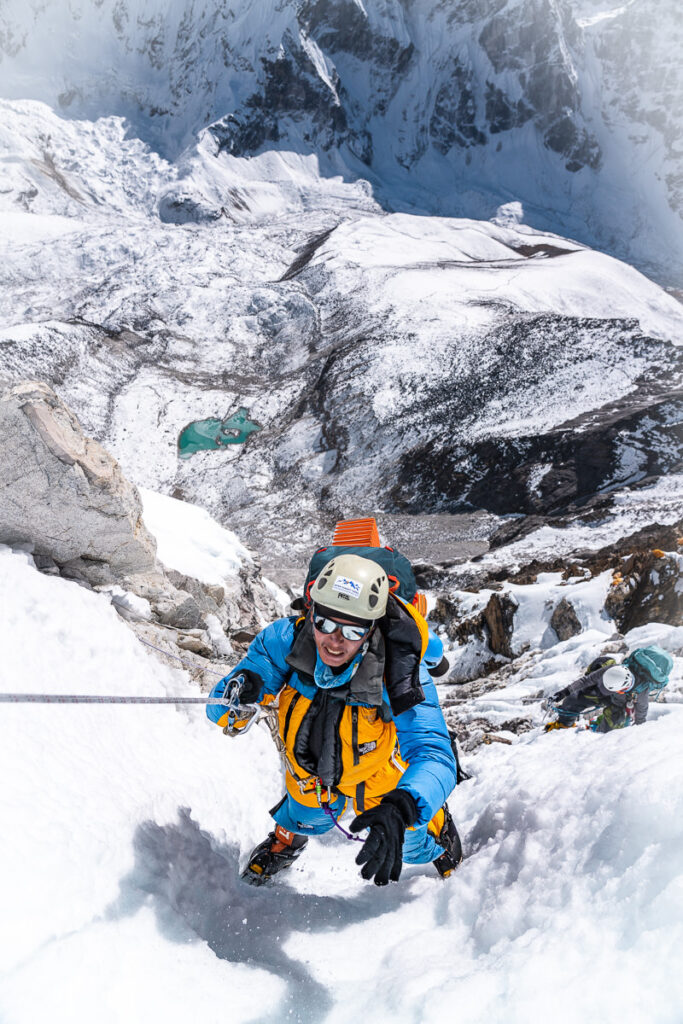
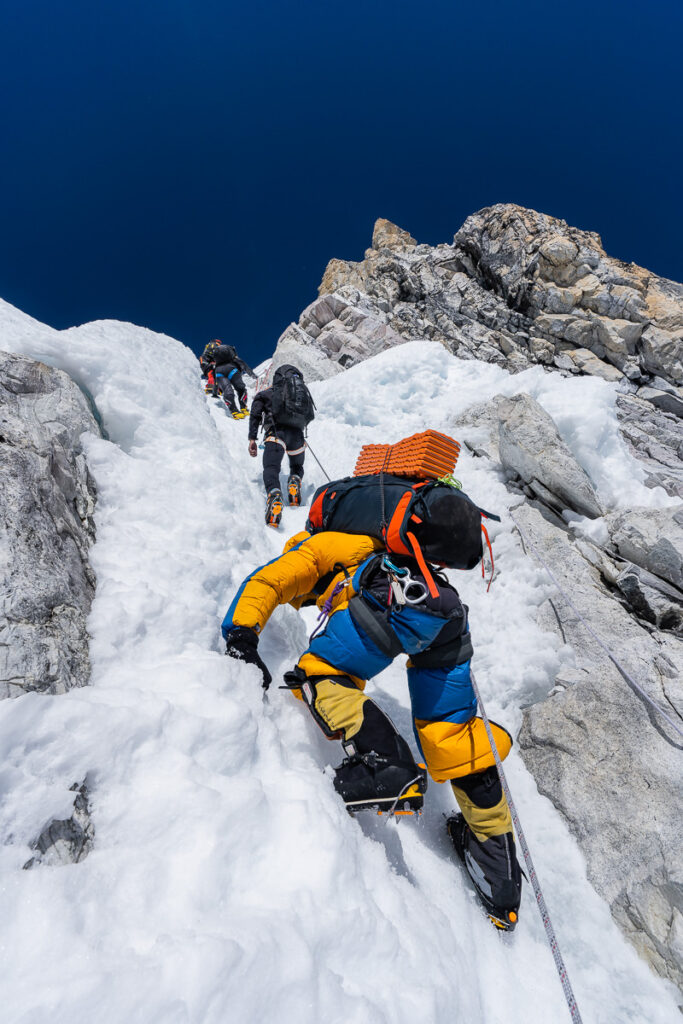
Personally, I found the ascent from Camp Three to be the hardest part of the climb. For four hours it was a relentlessly steep climb with no rest and no flat areas to catch the breath. It was just a never-ending series of snow steps to continue powering up.
Our Sherpas cruised up hardly raising a breath but we managed 10 steps at a time in our best moments as we huffed and puffed our way further up to the peak. We took these photos on the way back down once the light came out to show the steep ascent. When we climbed up, the entire route was dark until the last few moments before the summit.
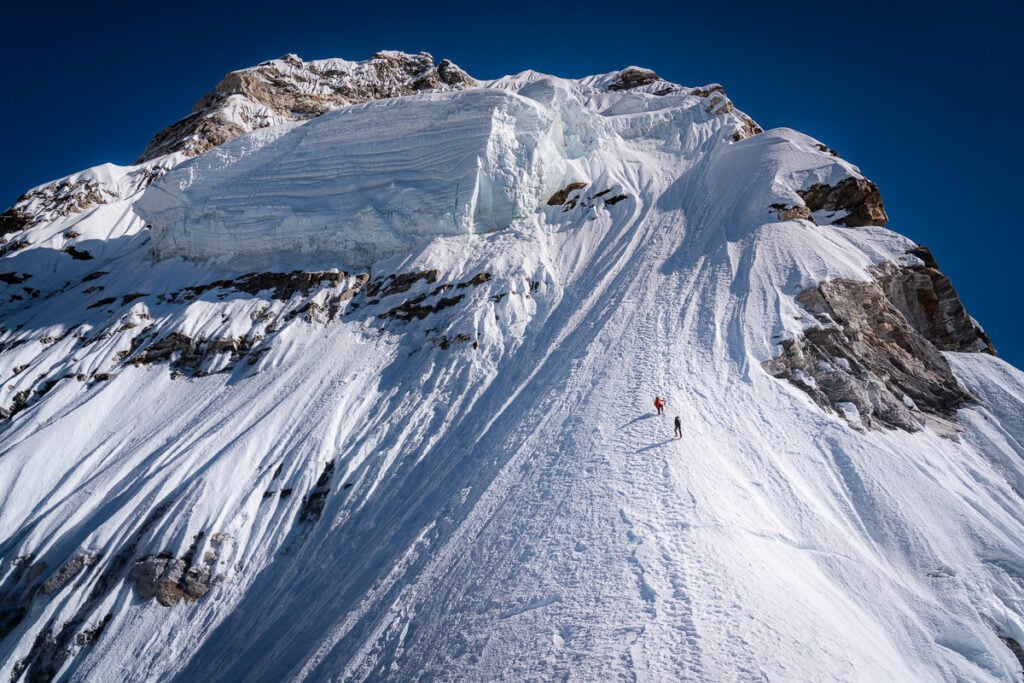
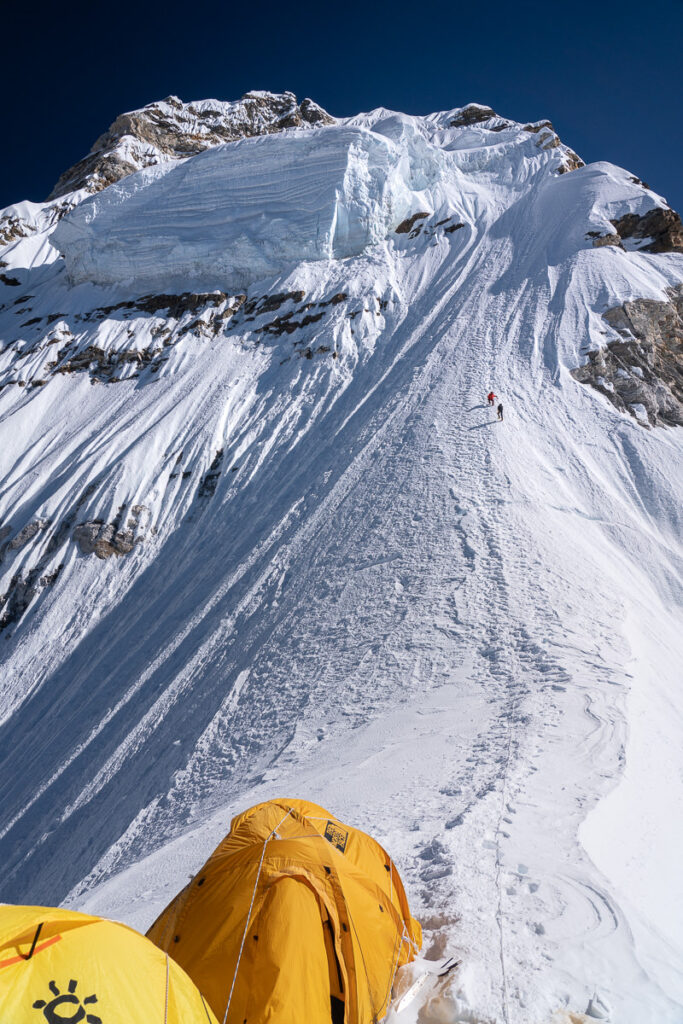
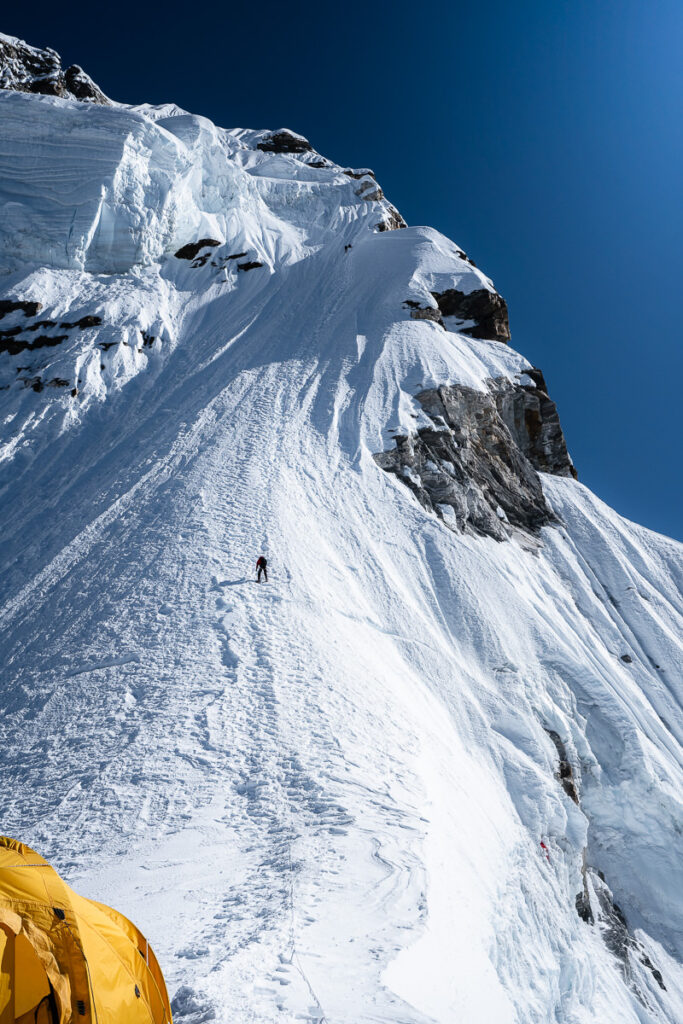
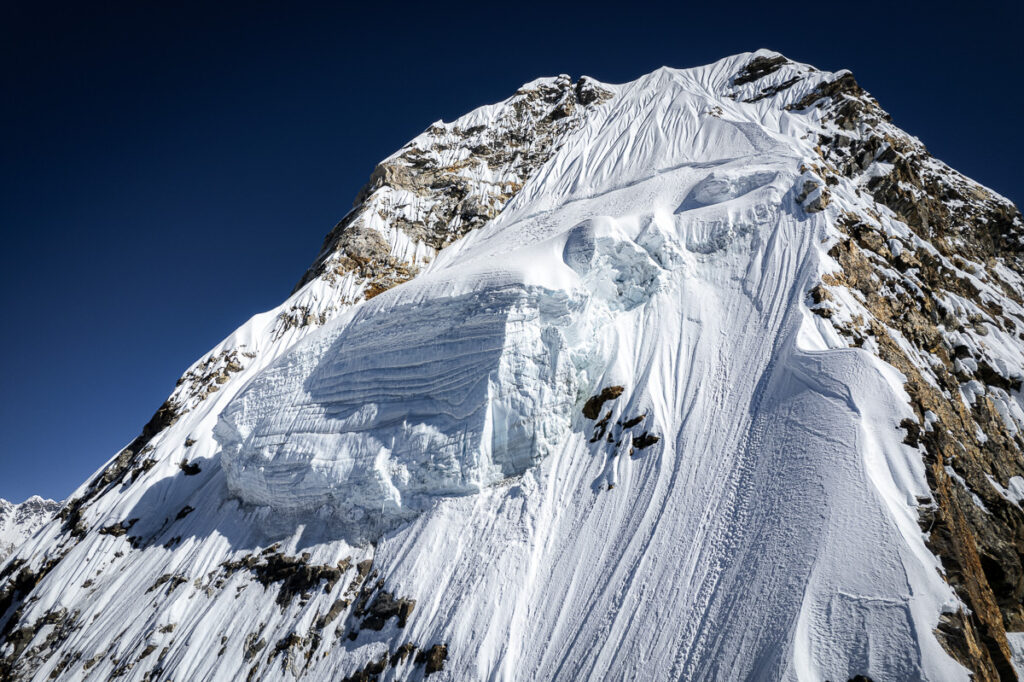
It was around 7:30 am when we clambered over the final ridge and gathered together on the summit. The sun had now risen after we enjoyed a beautiful morning glow and sunrise. The summit is quite flat with a large area in each direction before any drop-off. Nevertheless, we all clipped in carefully to an anchor or to each other.
The views from Ama Dablam are more than just a sea of Himalayan peaks. From the top, you can spot Everest, Makalu, Island Peak, and many more notable mountains to climb in the future. Unfortunately, the summit was way too windy and I couldn’t fly the drone or it would’ve ended up on the other side of the Himalayas!
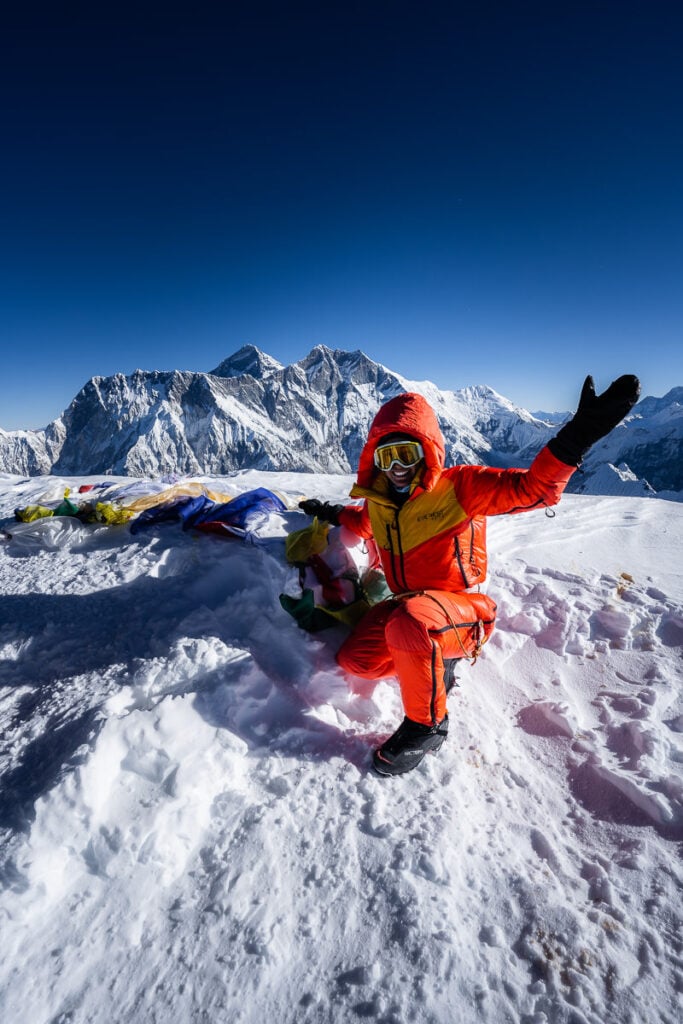
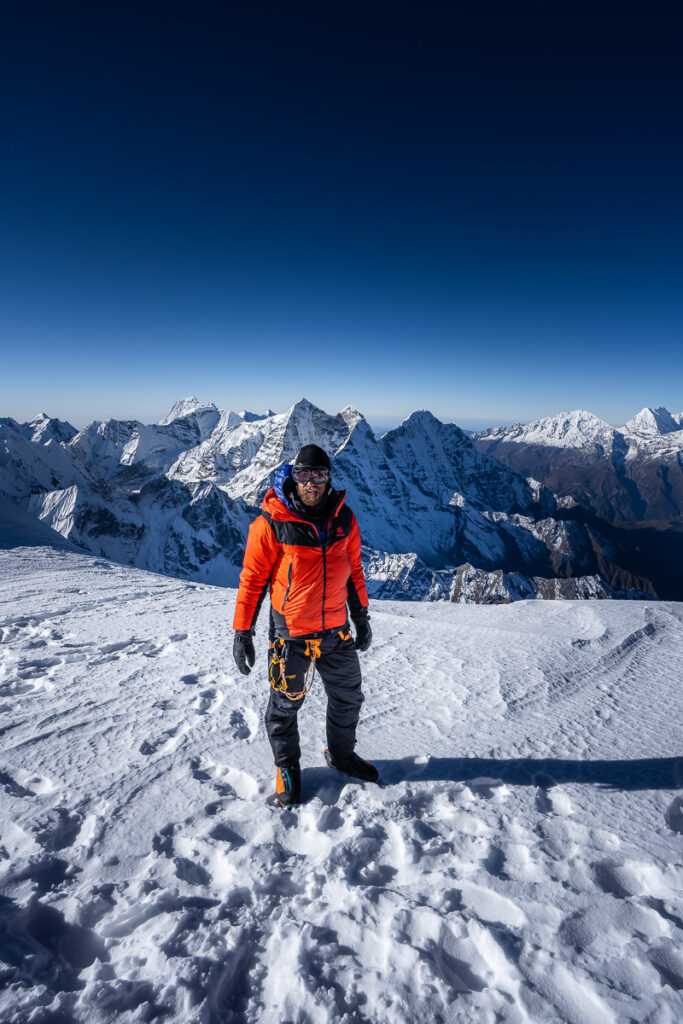
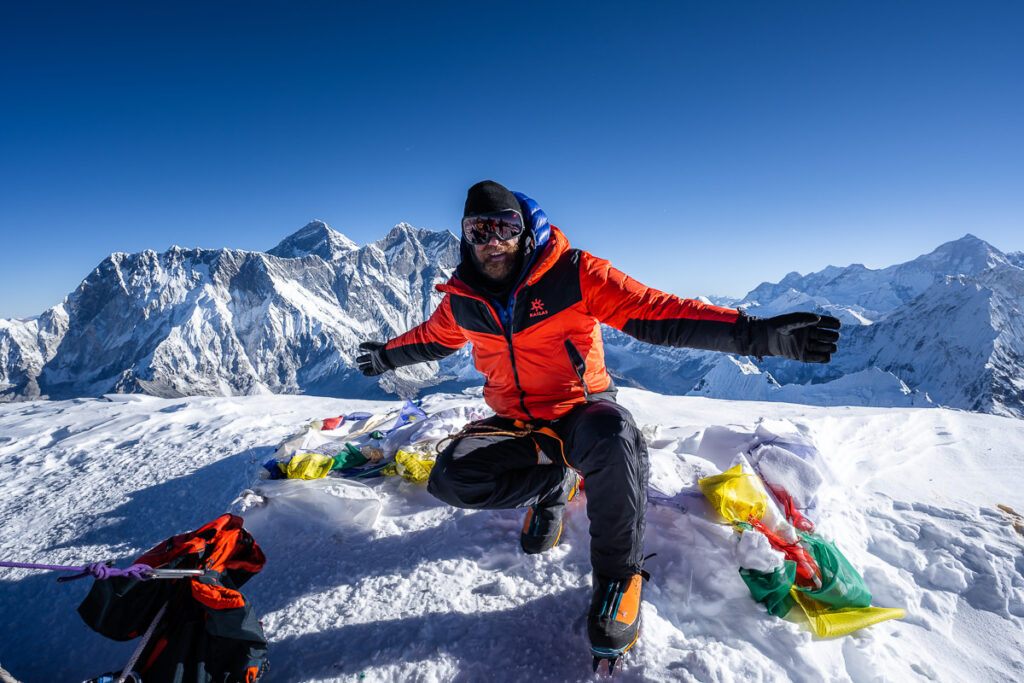
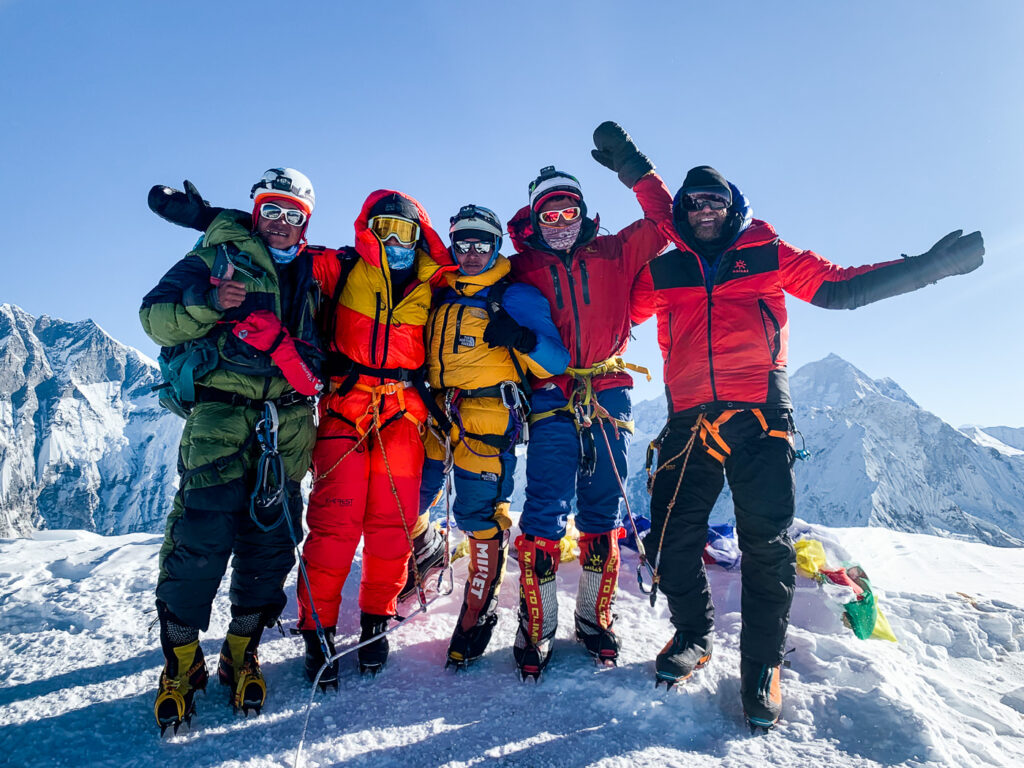
It is highly suggested to get back down as far on the mountain as possible that same day. We managed to reach back to Ama Dablam Base Camp just after dark even with a couple of drone flights and a meal at Camp One. Having a comfy bed and the safety of 4600m of altitude is the reward compared to sleeping again at Camp Three or Camp Two due to fatigue. The journey down was long but the beer back at base camp was rewarding enough.
WHICH COMPANY I CLIMBED WITH FOR AMA DABLAM
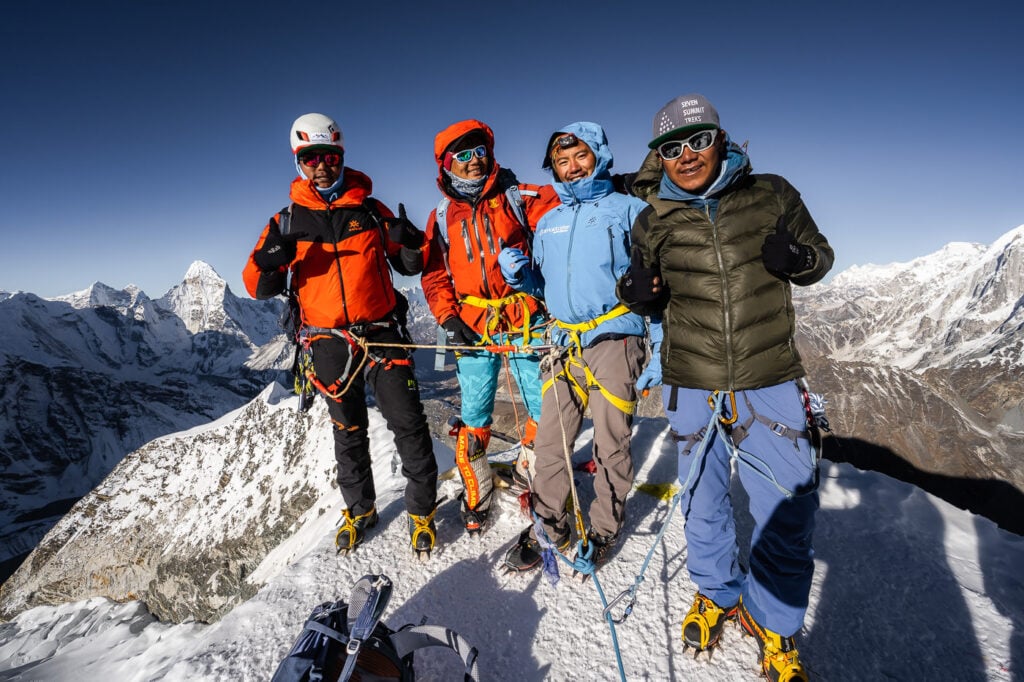
I climbed Ama Dablam with Seven Summit Treks who are the top Nepali climbing company in the country. They offer expeditions to all of the 8000m peaks and many other climbs, treks, and logistical services. This was my third expedition in Nepal and Pakistan and definitely the best and most well-organized.
Seven Summit Treks were very detailed and had everything sorted. Their basecamp setup at Ama Dablam was by far the most extensive with dome tents for the mess hall, WiFi, great food at mealtimes, and snacks always available.
The main thing I loved about Seven Summit Treks was the variety of climbers joining the company. Throughout the expedition, we shared the mess hall with professional alpinists and beginners looking to climb their first peak. Everyone mixed together and had space when they needed private time.
It was a very relaxed atmosphere with no ego, drama, or politics amongst decision-making that I had seen and experienced among other companies on the mountain. It was overall a great experience and I’d love to do more expeditions with Seven Summit Treks.
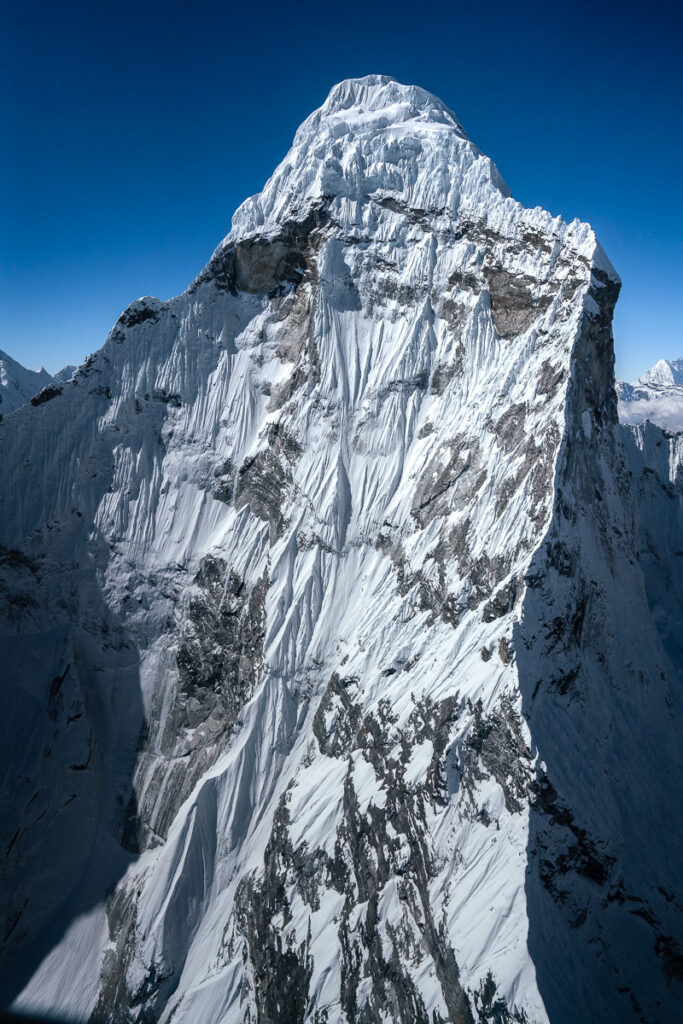
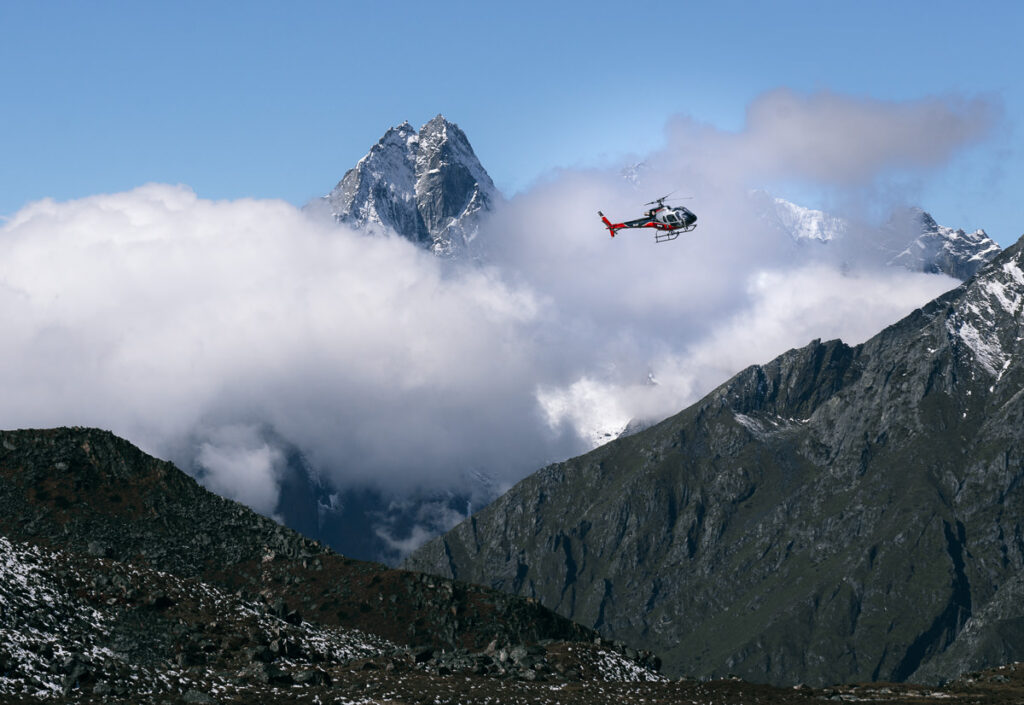
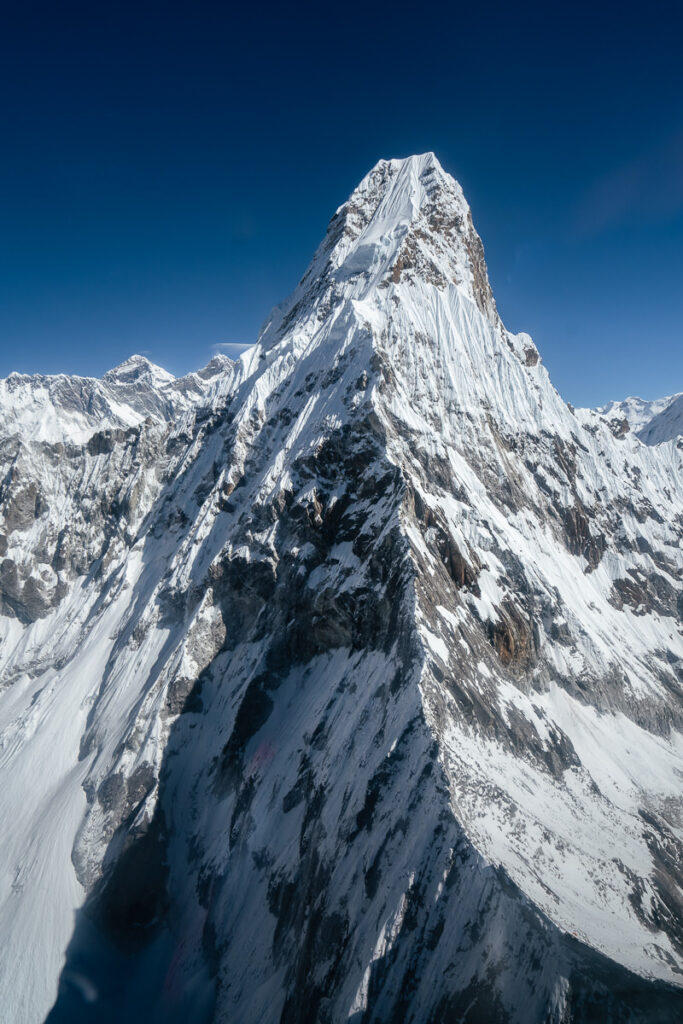
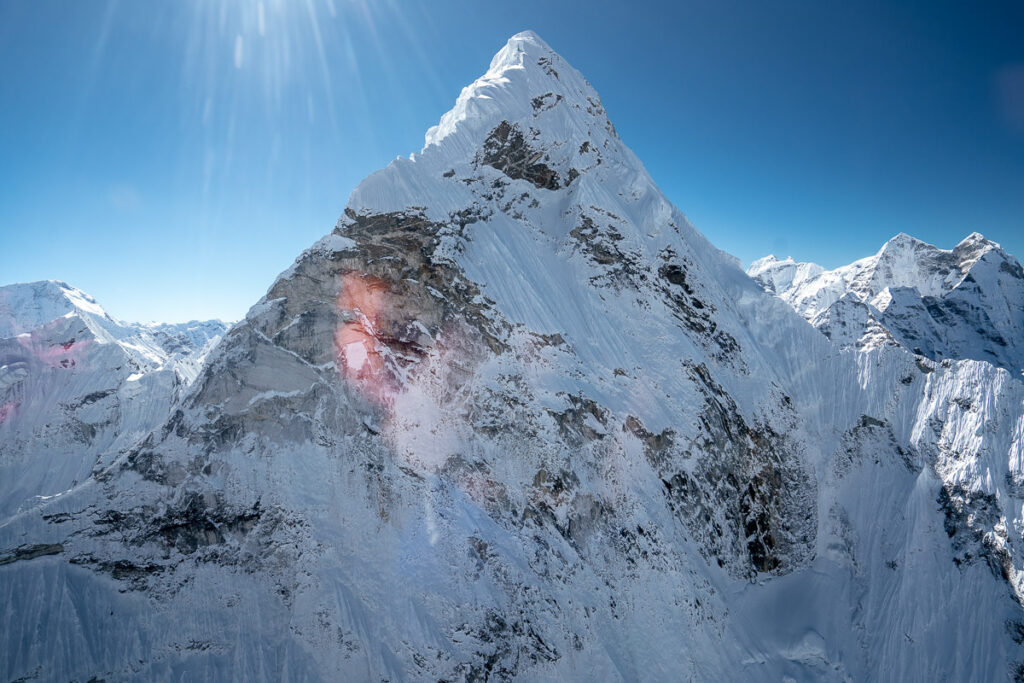
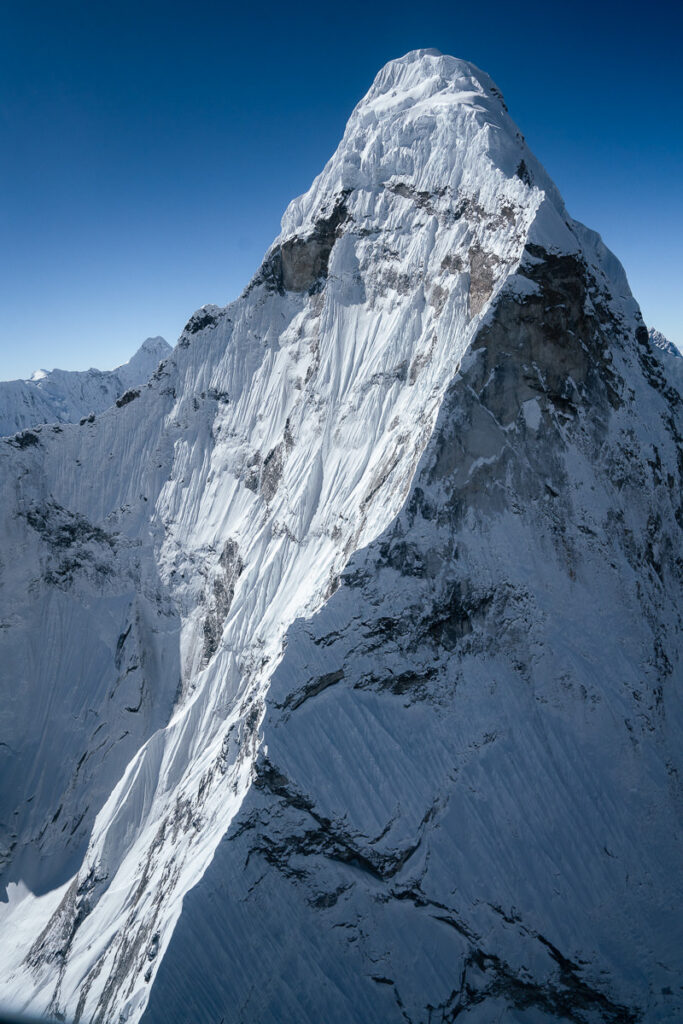
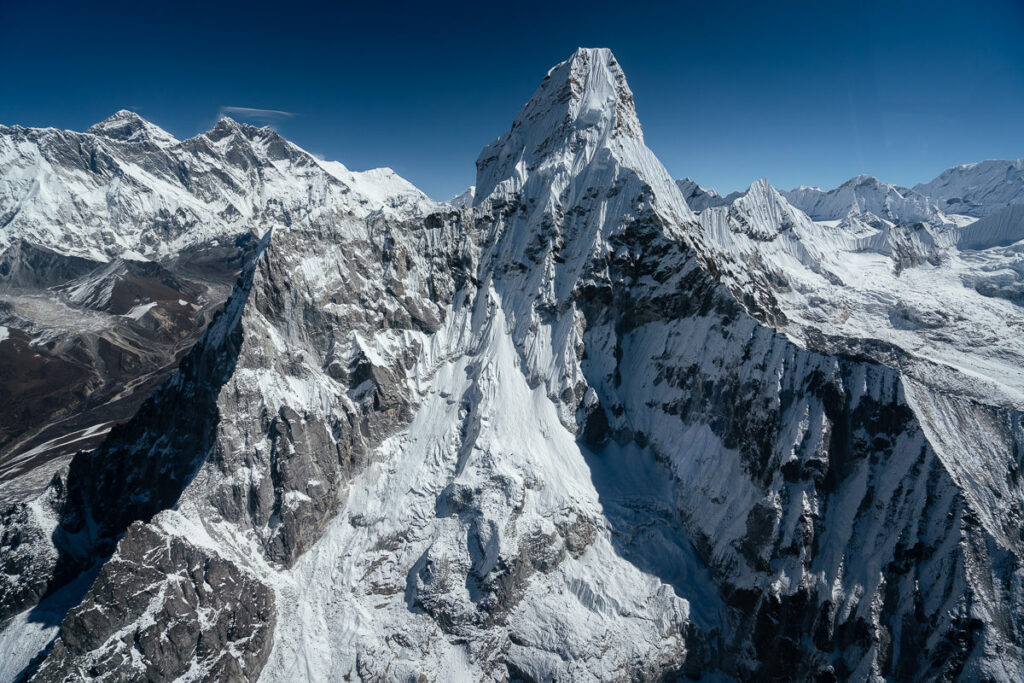
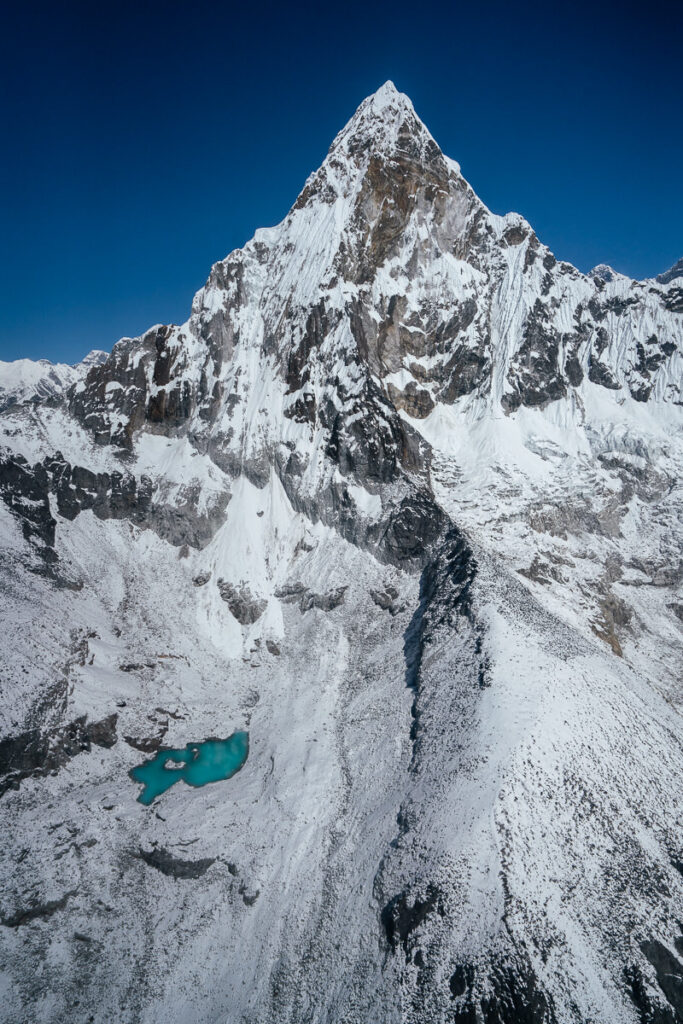
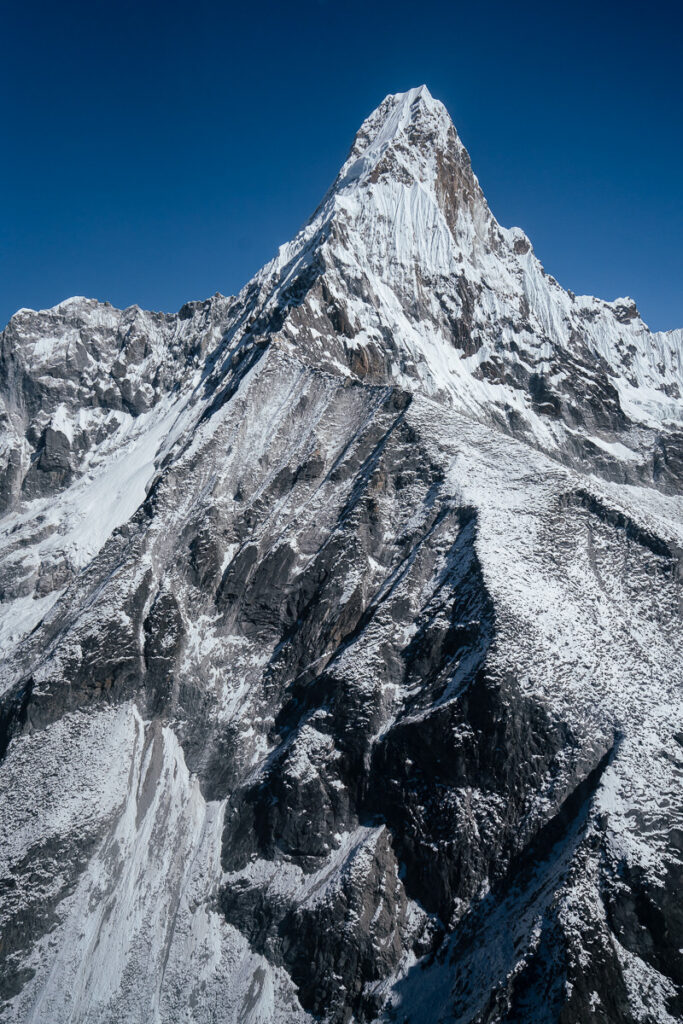
There was one more highlight from our time at Ama Dablam Base Camp. One of the owners of Seven Summit Treks, Tashi, gave us the opportunity to do a quick 360-degree lap around Ama Dablam in a helicopter tour. We were able to see just how dramatic all of the ridges leading up the peak were and had great views of the alpine lake below the mountain. These are a few of the photos and videos from this amazing helicopter flight.

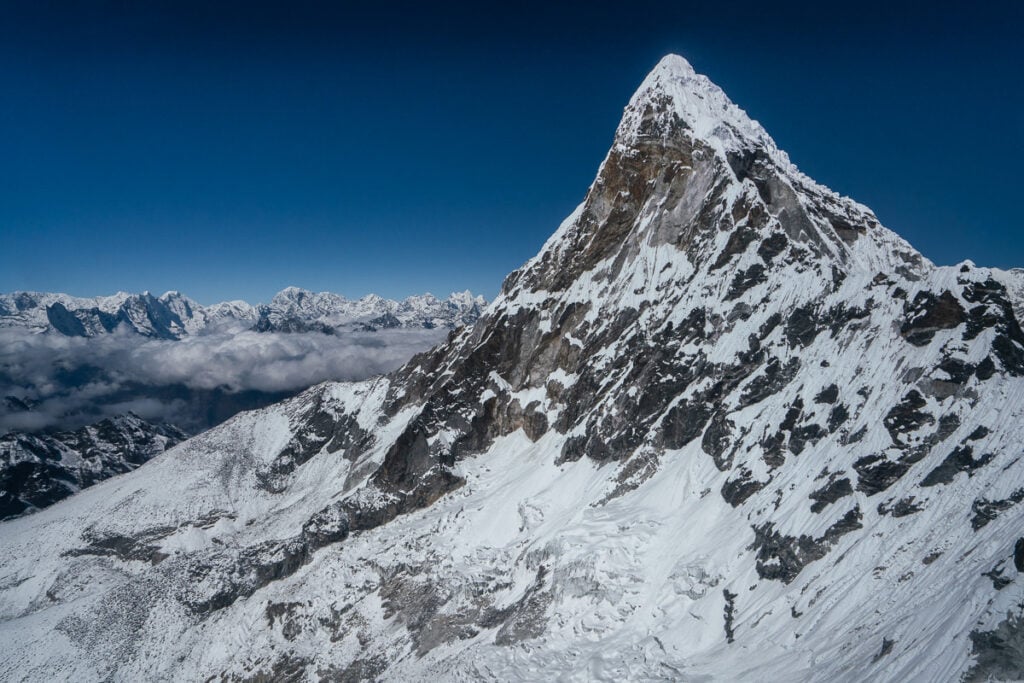
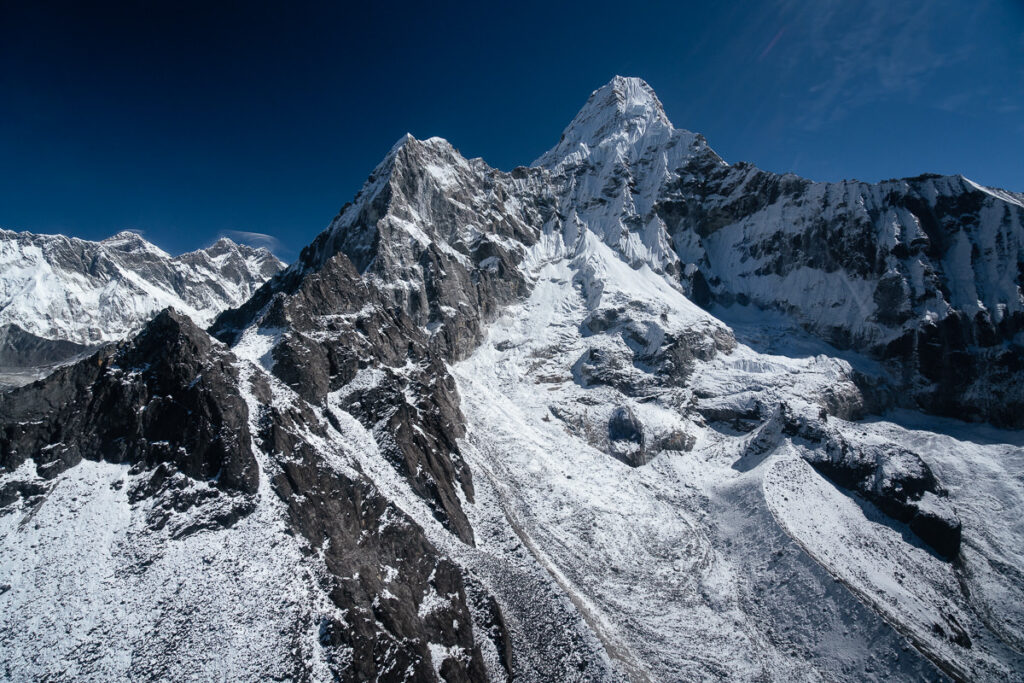
That is the end of our Ama Dablam journey. Our month in the Himalayas was one we will never forget. I hope this guide gave you some insights into the climb and that you will be encouraged to give it a crack yourself. Happy climbing and stay safe out there.
HAVE YOU READ MY OTHER NEPAL BLOGS?
I’ve been lucky enough to have many awesome adventures in Nepal, which you can check out below where I’ve listed some of my favorite blog poss from Nepal.
- The Most Iconic route: Everest Base Camp Trek
- The Most Scenic Route: Annapurna Circuit Trek
- My Favorite Trek in Nepal: Manaslu Circuit Trek
- An Easy Nepal Trek: Langtang Valley Trek
- A great beginner peak: Island Peak Climb (6,165m)
- My Favorite Climb in Nepal: Climbing Ama Dablam (6,812m)
- My first 8000er: Climbing Manaslu (8,163m)
- My toughest climb in Nepal: Climbing Makalu (8,463m)
- Where to stay: 16 Best Places to Stay in Kathmandu

TOP 3 PLACES TO STAY IN KATHMANDU

- Ultimate Luxury: The Dwarika’s Hotel – Luxury, Spa-service, Pool
- Best Value: Aloft Kathmandu Thamel – Swimming Pool, Gym & Great Restuarant
- Budget Choice: Hotel Jampa is easily the top cheap hotel in Kathmandu

acevisiontreks
Sunday 4th of December 2022
Hi Thank you so much for visiting the Himalayan country Nepal and mountaineering at Ama Dablam, which is known as the technical Peak around Everest Region. How about your thoughts about Technical?
Patrisia
Friday 17th of June 2022
Came here from Pema's YouTube! I'm planning to go up Ama Dablam hopefully this October. What kind of down jacket did you use up there because I'm mostly scared of the cold.
Sara
Thursday 14th of April 2022
Great experience, and great photos. Music no so good. More appropriate if you used traditional Nepalese music in honor of her allowing you passage.
Mike from Canada
Thursday 7th of April 2022
This is a really nice overview of the technical challenges, logistics, etc. I initially thought that this mountain was for experienced and elite mountaineers only but it sounds like it’s attainable for those who are fit and have a moderate amount of experience on lower to mid-range peaks.
Also, your photos are absolutely stunning. I see that in one of your pictures you carried a digital SLR (at least on your trek in). That additional weight was well worth it!
Pat
Tuesday 5th of April 2022
What boot did you use?
I like Scarpa phantom 6000 , Is it good enough to climb Ama dablam?