The Philippines is one of the most amazing tropical locations to travel around. From beaches to waterfalls to hikes you are going to enjoy non-stop adventures. There are literally hundreds of amazing islands to visit but for this itinerary, I have chosen the most popular spots such as. Cebu, Bohol, El Nido, and Coron.
This Philippines Travel Itinerary starts off in Cebu City but you could land into Manila. There will likely be many things you change from this itinerary and I have tried to make it very simple and not on a strict timeline. That’s how it goes in the Philippines. Often you hear about a waterfall or get invited on an island hopping trip you hadn’t planned on. It’s best to have a plan but don’t be too strict on your timeline.
I’ve also included some handy travel tips for the Philippines at the bottom of this Philippines Travel Itinerary.
Wondering what Camera and Photography Gear I take all my photos with while traveling around the world? Click Here to view my detailed guide about all of the gear I use and recommend for travel photography.
My travel insurance: One last thing before you get started! Have you got your travel insurance yet? You can Click Here to find out how I get the best deal on travel insurance, which insurance recommend using in Southeast Asia and why I never travel without it. *This blog post involves photos of my bike crash.
What to pack for the Philippines?: After four trips to the Philippines, there are some items you NEED to pack. You can Click Here to view my recommended Philippines Packing List.
THE ULTIMATE PHILIPPINES TRAVEL ITINERARY
CEBU CITY
Land at Cebu Airport
Take Public Transport directly to Alegria: 4 hours
- Taxi to Cebu South Bus Terminal: $4
- Bus to Matutinao $4
- Bus to Alegria $2
If you want to book a transfer from Cebu Airport in advance Click Here for the most recommended (and cheapest) private taxi service from the airport to South Cebu.
ALEGRIA (or Moalboal, which is an alternative town nearby)
Why you should stay in Alegria: Alegria is the perfect base to start your adventures. In this region are several key tourist attractions and epic adventures. The most well-known attraction in this area and one of the must-see spots in the Philippines is Kawasan Falls. Alegria is also close to Mainit Hot Springs and is a good jump-off spot for the sunrise trek up Osmena Peak.
How long to stay: I recommend two days in Alegria. One day to do the canyoneering adventure from Badian to Kawasan Falls and one day to do the Osmena Peak hike for sunrise and Mainit Hot Springs later in the day. There are other waterfalls accessible by bus but those are the three key spots to visit nearby Alegria.
Where to stay: I stayed at an awesome accommodation for super Cheap and highly recommend this spot. For $7 USD a night we stayed at D’Allegre Travellers Inn, a wooden guest house that rose above the ocean on stilts. Each night the sunset over the ocean from our patio and we couldn’t help but feel we were underpaying for our accommodation.
What to do:
- Canyoneering at Kawasan Falls
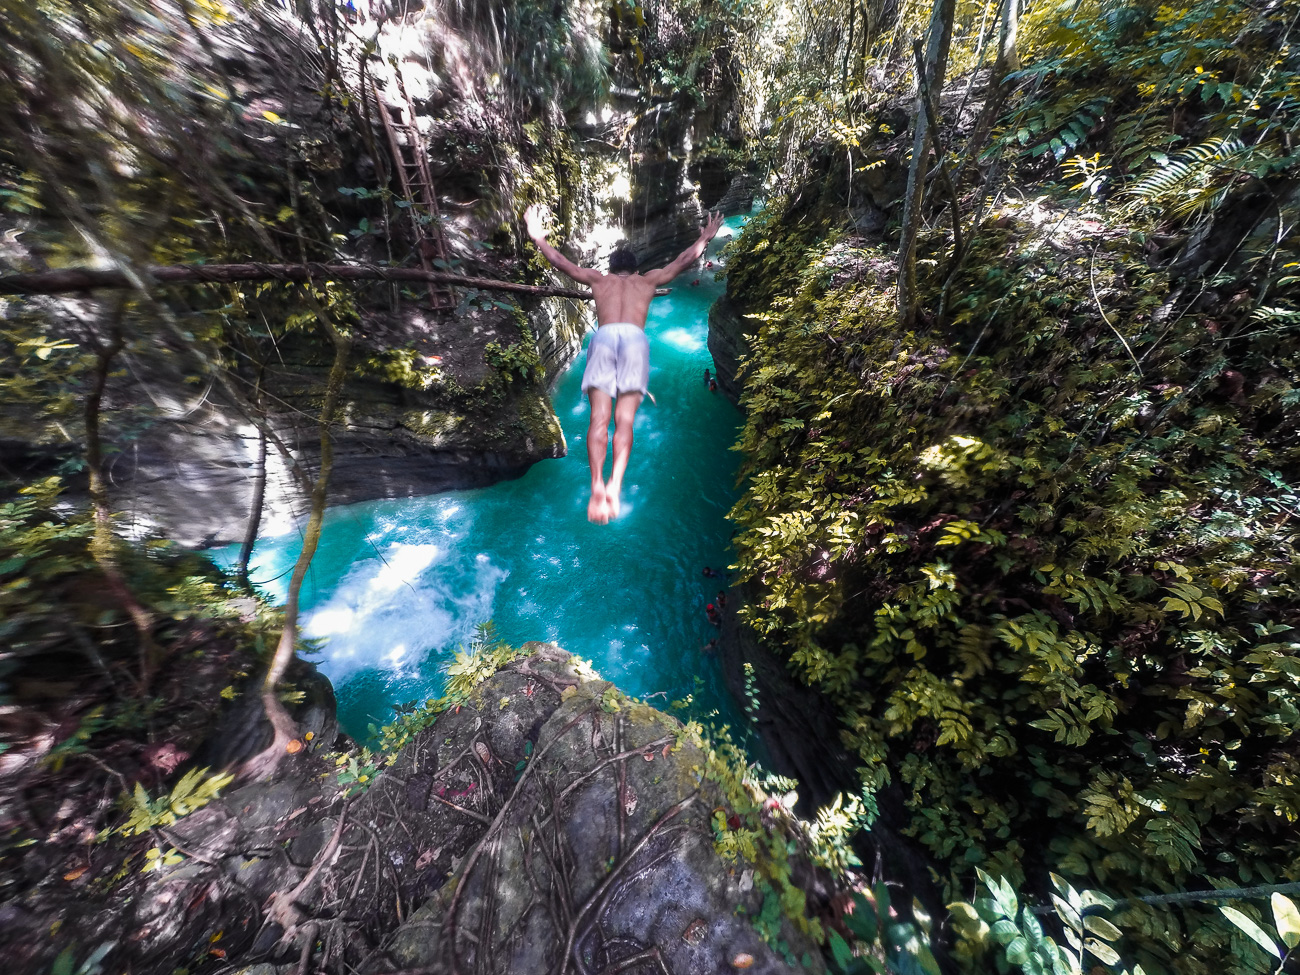
While still staying in Alegria we visited a town just north called Badian. Famous for the spectacularly blue Kawasan Falls. We planned to do a canyoneering adventure from Alegria to Kawasan that cost about $25 USD. After a few communication breakdowns with tour agents, we were finally taken to a village in the jungle where locals had a community discussion for about twenty minutes over who would be our guides. In the end, four young guys in jeans and flip-flops took the lead and we began our canyoneering adventure.
My Recommended and the TOP-RATED Kawasan Falls Canyoneering tour in Cebu for under $40: Click Here to book
This was definitely a highlight of the Philippines backpacking trip. The adventure began by jumping into the vibrant blue water of the river. From that point on we floated, jumped and climbed our way down the river.
All the time guided brilliantly by our expert local guides. The highest jumps were 50ft but they were optional. The highest jump that everybody had to make to continue the course was only about 10-15 feet.
Halfway through the tour, our guides let us loose as it was mostly just walking and wading in the water to come. We didn’t need any more guidance about where to land or how to stay safe, so we spent the next hour nomadically exploring the canyons.
After 4 hours we finally arrived at Kawasan Falls and celebrated by finishing the day of canyoneering with one last 45 ft jump into Kawasan Second Falls.
View Full blog post: CANYONEERING AT KAWASAN FALLS
- Freedriving or Snorkeling with the Sardine Balls in Moalboal
In Moalboal town, just 30m from shore, you can swim out in the water and dive down. What you will find is tens of thousands of sardines, clustered in what they call ‘balls’. The sardines all move in unison and it is a truly unique experience to watch this natural phenomenom.
You can rent the snorkel gear for a few dollars from any of the local scuba shops but don’t pay for a tour. You literally swim out 20m from the scuba shops and you are right there. If you can’t swim well maybe you will pay for a lifejacket and a guide.
- Mainit Hot Spring in Malabuyoc
A 15-minute bus ride away from D’Allegre (costing less than $1) you will head to Mainit Hot Springs. A short walk through the jungle and you will arrive at some amazing hot springs, surrounded by lush greenery and a waterfall.
The Hot Springs were steaming. So hot we could hardly sit in some of the springs which ranged from 38-42 degrees Celsius. Set in a rainforest just beyond a local village we could feel this was just the beginning of an amazing trip
Need more information? Here is my detailed blog post: MAINIT HOT SPRINGS IN MALABUYOC

- Sunrise hike at Osmena Peak
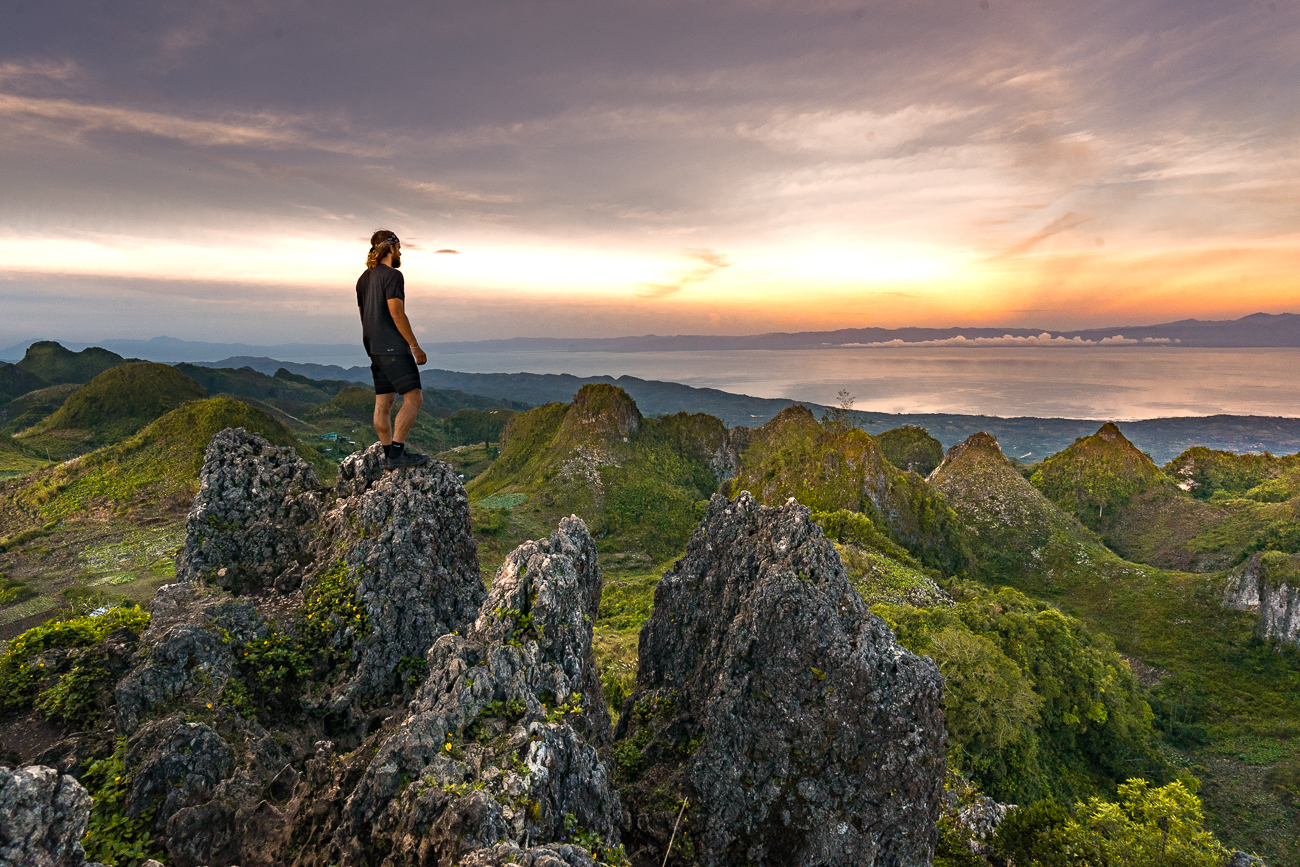
Our next adventure began at 3:30 am the next morning. Jorden and I crammed onto the back of a motorbike with our expert driver. An hour cruise in the dark through the mountains and a complete loss of feeling in my butt had us arriving at the base of Osmena Peak in Guadalupe.
The Peak is known for having amazing panoramic views across jagged cliff lines and the ocean. We were told it would be best for sunrise and we were left speechless by the scene from the summit of the short 20-minute trek.
Need more information? Here is my detailed blog post: OSMEÑA PEAK IN CEBU
- Waterfall chasing
Near Alegria and Moalboal you will find so many amazing waterfalls. I have listed a number of them below and you can click these links to find out more detailed information about them. They are all able to be reached by motorbike or tricycle from Moalboal/Alegria towns. You can’t really go wrong with what one you choose to fit in your schedule.
If you have time you can actually do Dao, Binalayan, and Aguinid all in one day but Inambakan and Kabutongan take about half a day minimum.
View full blog post about: Dao Waterfall trek
View full blog post about: Binalayan Waterfall
View full blog post about: Inambakan Falls
View full blog post about: Aguinid Falls
View full blog post about: Kabutongan Falls
Transport:
To get around Alegria/Moalboal you can walk to all of the restaurants nearby, which are within a 2-3km distance. Tricycles will regularly pass by, which will take you a couple of kilometers for a dollar or two if you prefer not to walk.
Tricycles can also transit you from town to town for journeys more than an hour and will cost from $5 upwards depending on your destination.
The south end of Cebu has one main road that runs along the coast. You can get on a bud that is going in the right direction and you just need to yell when you want to get off. You will pay from $1-5 depending on how long you rode the bus.
OSLOB
Alegria to Oslob: To transit from Alegria to Oslob you can take the bus or a private tricycle. The private tricycle cost $10 USD for the journey split by two of us.
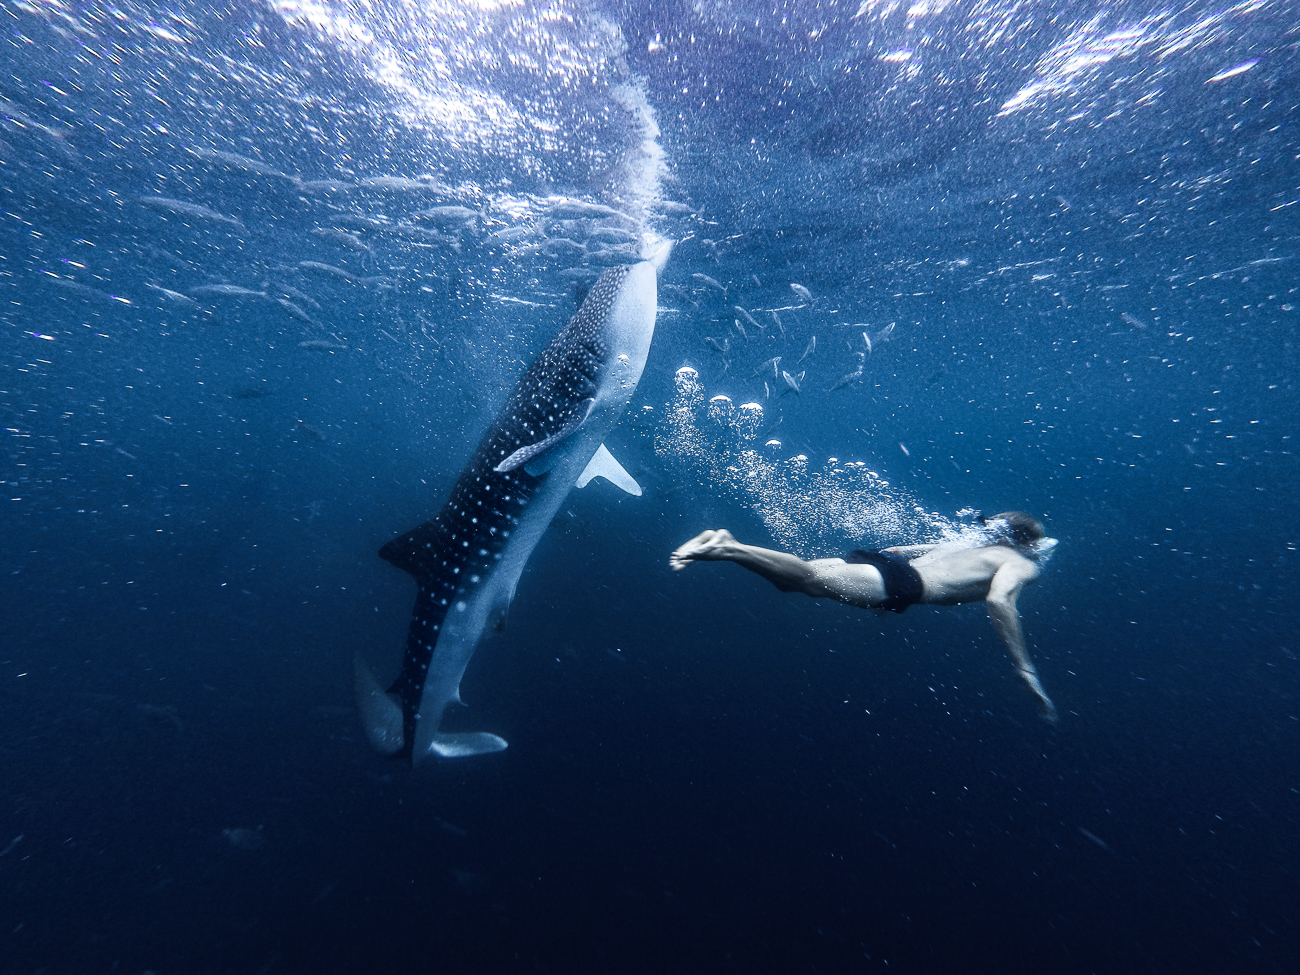
Why you should stay in Oslob: Oslob has long been known as the whale-shark capital of the Philippines. It processes the most tourist swims with whale sharks in the entire country. However, because the procedure at Oslob involves feeding the whale sharks and can be intrusive to their environment it is definitely a contentious issue. Having said that, there is still a reason to travel to Oslob aside from the whale sharks.
Without going into too much depth. The whale sharks are better off than when they were being hunted. They are also better off now than 2 years ago when the whale shark tourism was a circus. Oslob now has pretty strict rules and while it is definitely not perfect it is getting better every year and the sharks are not harassed or touched.. only fed.
Sumilon island is a short boat trip away and it is also a good base for your transfer to Bohol, the local way. There are also several waterfalls in the area if you do stay more than one day in Oslob such as Tumalog Falls.
How long to stay: 1-2 nights
Where to stay: I stayed at a cheap hostel right next to the beach. From here I took a day-trip out to Sumilon Island. The hostel was called Sharky Hostel and was only $8 per night for a dorm room.
There are also multiple higher-end accommodations right on the beach in Oslob such as Sascha’s Resort, which has a pool and a really fun atmosphere if you want to splash a little more cash.
What to do:
- Visit Sumilon Island
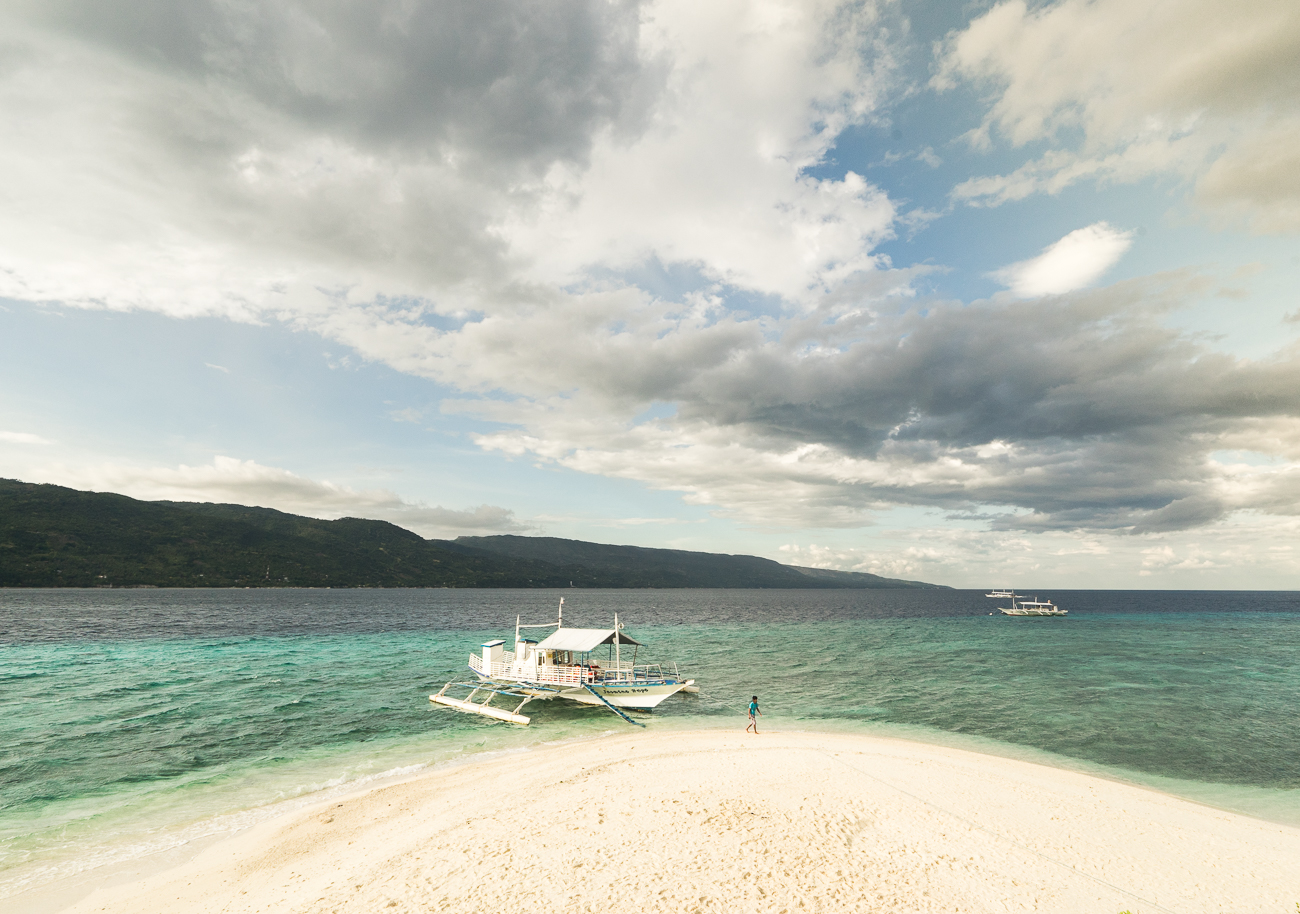
The boat ride to Sumilon island is only 15 or so minutes and I drove the boat for five or so minutes in the middle of the ocean. Music was playing on board and everyone was having a great time.
The tour to Sumilon Island costs about $15 per person return trip and runs for about half a day depending on your tour. Once you are at the island, you can relax, hang out in the crystal clear water, unwind and enjoy your isolated island looking back towards Oslob.
You can actually book a day-tour to Sumilon Island to visit the sandbar and snorkel spots. You can click here to book your tour to Sumilon Island
View the full blog post here: SUMILON ISLAND PHOTO BLOG
- Tumalog Falls
Tumalog Falls is one of the most impressive waterfalls on Cebu. You can swim here and enjoy the morning after swimming with the whale sharks. It only costs $1 for entry and is just a 10-minute drive from the whale shark area.
- Swim with Whale Sharks
The experience costs about $20 if you are already in Oslob. If you are in Cebu City you can CLICK HERE for the number one rated tour, which includes a fully guided day tour that also includes Kawasan Falls. This tour will pick you up from your hotel in Cebu City and show you all the sights including the whale shark experience.
Transport:
To get around Oslob you can walk to all of the restaurants nearby, which are within a 1km distance. Tricycles will regularly pass by, which will take you a couple of kilometers for a dollar or two if you prefer not to walk.
Tricycles can also transit you from town to town for journeys more than an hour and will cost from $5 upwards depending on your destination.
The south end of Cebu has one main road that runs along the coast. You can get on a bud that is going in the right direction and just yell when you want to get off. You will pay from $1-5 depending on how long you rode the bus.
BOHOL
Oslob to Bohol: To transit from Oslob Bohol you have several options. There is the budget option, which is a $5 seat on a local fishing boat that goes straight from Oslob to Bohol. It won’t be advertised anywhere and some people might tell you it’s not possible.
Essentially it is possible if someone is going that route. If not they probably won’t consider it worth it for $5. But for an extra $5 if a fishing boat is already going to Bohol they will throw you in for some extra cash. Doing this transit saves you from the inconvenience of the second option.
You can ask around at your accommodation or key local figures if it is possible to take a boat to Bohol and they will point you in the right direction but there is currently no tour operator offering such a service. There is often a ferry direct to Bohol from Oslob now but it is not guaranteed.
The second option is to take the bus all the way back to Cebu ferry terminal, which takes over two hours and then to catch a ferry all the way to Bohol, which takes another two hours, not including waiting periods. Essentially you will lose a day of your travels if you have to go back to Cebu City and you will be waiting on hot buses.
Why you should stay in Bohol: Bohol is an amazing little island with so many draw-cards. The biggest drawcard is the world-famous Chocolate Hills. However, other attractions are the epic waterfalls of Bohol.
The island is also home to a unique animal, the incredibly tiny and cute Tarsier. A man-made tree tunnel, island hopping, scuba dive scene, and reggae beach bars make Bohol an action-packed part of your Philippines trip!
How long to stay: 4-5 nights
Where to stay:
Bohol Beach Club – Luxury: It’s everything you would expect from a luxury resort in a tropical location. It’s beachside with amazing pools, bars and chill-out areas. Right near the restaurants, bars and action of Alona Beach but hidden away so that you can relax after a day of island-hopping or adventures.
Venezia Suites – Value: The Venezia Suits present the best value on Bohol. If you are looking for luxury but only want to spend mid-range often you need to get lucky. Venezia will hook you up with a beautiful suite that comes with a pool and living space. It’s a damn good deal and located right near all the action of Panglao so you are in a good spot.
HM & B Backpackers Inn: As a backpacker generally you check price, location and cleanliness. HM & B ticks all those boxes as one of the cheapest hostels near Alona Beach but also maintains good reviews, cleanliness and is pretty cheap compared to everything else near Alona Beach.
If you want to have a look for yourself you can click here to jump over to Booking.com to check out all of the accommodation options for Bohol.
What to do:
- Chocolate Hills
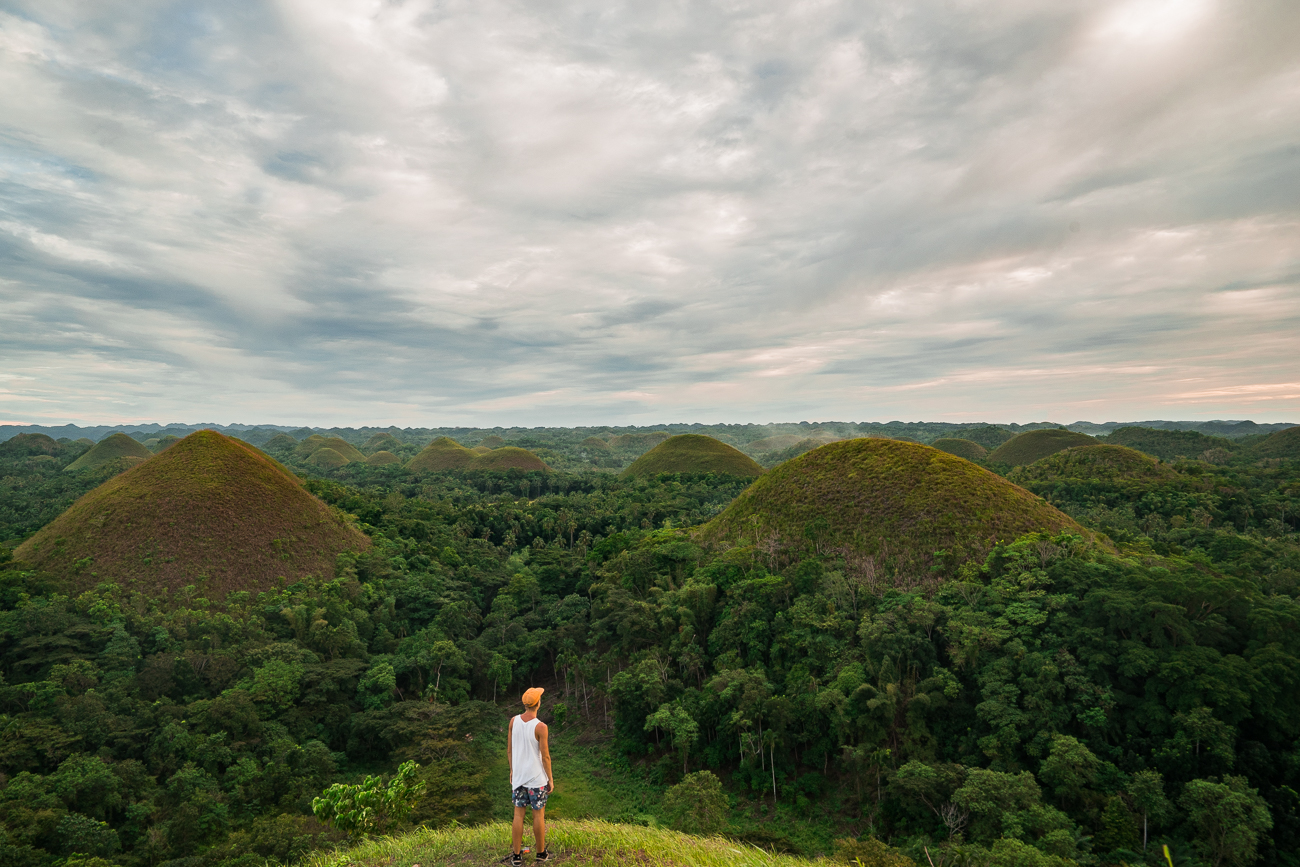
Chocolate Hills wasn’t quite as impressive as I had imagined and we were a little underwhelmed after such a long day of driving, it was still an interesting landscape. It is constantly rated as one of the best things to do on Bohol and even one of the best places to visit in the Philippines. Maybe my expectations were so high because of how many people had recommended it.
The sunset wasn’t prolific, but that’s the luck of the draw. It was a beautiful view and a type of landscape I had never laid eyes on before. The drive home in the dark was a crazy experience, which I also don’t suggest if you aren’t up for a challenge.
I think the key here is that in the rainy season the hills are a little less chocolate and a little more green. It was still an amazing landscape and any adventure on Bohol is fun. I had just seen a few photos online where the brown of the hills was very distinct and as you can see it wasn’t quite like that in reality when I visited. It’s a long drive from Alona Beach, so if you are staying there, make sure you plan a few other spots along the way like Twin Falls in Dimi Ao or the Tarsier sanctuary to make the journey worth it.
One of the best ways to visit Chocolate Hills is with a Bohol Countryside Tour. This tour is great because you get to do a lot just in one day for under $30! In just one day your countryside tour will take you to the following places.
- Visit the historical Blood Compact Shrine, and learn about the story behind its name
- Marvel at the Neoclassical architecture of the Baclayon Church, which was completed in 1727
- See the world-famous Chocolate Hills with its 1,268 cone-shaped hills that turn brown in the summer
- Stroll through the beautiful Bilar Manmade Forest, a mahogany forest stretching in 2 kilometers long
- Enjoy a delicious local buffet lunch on a floating restaurant that cruises through the Loboc River
- Meet the tarsiers at the Philippine Tarsier Sanctuary, which was built to protect the world’s smallest primates
To book your countryside tour, (I think it is the best value tour you will find on Bohol!) you can Click Here to book online.
Read the full blog post: CHOCOLATE HILLS – WAS THE JOURNEY WORTH IT?
- Twin Falls
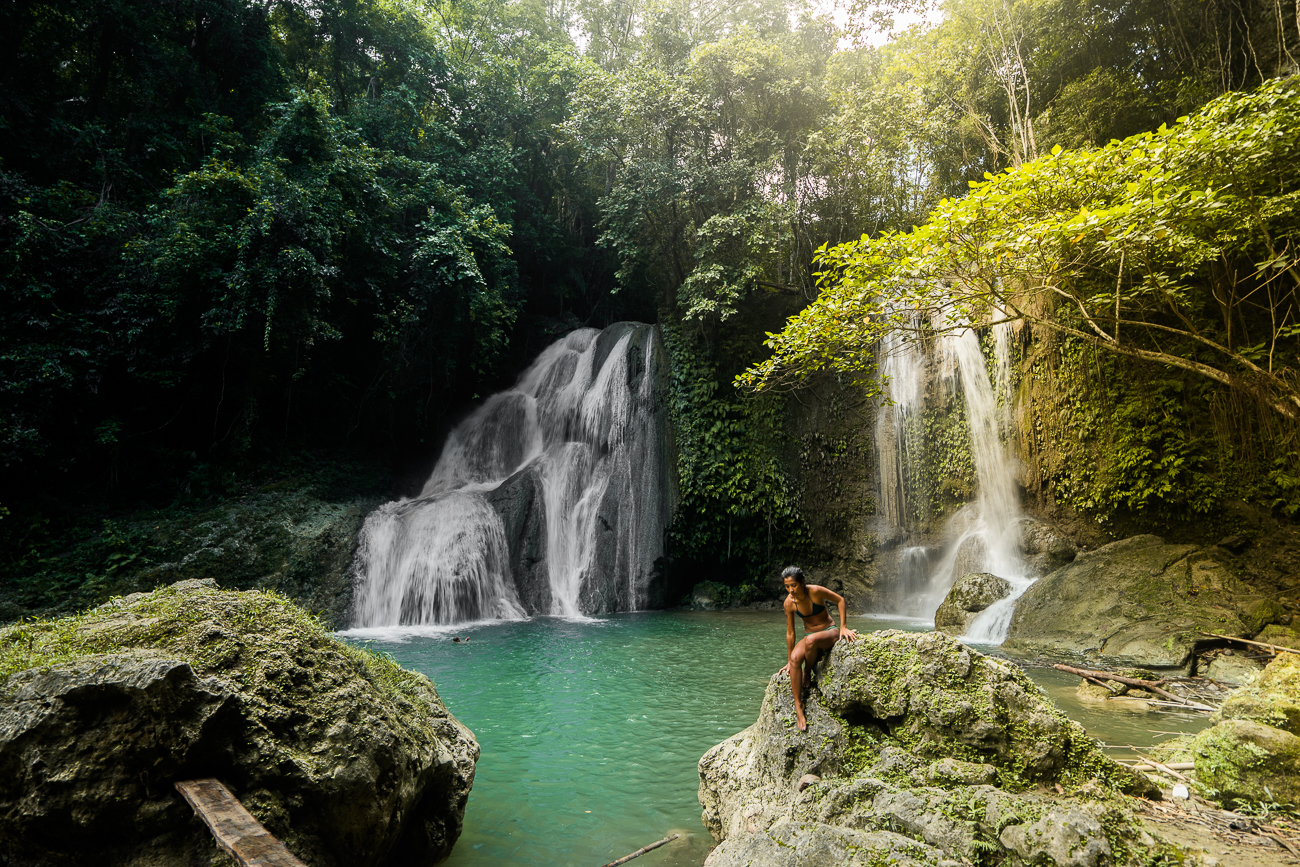
Twin Falls is one of the most popular waterfalls on the island of Bohol. Two giant falls pour down into a giant pool. It’s a great spot for exploring with rocks, ledges, and bridges throughout the area. The entrance was free on the day I went but this may have changed as often waterfalls have an entrance fee of a couple of dollars.
- Hinagdanan Cave
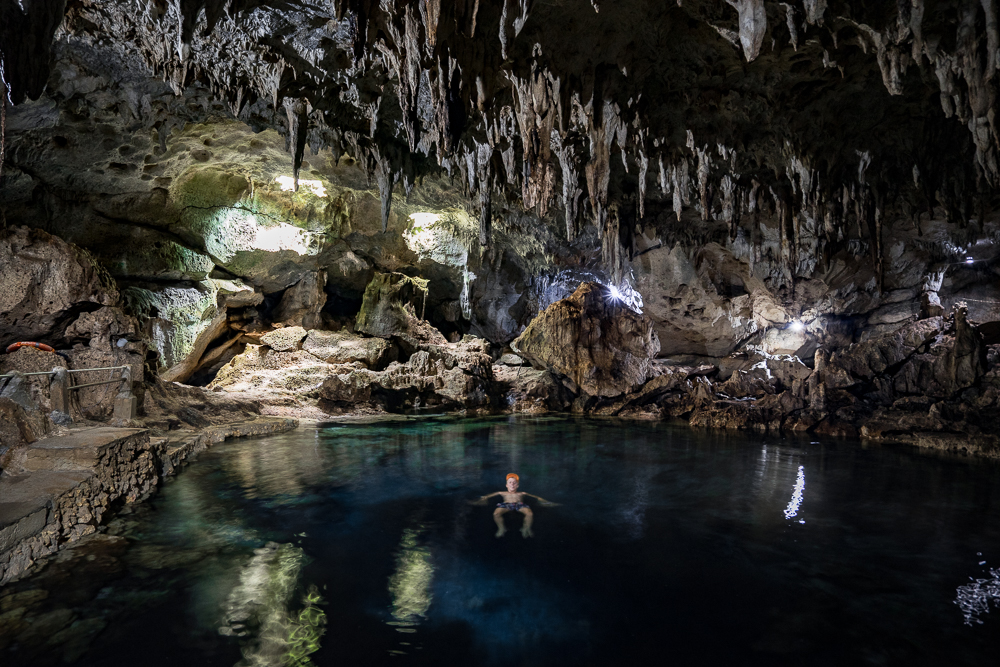
Hinagdanan Cave is on the way to all of the waterfalls, Chocolate Hills and pretty much everything from Alona Beach. It is overflowing with tourists most of the time but somehow we entered the cave and we enjoyed it all to ourselves for a good fifteen minutes before more than 40 nervous tourists huddled around the pool as we backflipped and dove into the crystal clear water.
It costs $3 to enter the caves and is about 30 minutes drive away from Alona Beach
- Balicasag Island Hopping
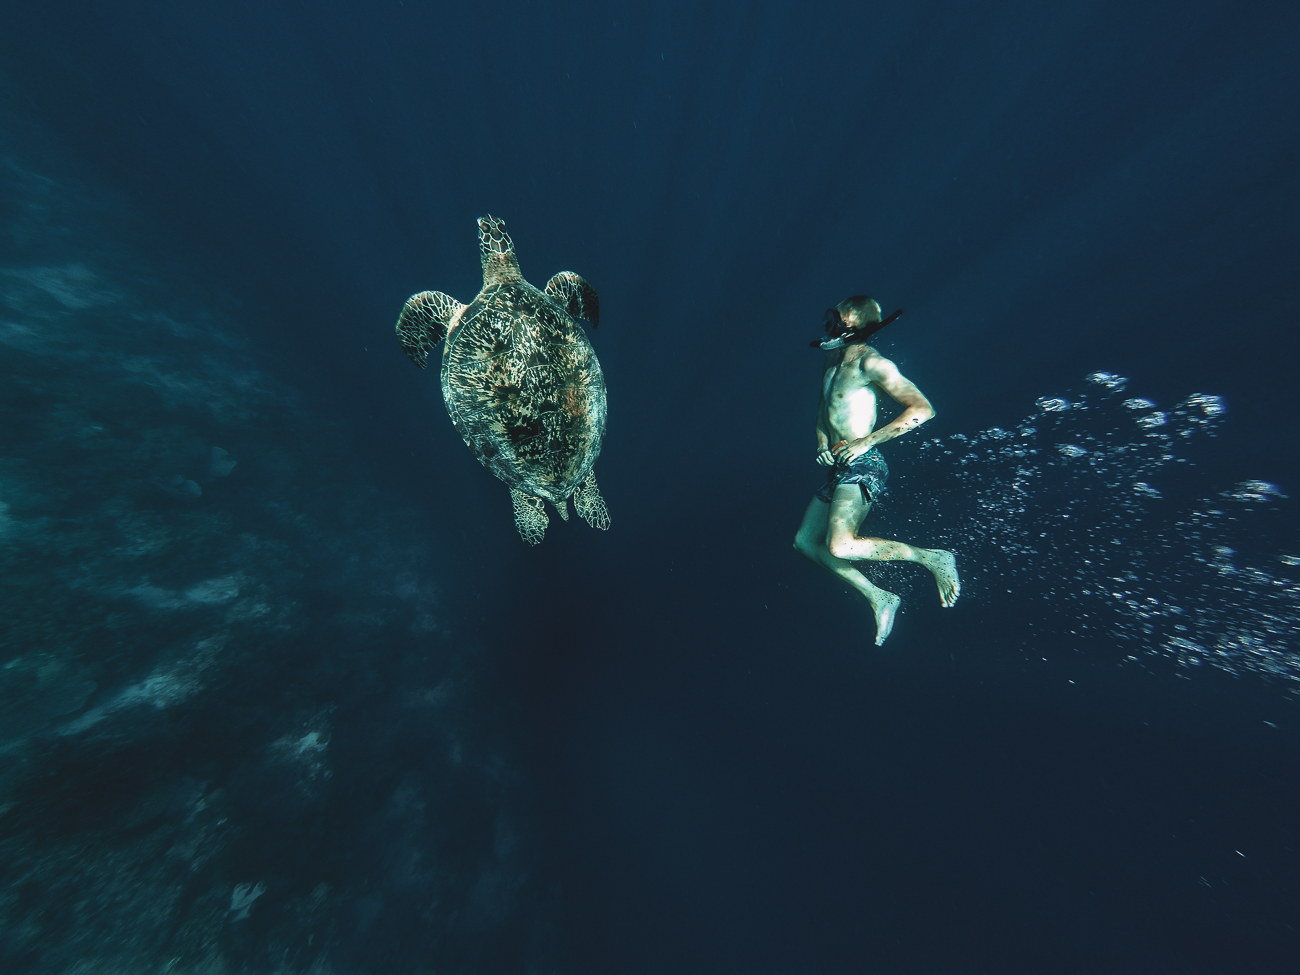
Balicasag Island is a small island with amazing water clarity and coral gardens for snorkeling. There were plenty of turtles swimming amongst the coral and swarms of colorful fish.
One of the turtles we swam with was enormous. Use my friend Jorden as a scale. Even having lived in Hawaii for two years I never saw a turtle quite that big. A huge wall drops off about fifty meters from the shore, which was a fun spot to do some free-diving exploration.
The Day trip begins with dolphin watching near Bohol and then heads to Balicasag for snorkeling before finishing at Virgin Island, which is a sandbar. If you want to book this tour online in advance you can check the rates and availability of the top-rated tour by Clicking Here.
Read the full blog post: VIRGIN ISLAND BOHOL & BALICASAG ISLAND DAYTRIP
- Man-Made Tree Tunnel
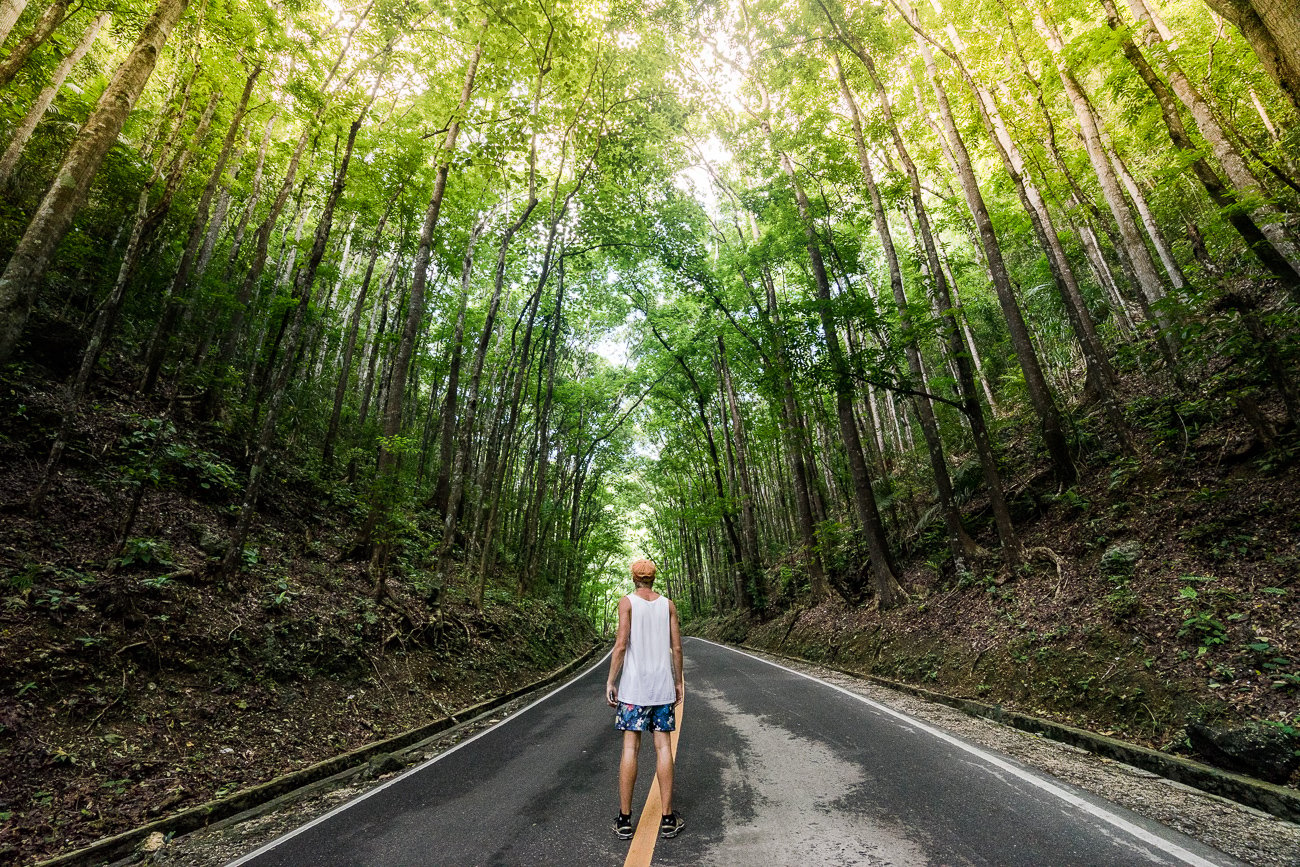
While I was expecting a scene a little more magnificent the drive through the man-made forest is worth the journey if you are heading north from Alona Beach. Gigantic trees create a natural tunnel. Crickets and birds chirp incessantly as you make your way through the long tunnel. Entrance is free as this is just a regular road you will likely need to use to get to Chocolate Hills.
Transport:
To get around Bohol you can walk to all of the restaurants nearby on Alona beach, which are within a 1km distance.
The best thing to do is to rent a moped or motorbike. For $25, we rented a motorbike for 5 days while we were in Bohol and it gave us the freedom to explore all of the attractions at our leisure.
You could also rent a car or join a tour group if you prefer not to ride a motorbike.
EL NIDO
Bohol to El Nido: This is a rough transit. Unfortunately, there aren’t too many ways around this. You are switching regions completely but after this big transit, it will only be short transits from this point forward.
You will need to take a taxi for $10 to Tagbilaran ferry port and catch the ferry from Tagbilaran, Bohol to Cebu City. It takes 2 hours and costs $15.
From Cebu City, you will fly to Puerto Princesa and then the fun part begins. You have a 6-hour van ride, crammed in with other tourists to reach El Nido. The van from Puerto Princesa to El Nido costs $15-20 USD. The van will drop you 10 minutes outside of El Nido town and you can take a tricycle for a few dollars into the town to find your accommodation.
So most people fly into Puerto and then head to either El Nido for the island hopping or to Sabang to see the famous underground river. For both of these destinations, you will book a seat in a shared van unless you are fancy with your own private car. This is a Philippines backpacking guide so I will assume you are choosing the van. The links below let you book the van online the night before and are about the same as the price you will find from the guy on the street who likely won’t have an A/C fan or will cram an extra tourist in the car.
How to get to Sabang from Puerto Princesa: Click here
How to get to El Nido from Puerto Princesa: Click here
You can do this all in one day if you organize everything correctly and there are no delays. So essentially, you can make it from Bohol in the morning to El Nido in the evening if everything goes to plan.
Why you should stay in El Nido: El Nido is one of the most amazing spots in the world. The island hopping in El Nido is some of the best I have ever done in the world. It is getting a little crowded these days but it is still beautiful and well worth the visit.
How long to stay: 3-5 nights
Where to stay: I stayed at the Spin Designer Hostel. The vibes at this hostel were about adventuring during the day and partying at night. The staff helped to book tours cheaper than the vendors on the street and gave discounts if you did multiple tours. If you are looking for a fun and cheap time you can’t go past Spin Designer Hostel. Make sure to book in advance as El Nido does get booked out.
What to do:
I was lucky enough to experience Tour A and Tour C, but I am sure Tour B and D would be awesome as well. In fact, even the day I paddled out on a kayak was amazing so don’t stress about which letter will be the best. It’s El Nido, you are going to be visiting lagoons and beaches that will blow your mind.
I photographed the entire Tour A experience and will now spend the next few paragraphs convincing you why your life needs an El Nido island hopping experience.
El Nido Tour A is the most popular tour as it combines lagoons, snorkeling, and secret beaches.
To book your EL NIDO ISLAND HOPPING A TOUR you can Click Here to check the availability and book online (It’s just $18 USD)
- It includes Three Lagoons at Miniloc Island, Shimizu Island, Snorkel with turtles at Seven Commando Beach, BBQ Lunch
To book your EL NIDO ISLAND HOPPING B TOUR you can Click Here to check the availability and book online (It’s just $18 USD)
- It includes Snake Island, Pinagbuyutan Island, Cudugnon Cave, BBQ Lunch
To book your EL NIDO ISLAND HOPPING C TOUR you can Click Here to check the availability and book online (It’s just $18 USD)
- It includes Helicopter Island, Secret Beach, Matinloc Shrine, Talisay Beach, BBQ Lunch
To book your EL NIDO ISLAND HOPPING D TOUR you can Click Here to check the availability and book online (It’s just $18 USD)
- It includes Cadlao Island, Pasandingan Beach, Small Lagoon, Natnat Beach, BBQ Lunch
- Island Hopping Tour A
As you walk down the street in El Nido Proper, passing by smoothie and barbecue vendors you will be eyed down by tour operators trying to invite you on to Tour A,B,C or D. Throughout your time on El Nido you will become fluent in what each letter represents. The island hopping tours should cost no more than $15 and include a barbecued lunch!
Seven Commando Beach: Coconut trees lined the beach and we, of course, sipped a few on after a quick snorkel. The rocks in El Nido are incredibly sharp almost all over the region, so wear shoes if you are planning on exploring in caves and on rocks like us.
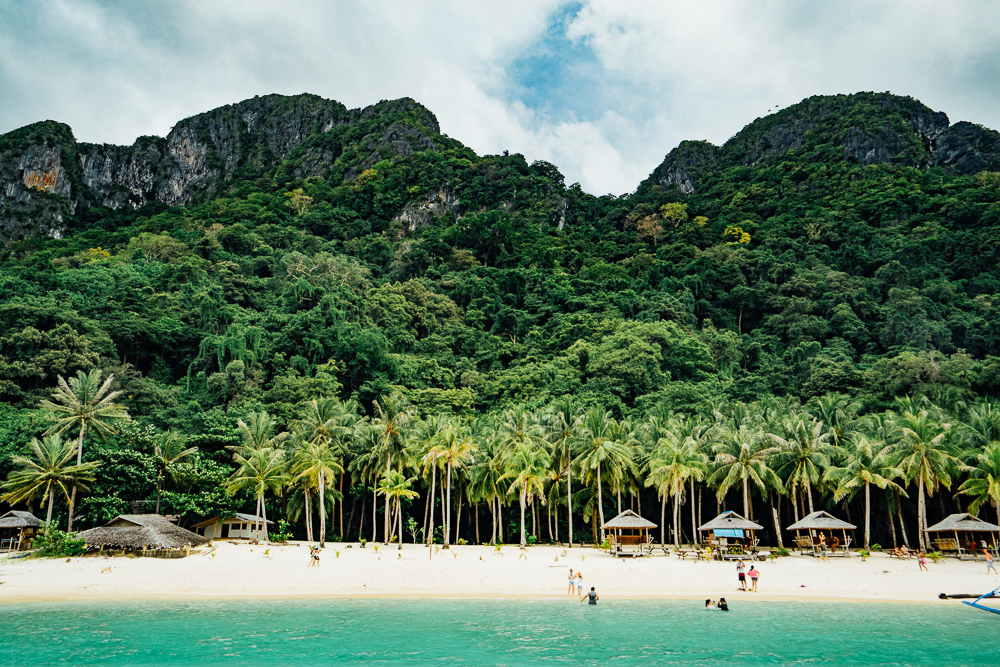
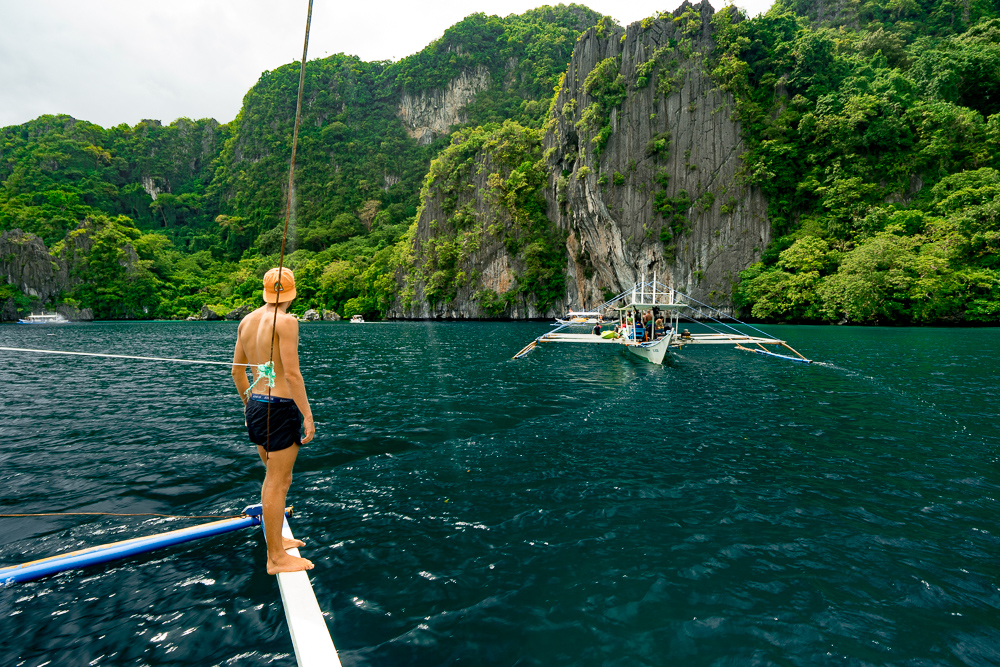
Big Lagoon: Cruising up the lagoon was our first real look at how dramatic the cliffs and landscape was in El Nido. The lagoon has a narrow and the boats manage to navigate alongside each other as everyone on board arches their necks checking out the intense cliffs. The boat glides across the glassy water, almost crystal as the narrow entrance finally opens up into a giant lagoon. The boat did a slow circle in the lagoon letting us take in the sights before heading back out the narrow stretch.
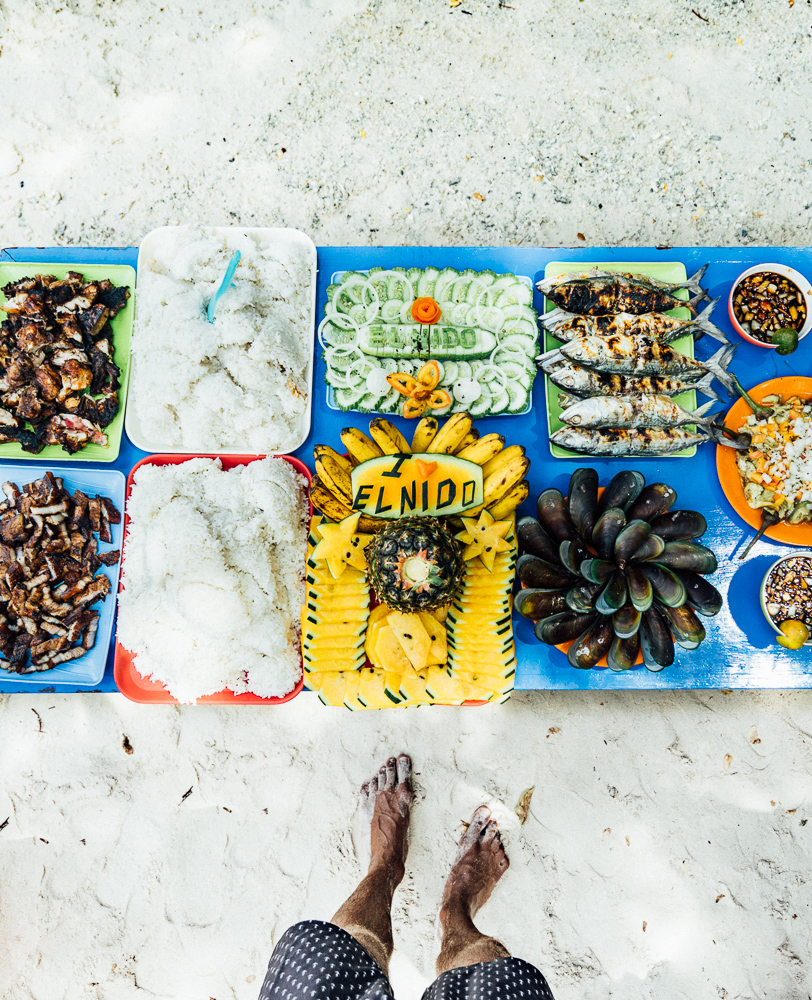
Lunch at Shimizu Island: Our guides had been cooking on the grill all morning as we cruised around from island to island. It was time to see what they had produced. It was an absolute feast.
I’ll be honest I’ve been on some tours where you get a cruddy sandwich and a bag of chips. This blew it out of the water. Grilled pork and chicken, fresh grilled fish and fruits and of course an abundance of rice.
There was plenty for everyone as we sat around on the logs watching monitor lizards amongst the trees. A bit of exploration post-lunch never hurts and we found a very shallow spot for a couple of jumps.
Secret Lagoon: This spot was amazing but probably my least favorite as there were more than fifty tourists crammed into a tiny lagoon at once. We had to swim to a small hole and clamber through. One through sun shone down into a tennis court-sized lagoon, totally enclosed by sharp cliffs. It was a great spot but a little bit of an anti-climax.
However, the beach around the corner once back out of the lagoon was really cool. The landscape here was by far my favorite spot of the day and I camped on my favorite spot at the front of the tour boat as we left.
Small Lagoon: Our last stop of the day would be the small lagoon. By now I had become a bit desensitized to the majestic beauty all around me. But the small lagoon hit another chord. We were offered kayaks as we arrived but also given the option to swim. It wasn’t too far just a few hundred yards both ways.
Swimming through this lagoon was beautiful, calming and a great way to end the day. We went as far in as we could and just spend a while floating on our backs taking in everything around us.
- Sunset Kayak
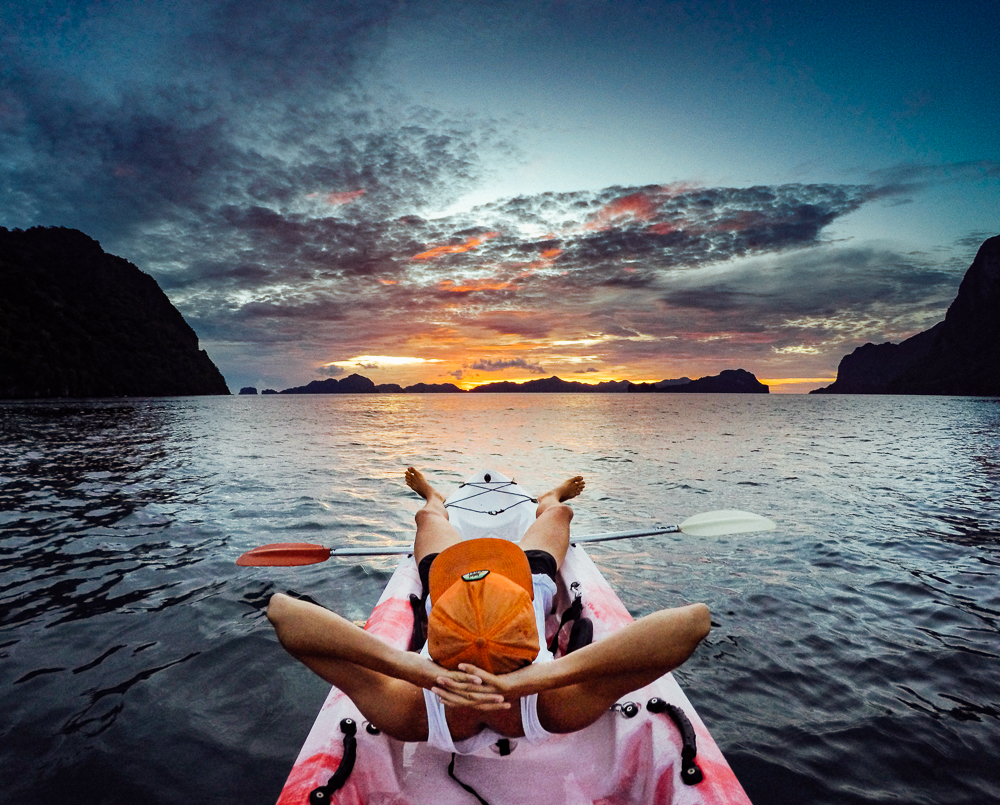
One of the best things to do is to rent a kayak and paddle out to Paradise Beach and Pasadingan Island. It is quite an intense workout but you get the tranquility and isolation that you might not get on the island hopping tours. If you can manage to stay out on the water during sunset you will be in for a treat!
- Nacpan Beach Moped Adventure
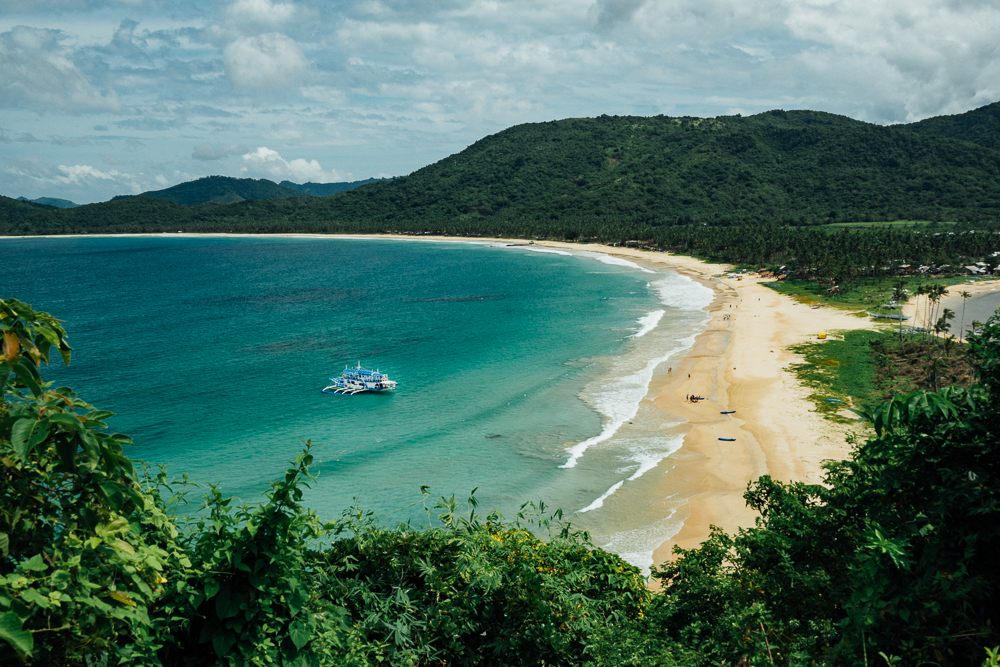
Rent a motorbike or moped for $7-10 in El Nido Town and head out towards Nacpan Beach, which is about an hours drive away. Along the drive, there is a waterfall to visit if you wish. Nacpan Beach is a palm-tree lined beach with an epic viewpoint, chilled vibes and famous shrimp plates!
Transport:
To get around El Nido you can walk to all of the restaurants nearby El Nido Town, which is within a 1km distance.
The best thing to do is to rent a moped or motorbike for at least one day. For $5, we rented a motorbike for the day while we were in El Nido and drove to nearby beaches.
You could also rent a car or join a tour group if you prefer not to ride a motorbike.
CORON
El Nido to Coron: The best budget route from El Nido to Coron is the ferry. It isn’t the most fun journey but it is definitely the cheapest.
You can buy your ticket directly at the ferry terminal near the town or your hotel/hostel will organize it for you for an extra $1-2. The ferry fee is $20 and includes a lunch. The trip takes about five hours in total.
Why you should stay in Coron: Coron is as epic as El Nido. The cliffs, lagoons, islands and beaches are out of this world. You will find it hard to enjoy another beach again after your time in Coron! Coron is definitely going to be one of the big highlights in this one month Philippines travel itinerary.
How long to stay: 3-4 nights
Where to stay: Busuanga Bay Lodge Resort is a great base for all of your island hopping adventures.
What to do:
- Mt. Tapyas
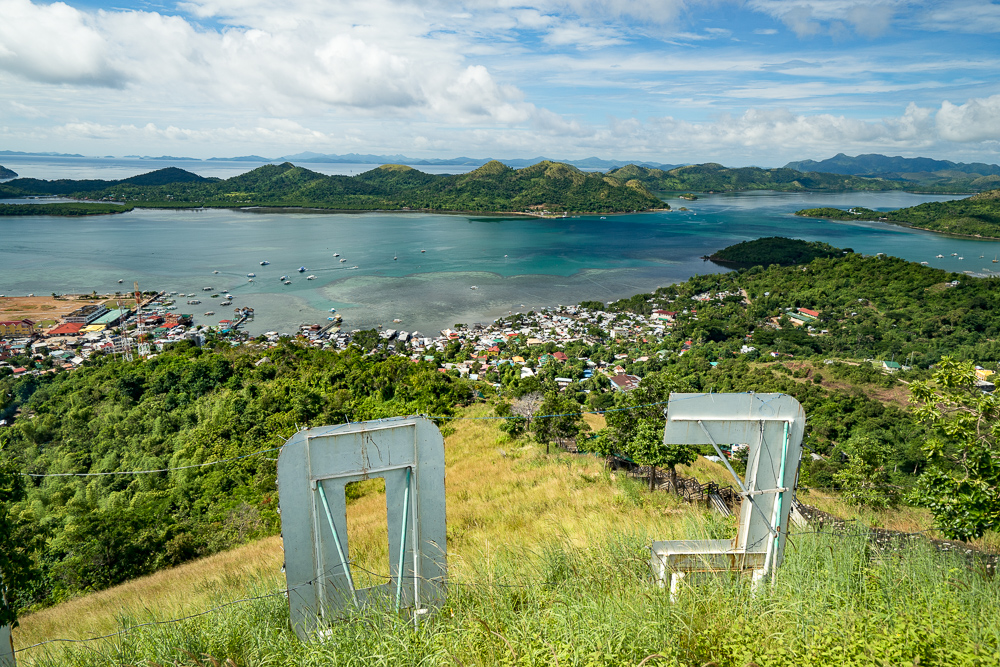
Arriving in a new place, it’s sometimes tough to get your bearings to begin with. One of the best ways to figure out the layout of the town or city is to get to the highest viewpoint and take it all in. Coron has a great little trek that leads you up 742 steps to the summit of Mt. Tapyas.
A hollywood-style ‘CORON’ sign is perched on the hill below a giant cross. The cross is covered in lights and is quite impressive at night. The hike will only take 10-15 minutes and the view is worth the effort.
There is no entry fee for the hike but you might want a tricycle to take you to the entrance from the town. This could cost a few dollars.
Coron Island Hopping Prices
To book your ISLAND HOPPING A TOUR you can Click Here to check the availability and book online (It’s just $20 USD)
- It includes Kayangan Lake, Coral Garden Snorkel, Cyc Beach and Lunch
To book your ISLAND HOPPING B TOUR you can Click Here to check the availability and book online (It’s just $20 USD)
- It includes Barracuda Lake, Banol Beach, Snorkel at Skeleton Wreck, Twin Lagoon
- Island Hopping Day Trip 1
Island hopping should cost between $15-30 depending on the company, runs all day and includes lunch and some drinks. Bring coral shoes and sunscreen.
Kayangan Lake: Kayangan Lake has a short hike up a couple hundred stairs to a little viewpoint hidden in the cliffs. It’s a view I won’t forget and even after El Nido, this one blew me away. The Philippines is truly one of the most beautiful places on earth. From the viewpoint, you walk down the other side of the cliff for a few minutes and reach Kayangan Lake. We arrived before any other tourists and enjoyed the peaceful atmosphere of the idyllic lake.
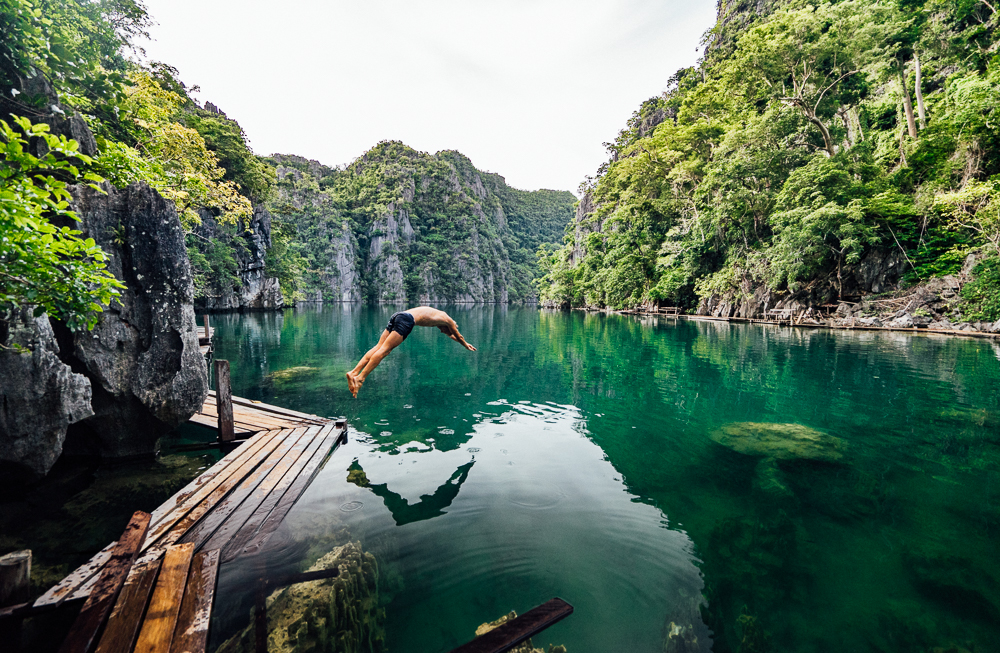
Siete Pecados Marine Park: Next stop was a snorkel at Siete Pecados. The coral was like an underwater fossilized forest. Each snorkel is always different and this was no exception. Starfish, hundreds of different fish and fluorescent coral.
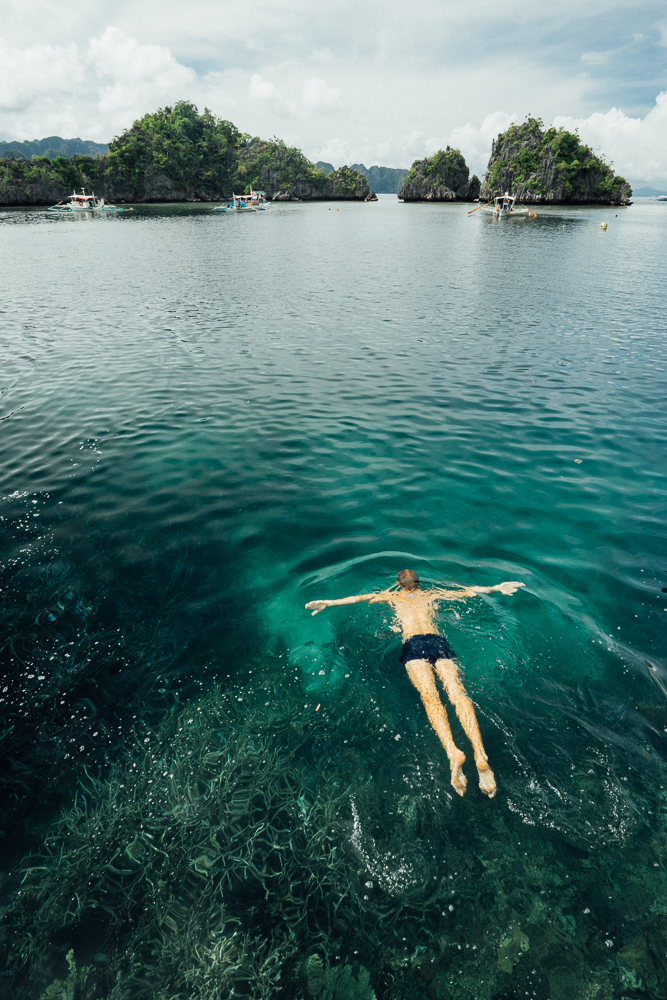
Atwayan Beach: Enjoy a full seafood and barbecue spread conjured up on the grill at the back of the boat. We ate in a small hut on Atwayan Beach while looking out over the glistening bay.
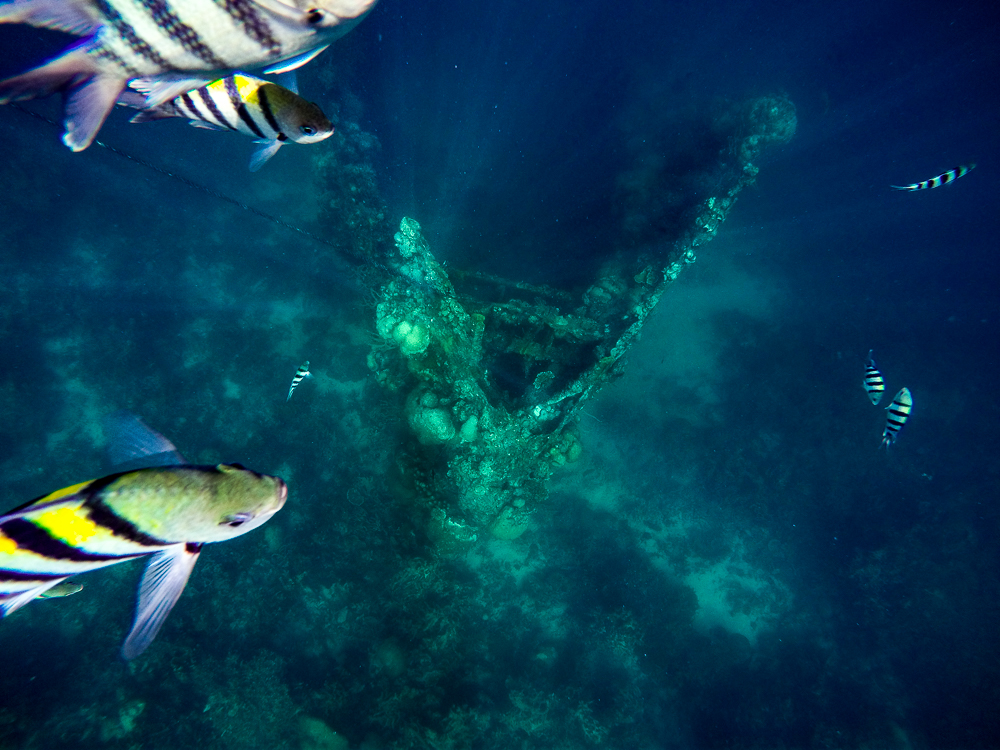
Skeleton Wreck: Something I was quite excited about was free diving at Skeleton Wreck. It’s a mostly intact WWII ship that found its resting place in Coron. Thousands of fish surrounded the wreck and swarmed us as we swam.
To get down deep enough at the level of the wreck you will need to dive about 15ft but you can still get a great view from the surface. One of the guides managed to free-dive into the cabin of the ship and out of the window.
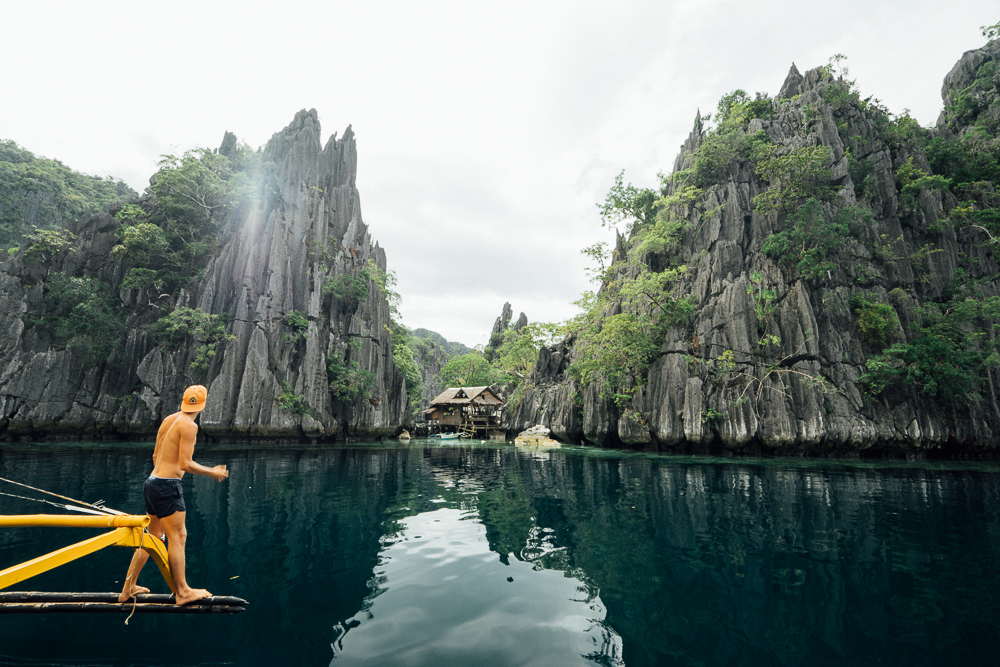
Twin Lagoon: Our final stop of the day was Twin Lagoon, a stunning pool of water hiding amongst the breathtaking cliffs. Through a small gap, you can swim under the cliff and into Twin Lagoon. A vast lagoon, our own giant, private swimming pool for half an hour.
Island Hopping Day Trip 2
Island hopping should cost between $15-30 depending on the company, runs all day and includes lunch and some drinks. Bring coral shoes and sunscreen.
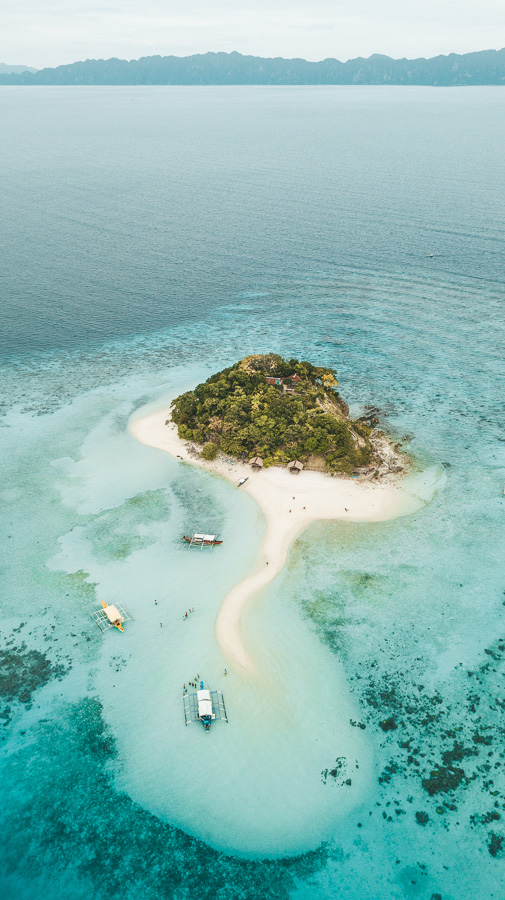
Bulog Dos Island: Depending on the time of day you visit will depend on if the sandbars connect. I climbed to the top of the hill and almost destroyed my camera in a tumble down the rock face after my handhold crumbled. I knew I wanted a better vantage point of the whole scene and in the end I think it was worth it.
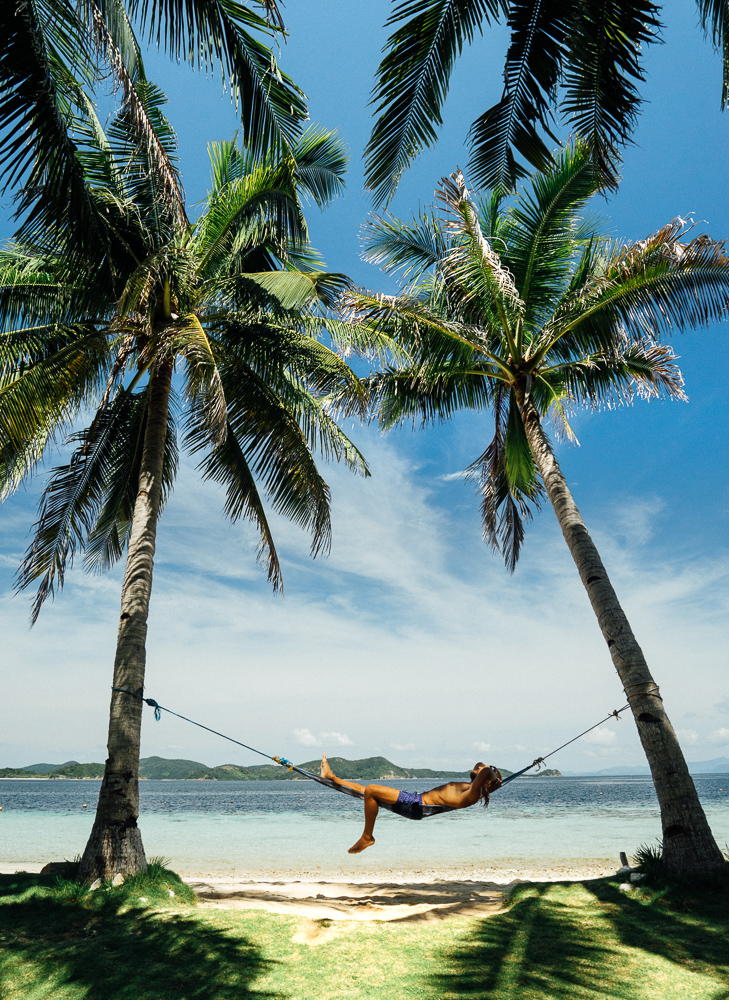
Banana Island: Lunch was at Banana Island which might need to be renamed ‘The Hammock Island’. We enjoyed another amazing spread for lunch including oysters, squid, grilled pork, salads, and fruit. After lunch, everyone got into the hammocks and had a mini siesta in the shade.
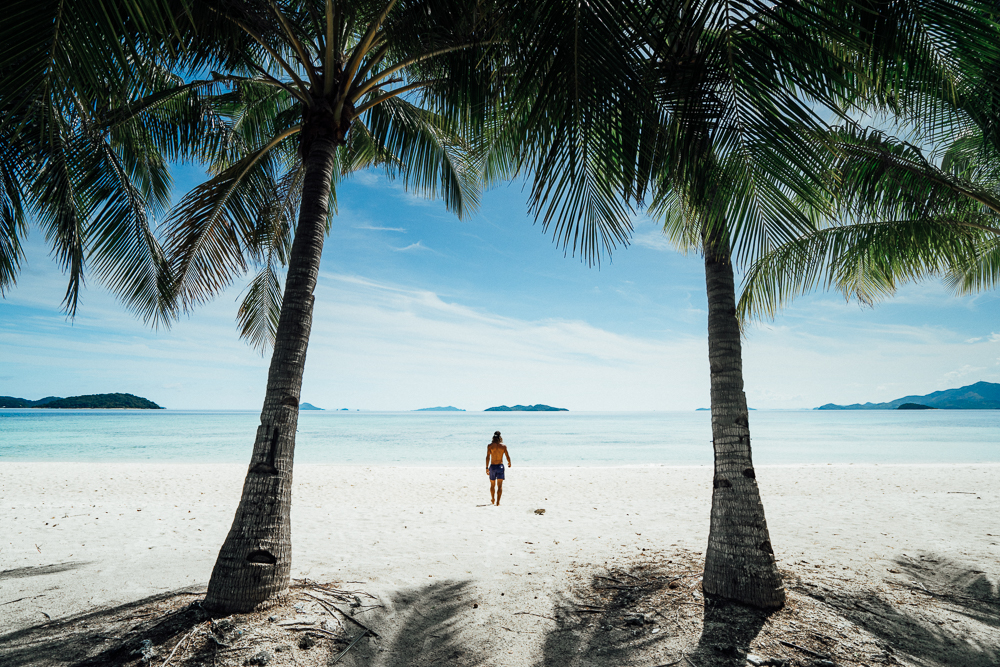
Malcapuya Island: Our last island to visit on our adventure was Malcapuya. A stunning stretch of sand, lined with coconut trees made the perfect spot for our afternoon chill session. There is a little viewpoint on the left side of the beach and caves to explore on the right.
Coconuts are harvested by locals who free-climb the trees and cut the coconut. It doesn’t get any fresher.
- Maquinit Hot Springs
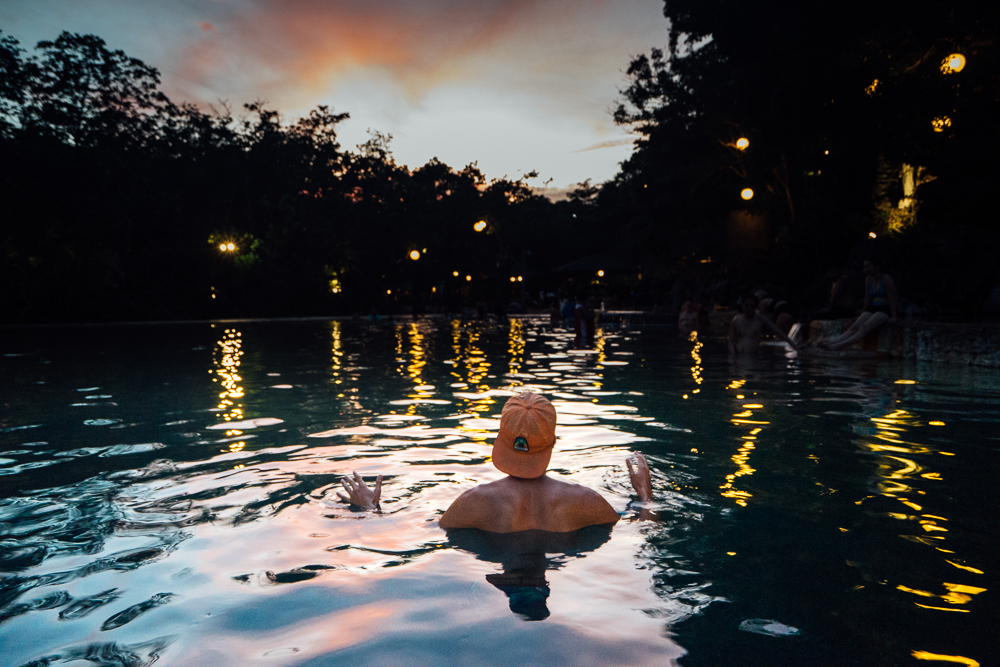
Only a 20-minute drive from Coron town in a tricycle is a hot spring oasis in the mountains. Amazingly the hot spring also has a view of the ocean and it is a salt-water hot spring.
The sunset was beautiful and lit the sky up with deep pinks and purples.. It is busy but there is enough space for everyone to chill around the edge. Sometimes I prefer places to be empty but the Maquinit Hot Spring had a really chill vibe with everyone enjoying their relaxing soak under the stars.
CORON TO MANILA
Taxi to Busuanga Airport in Coron takes 20-30 minutes from Coron Town and costs $10 approx depending on how many you split the car with.
Flight from Coron to Manila takes 1 hour and costs from $60-$200 depending on availability and season.
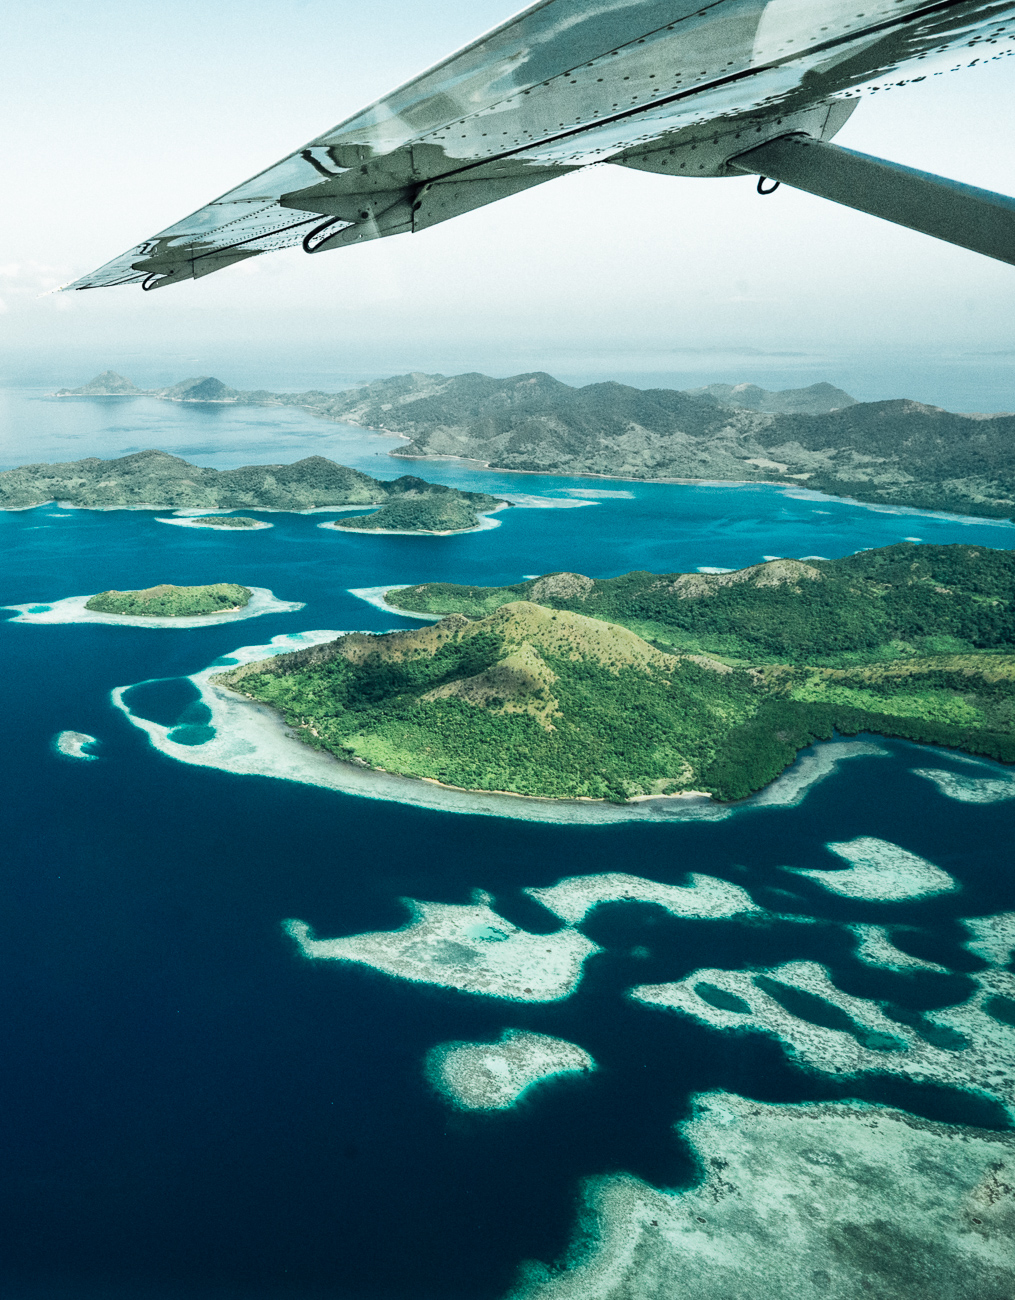
MANILA
Manila is the best airport to finish with for this Philippines travel itinerary because they have the most international flight options at the cheapest prices. This is why you are finishing here. You will be able to fly back home or to your next destination easily.
You can stay a few nights in Manila if you’d like to live the city life but it is definitely a fast moving city. There is lots of hustle and bustle, which will be in contrast to your time on the islands.
THINGS TO KNOW
Language
The local language is Tagalog although there are different languages throughout the islands. Most Filipinos know Tagalog. In Cebu, they don’t speak Tagalog but they will recognize these phrases.
I suggest learning the following phrases to help you do more than just get by. You want to be able to say thanks, hello, how are you and ask some basic questions. Locals will be much more willing to help you fix a flat tire, give you the local price or just have a chat with you if you take the time and effort to learn a few phrases.
Hello – Hello
Please – Paki Suyo
Sorry – Pasinsya
How are you – Kamusta Ka
Goodbye – Paalam
How much? – Magkano?
What’s your name? – Ana Panagalon Mo?
I am fine – Mabuti Ako
Thank you – Salamat
1 – Isa
2 – Dalawa
3 – Tatlo
4 – Apat
5 – Lima
WiFi
Wifi in the Philippines is improving but it is still pretty bad in many island locations. If you just want to keep in touch on Facebook with friends and family you will be fine for the most part. However, if you are trying to upload photos and videos or work online you will find it challenging. I am a digital nomad and it was still possible to work online but be prepared to search high and low for that below average wifi connection at times.
The best thing to do is to buy a sim card at the airport. You can either pay as you go or buy a monthly package. I always buy the monthly package for about $20 and it gives you 10-15gb of data. It doesn’t always work but it lets me tether to my computer and work online, which is handy.
Safety
Of course, use your normal precautions. Don’t get too drunk and become vulnerable at night, don’t wander in strange places alone at night and be vigilant with your gear. However, those are precautions for every country in the world.
The Philippines is safe, very safe! I’ve traveled to more than 30 countries and in island locations in the Philippines, the worst thing that is likely to happen is to lose a mobile phone. Violence or assault against tourists is incredibly uncommon and locals are generally stoked to chat and help you out if you have a smile and respect.
Filipinos will do everything they can to make you feel welcome. Respect their home, their land, their culture and everything about this beautiful country. In return, you will enjoy a great trip throughout some of the most stunning places on earth.
Money
In the Philippines, they use the Philippines Peso. It is about 50 pesos to 1 US dollar but you will need to check that before you arrive. You can withdraw directly from an ATM but you will incur a fee.
There isn’t a better alternative. Exchanging your money in cash is also possible but you will also have to pay a lower rate.
Best time of year to visit the Philippines
The best time of year for this Philippines Travel Itinerary would be between November and April is the dry season and therefore the most popular time. I suggest visiting on the edges of this season and hoping for good weather to avoid big tourist crowds. For example travel in October or March and with any luck, you will get decent weather and there will be no crowds, accommodation will be cheap and available and tourist locations will be peaceful and relatively empty.
This Philippines travel itinerary will be best experienced in the low season but you may have to risk some inclement weather. Luckily it’s usually warm even when it’s raining!

MORE PHILIPPINES BLOGS
I have also visited many other places in the Philippines that you may want to add to your itinerary and remove one of the locations I visited. There is no right way to travel to the Philippines. The reality is that you will miss some awesome places no matter what Philippines backpacking route you take. You can check out the links below to my other Philippines backpacking guides.
Siargao: 30 AWESOME THINGS TO DO ON SIARGAO
Caramoan: CARAMOAN ISLAND HOPPING
Romblon Island: ROMBLON TRAVEL GUIDE: 17 AWESOME THINGS TO DO
Tablas Island: TABLAS ISLAND TRAVEL GUIDE: 20 AWESOME THINGS TO DO
Sibuyan Island: SIBUYAN ISLAND TRAVEL GUIDE: 9 AWESOME THINGS TO DO
Sohoton Cove: SOHOTON COVE NATIONAL PARK TOUR – CAVES AND LAGOONS
Carabao Island: CARABAO ISLAND TRAVEL GUIDE: 5 THINGS TO DO
Cebu Itinerary: CEBU 5-DAY ITINERARY – DETAILED ADVENTURE TRAVEL GUIDE
Cebu Things To Do: 16 AWESOME THINGS TO DO ON CEBU
Philippines Backpacking Guide: PHILIPPINES BACKPACKING: 2019 BUDGET TRAVEL GUIDE


kuwait airways
Monday 5th of June 2023
I had visited Philippines for a very short duration and had booked kuwait airways for my travel. I think I have not touched even the tip of the iceberg in my last sojourn. Your post motivates me to make the next trip. Very well written post with captivating images.
David
Sunday 5th of February 2023
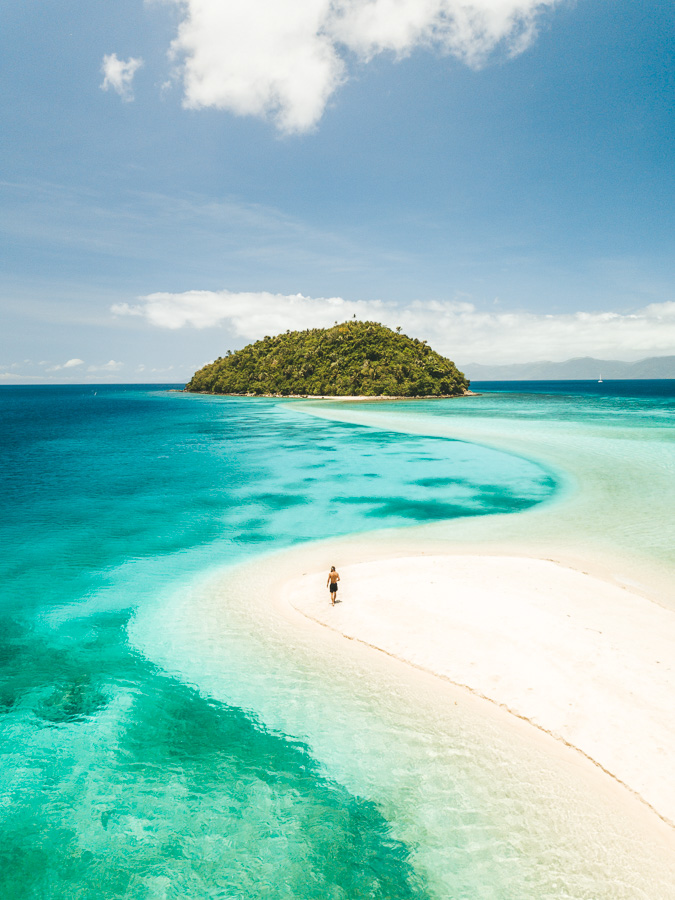
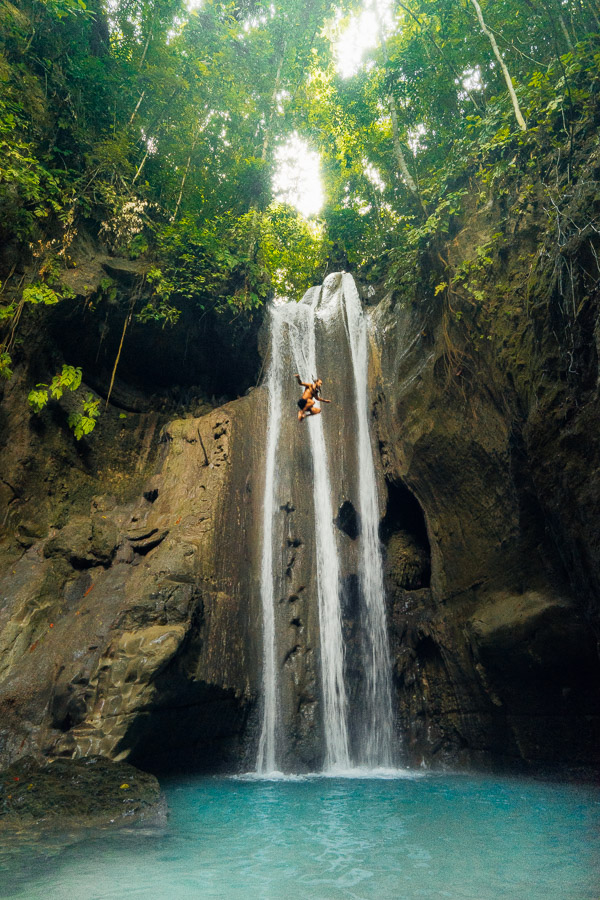
Hey Jackson..thatès incredible..appreciate all your work...Can you please help me with the very first picture in this vlog- where was that taken
Chelsey
Tuesday 2nd of March 2021
Hey, Me and my boyfriend are looking to travel Phillipines for a month next March, this has really helped! I have written out the places we want to go and see but I can’t work out the best order and which will be the least time consuming.. if you could drop me an email and help me out that would be great!
Thanks so much
Richard
Monday 2nd of March 2020
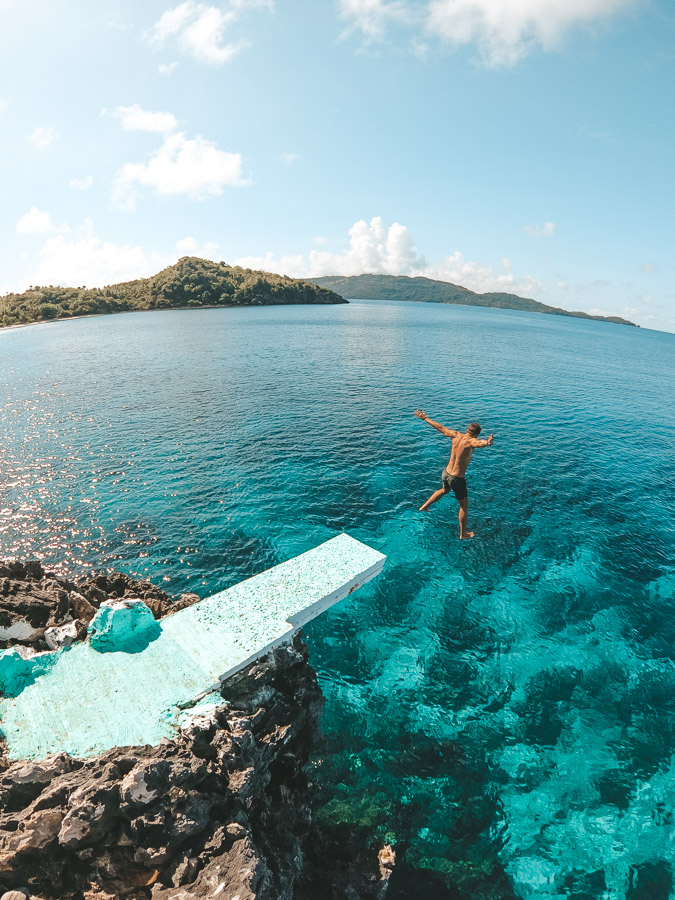
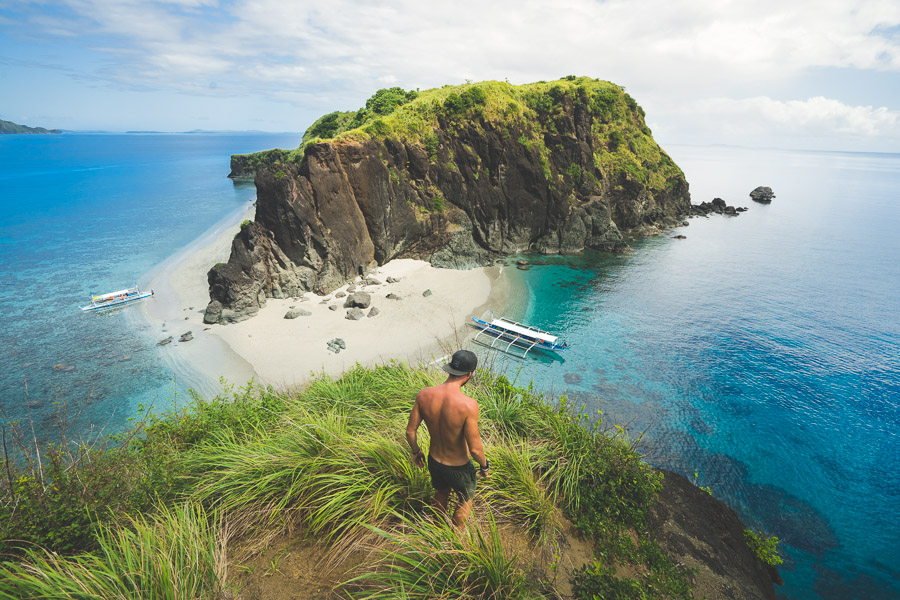
Where is the jump in the last picture located? Looks awesome!!
Awesome Phillipines blogs btw. Helped a lot in our planning.
Jackson
Monday 2nd of March 2020
It's while island hopping from Romblon Island :)
Jana
Thursday 23rd of January 2020
Thank you for this overview. It was very helpful. Just a note re: crossing from Oslob to Bohol. There is a direct ferry that can be booked online through Apekop travel. Ours was cancelled so we took transport to Liloan port 30 mins south of Oslob, 30 min ferry to Dumaguette, 20 min trike from the small ferry port to Dumaguette city port and then just over 90 min ferry to Tagbilaran City. This is a better way then going to Cebu as it avoids the crazy Cebu traffic