The Wailupe Loop Trail is a challenging loop with thick overgrowth, uneven terrain, very steep ascent, and muddy/slippery trails. If that sounds like your kind of fun, this is a great trail. If you want similar views with a more well-maintained trail, the Wiliwilinui Ridge or the Kuliouou Ridge on either side of Wailupe is a better bet.
With almost 900 meters of incline over the 9km journey, this is a tough jaunt on the town-side of the Koolau Summit Trail (KST). Starting in Wailupe, the trail gains 800m of elevation on the way up to the KST. It then uses the KST to link to the highly-trafficked, Wiliwilinui Ridge Trail to make the descent. Just before finishing the Wiliwilnui descent, the trail descends via a lightly-trafficked trail back into the Wailupe Suburb.

HIKING THE WAILUPE LOOP TRAIL
In this blog post, I will share with you all of the details you need in order to enjoy this hike such as distance, incline, best viewpoints along the way, where to park, the best time of day, photo opportunities, and other attractions nearby.
WAILUPE LOOP TRAIL DETAILS
- Hike Distance: The total distance of the loop hike is 8.5km or 5.2 miles.
- Hike Duration: The hike will take you about 3-5 hours depending on your pace.
- Hike Incline: Total incline for the hike was 800m or 2,624ft
- Hike Difficulty: Due to the thick overgrowth, slippery/muddy trail, and steep ascent, I would classify this one as moderate to difficult. Any time you get near a vertical kilometer of gain isn’t easy. The terrain was always difficult to manage as well so I’d say this is a tougher hike that other ridge hikes on the town side of the KST. If you are looking for something more moderate try one from my list of the Best Easy Hikes on Oahu.

3 MOST POPULAR OAHU TOURS
- Doors-Off Oahu Helicopter Flight Tour: My number one recommendation is to do a heli-flight (doors off) and be blown away when you see Oahu from the air.
- North Shore Shark Cage Tour: The biggest adrenaline rush you can have in Hawaii is beneath the surface with sharks!
- Turtle Canyon Snorkel Cruise by Catamaran: The number 1 MOST POPULAR snorkel tour on Oahu. GUARANTEED Turtles!
HOW TO GET TO THE WAILUPE LOOP TRAIL
The Wailupe Loop Trail begins at the end of a dead-end street named, Hao Street. This isn’t a busy hike so parking in the neighborhood isn’t an issue like many of the popular hikes on Oahu. Unlike some of the hikes nearby like Wiliwilinui or Hawaii Loa Ridge, you don’t need a permit or State ID as this isn’t a gated community. Simply drive to the end of Hao Street and you will see a small opening in the grass. There is no sign at the trailhead for the start of this hike.
I’ve added a map below with Hao Street pinned so you can easily access the location.
MY EXPERIENCE ON THE WAILUPE LOOP TRAIL
My morning actually began trying to hike the Hawaii Loa Trail but those guards sure didn’t like the idea of an Australian causing havoc in their little gated community so I was turned around. I quickly re-set and headed over the next ridge, which was the Wailupe Ridge. I found the map for the Wailupe Loop Trail and it seemed like a good bet with 800m of incline over about nine kilometers.
The trail starts at the dead-end of Hao Street in the Wailupe Neighborhood. The trailhead has no sign but it’s worn enough that you will see a small gap in the grass.
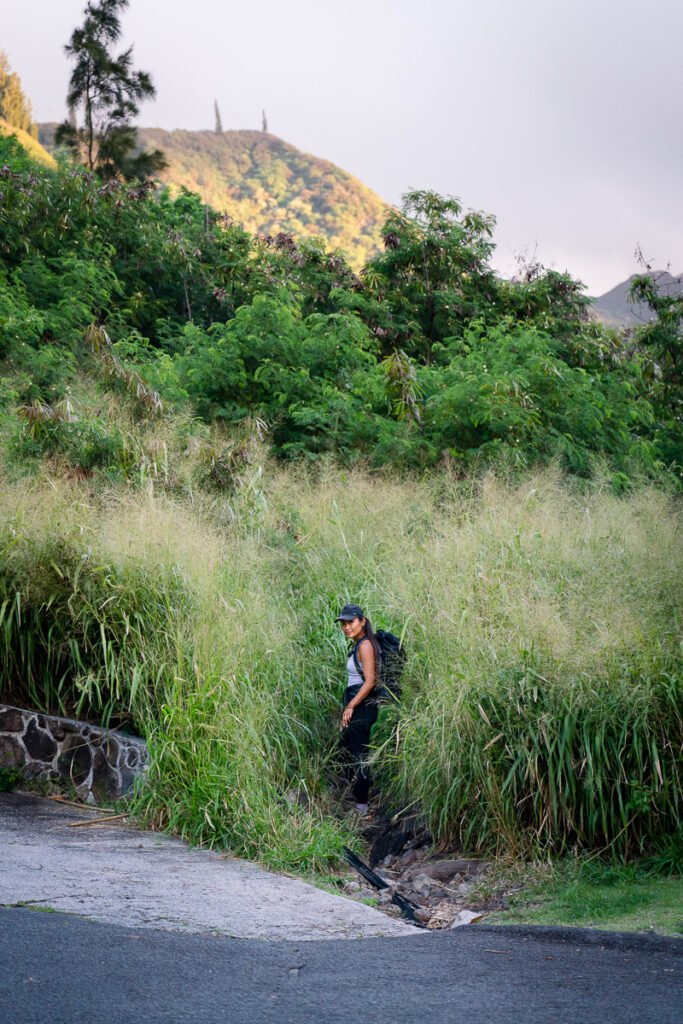
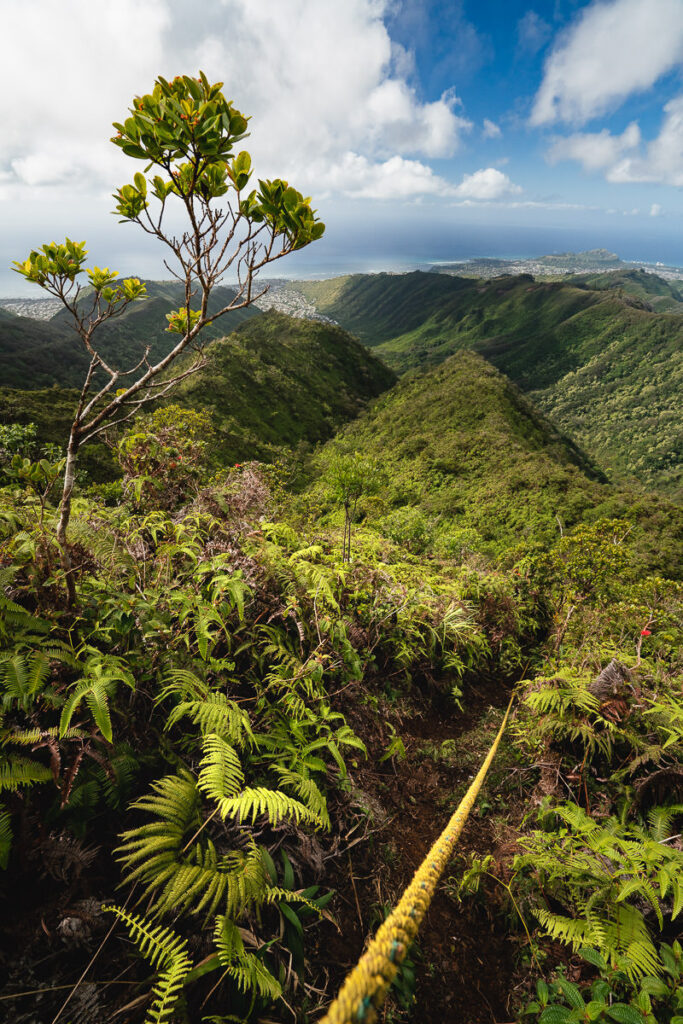
Aside from a couple of ropes, the ascent up to the KST is quite natural with no man-made steps like the other ridges in the region. This trail begins on a muddy track before roots take over the entire path. I quickly realized this trail was going to take full concentration and some good footwork.
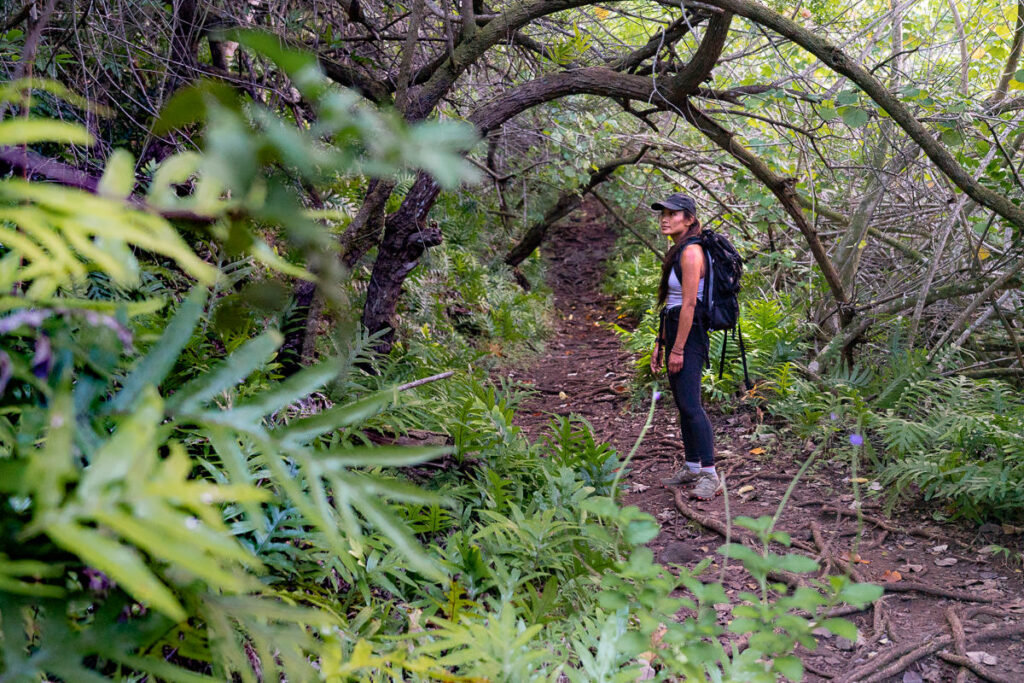
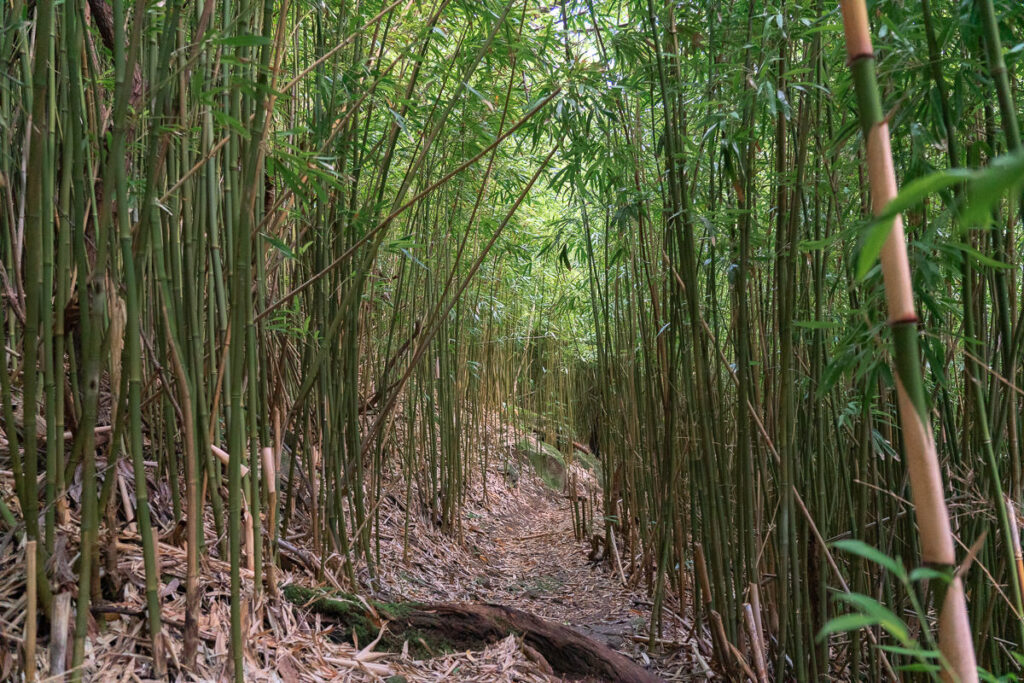
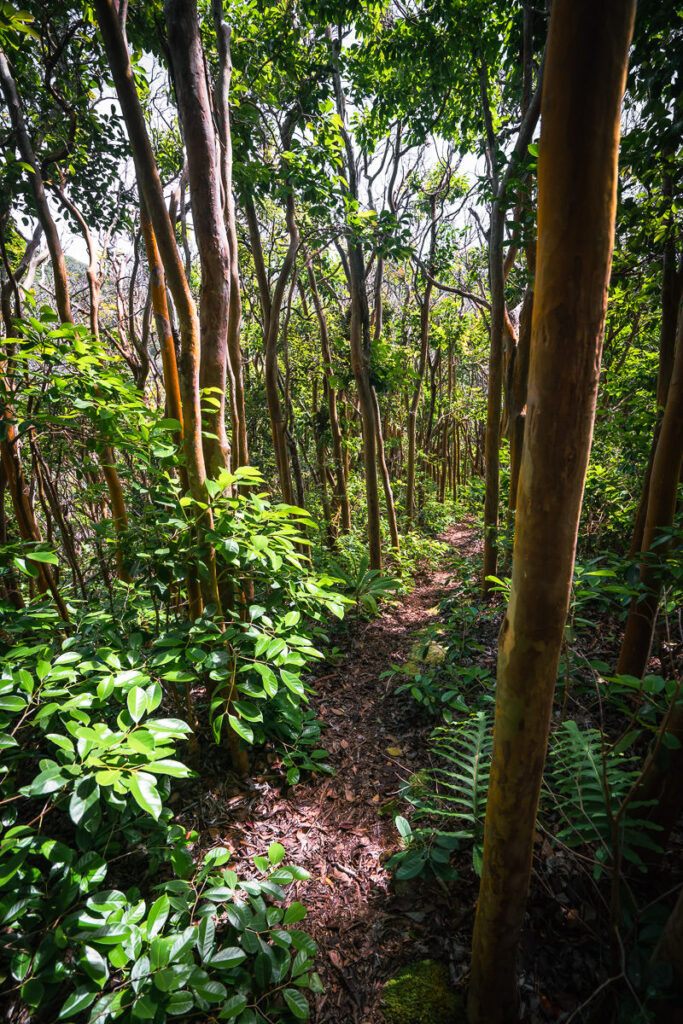
The route continues on and delves into the forest with a full canopy giving nice shade and a beautiful tree tunnel. Surprisingly this turns into a bamboo forest after just a kilometer of walking. Bamboo in this area was not something I was expecting.

After a small river crossing, we get onto the ridge and the climbing begins. It’s steep uphill until the summit from this point on. To begin with, roots and trees cover the path but eventually, you will reach KST-like conditions.
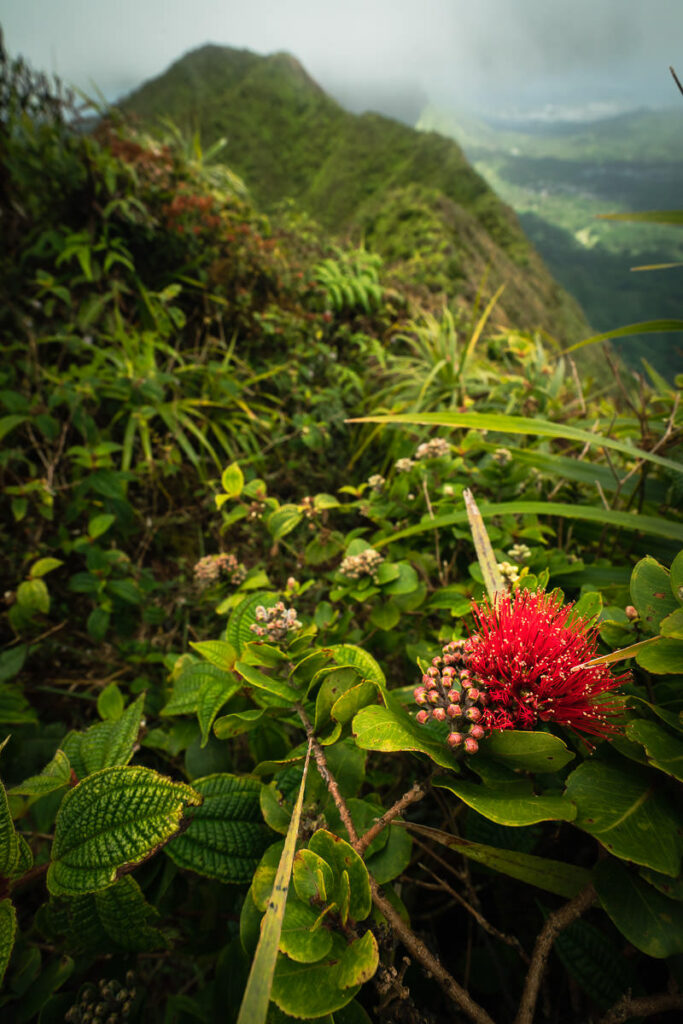
Prepare to have the legs scratched up for the middle third of this hike with dense overgrowth and sharp plants scraping the shins and arms. Long pants and a long sleeve are usually ideal when getting anywhere near the spine of the island. You can tell this isn’t the most popular ridge in the region.
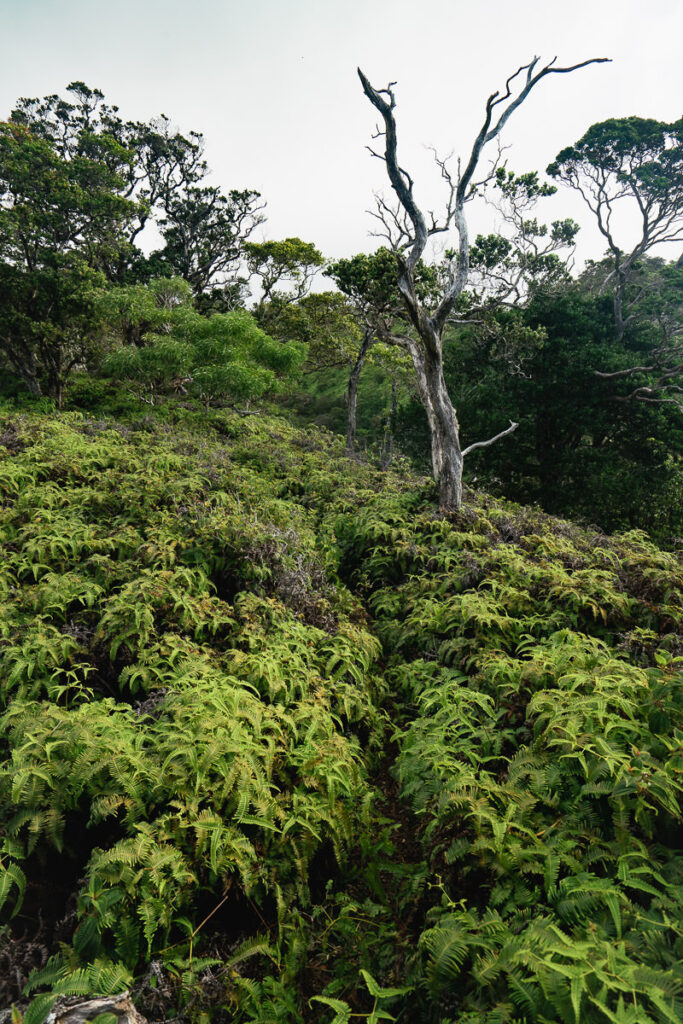
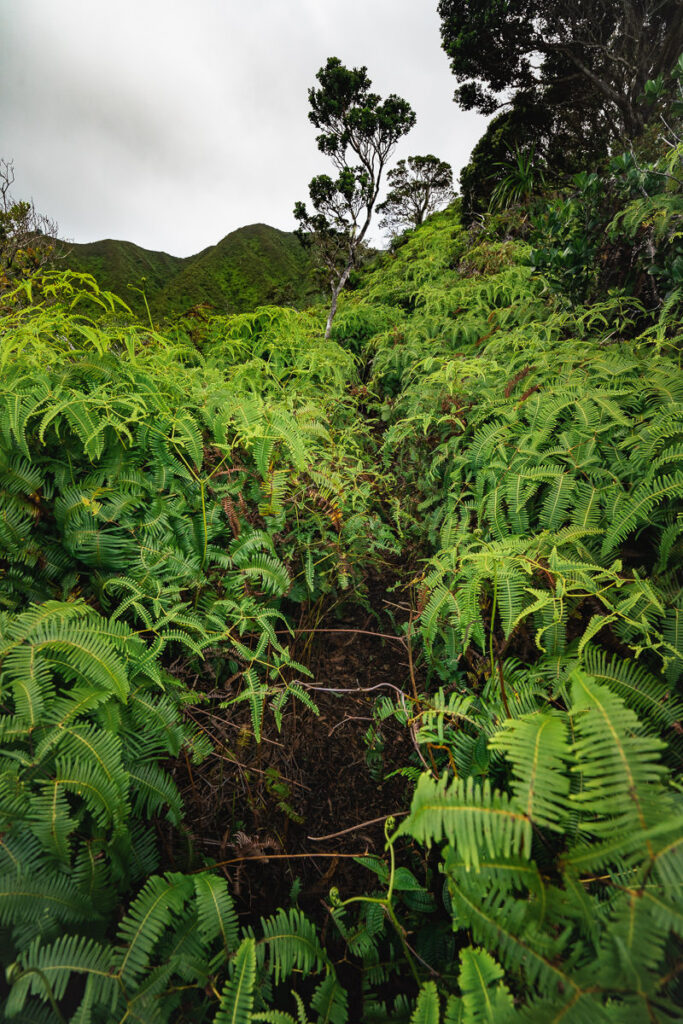
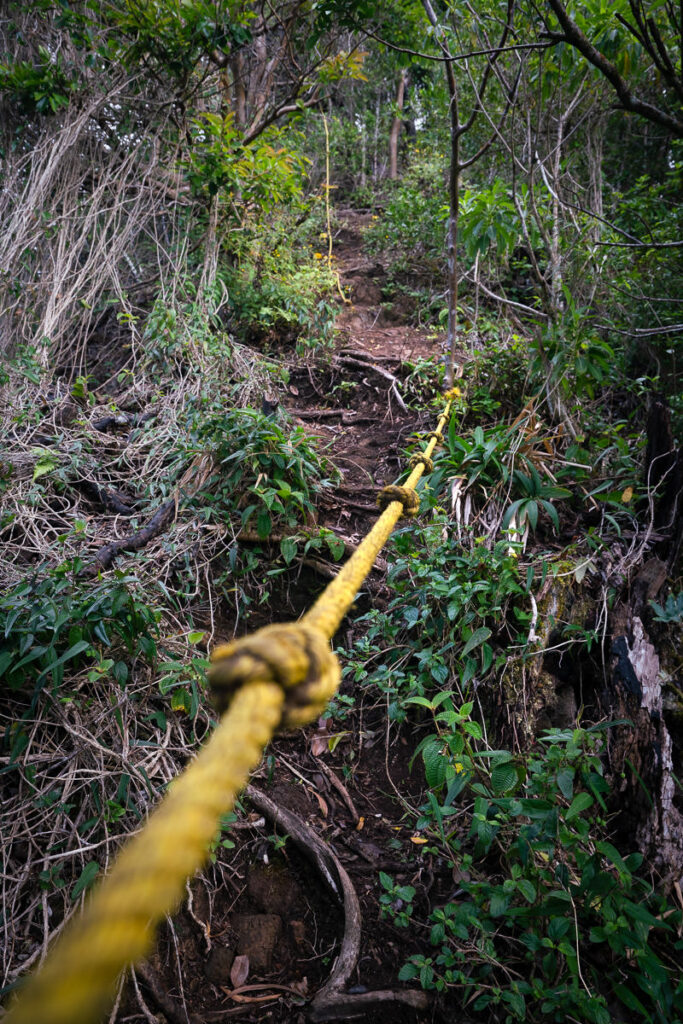
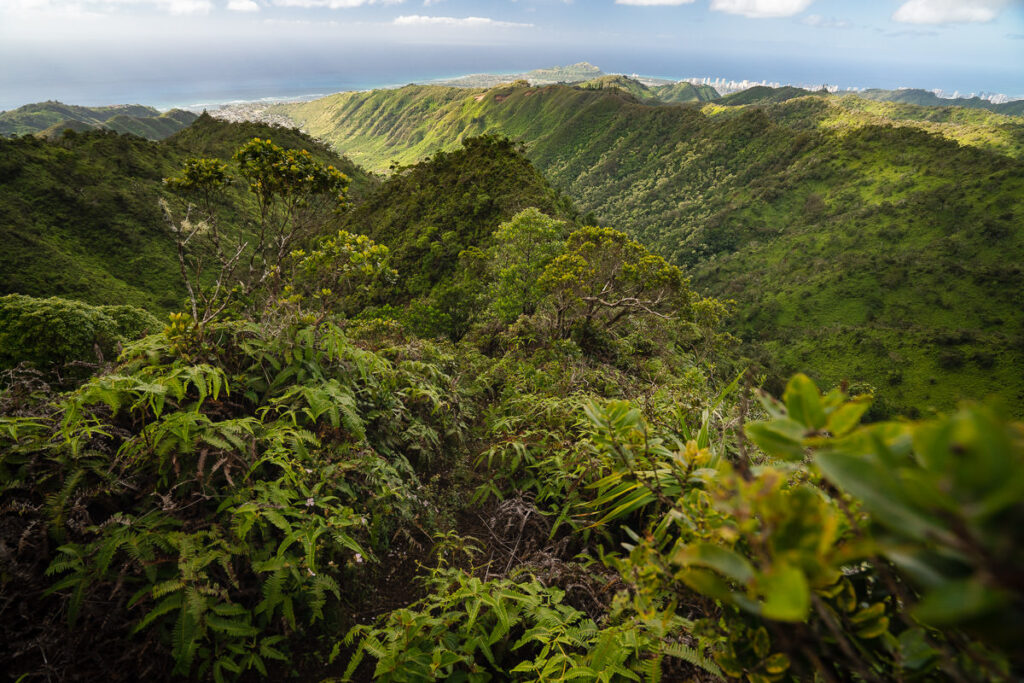
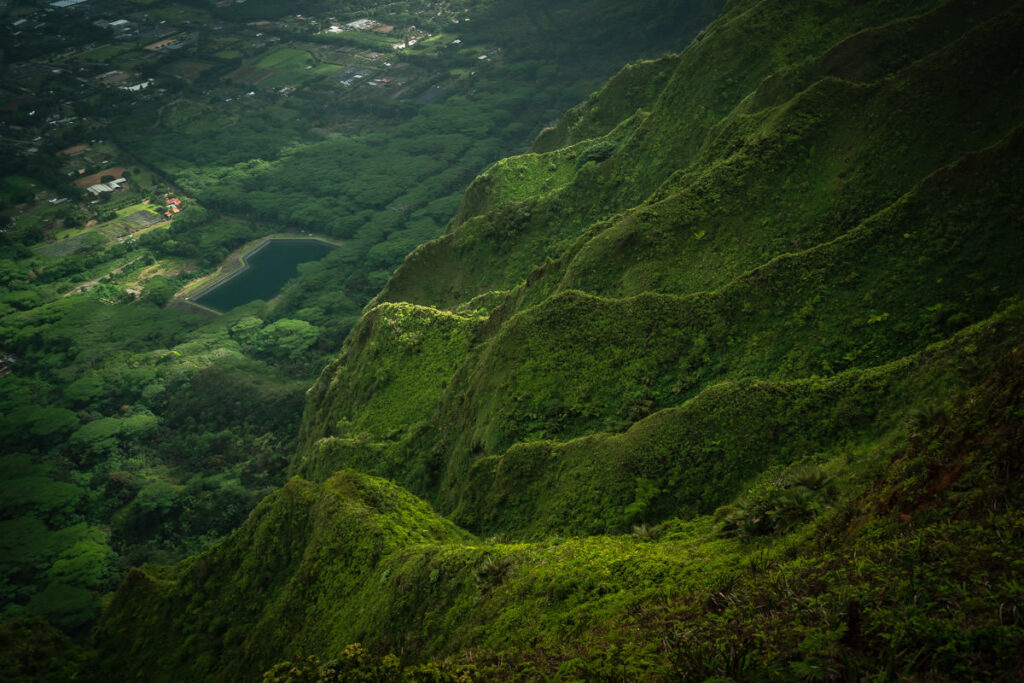
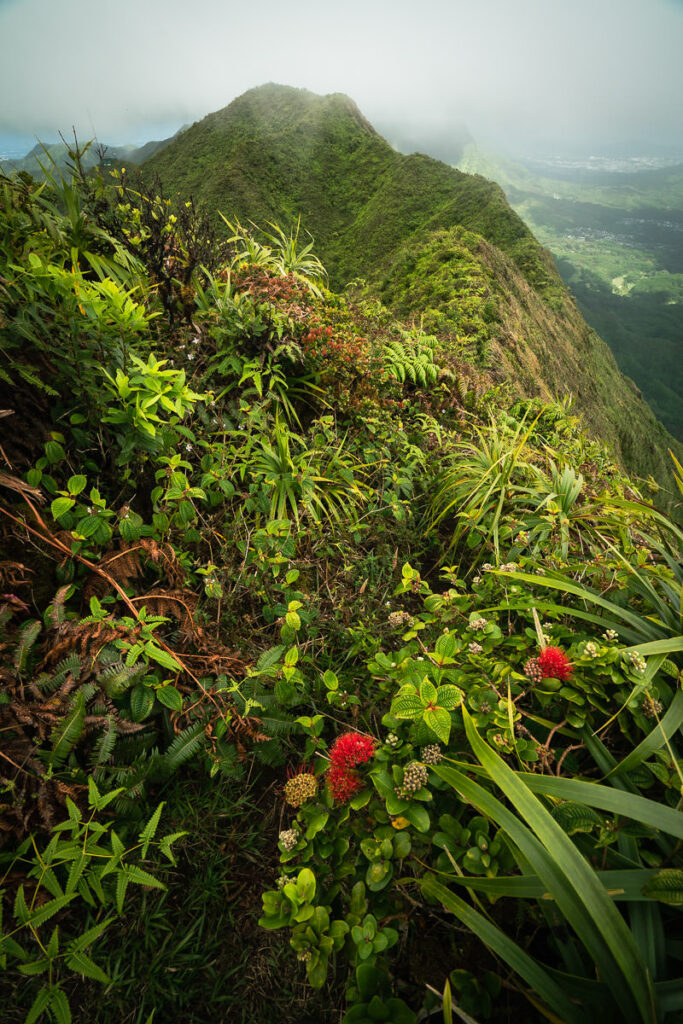
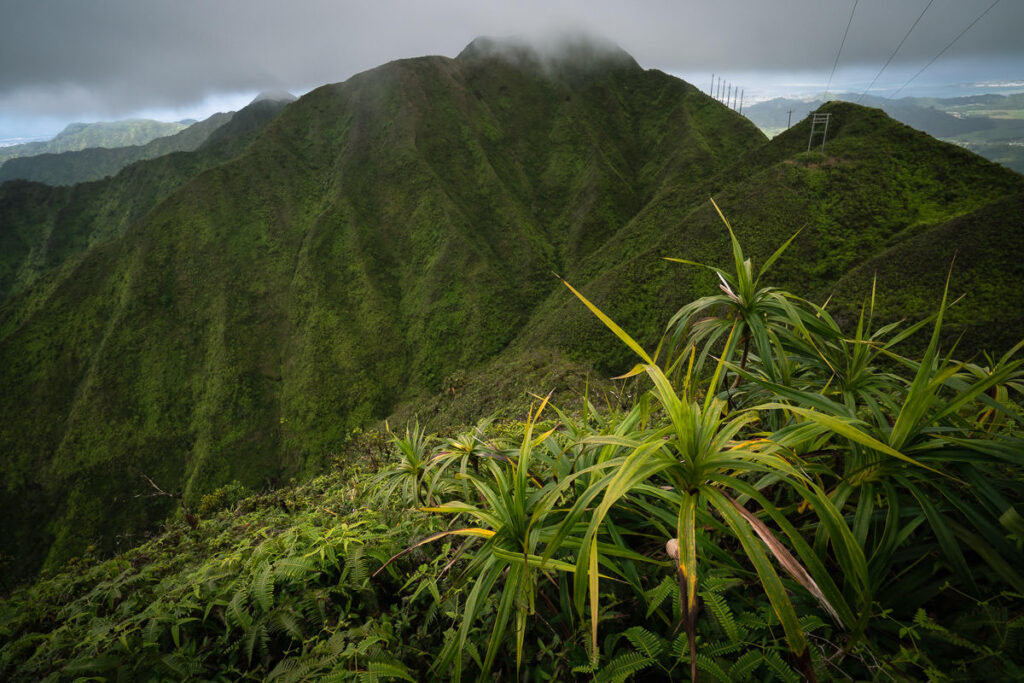
It’s been pretty dense so far but the trees and branches overhead start to thin. Views all the way back down the ridge appear with Waikiki and Diamond Head Crater in the background. Looking up the ridge we can see a false-summit and more steep climbing. A few ropes can be found in this final section of the climb, which is very handy on wet and muddy days.
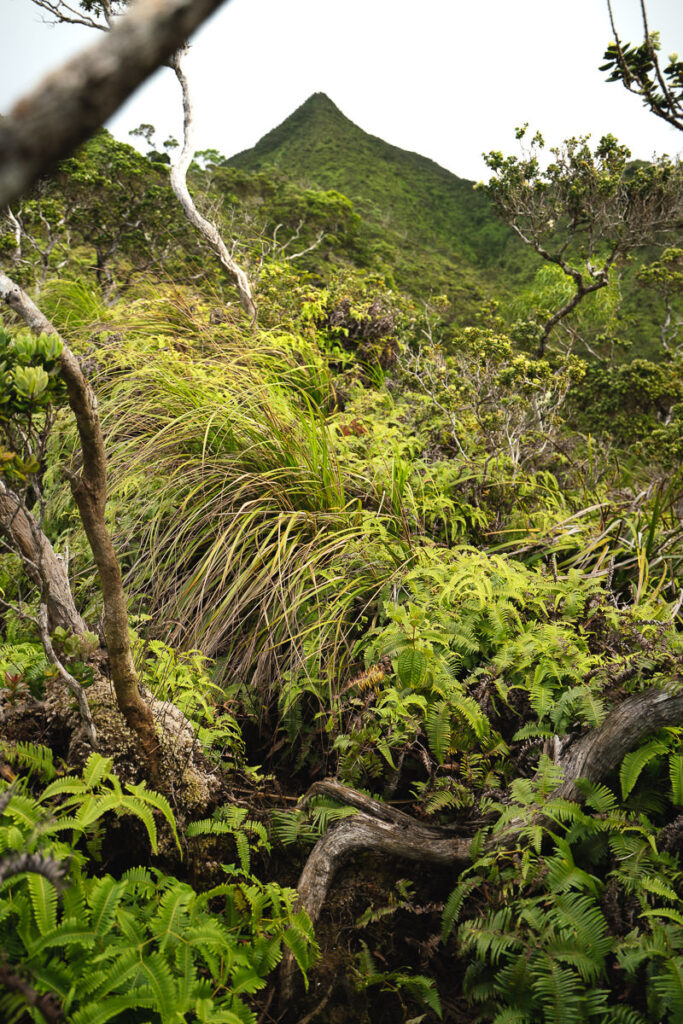

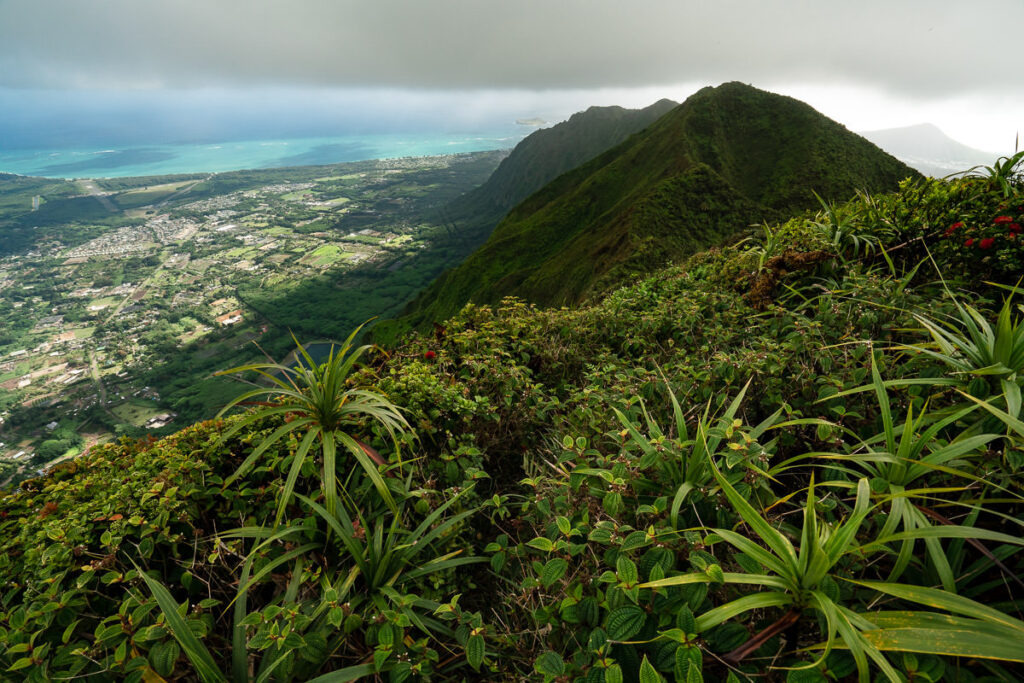
After 800 meters of climbing, the steep ascent is over and hikers will reach a small grassy clearing. It’s a neat little patch and a perfect place to sit down, enjoy a snack and take in the view. The hike isn’t over yet but with your first look to the eastern side of the island, it’s worth taking a breather to appreciate it all.
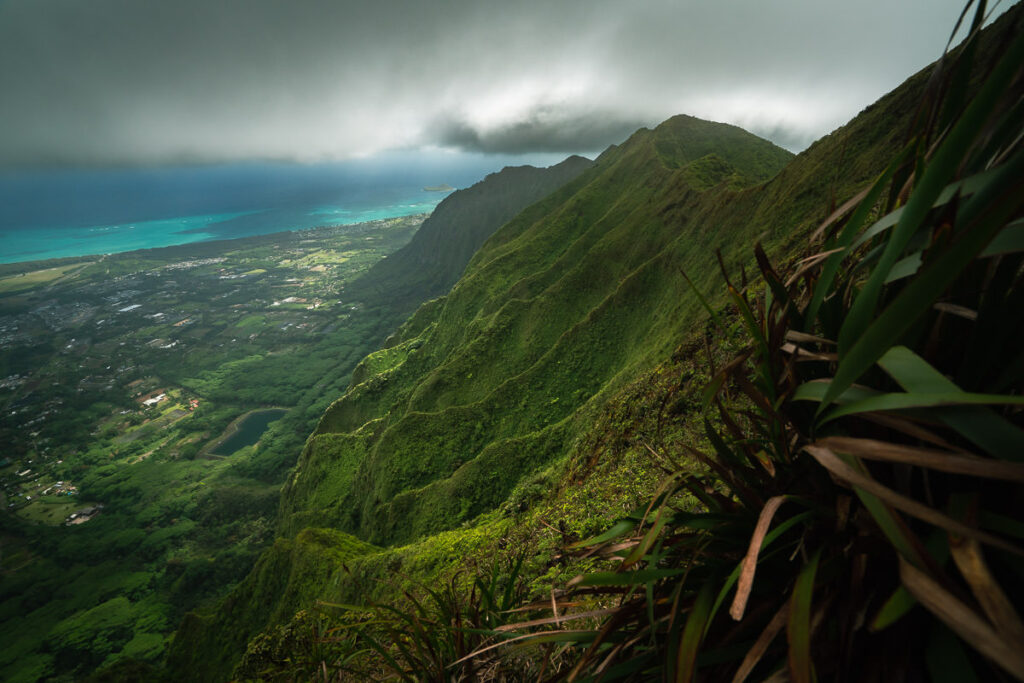
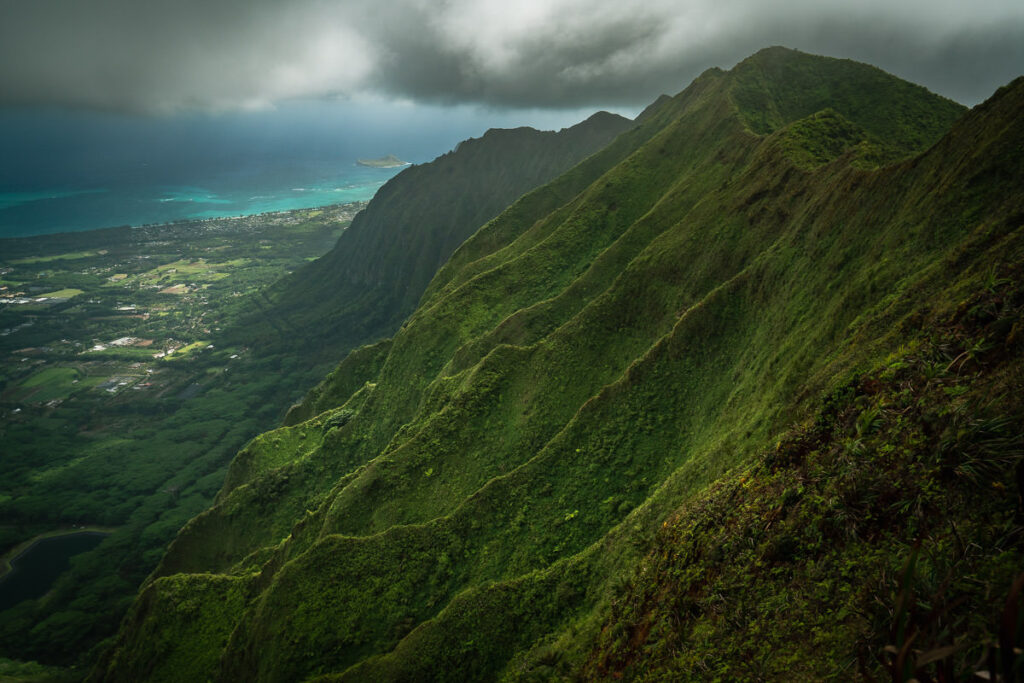
You are now on the KST, which is the trail that runs along the center spine of Oahu. It has a pretty gnarly reputation and you are about to get a brief 30-minute taste of why it is a bit tricky. From the summit, you will traverse left along the KST towards the Wiliwilinui summit. While it’s a short distance, the dense bushes and slippery trail along the ridgeline make it a slow journey. Slipping here is normal, just be careful as the drop-offs start to get a little more serious here.


Arriving at the Wiliwlinui summit almost feels like reaching civilization. You’ll see other hikers for the first time as this is a much more popular trail than the Wailupe Loop Trail. There are also hundreds of steps and ropes on the Wiliwilinui Trail to help hikers navigate through the muddy slopes. Now we will head down the Wiliwilinui Ridge Trail until we find a little turn-off about three-quarters of the way down.

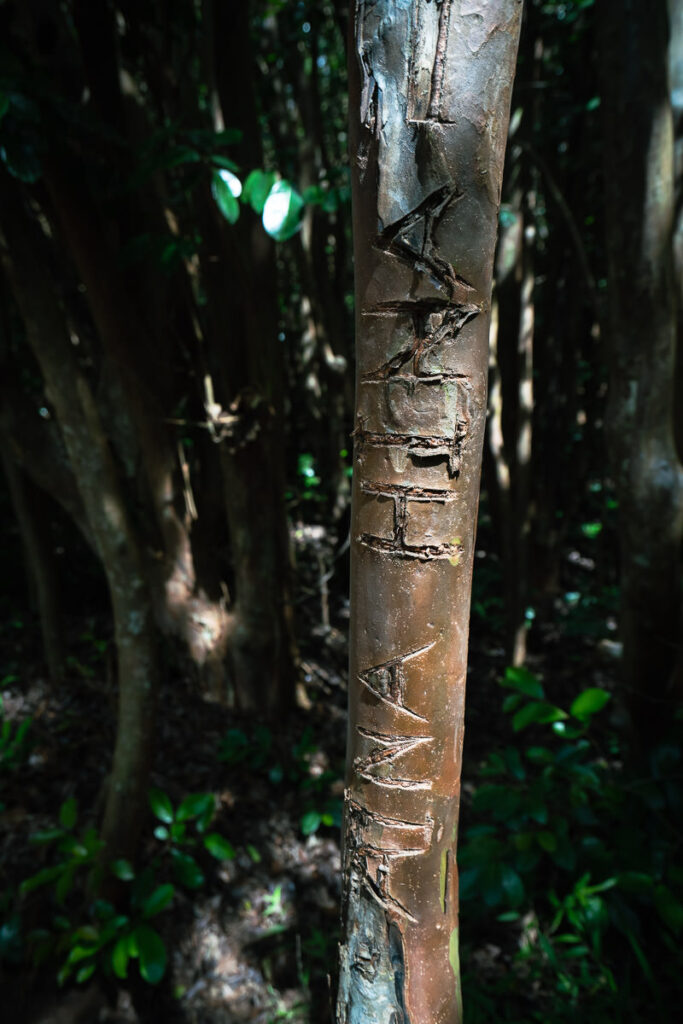
On the left-hand side of the trail, there will be a tree that has Aina Haina inscribed on it. Bottle caps will also be nailed to the trees to mark this off-beat track. It is very steep and runs all the way back to the original trail. Luckily, there are lots of trees to hold onto for stability otherwise this steep, slippery track would be an almost impossible descent.
Once you reach back to the junction, take a right and you will head back to Hao Street the same way you entered. This will complete the Wailupe Loop Trail, one of the solid challenges on the town side of the KST.
I hope you enjoyed this guide to the Wailupe Loop Trail. Happy hiking.
WHERE TO STAY ON OAHU
- Hilton Hawaiian Village Beach Resort (Overall Favorite): In the heart of Waikiki, this high-end resort is right on the beach with a private lagoon.
- Sheraton Waikiki (Luxury): A luxury resort with the most amazing infinity pool on the island, which overlooks the beach.
- Ewa Hotel Waikiki: (Value): Ewa Hotel is just one block back from the beach and is just over $150 USD.
- Waikiki Beachside Hostel (Budget Choice): A budget alternative, which is still in an amazing location.
- Disney Aulani Resort (Family Choice): This is a resort your kids will never forget. It honestly feels like you are living in a theme park.
MORE OAHU BLOG POSTS
I lived on Oahu for two years and loved adventuring from the beaches to the mountains to the waterfalls! These are my most popular blog post and guides from the beautiful island of Oahu to help you plan your trip!
- What to pack for Hawaii: THE HAWAII PACKING LIST: WHAT TO PACK
- A helpful guide to choosing accommodation: WHERE TO STAY ON OAHU
- Most epic hike on Oahu: THE STAIRWAY TO HEAVEN OAHU, HAWAII
- The best Waterfalls: AMAZING WATERFALLS ON OAHU, HAWAII
- Ultimate Cliff Jumping Guide: 11 BEST CLIFF JUMPING SPOTS ON OAHU
- Guide to Swimming with Sea Turtles: WHERE TO SEE TURTLES ON OAHU
- The best Waterfall Hikes: TOP WATERFALL HIKES ON OAHU
- Best Tours: 20 BEST TOURS ON OAHU
- The Ultimate Guide to Oahu: 80 AWESOME THINGS TO DO ON OAHU