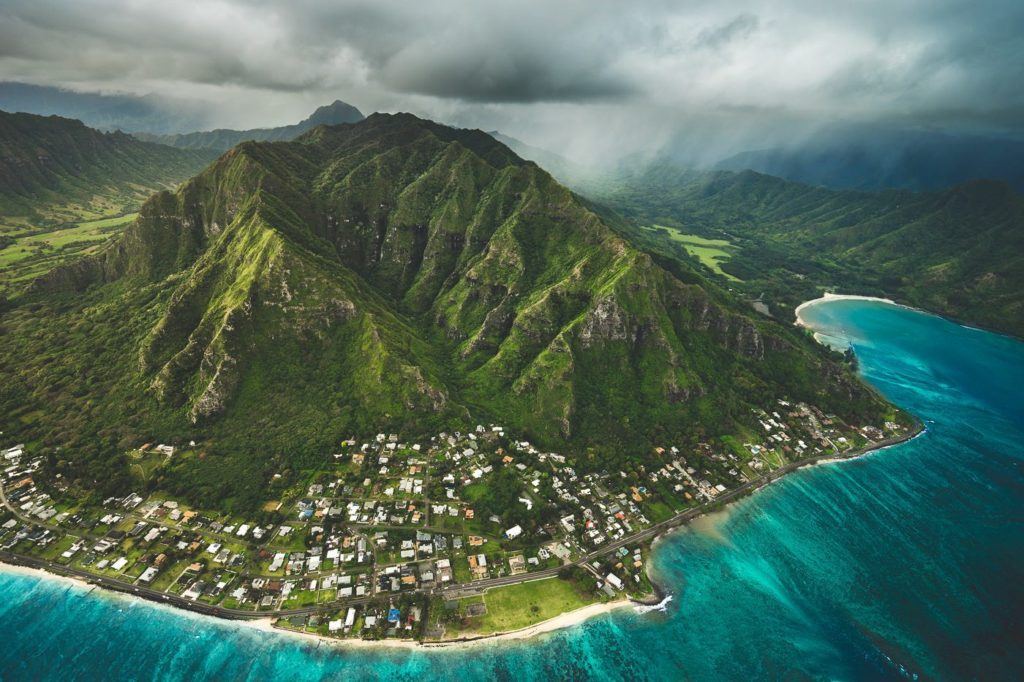

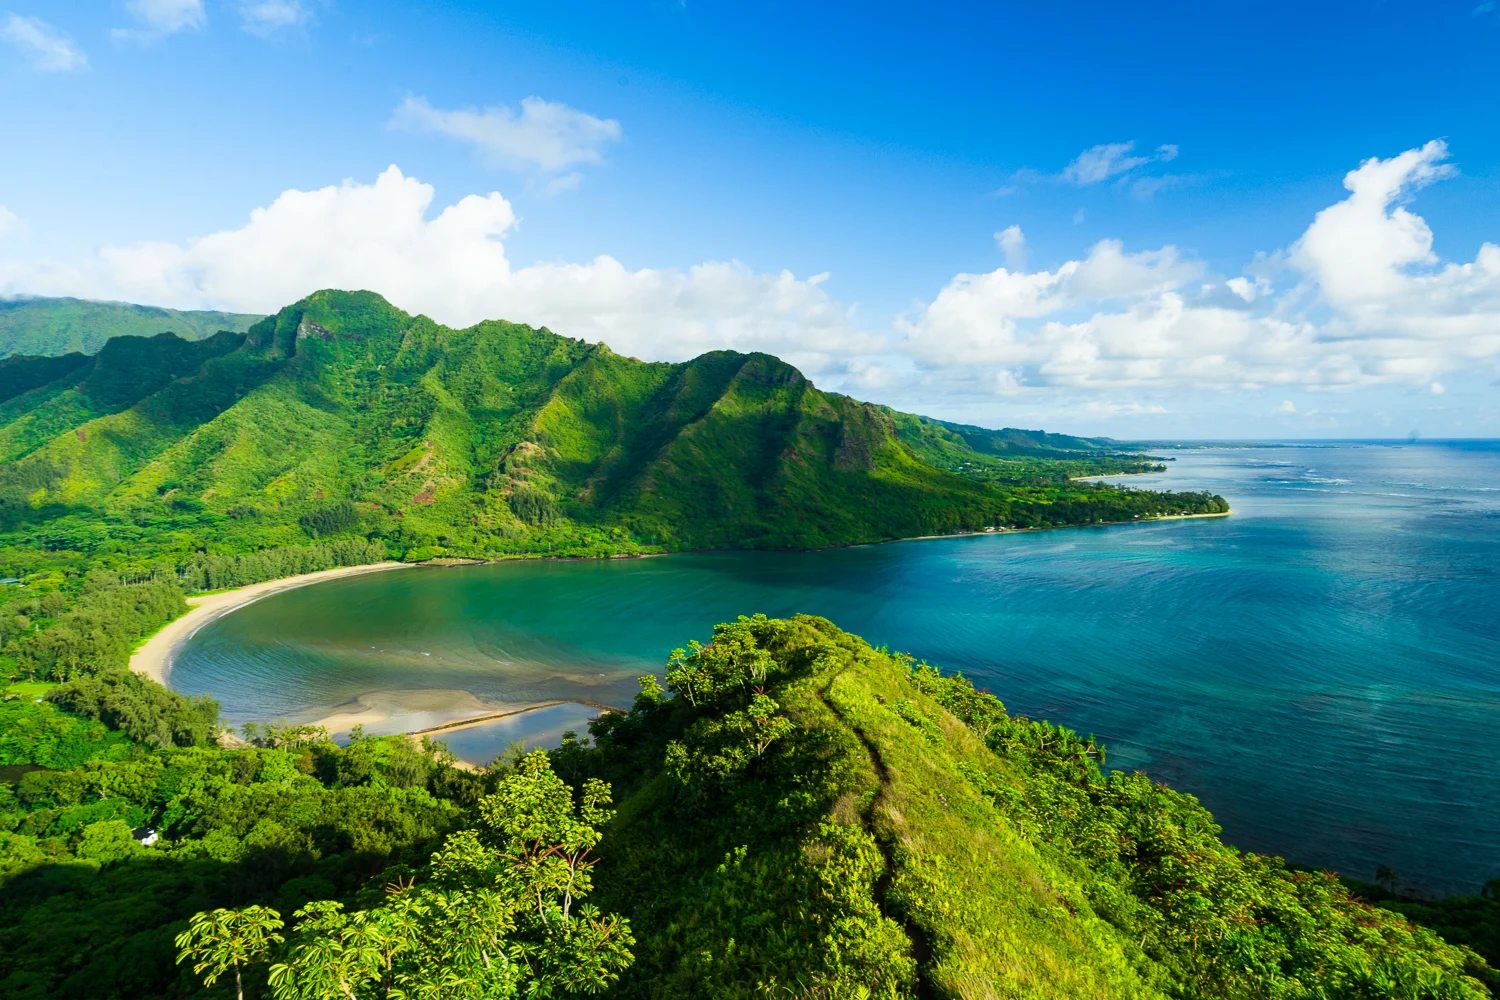
The Pu’u Piei Hiking Trail is one of the best hikes on the east side of Oahu. Overlooking Kahana Bay and directly adjacent to the popular Crouching Lion Hike, this trail is simply spectacular. Pu’u Piei is much harder than Crouching Lion and has a very steep climb with 500 meters of elevation. There are also numerous rocky outcrops where hikers use ropes and scramble to maneuver through the route.
It’s a hike for experienced adventurers who want a challenge and epic views over Kahana Bay and the surrounding ridges in the east.


TOP 3 PLACES TO STAY ON OAHU
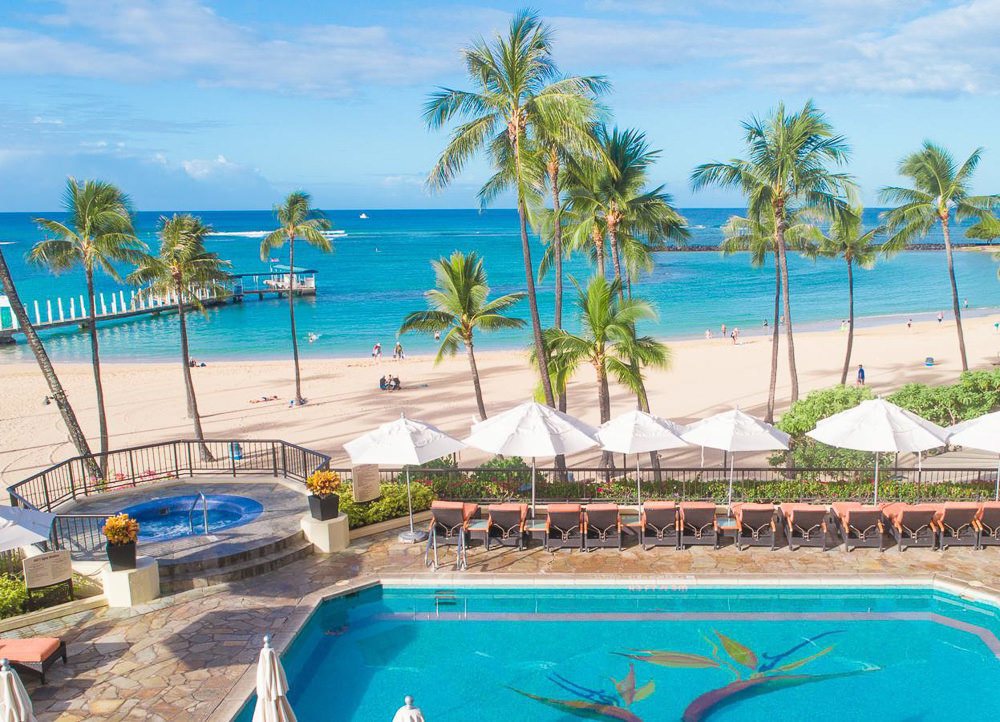
- Ultimate Luxury: Lotus Honolulu – Diamond Head View, Great Waikiki Location
- My Favorite: Aston Waikiki Beach – Best value in Waikiki & Great location
- Value Hotel Waikiki: Surfjack Hotel is easily the best value (luxury) hotel in Waikiki
PU’U PIEI MAKAI TRAIL
In this blog post, I will share with you all of the details you need in order to enjoy this hike such as distance, incline, best viewpoints along the way, where to park, the best time of day, photo opportunities, and other attractions nearby.
PU’U PIEI MAKAI TRAIL DETAILS
- Distance: 4km
- Duration: 3-4 hours
- Incline: 540m for the full loop
- Difficulty: This hike is one of the more difficult and dangerous on Oahu if you do the full loop. If you just go up to the ridge and back down it’s still tough but there’s not much exposure. Up on the top ridge while you are connecting to the loop to the descent ridge, you have a number of scarmbles and rope-assisted sections with high-exposure and big drop-offs. You will need prior experience with heights, scrambling, using installed ropes to descend down rock faces with moderate footholds. In addition, much of the trail is overrown so will scartch you up throughout the route.

3 MOST POPULAR OAHU TOURS
- Doors-Off Oahu Helicopter Flight Tour: My number one recommendation is to do a heli-flight (doors off) and be blown away when you see Oahu from the air.
- North Shore Shark Cage Tour: The biggest adrenaline rush you can have in Hawaii is beneath the surface with sharks!
- Turtle Canyon Snorkel Cruise by Catamaran: The number 1 MOST POPULAR snorkel tour on Oahu. GUARANTEED Turtles!
HOW TO GET TO THE PU’U PIEI MAKAI TRAIL
The Pu’u Piei Makai Trail starts at the Kahana Bay Parking lot. There are a few ways to begin but officially, the path begins at the parking lot on the backside of the road. However, you can find your way onto the trail through the bushes but the entrance can be tricky to find and also it’s best not to bush-bash and stay on the path where possible.
I’ve attached a pin location of the parking lot below. I’ve also added a photo below of where we ‘exited’ the loop trail although it can be done in any direction.

MY EXPERIENCE ON THE PU’U PIEI MAKAI TRAIL
This trail can be done as an out-and-back or a loop trail. The trail marked on maps I had seen showed it as an out and back up to the Pu’u Piei summit. However, there is actually no view from that peak and it isn’t until you traverse along the ridge toward the ocean that you get views from a peak named Kila. Along this ridge traverse, you have some pretty epic bouldering and scrambling with the use of ropes.
The ridge traverse is easily the best part of the hike so I wouldn’t advise an out and back from either of the viewpoints by itself as it was this ridge connection that was the highlight of the hike.
We began from the Kahana Bay parking lot and walked along the beach searching for the entry point. After avoiding a mother pig, we scrambled the embankment and made our way onto the trail with the help of the GPX map I had on my phone.


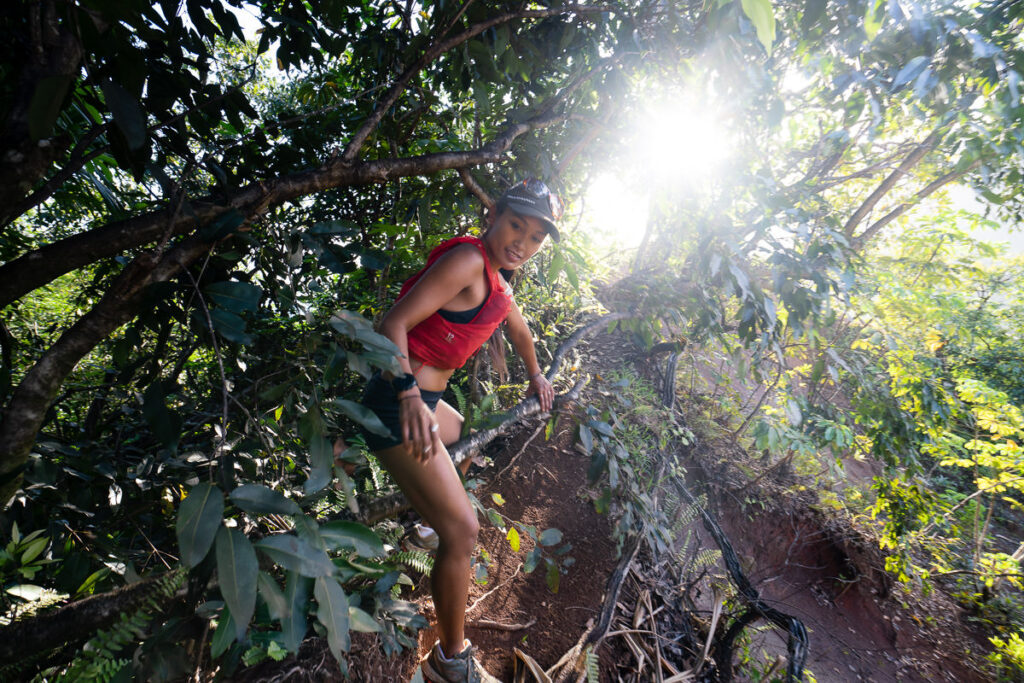
I was expecting a quick ascent and a nice view like you get across the bay at Crouching Lion. However, this climb up the ridge to Pu’u Piei was actually pretty tough. With 500m of incline in just 1.5km, it’s relentlessly steep. However, what tires you out is the overgrown trail and constant ducking and diving required to esacpe branches and roots.


There are a few rope climbing sections, which are comically created with electrical wire. Having deteriorated, the actual wiring is now exposed. Thanks for installing it whoever did but it sure makes for an interesting rope in the jungle.
We weaved our way through endless obstacles and a wild, overgrown trail to reach the ridgeline after about 70 minutes. With a path along the ridge in both directions, we decided to head left (away from the ocean) to try and reach the summit of Pu’u Piei. More dense forest crowded the trail and a few more rope climbs helped us to the ‘summit’ of Pu’u Piei. However, there was not much of a summit.

Atop the highest point of this peak is a dense walls of trees on all sides. We could catch a view out to Kahana Bay but there was not even a spare meter to sit down and relax at the summit. We turned back and began making our way down the ridge towards the ocean.
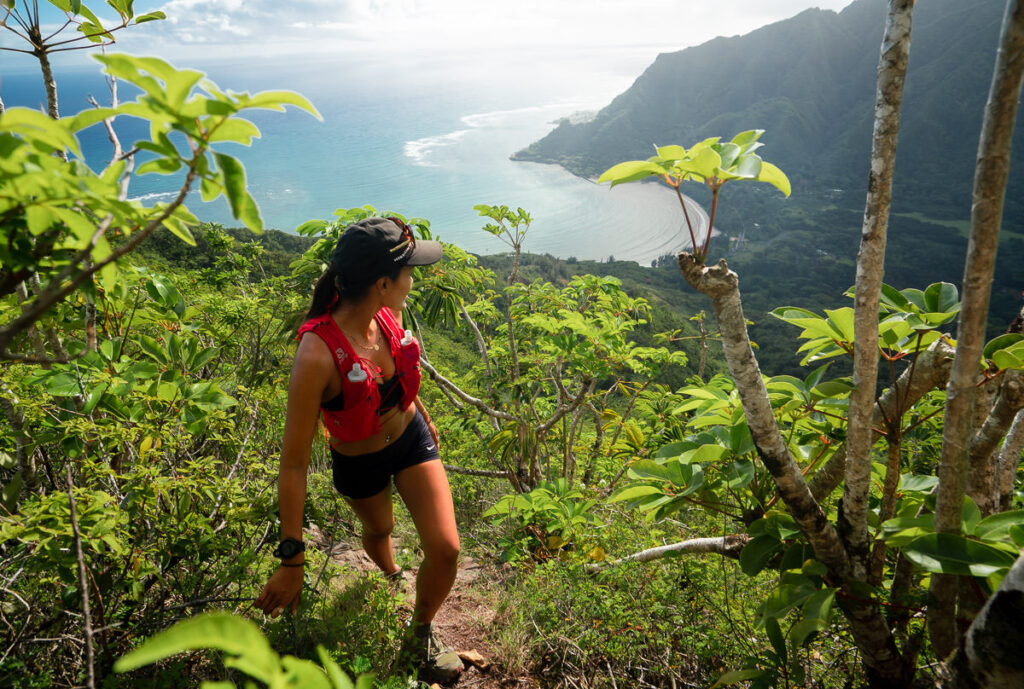
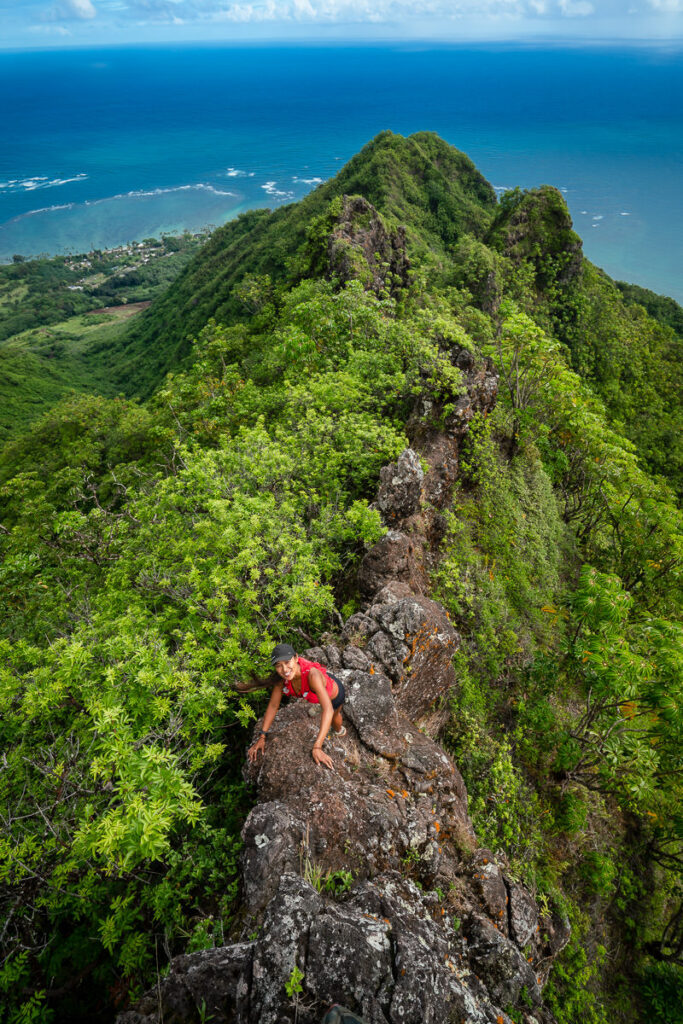
It was now that the real adventure began. Although we were on a descent from this point on, the trail led us through a number of steep, climbing obstacles. It was slow-going but incredible beautiful and challenging. The lush, tropical plants contrast perfectly against the blues of the bay down below. We felt like explorers as we bouldered our way along the ridge.


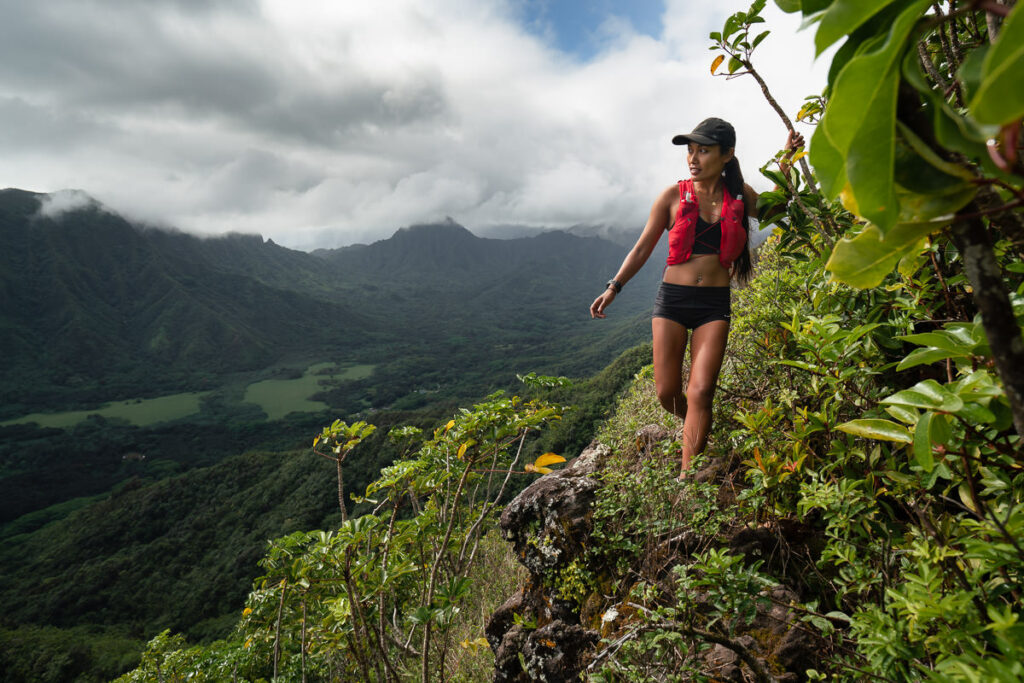

There are many moments of exposure and you need to have no fear of hieghts for this one. Also upper body strength, scrambling ability and some basic rope skills will be required to safely navigate this ridge. I don’t want to overdo it but this hike is much more intense than something like Pali Notches, which has a bit of a dangerous/difficult reputation. To give another comparison, this was more technical than the third peak on Olomana in my opinion.


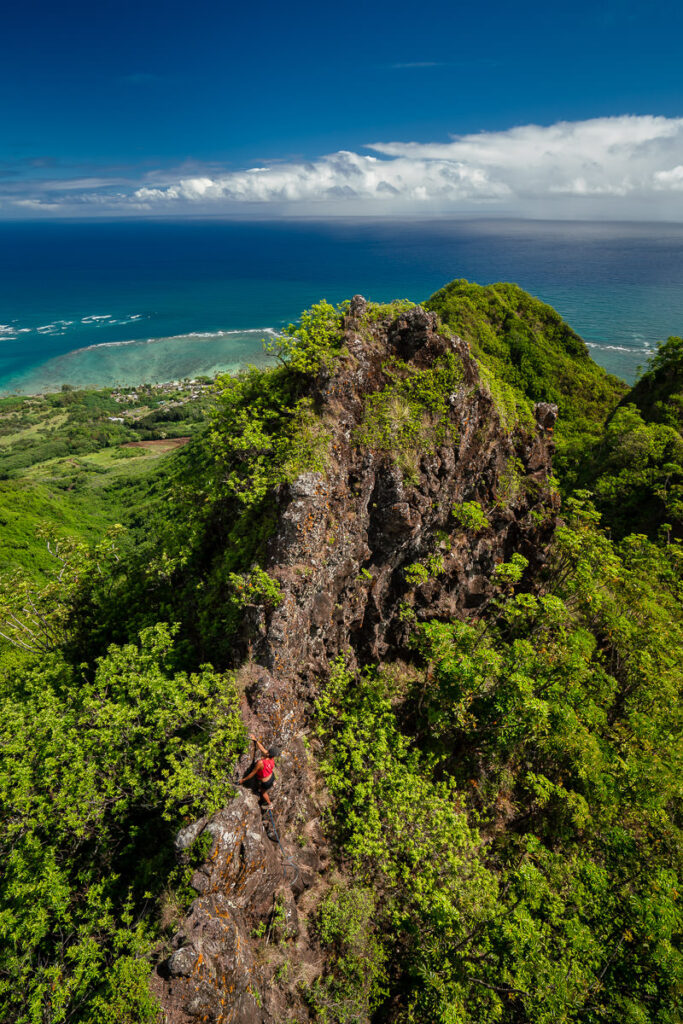

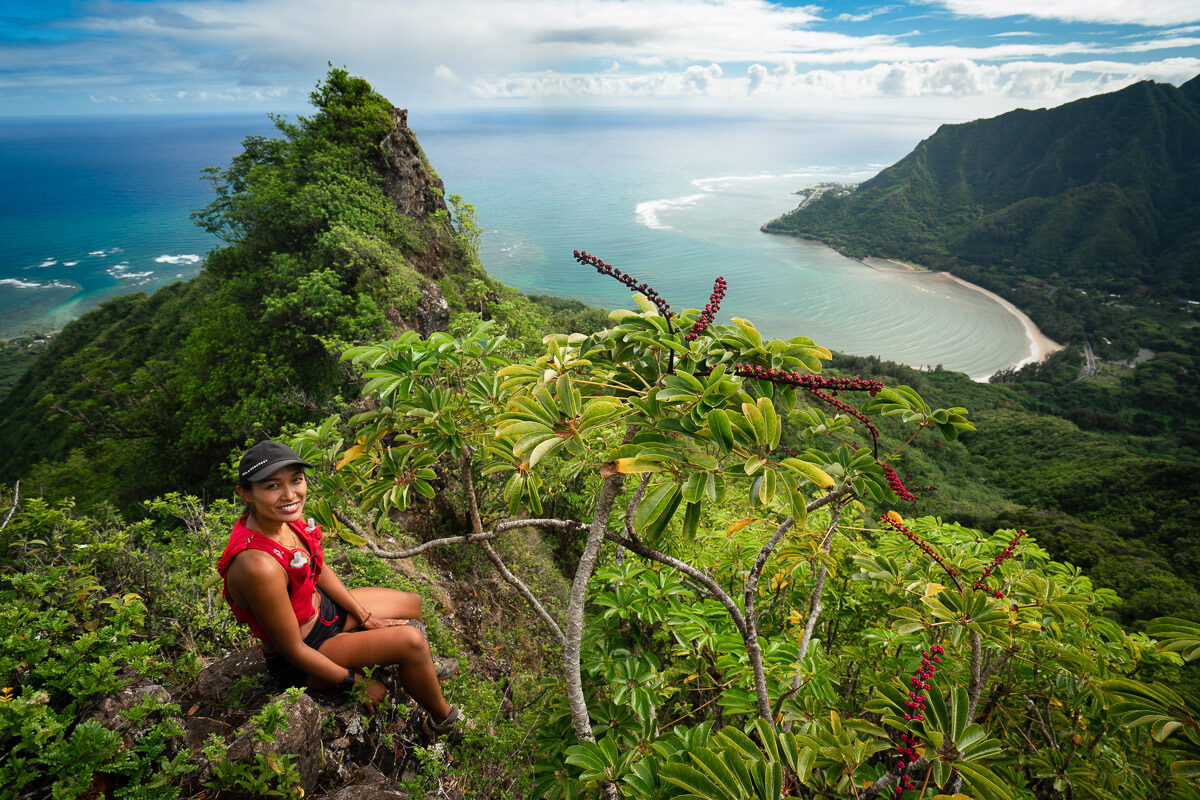
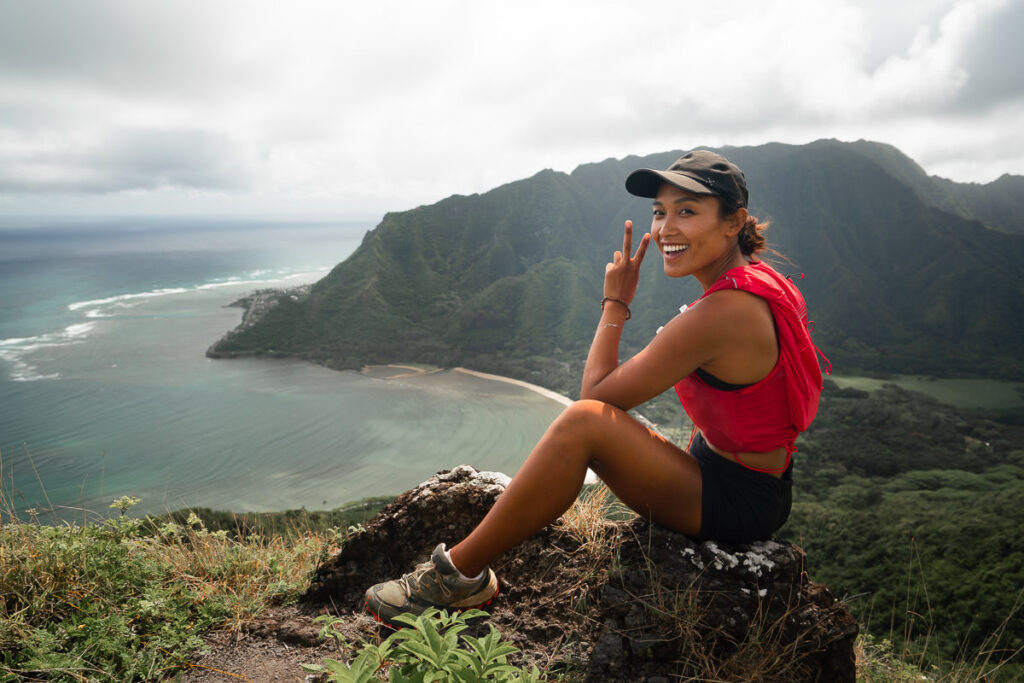
Scrambling down each of the spires, we wandered which ridge we would be descending down. It turned out that the second last ridge before the ocean would be our trail out. Here we reache Kila Peak according to the map. It’s at this peak you can find unobstructed views of Kahana Bay and the eastern ridges of the Koolau Summit Trail. It’s my favorite site of the island and this hike showcases all of it’s best angles.
The descent down from Kila was ten times easier than the ascent up to Pu’u Piei. The trail has been cleared, there are few obstacles and it’s less steep with a gradual decline. We made it down back to the road in just over 30 minutes to conclude our loop route including Pu’u Piei peak and Kila Peak.

I hope you enjoyed this guide to the Pu’u Piei Makai Trail and enjoy exploring the coast of Oahu.
HIKING CROUCHING LION ACROSS THE BAY
- Distance: 3km
- Duration: 1-2 hours
- Elevation: 150m
Crouching Lion is a short but steep incline hike that offers breathtaking views of Kahana Bay, the quaint town of Kaaawa, and the menacing cliffs of Pu’u Manamana.
Right from the start, this hike takes off at a steep incline. You will definitely work up a sweat as you climb over gnarled tree roots, and duck under stooping branches. As you continue to climb, the trail becomes more and more pronounced. There are parts that are very slippery due to the dry crumbling dirt but for the most part, the thick vegetation helps to stabilize the trail.
There are several viewpoints on the Crouching Lion hike that have incredible views out over Kahana Bay. This is arguably the most beautiful hike on Oahu because of the way the light hits the ridges on the far side of the bay and the reef structure beneath the surface. Take care on this trail as it is quite dangerous.
View full blog post: CROUCHING LION HIKE ON OAHU, HAWAII

WHERE TO STAY ON OAHU
- Hilton Hawaiian Village Beach Resort (Overall Favorite): In the heart of Waikiki, this high-end resort is right on the beach with a private lagoon.
- Sheraton Waikiki (Luxury): A luxury resort with the most amazing infinity pool on the island, which overlooks the beach.
- Ewa Hotel Waikiki: (Value): Ewa Hotel is just one block back from the beach and is just over $150 USD.
- Waikiki Beachside Hostel (Budget Choice): A budget alternative, which is still in an amazing location.
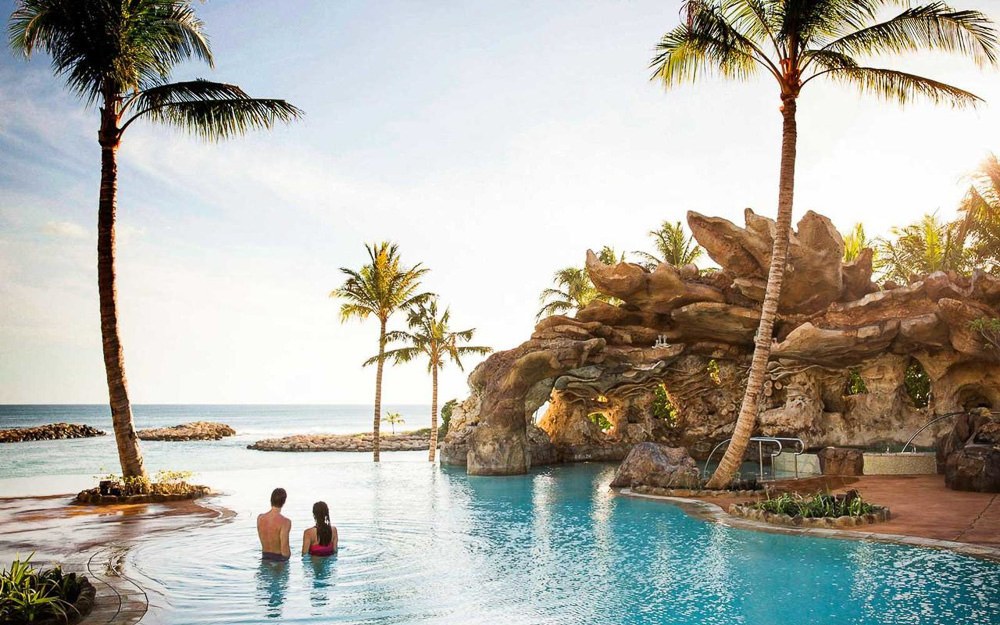
- Disney Aulani Resort (Family Choice): This is a resort your kids will never forget. It honestly feels like you are living in a theme park.
MORE OAHU BLOG POSTS
I lived on Oahu for two years and loved adventuring from the beaches to the mountains to the waterfalls! These are my most popular blog post and guides from the beautiful island of Oahu to help you plan your trip!
- What to pack for Hawaii: THE HAWAII PACKING LIST: WHAT TO PACK
- A helpful guide to choosing accommodation: WHERE TO STAY ON OAHU
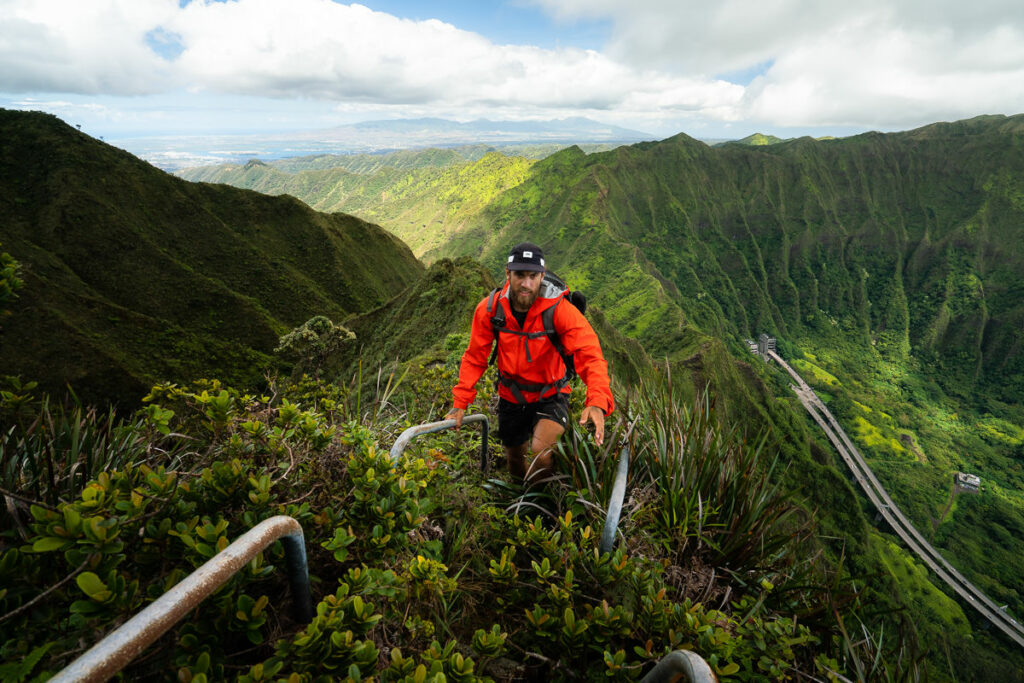
- Most epic hike on Oahu: THE STAIRWAY TO HEAVEN OAHU, HAWAII
- The best Waterfalls: AMAZING WATERFALLS ON OAHU, HAWAII
- Ultimate Cliff Jumping Guide: 11 BEST CLIFF JUMPING SPOTS ON OAHU
- Guide to Swimming with Sea Turtles: WHERE TO SEE TURTLES ON OAHU
- The best Waterfall Hikes: TOP WATERFALL HIKES ON OAHU
- Best Tours: 20 BEST TOURS ON OAHU
- The Ultimate Guide to Oahu: 80 AWESOME THINGS TO DO ON OAHU