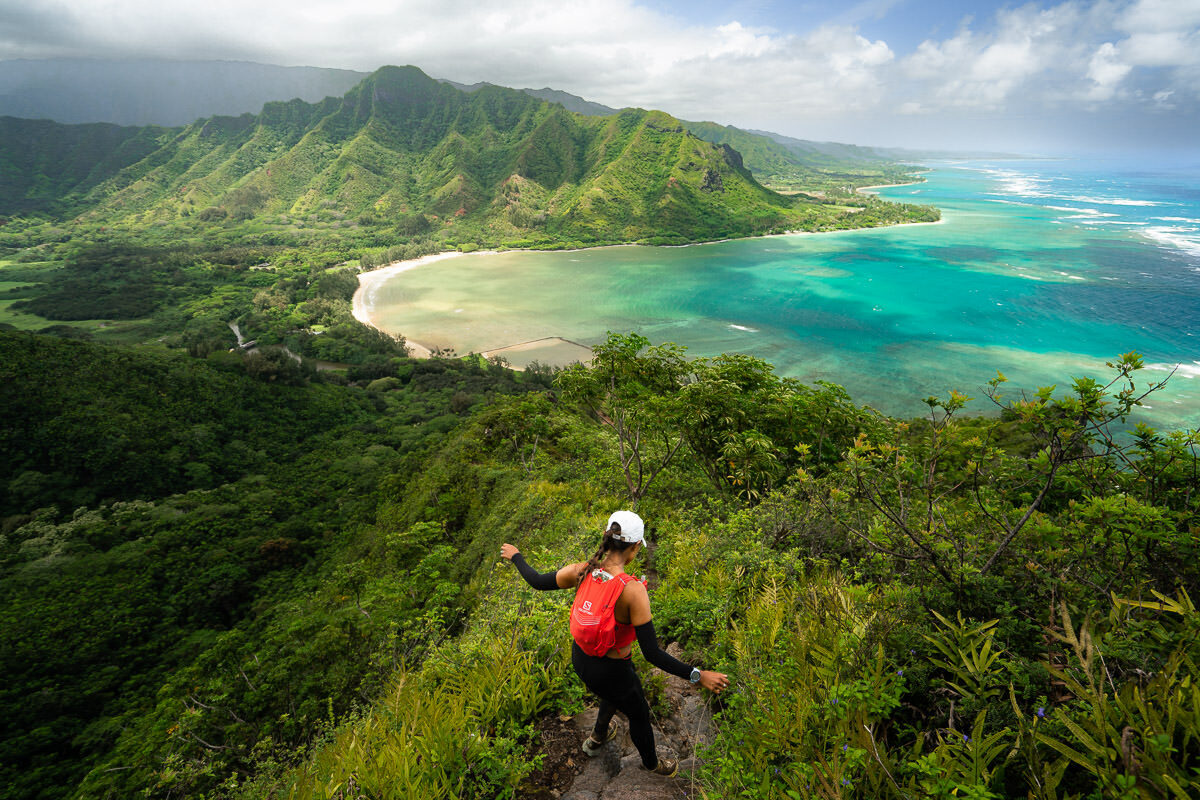
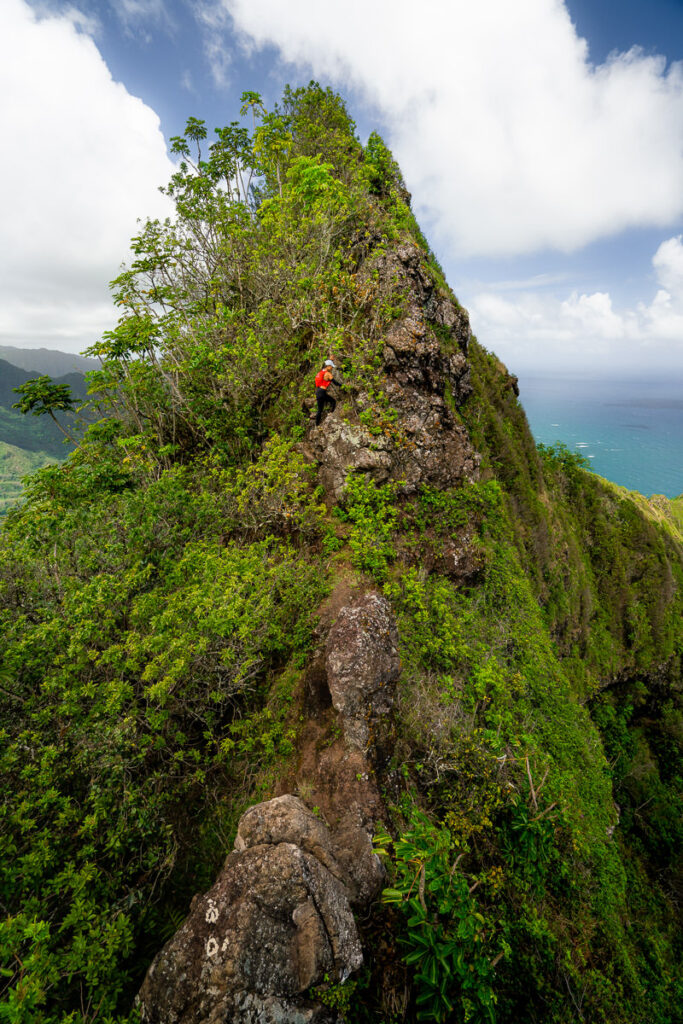
The Pu’u Manamana hike is a challenging and adventurous trail that runs above the famous Crouching Lion hike and connects with the Kahekili Ridge hike. The trail leads hikers along a narrow ridge with steep drop-offs on both sides. The views of the Pacific Ocean, east coast of Oahu and the beautiful Kahana Bay make it well worth the effort. When you think of those tropical and coastal views in Hawaii, this is the quintessential hike.
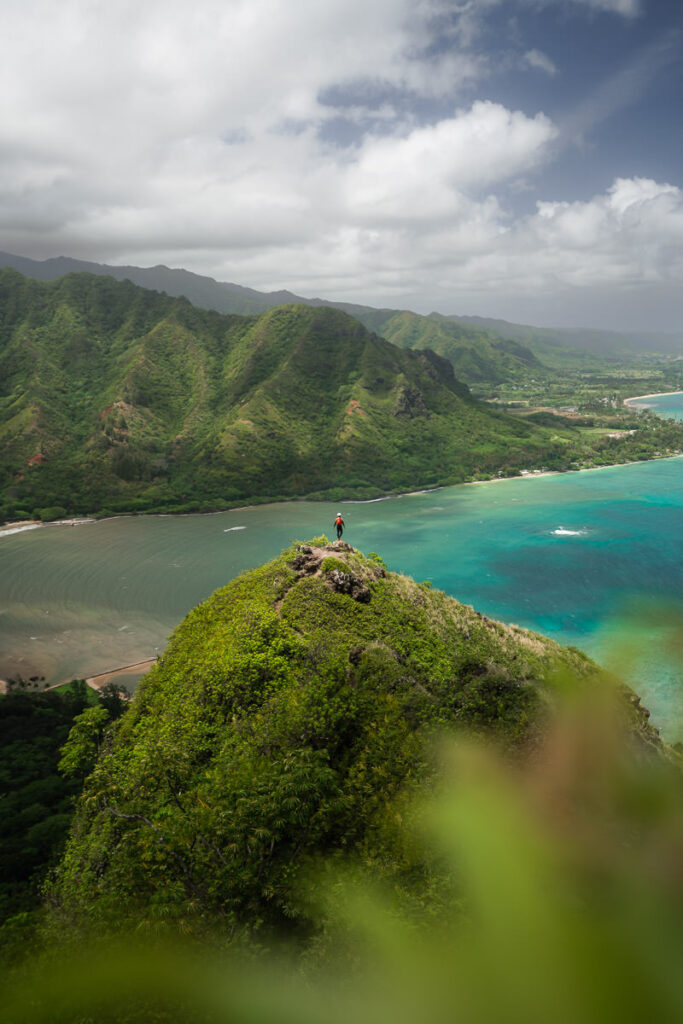
PU’U MANAMANA HIKE
In this blog post I will share everything you need to know about the Pu’u Manamana Hike on the east coast of Oahu. There are a few different route options and some details you should know before attempting this route, so please read on.
THE FOUR MOST POPULAR OAHU TOURS
- Doors-Off Oahu Helicopter Flight Tour: My number one recommendation is to do a heli-flight (doors off) and be blown away when you see Oahu from the air.
- North Shore Shark Cage Tour: The biggest adrenaline rush you can have in Hawaii is beneath the surface with sharks!
- Eco-Friendly Dolphin and Snorkel Tour: One of the best experiences I had on Oahu was swimming with the beautiful spinner dolphins on this exact tour.
- Turtle Canyon Snorkel Cruise by Catamaran: The number 1 MOST POPULAR snorkel tour on Oahu. GUARANTEED Turtles!
PU’U MANAMANA HIKE DETAILS
- Hike Distance: The Pu’u Manamana hike is approximately 4 miles (6.4 kilometers) long, taking hikers along a narrow ridge with steep drop-offs on both sides. The distane depends on the route option you choose.
- Hike Duration: The hike typically takes about 3-4 hours to complete, depending on your hiking speed and experience level.
- Hike Difficulty: The Pu’u Manamana hike is rated as difficult due to its rugged terrain, steep inclines, and narrow ridge with significant drop-offs. There are some rock scrambles, rope sections and muddy slopes. This hike is recommended for experienced hikers in good physical condition.
- Hike Incline: The hike has an incline of approximately 610 meters, taking hikers to an elevation of 488 meters above sea level.
HAWAII HIKING PACKING LIST
Many people come unprepared for hiking on Oahu and that’s why there are so many rescues. Make sure you at least have the basics and you will be prepared for bad weather or any mishaps on the trail. A headlamp, rain jacket, and good hiking boots or shoes are the three main pieces of gear you need. Below are my four Hawaii hiking essentials.
- Arcteryx BETA AR Rain Jacket: This is my go-to rain jacket. It’s super light, folds down into a tiny ball, and protects brilliantly in a storm. This one never leaves my backpack.
- Salomon X Ultra 3 Mid GTX Hiking Boots: For the best ankle support, waterproofing, and durable exterior I’m a fan of tough but light hiking boots like these Salomons for my adventures.
- Black Diamond Head Torch: I can’t tell you how many times, I’ve arrived back from a hike unexpectedly late. I always keep this lightweight but strong headtorch in my bag for the unexpected.
- Darn Tough Socks: These are the most comfortable hiking socks I’ve ever worn and last for years. They also have a lifetime warranty and you just send them in with a hole and they replace it no questions asked.
HOW TO GET TO PU’U MANAMANA HIKE
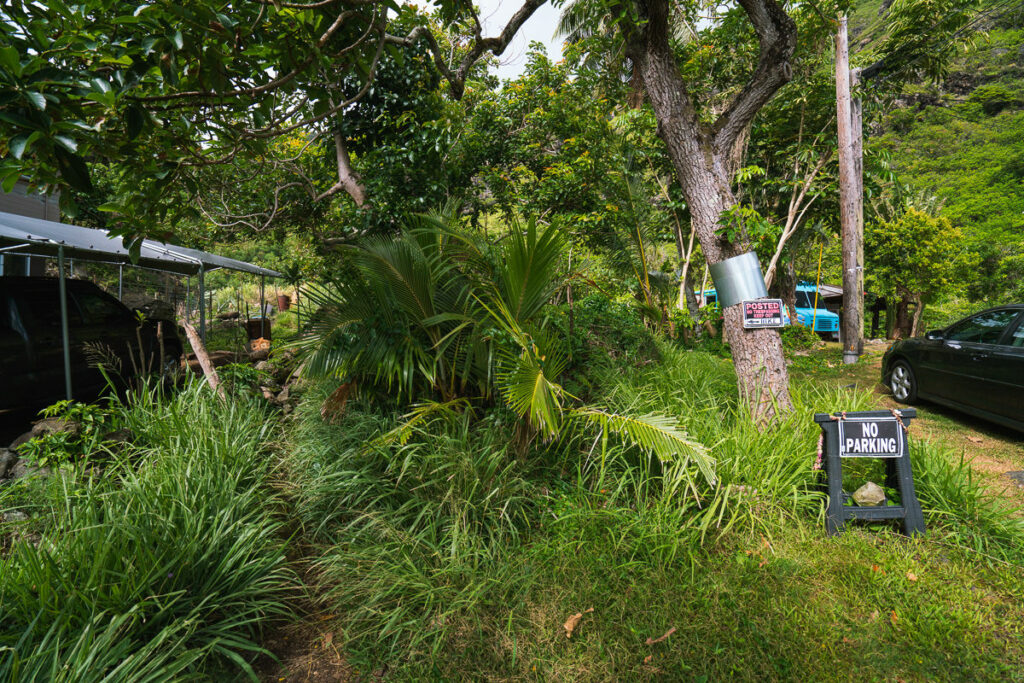
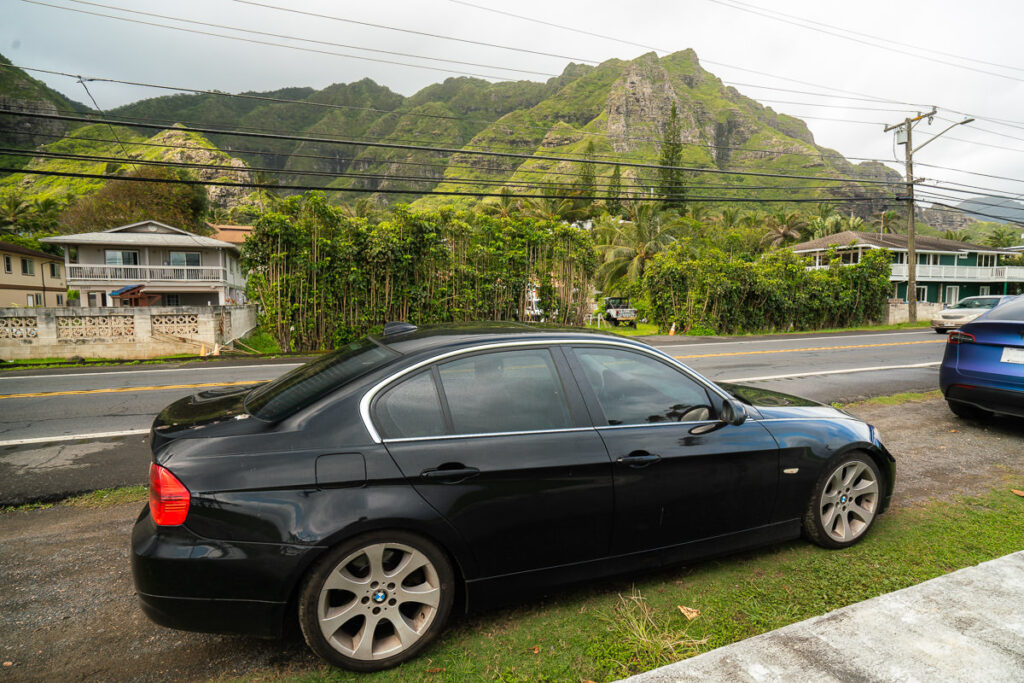
You can start this hike from either the Crouching Lion side or the Kahekili Ridge side. I prefer starting from the Kahekili Ridge side as a loop route. The Kahekili Trail is found just before Kahana Bay on the east coast of Oahu, Hawaii. As it is in a residential cul de sac, the locals request you park a short walk away at the beach parking. The trail begins at the end of the cul de sac with the trailhead found between two houses. It heads straight into the bushes and without the small sign, it would be tough to find. I have pinned the location on the map below and also added an image of the trailhead to ensure you find the route.
BEST RENTAL CAR COMPANY IN HAWAII

When you book your Hawaii Rental Car online, I personally recommend and always use Discover Cars. They search for both local and international companies, so you get the best deal!
PU’U MANAMANA ROUTE OPTIONS
There are a few options for the Pu’u Manamana Hike. I’ll detail them below:
- Route 1: Hike up the Kahekili Ridge, down the Pu’u Manamana route and join up with Crouching Lion route. Finally, walk the 1-kilometer stretch on the road to link the loop back up. This is my personal choice.
- Route 2: Up and down from Crouching Lion route to ‘Pu’u Manamana Summit’ as an out-and-back route.
- Route 3: Small loop all from Crouching Lion side, known as Pu’u Manamana Turnover Trail.
- All of the options are viewable on AllTrails and are known routes. The trails can also be found on Maps.me
TOP 3 PLACES TO STAY ON OAHU
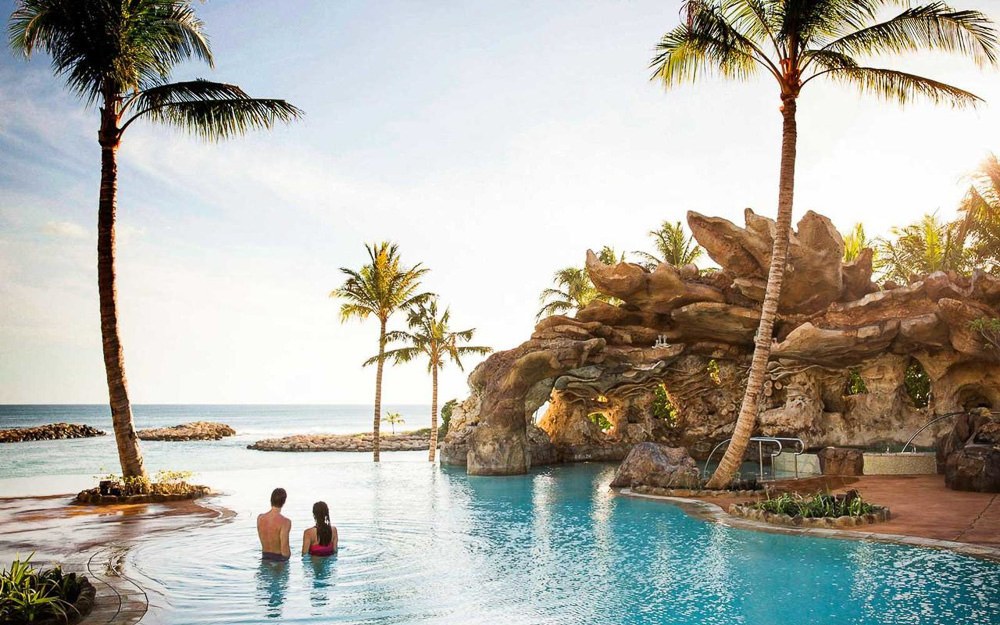
- Ultimate Luxury: Lotus Honolulu – Diamond Head View, Great Waikiki Location
- My Favorite: Aston Waikiki Beach – Best value in Waikiki & Great location
- Value Hotel Waikiki: Surfjack Hotel is easily the best value (luxury) hotel in Waikiki
MY EXPERIENCE HIKING THE PU’U MANAMANA TRAIL
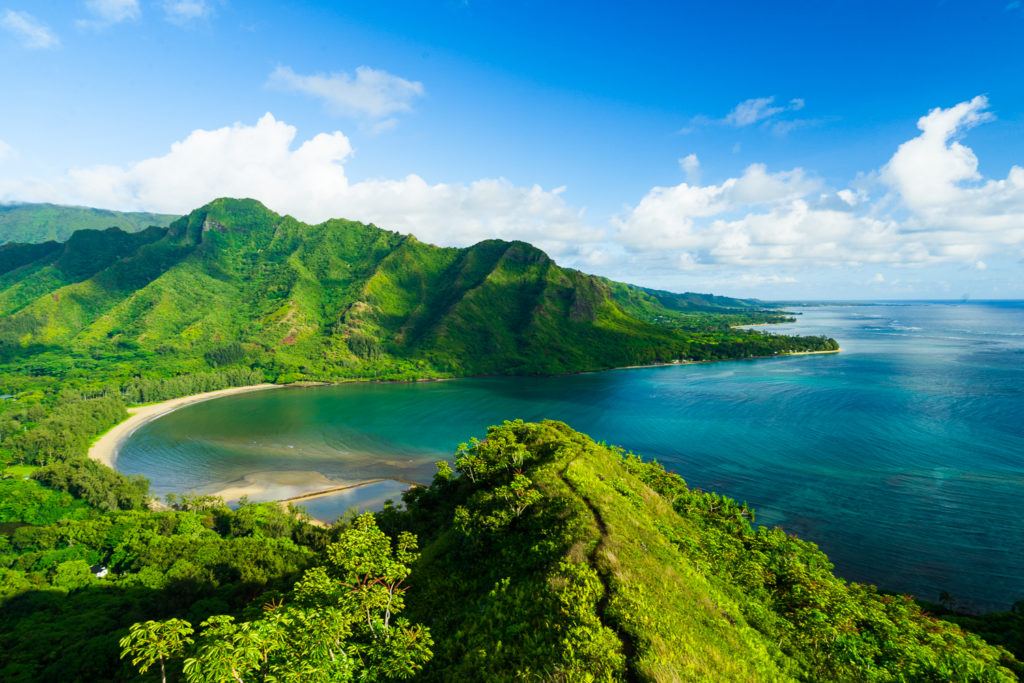
The Pu’u Manamana Trail is a great loop trail on the east coast providing those classic Hawaii vibes with tropical, coastal views. I hiked this route as a loop, starting at Kahekili Ridge and finishing at the base of the Crouching Lion Hike. The photos in this article are from two seperate days. I hiked up Kahekili one morning for sunrise and then on a seperate day hiked the entire loop, which is why you’ll see some shots at golden hour and then the sunny, tropical vibes of Kahana Bay during the afternoon sun.
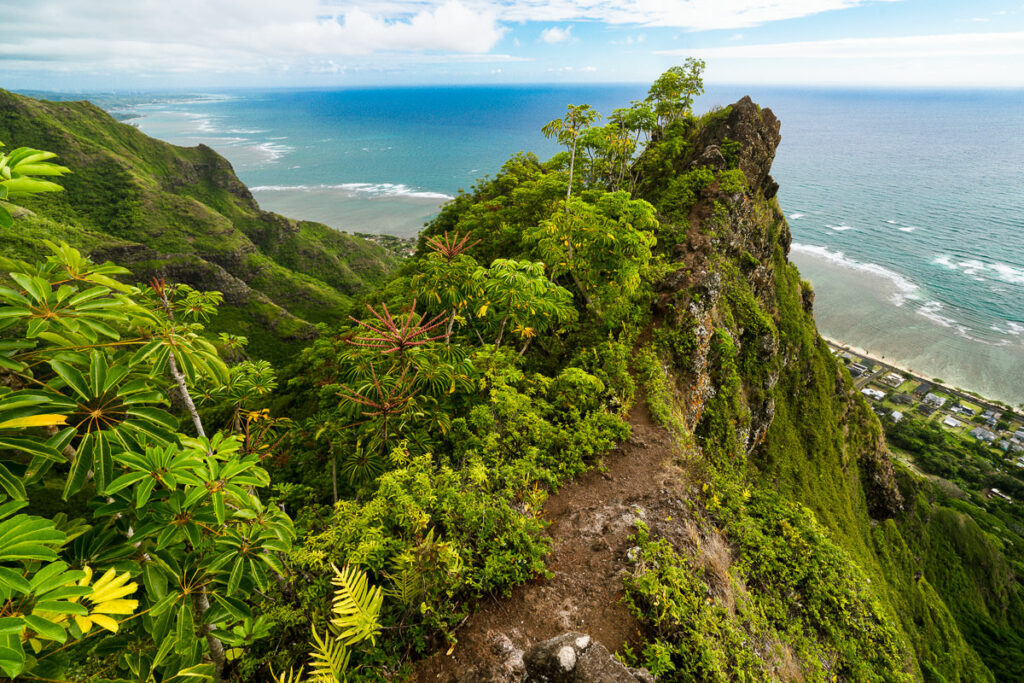
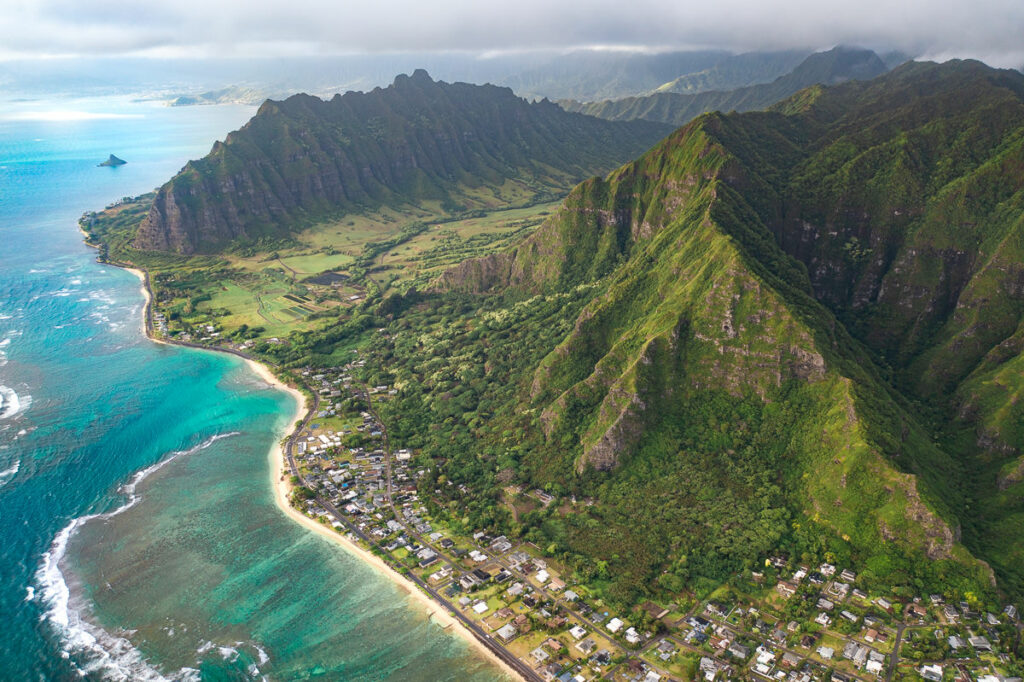
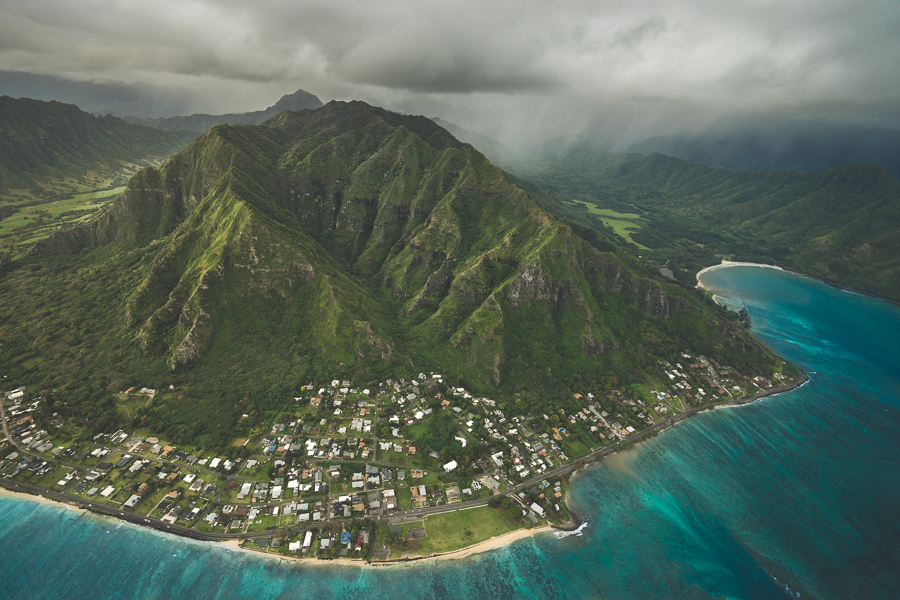
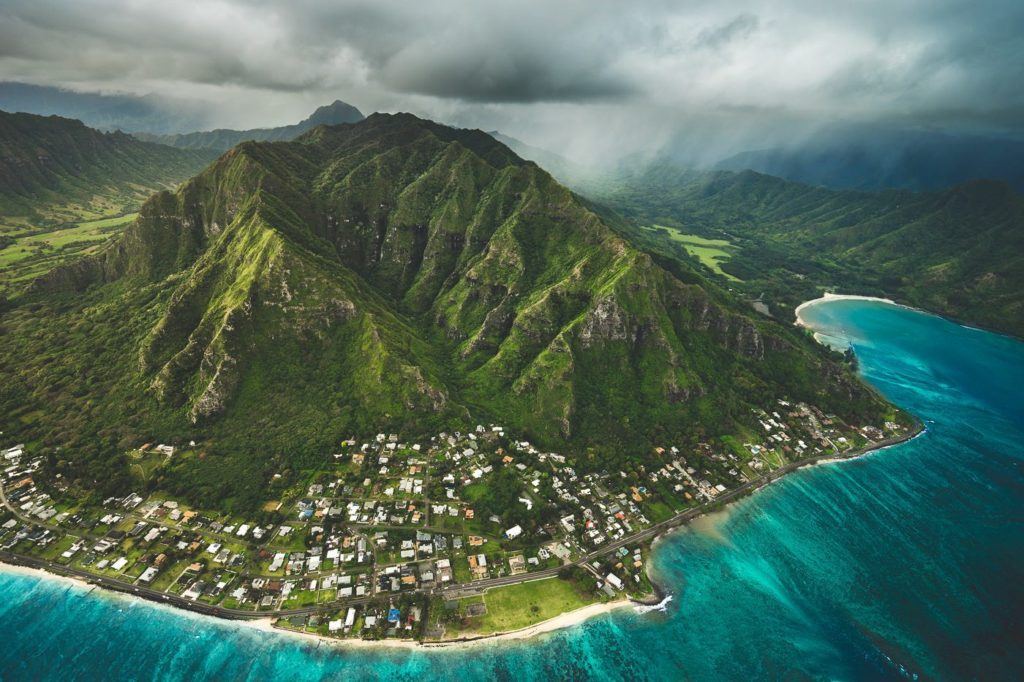
The first section of the Kahekili Ridge Trail takes you through the undergrowth of the forest before it emerges above the treeline to traverse a stunning ridge. Very quickly, you will have great views of Kaawa and the coastline beneath the lush surroundings of the ridge. From an aerial point of view, you can quite easily see the course of the ridge-line trail as it leads hikers further and further up towards the peaks of the mountains.
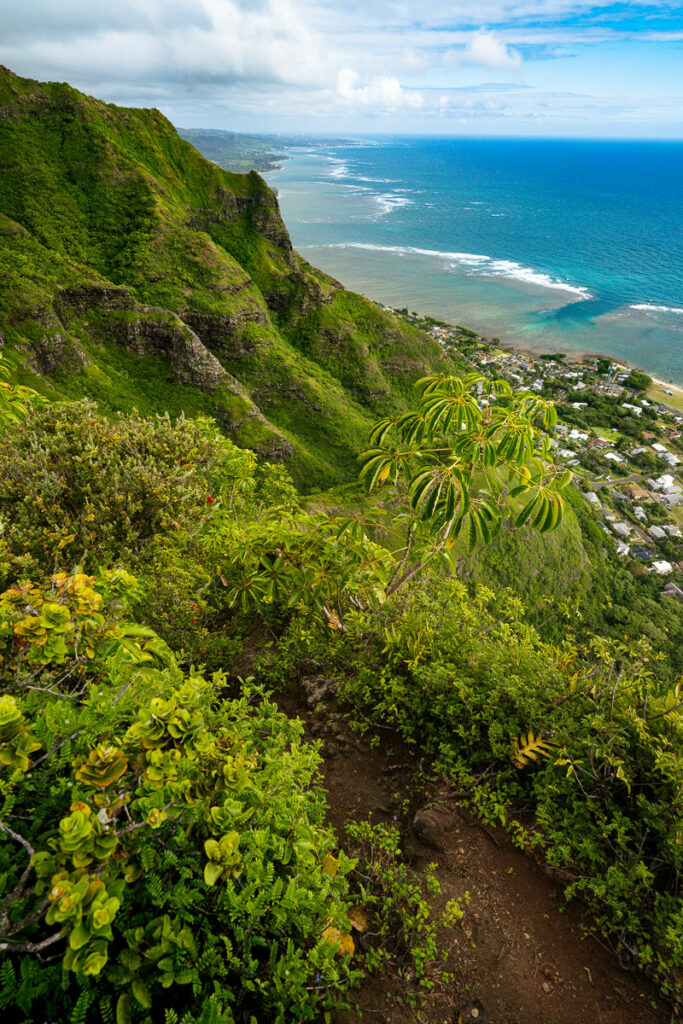
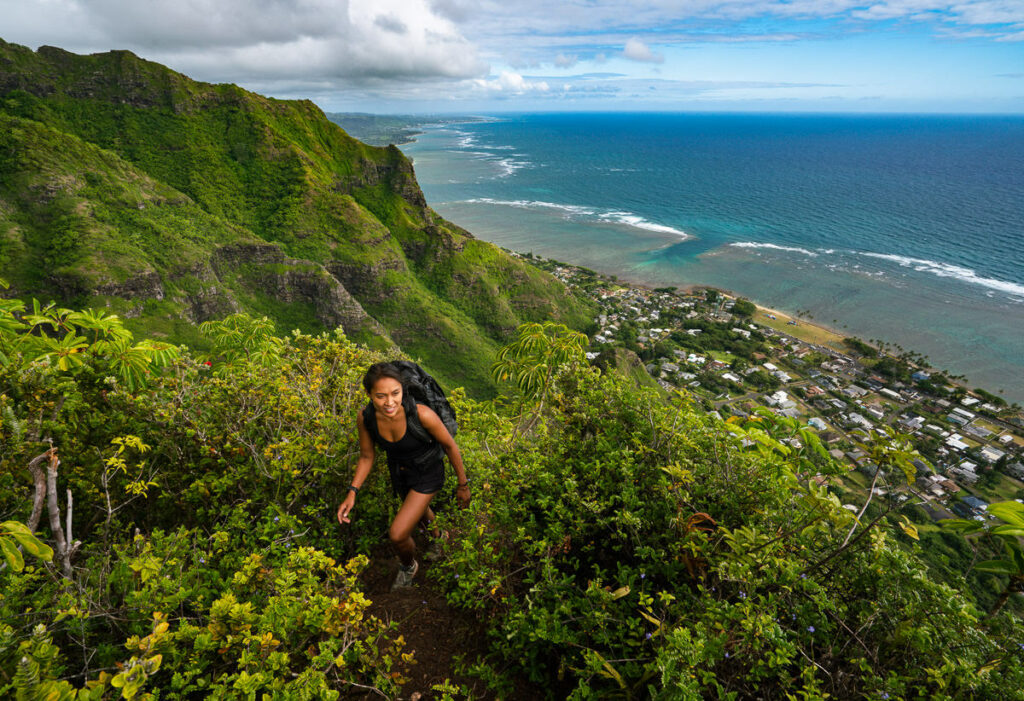
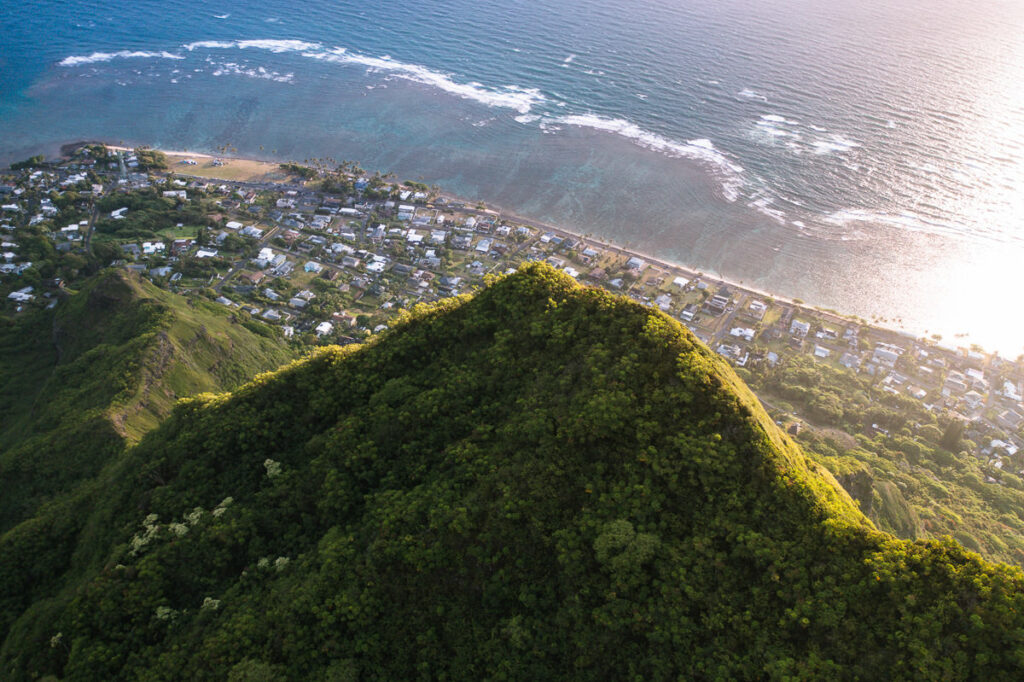
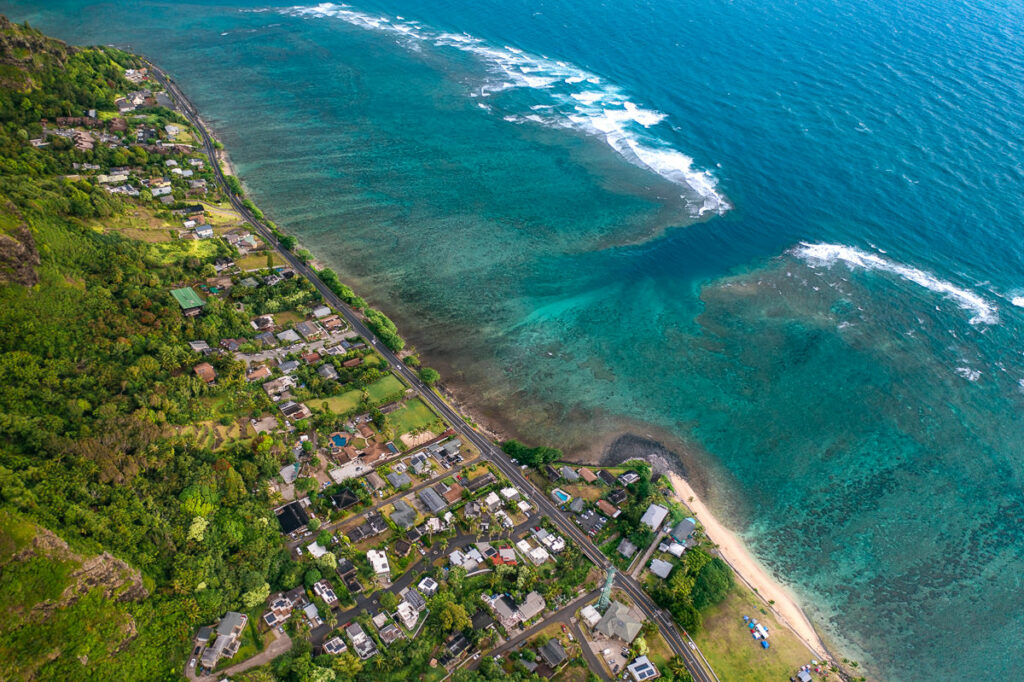
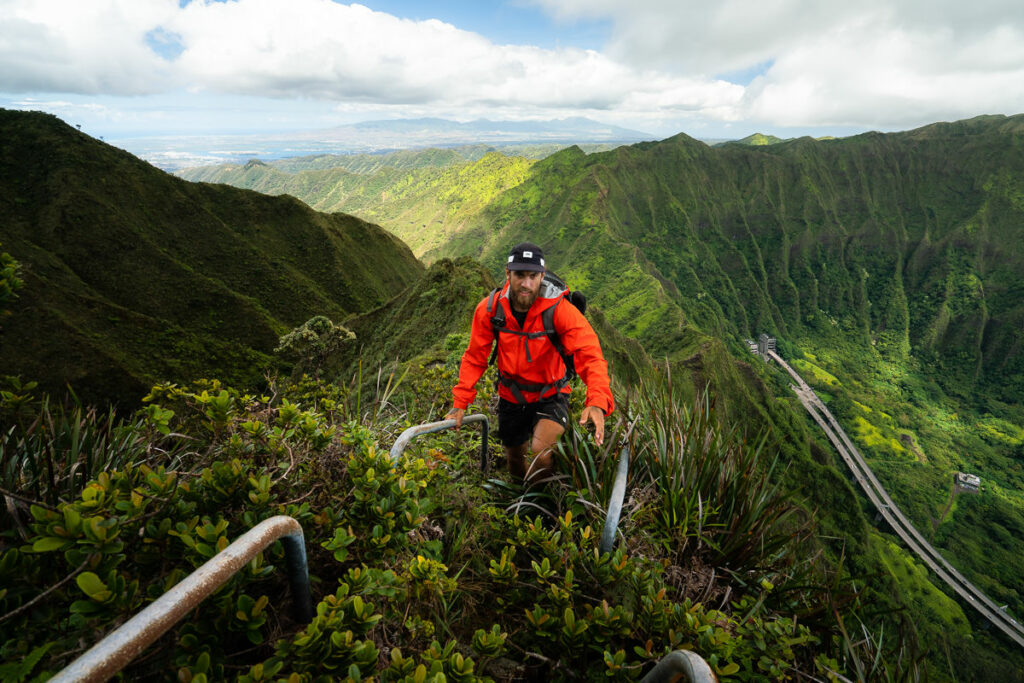
The trail here features uneven and slippery gravel surfaces that require you to climb up rocks, aided by a few basic rope sections. It’s a steady climb for several hundred meters until reaching the halfway point of the hike, a small plateau area of the ridge with climbable rocks, spires, and boulders that offer an ideal spot for sunrise viewing. Beyond this point, the trail descends back into the undergrowth and the views become less impressive. Therefore, it’s recommended to enjoy the sunrise here and then continue on with the hike.
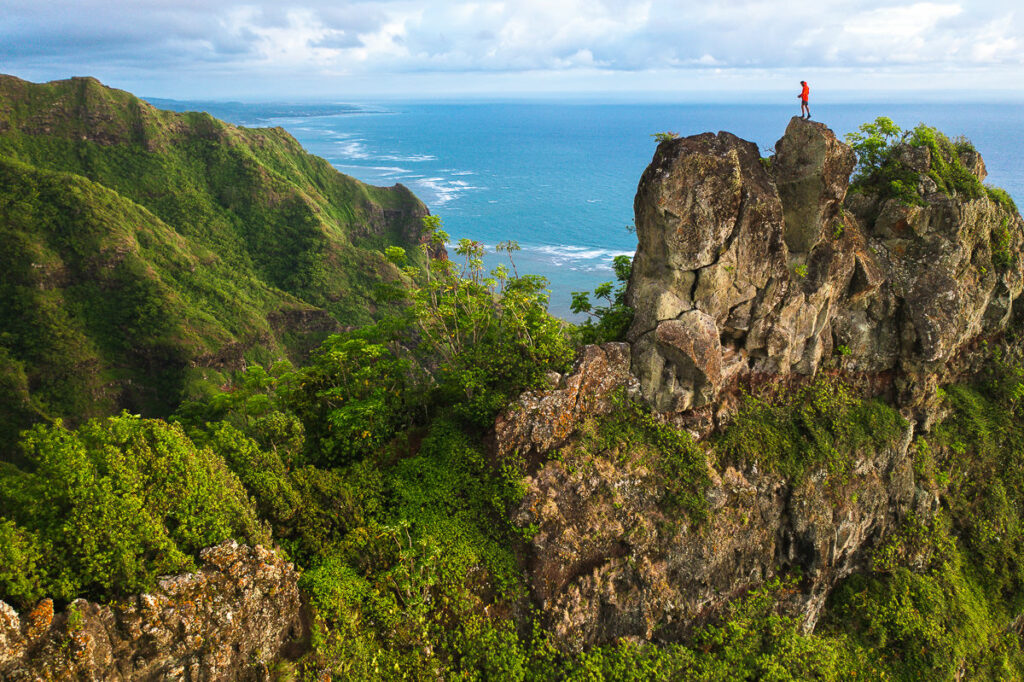
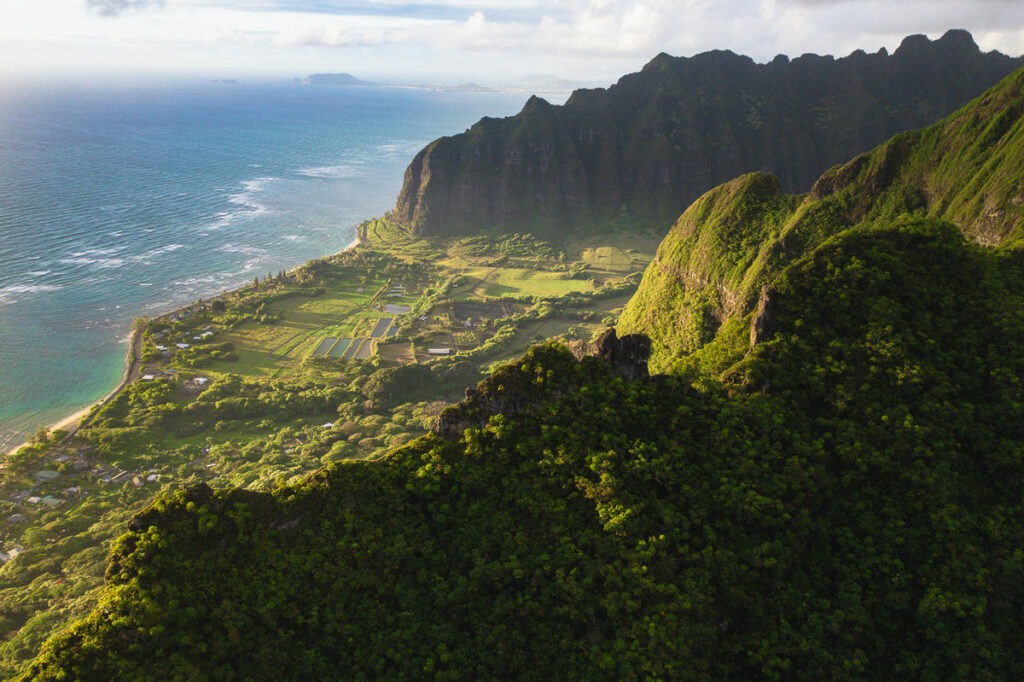
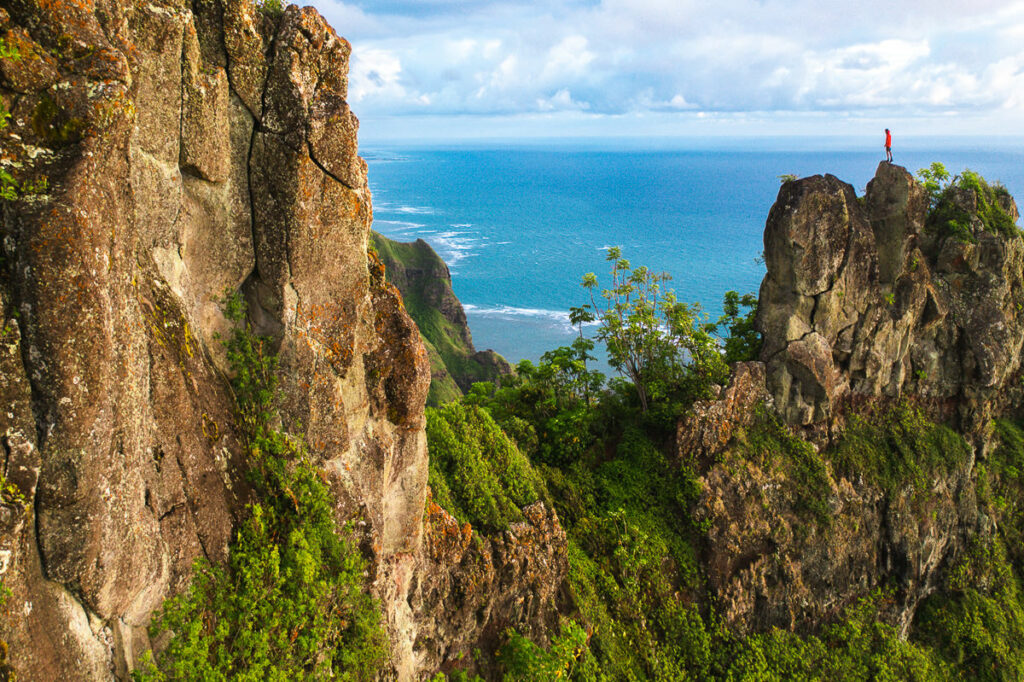
I found a large rock to climb upon, settled in, and watched as the sun broke through the clouds over the ocean. To my right, Kualoa Ridge stood tall while Kahekili Ridge, which I had just climbed, became visible as the morning light filtered through the clouds. It was one of the most memorable mornings I had on Oahu, even though the sunrise was not perfect and the morning was a bit grey. However, there were a few moments when the sun shone through, casting a beautiful golden light on the ridges, and I managed to capture some lovely photos.
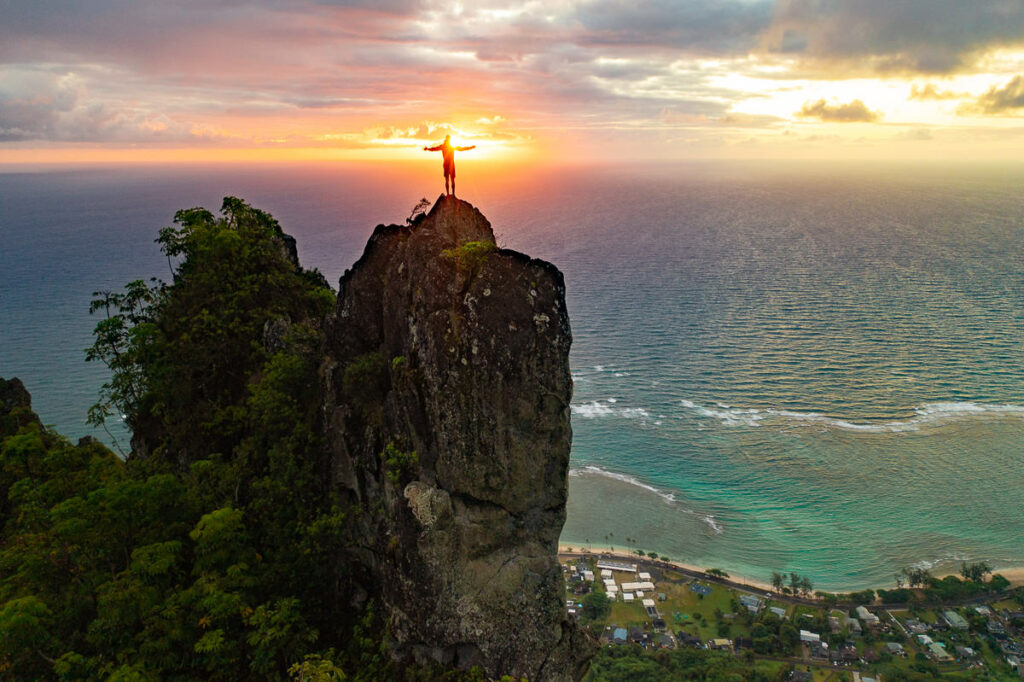
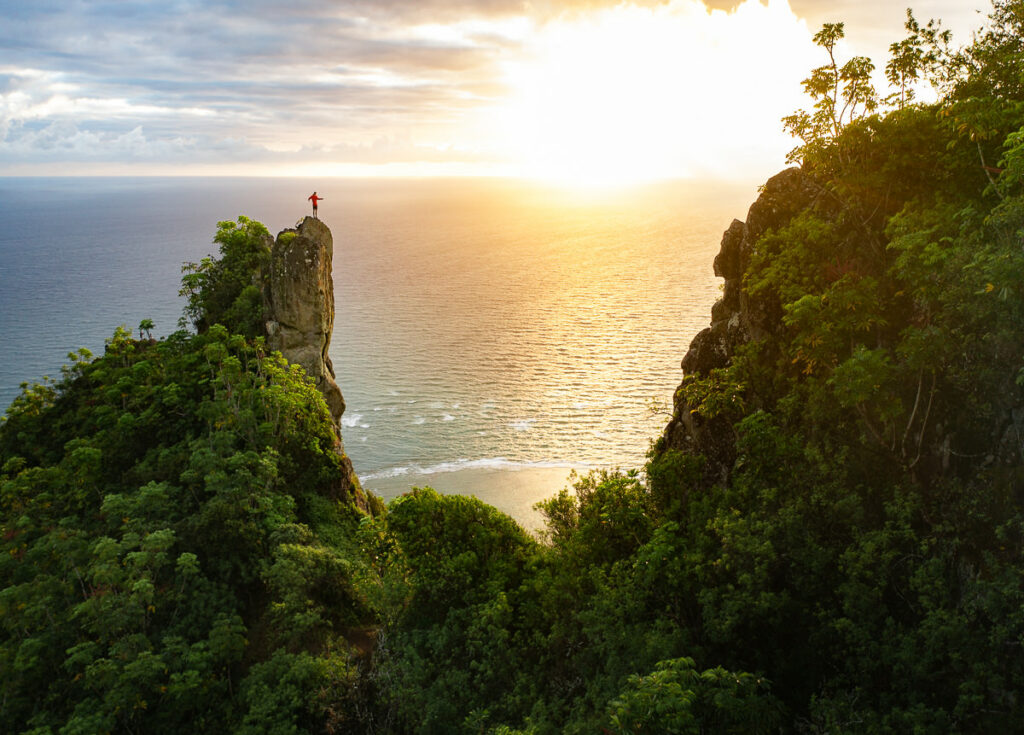
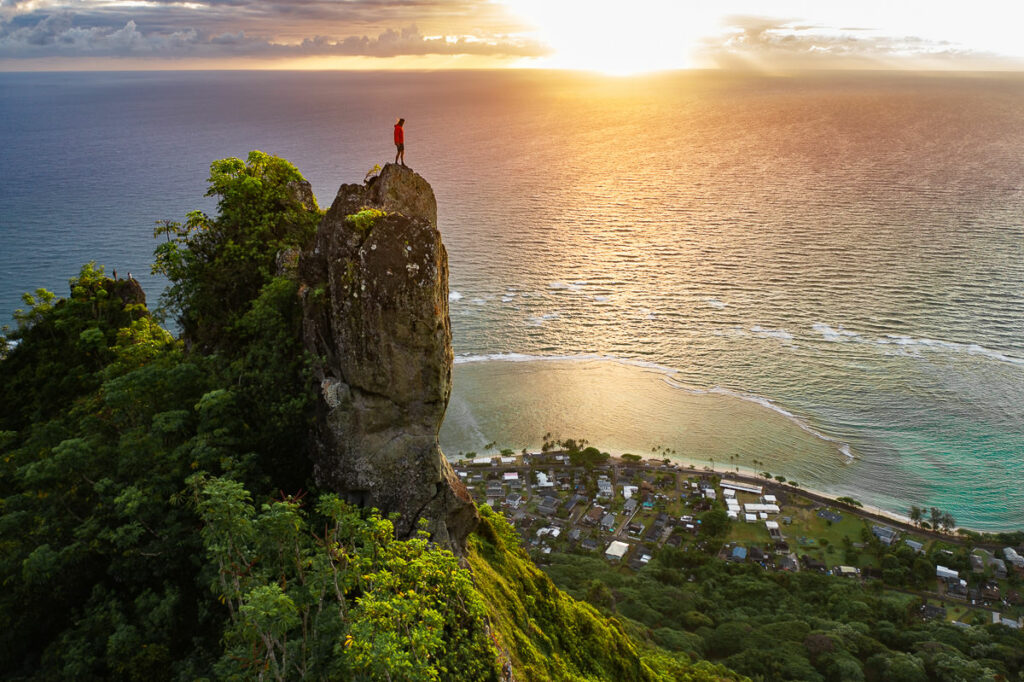
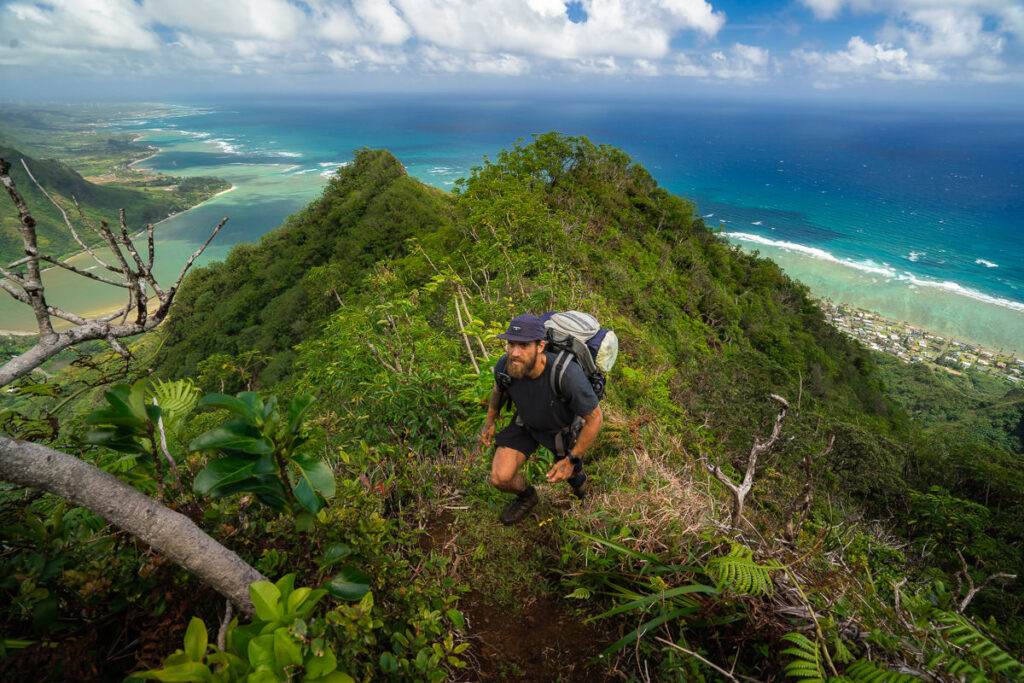
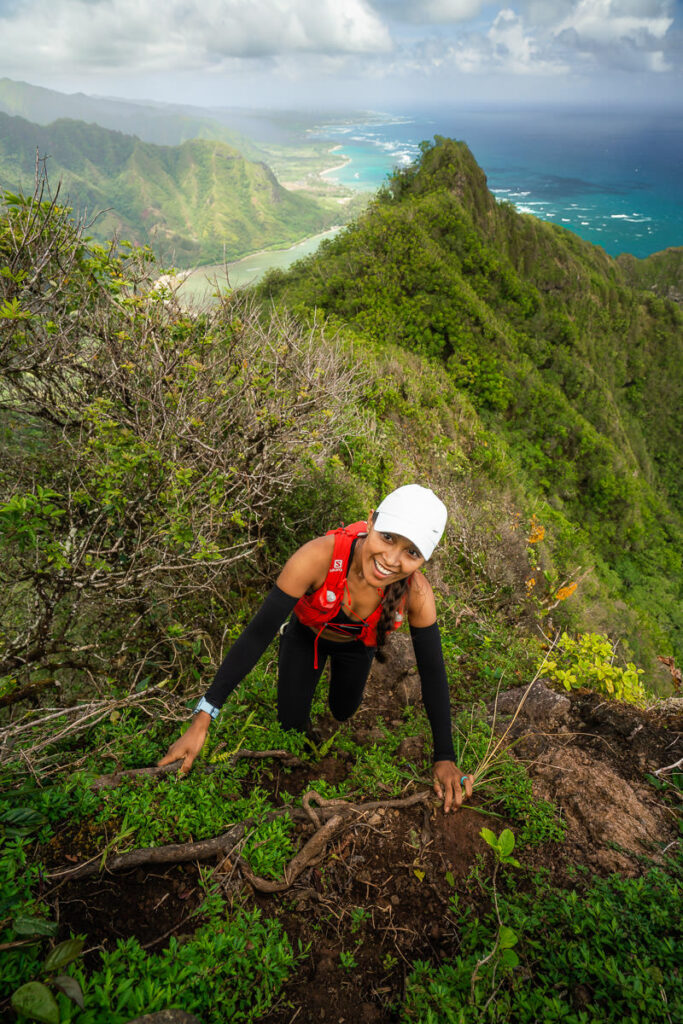
Following the sunrise, the hike proceeds up the ridge toward the summit. As the trail progresses, the foliage becomes noticeably thicker, and the bushes on either side of the path begin to scrape and scratch at my arms and legs. The path becomes increasingly challenging with rough roots and uneven terrain, making the ascent to the summit slow-going.
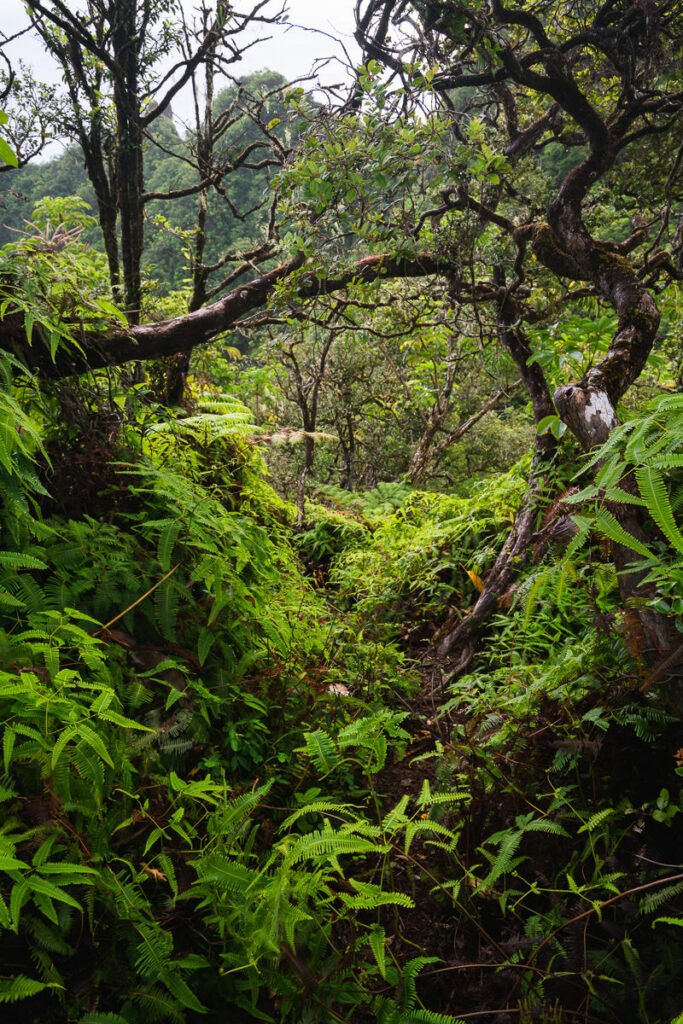
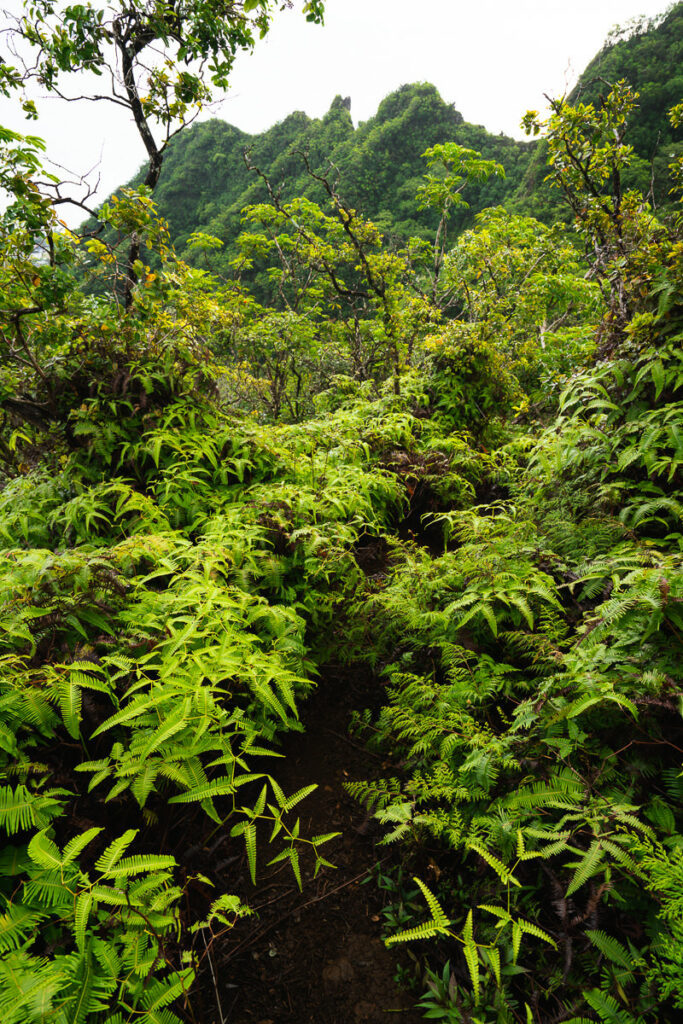
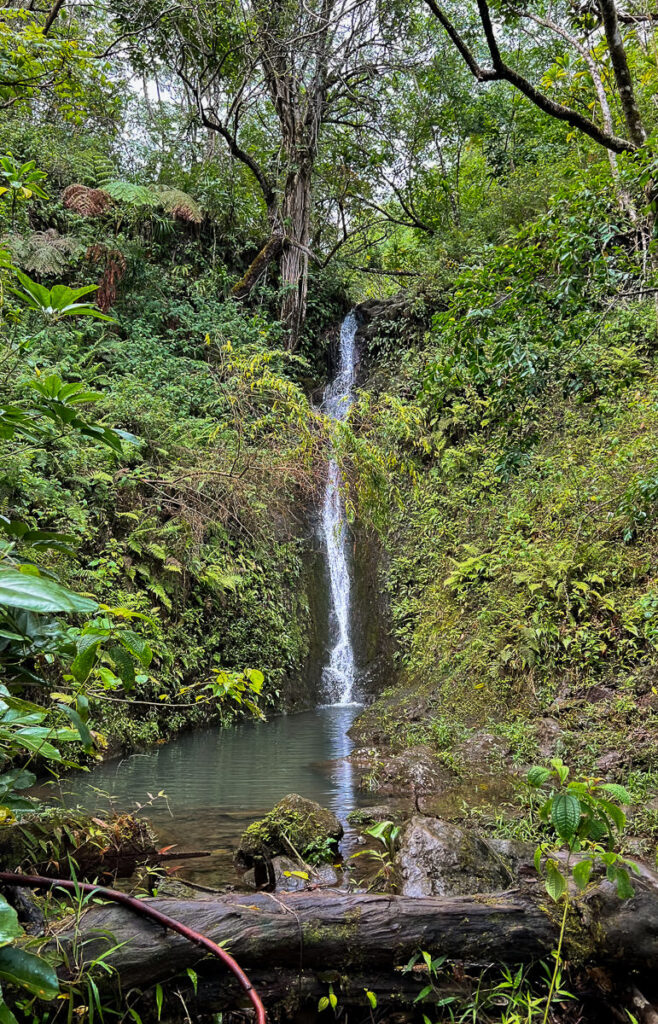
Along the way, you will pass a waterfall and a small infinity pool. Be careful in this area as it is very, very slippery. This is the small waterfall you can explore but the larger waterfall is below you. There is actually a 500ft waterfall that pours down from this point but isn’t visible until later in the hike.
The final climb up to the summit is quite steep and there are many rope sections to help you pull yourself up the slippery trail. At the summit, it is a little bit of an anticlimax with somewhat of a view of Kualao Ridge to one side and a glimpse of Kahana Bay to the other. The best views of this route are from the rock viewpoints on Kahekili Ridge or as we descend into Kahana Bay along the Pu’u Manamana route.

This plateaue signals the end of the Kahekili portion of the route and now we begin to talk about the Pu’u Manamana section of this loop hike. From this point of the adventure, most of the incline has been completed albeit for a few small rock scrambles. The team began to head down along the Pu’u Manamana Trail.
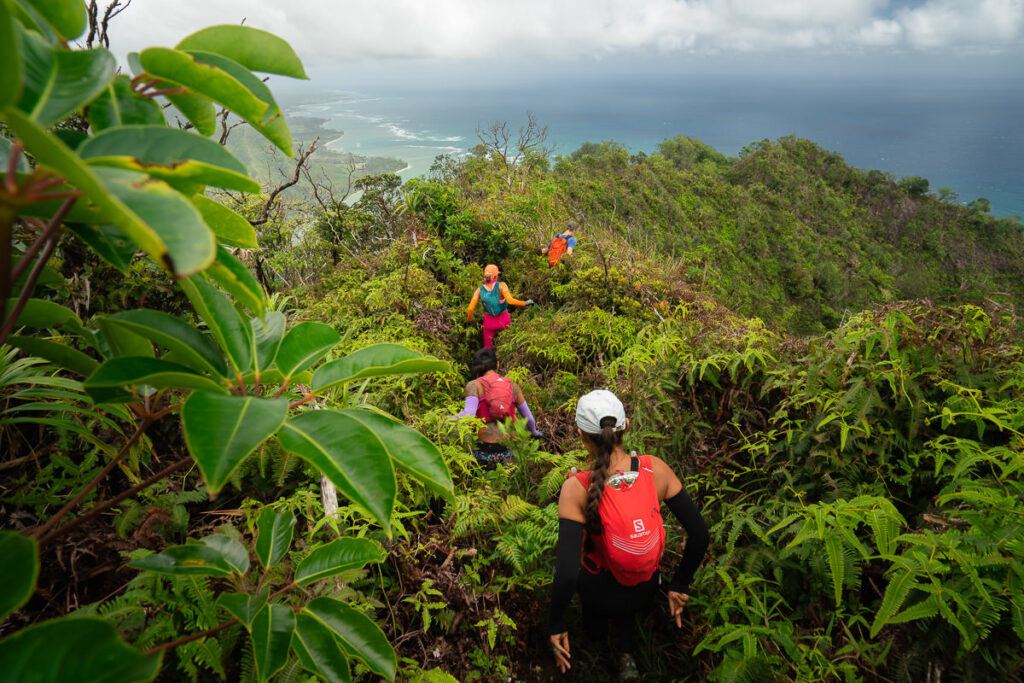
While the route may look quite overgrown, it has seemingly been cleared prior to our expedition so we had an easier day than could have been the case. Sometimes this trail can be quite overgrown.
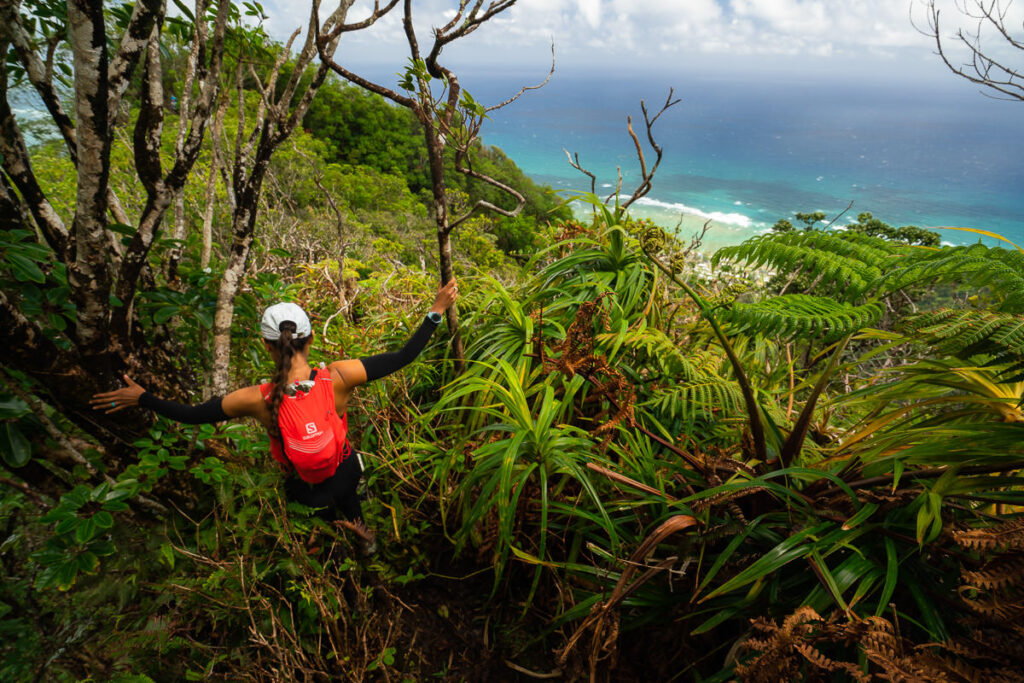
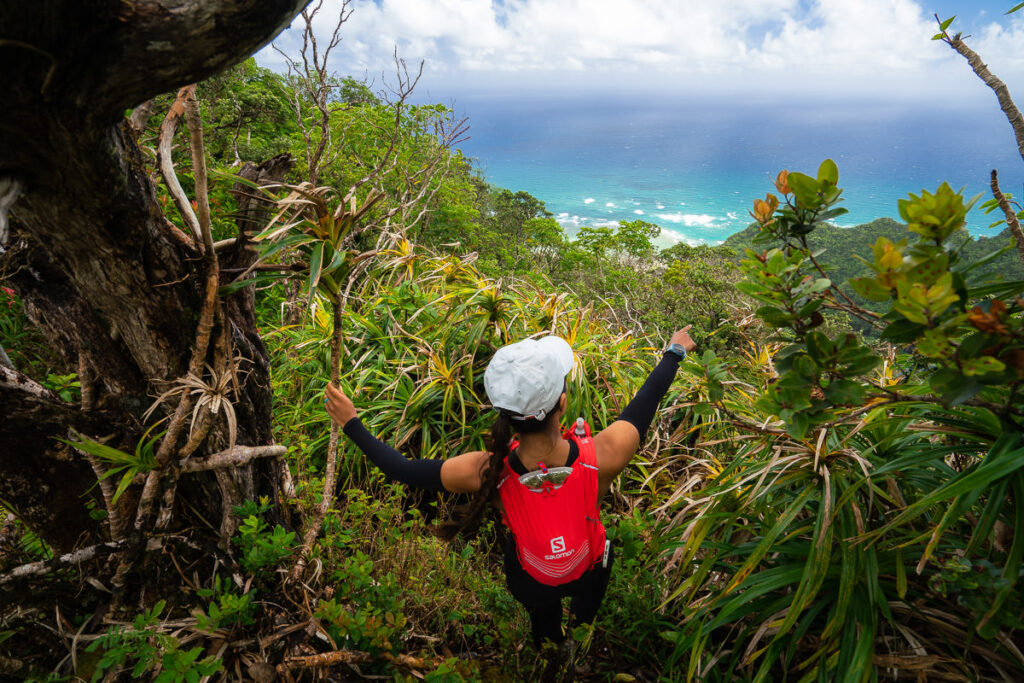
The views get better and better… and better as this trail descends into Kahana Bay. We were impressed early on but towards the end of the route into Kahana Bay, you will be blown away by the stunning island views.
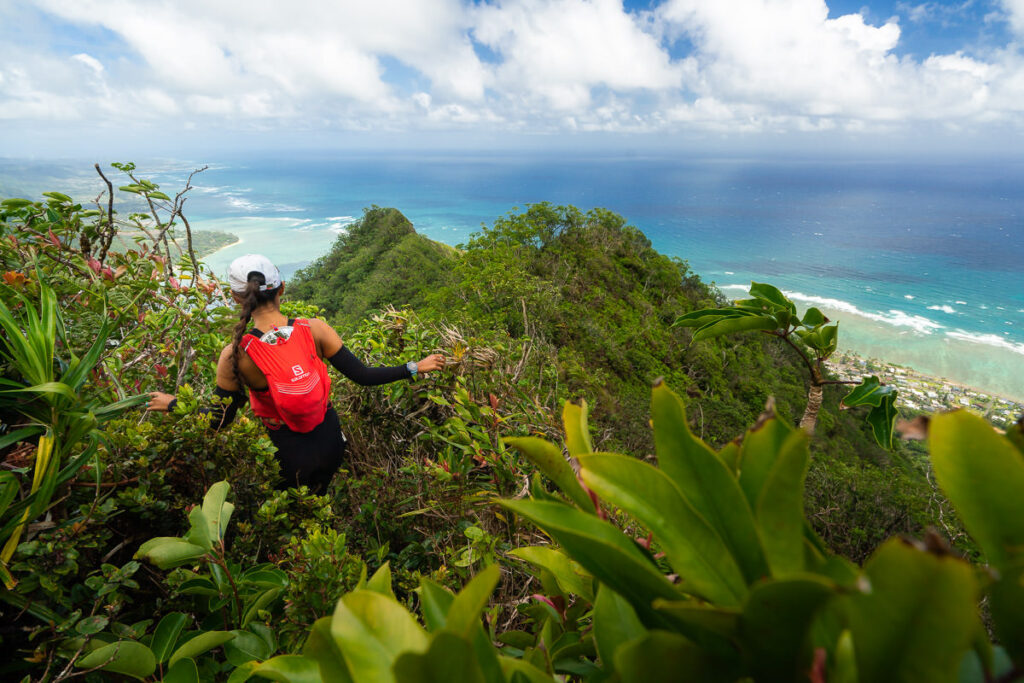
Slowly the views begin to open up as the density of the foliage thins. The ridge becomes a little more exposed, exciting and we can see an uninterrupted horizon of beautiful blue ocean.
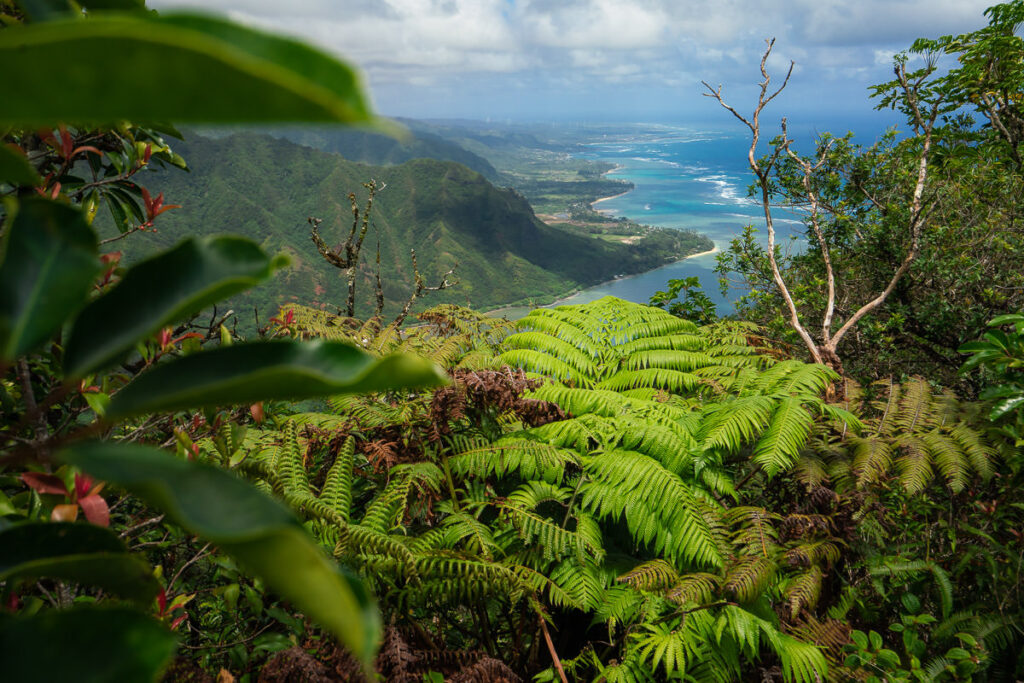
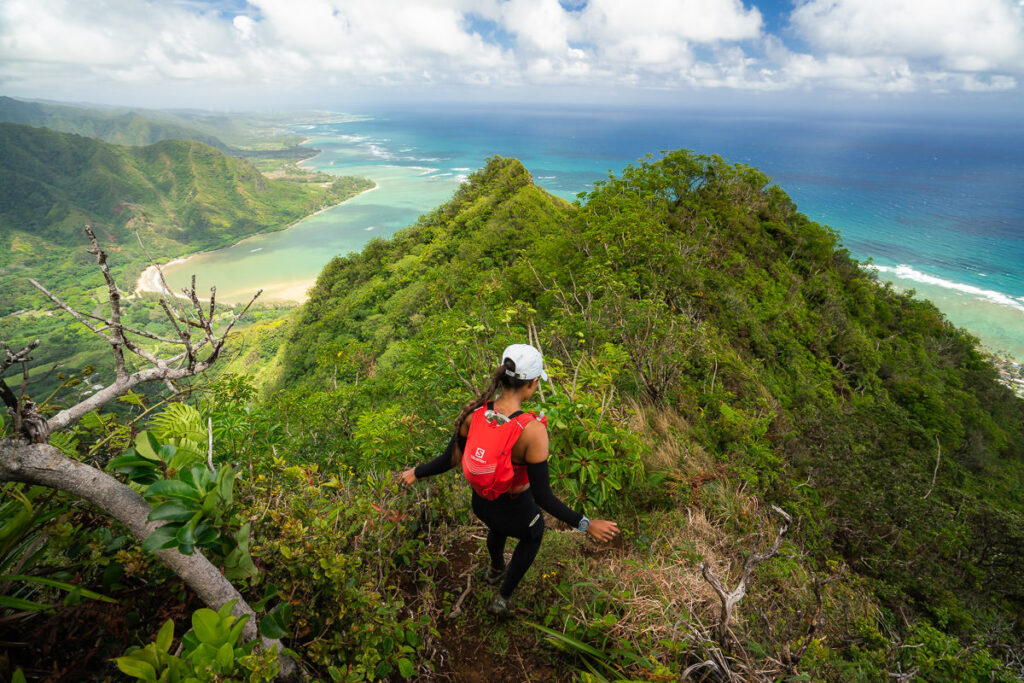
The natural views are stunning but the views down into Kaawa and the local suburbs are pretty unique aswell. Their front-door reef shines with contrasting blues.
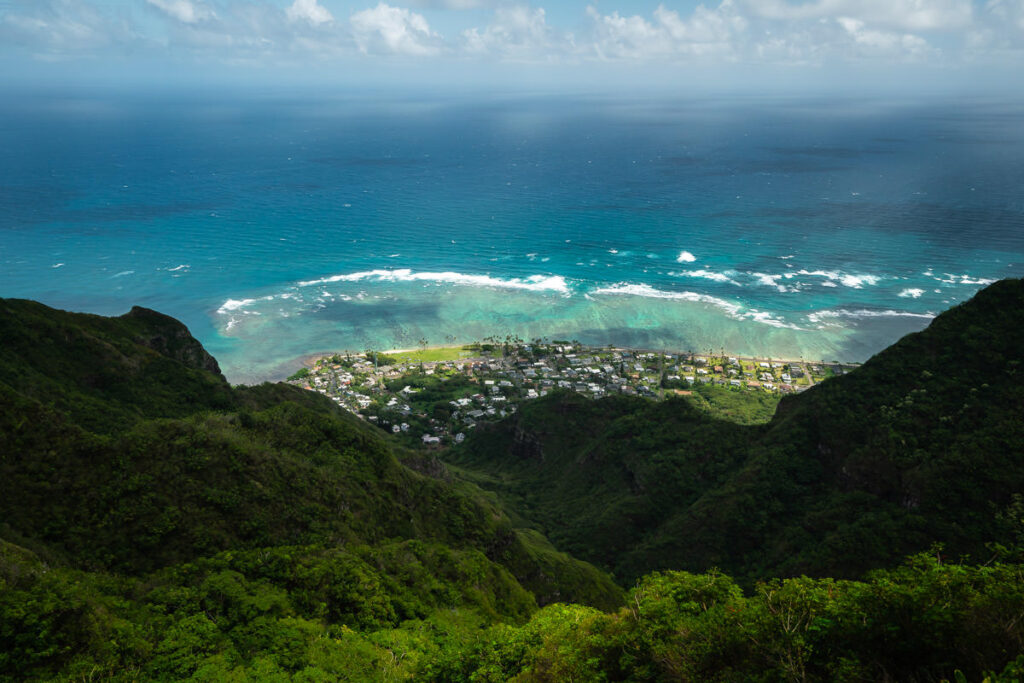
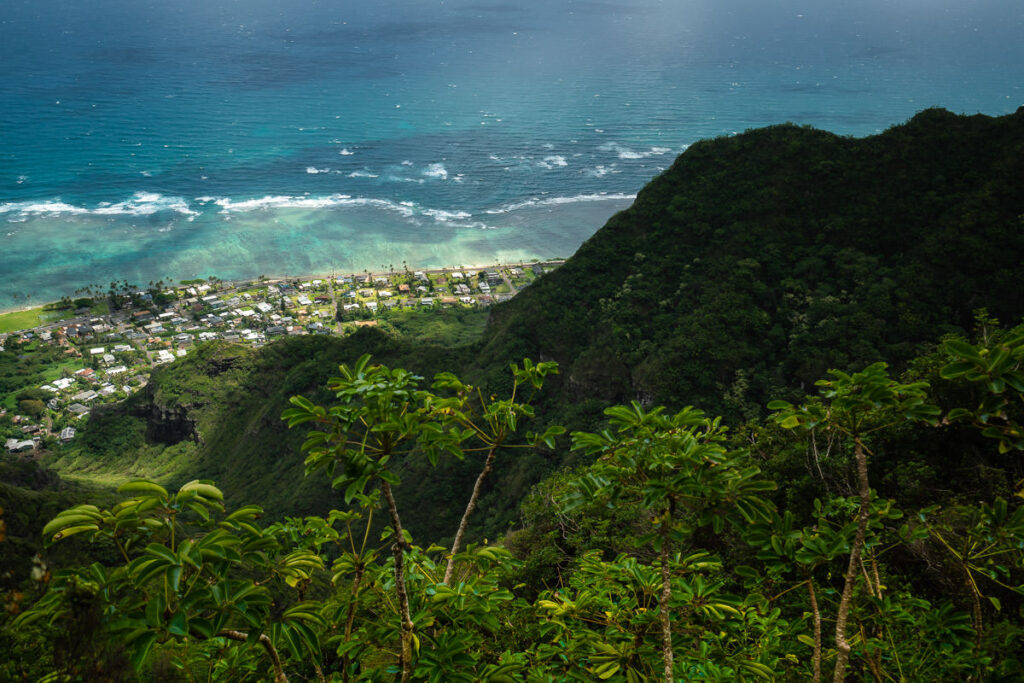
The route starts to provide a few obstacles and a bit of technical scrambling. It’s important to take care through these sections with loose rocks, mud, and big drop-offs with heavy exposure. There were no sections that I felt were overtly dangerous and throughout the route, I felt there was some margin for error compared to some more dangerous hikes on Oahu.

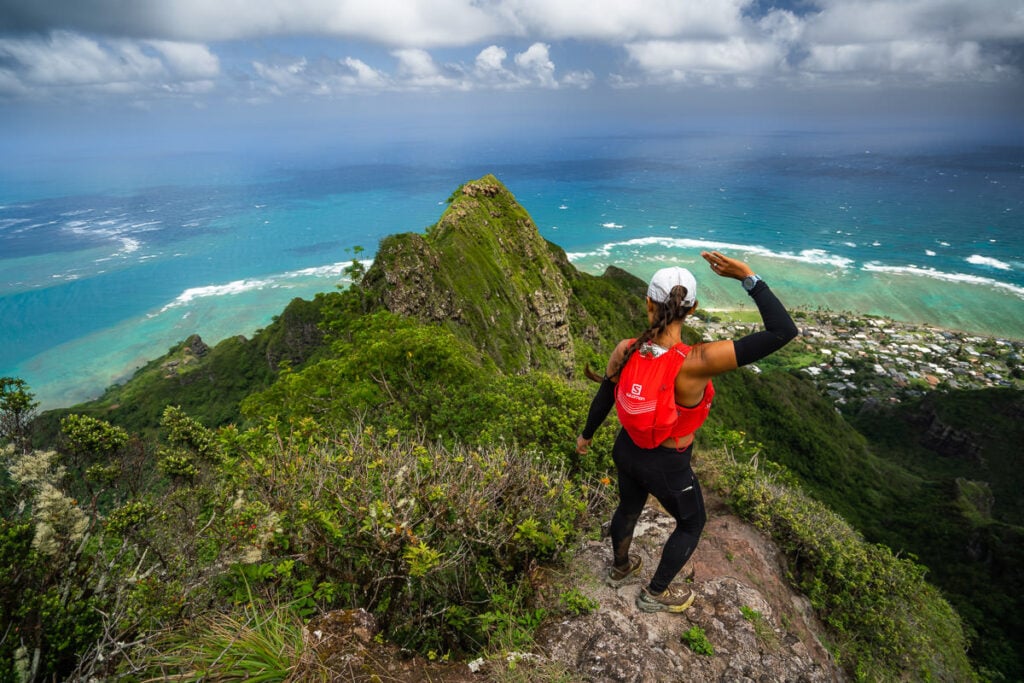
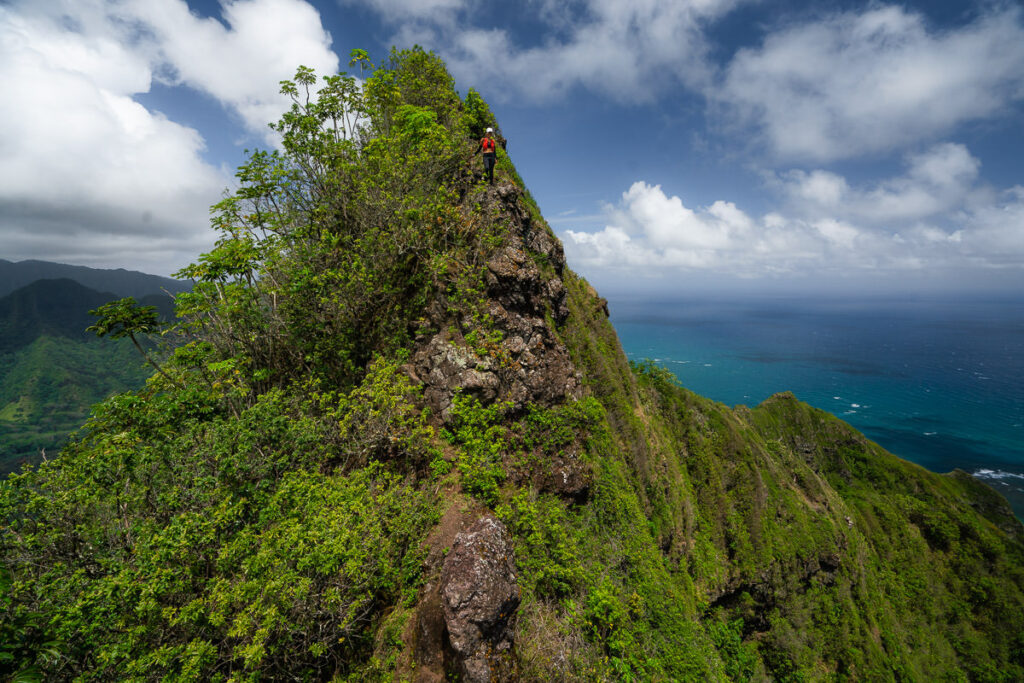
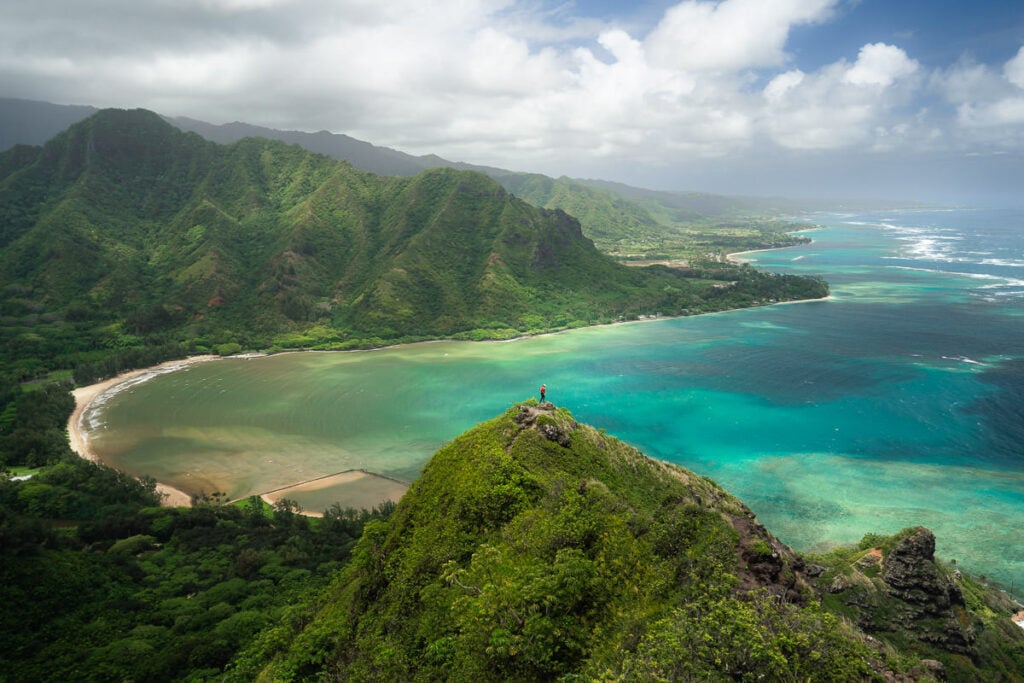
The ridge begins to lead us directly towards the ocean. This was arguably the most beautiful part of the hike as it gave us views across to Kahekili but also views to our left of Kahana Bay. From this point on, it was hard not to be distracted by the tropical scenes before us. This is the type of Hawaii hiking that peole dream about.
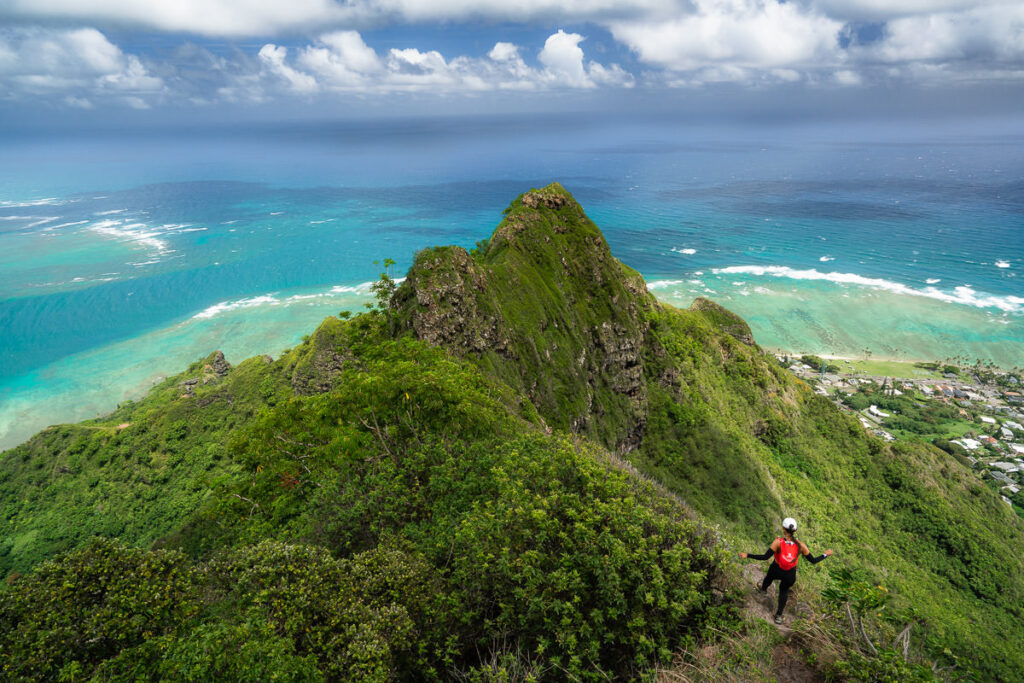
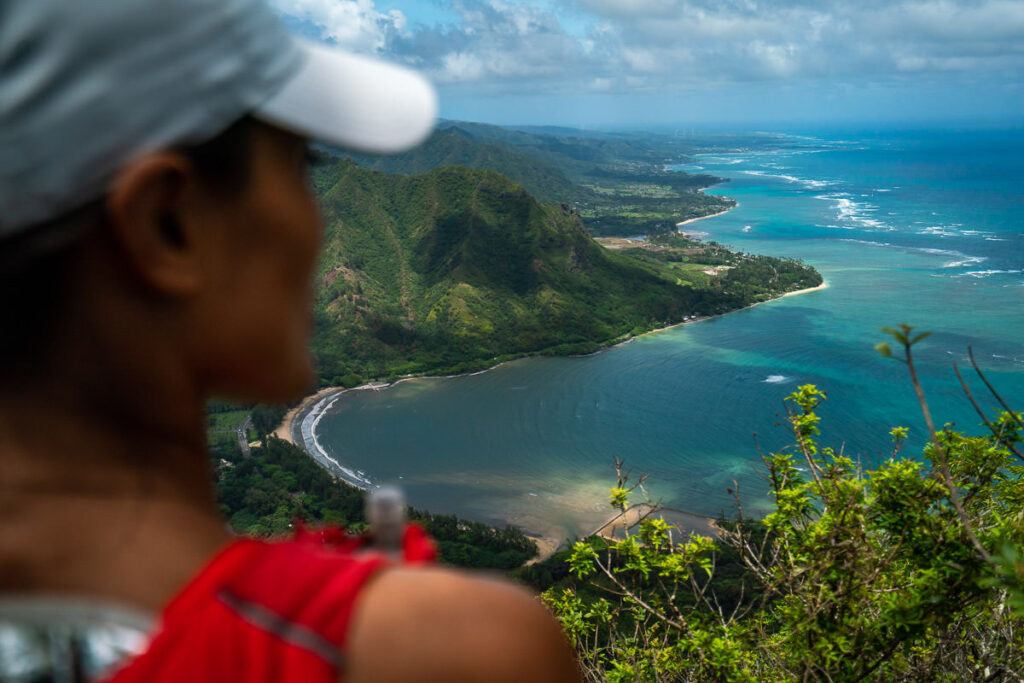
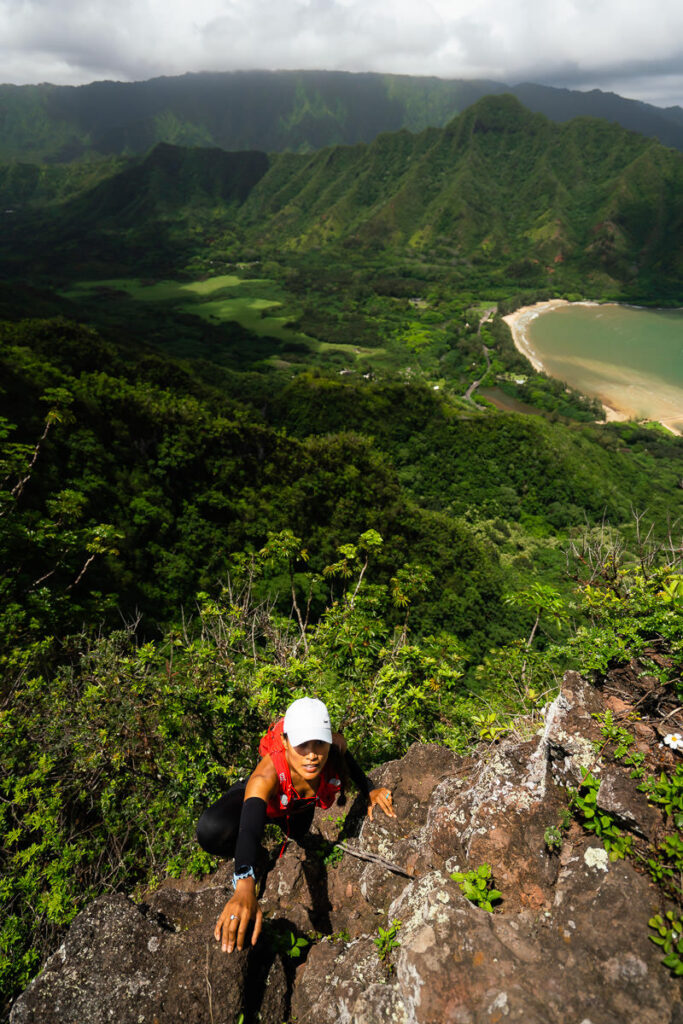
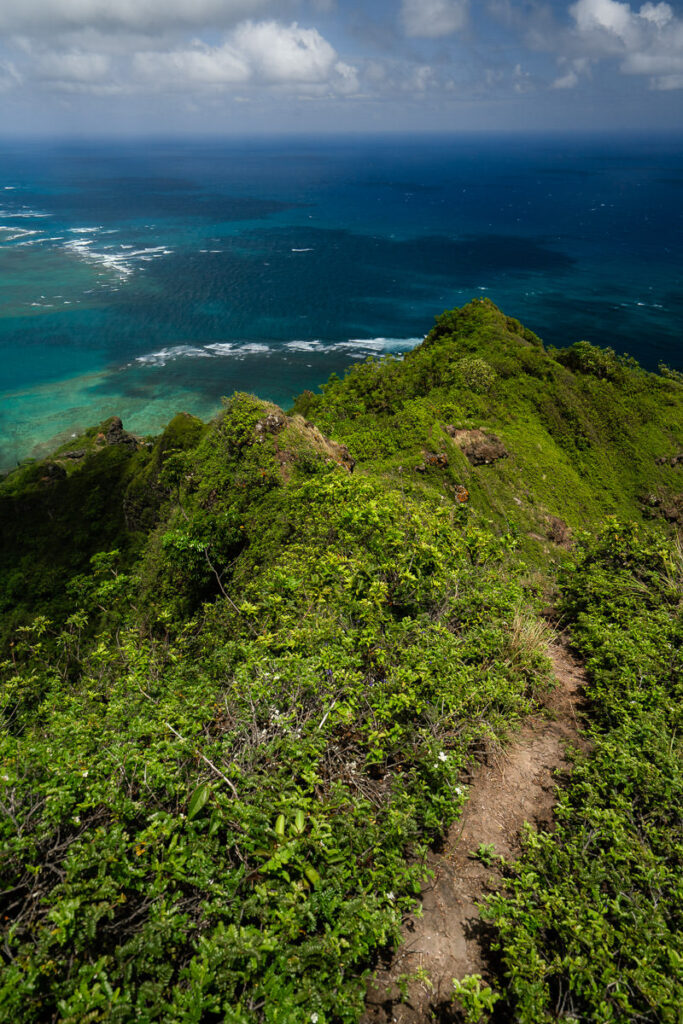
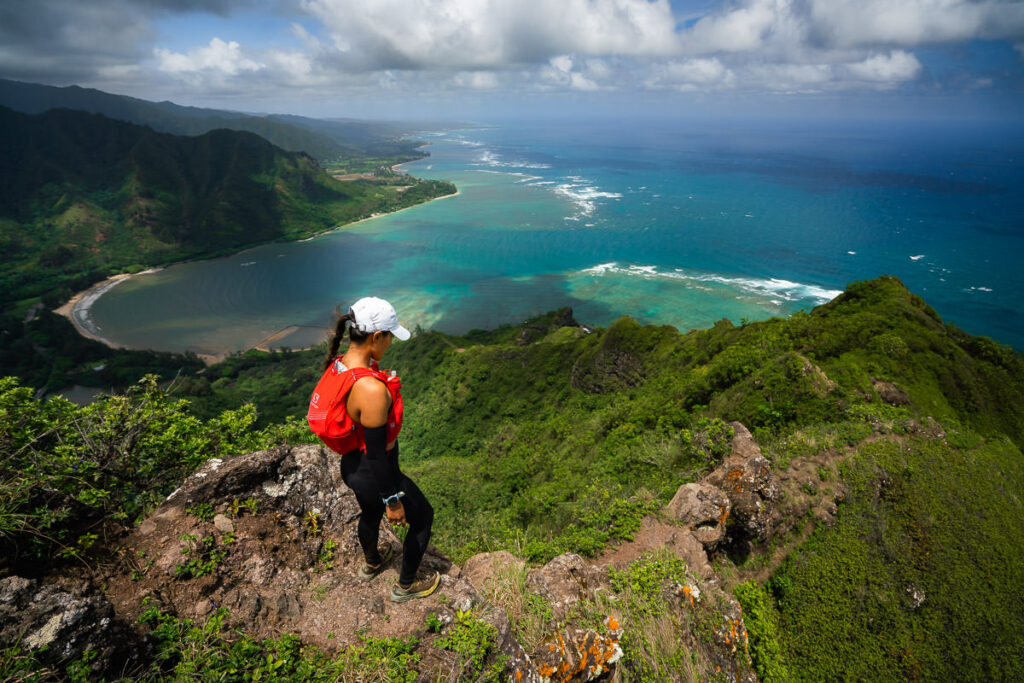
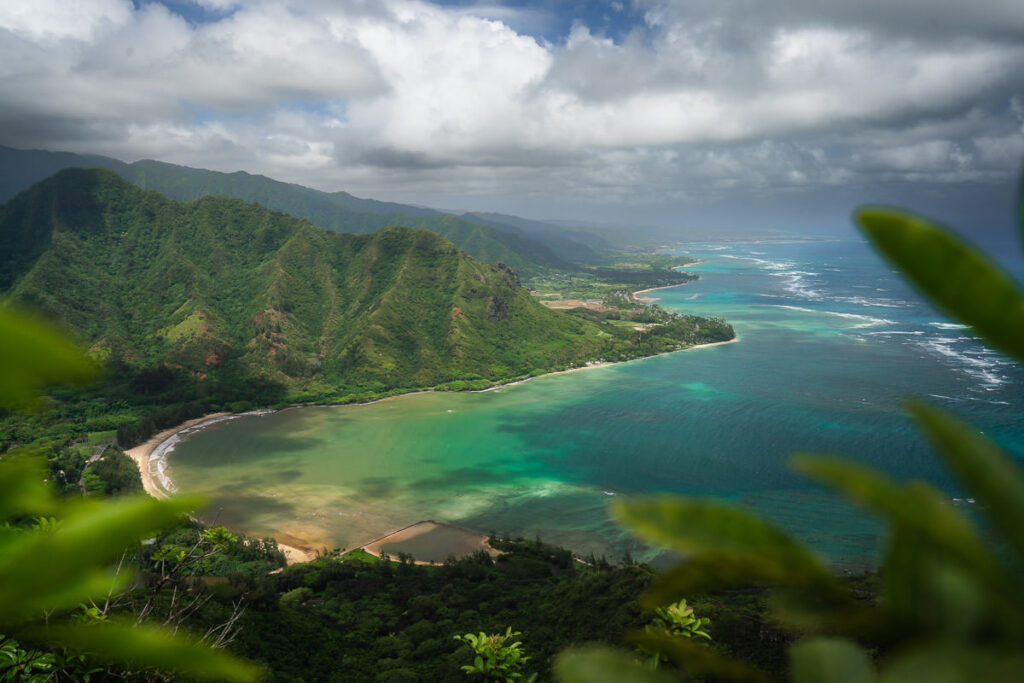
We now head down into Kahana Bay. The famous Crouching Lion Hike is below us. The Pu’u Piei trail is on the far side of Kahana Bay. The entire norteast coast all the way to Laie creates a beautiful backdrop.
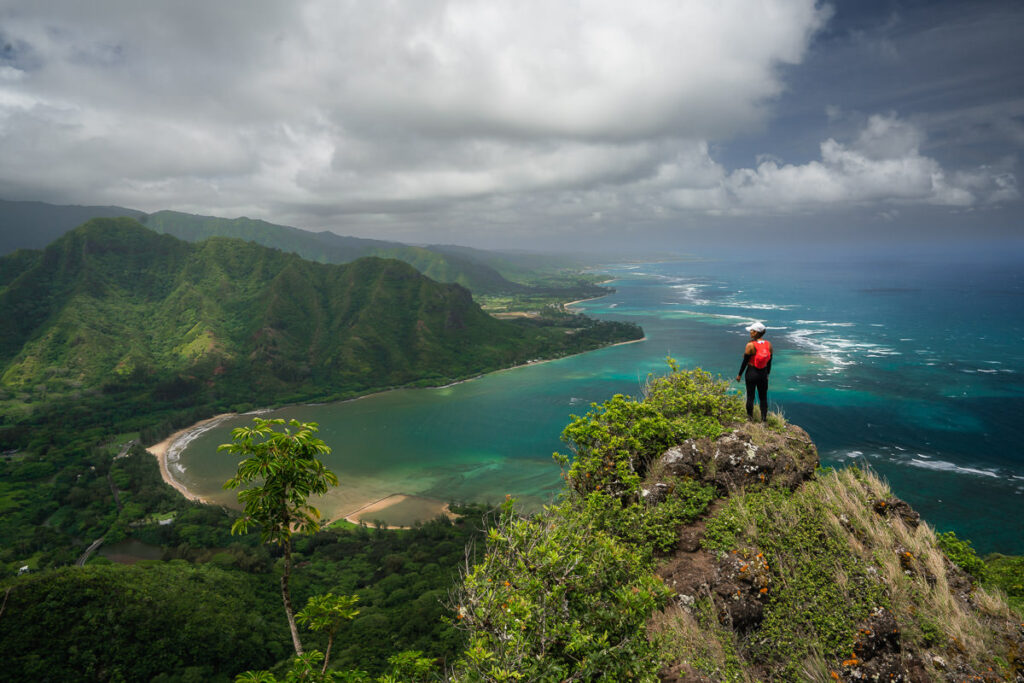
The ridges undulate with small perches and viewpoints making for beautiful lookouts and photo spots as the trail descends down onto the Crouching Lion.
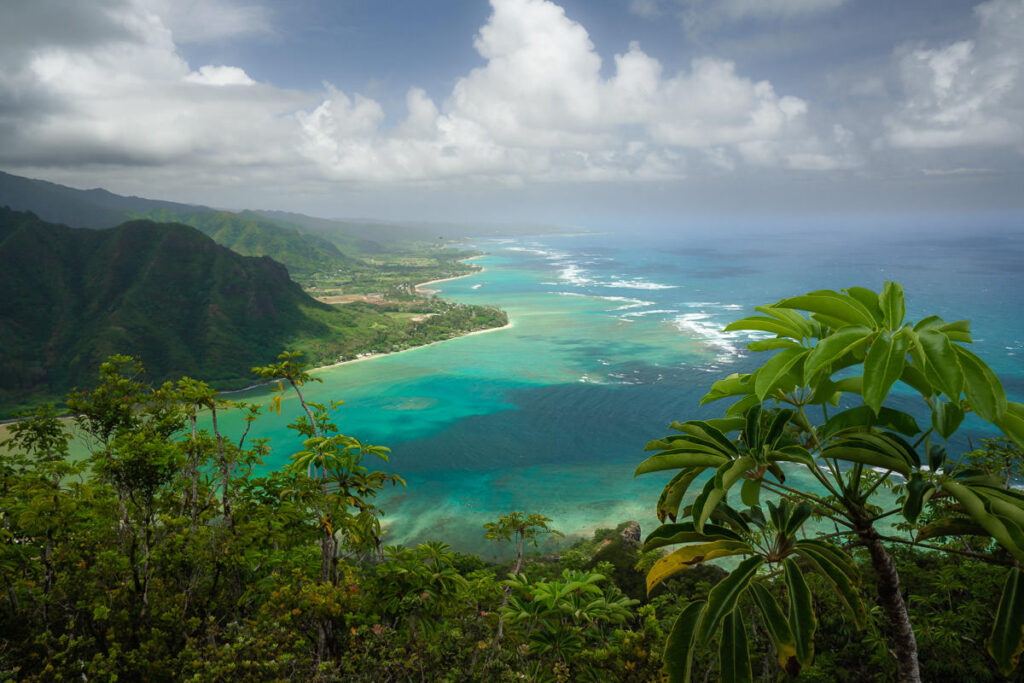
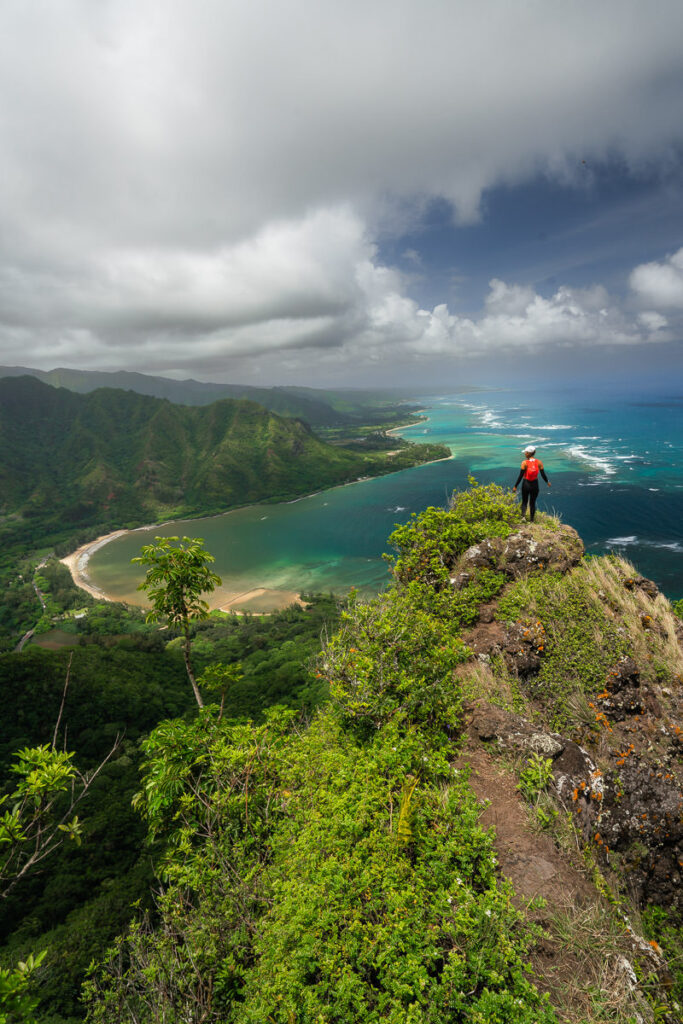
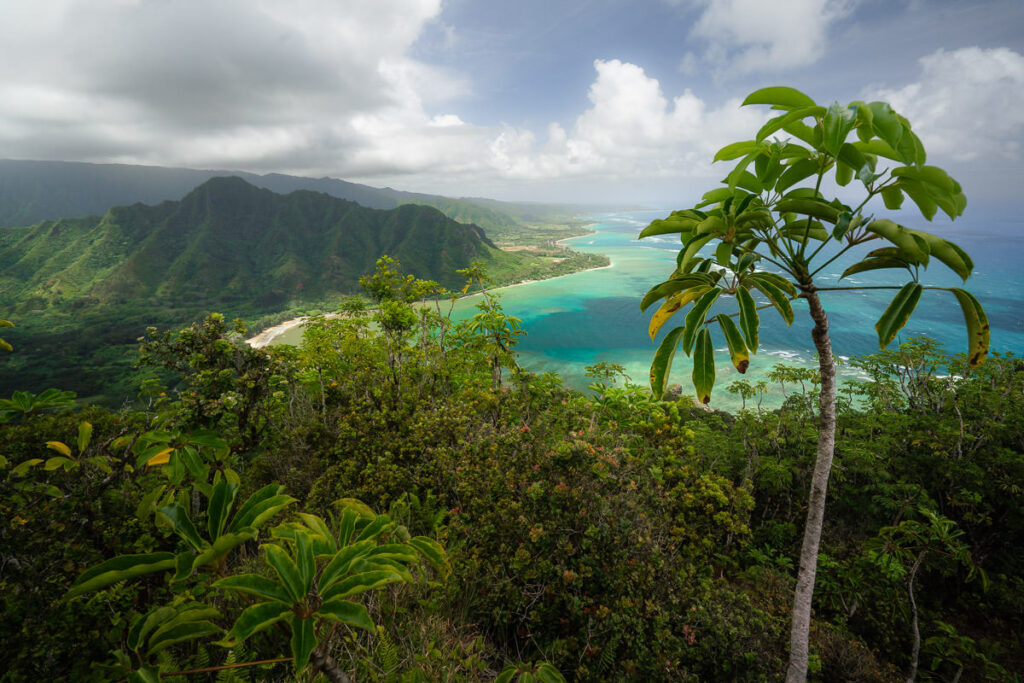
The Pu’u Manamana has a top viewpoint or summit of sorts, just like Kahekili Ridge Trail did. If you didn’t want to do a loop hike and just wanted an out-and-back of Pu’u Manamana, this viewpoint is likely where you would stop and turn back.
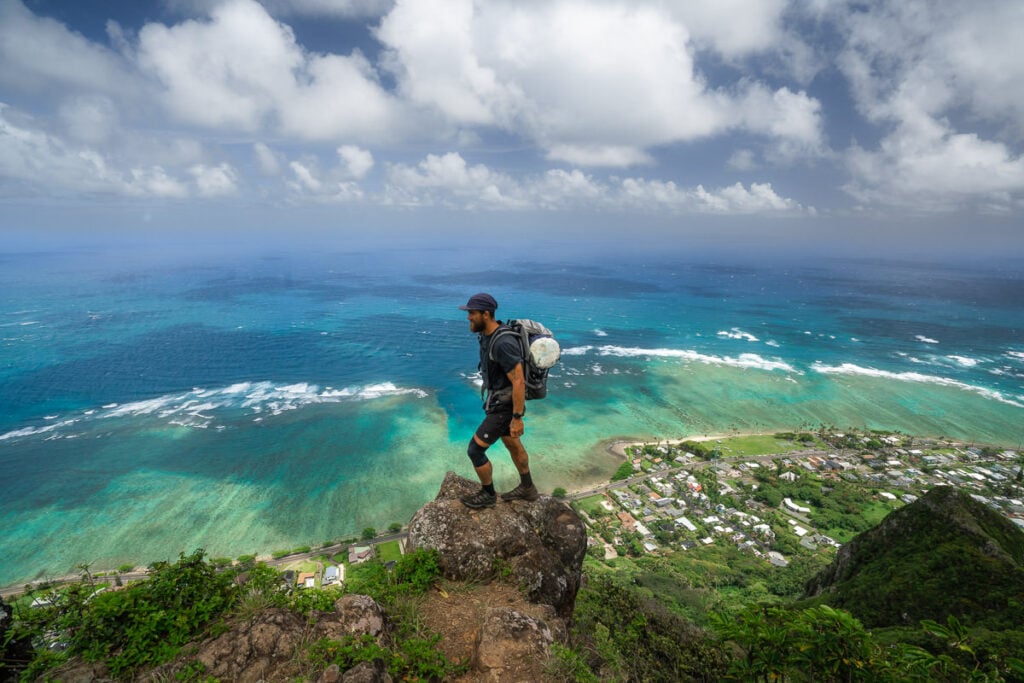
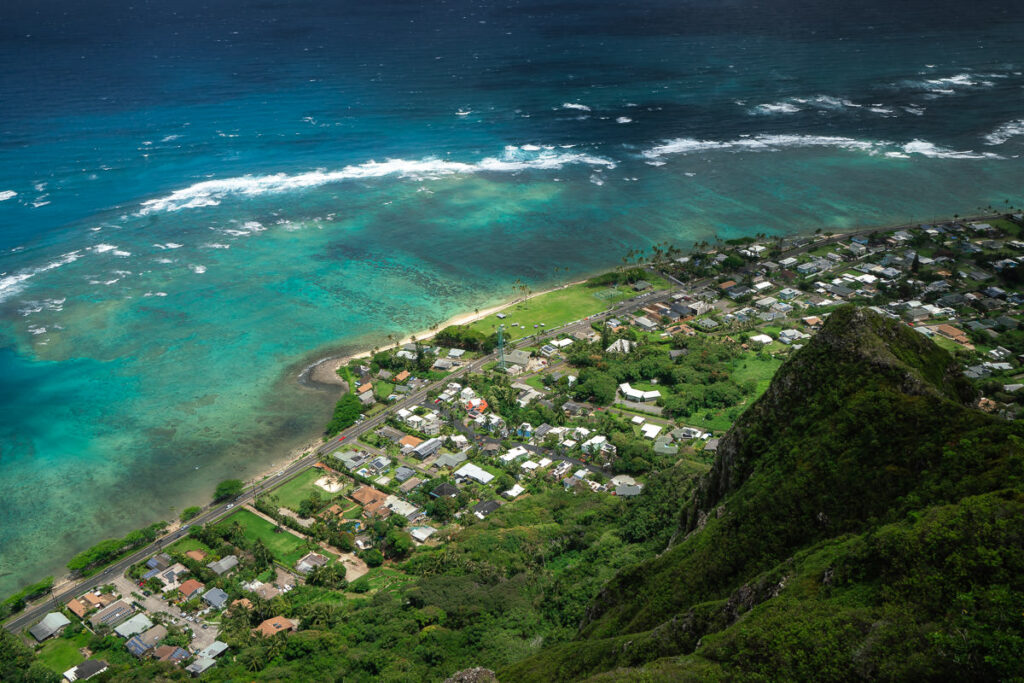
If you did stop and turn back here from the ‘Pu’u Manamana Viewpoint’ you’d still have all the views and lookouts from the photos you see in the rest of this article, which are some of the best from the whole hike. We ran across a few hikers just doing the out-and-back to this viewpoint. They seemed a little unsure of the distance, had no backpacks, water, food or gear. Don’t understimate the incline and time it will take to climb up this steep slope. Make sure you at least have Maps.me and know how to route yourself up and down as you should never be asking fellow hikers where you are going or how long it will take you.
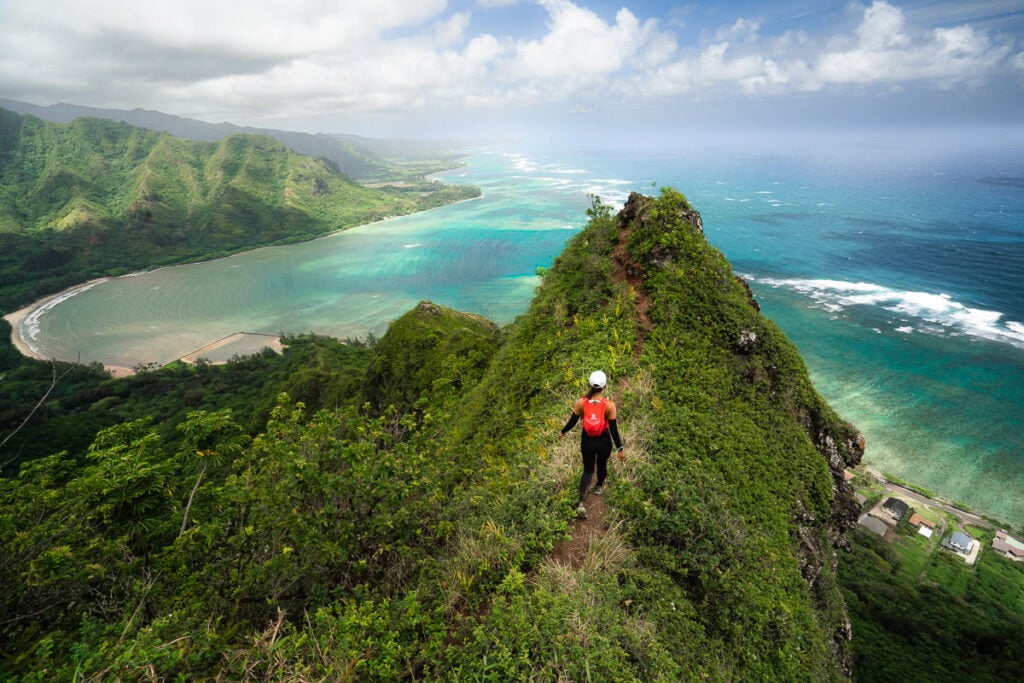
We begin the final descent down onto the Crouching Lion and continue to enjoy the lookouts created by the undulation of the trail.
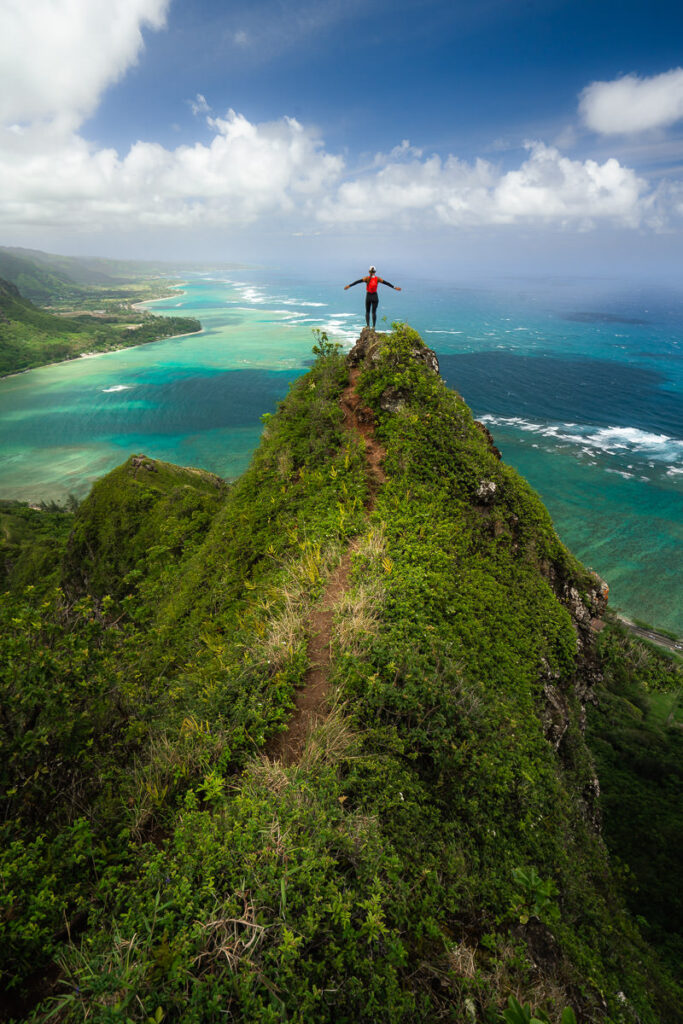

The trail spills out onto the Crouching Lion Route or the lower Pu’u Manamana Turnover Trail. At this point it doesn’t really matter as the views are all but over and you are just descending through the undergrowth to reach back to the road.
Once you reach back down to the road, you will simply turn to the right and walk beside the road for about one mile before looping back to your car near the Kahekili trailhead. Be careful as there isn’t a wide sidewalk for pedestrians here and a few blind corners for cars so be vigilant if you are walking beside the road.
I hope you enjoyed this guide to the Pu’u Manamana hike on the east coast of Oahu.
WHERE TO STAY ON OAHU
- Hilton Hawaiian Village Beach Resort (Overall Favorite): In the heart of Waikiki, this high-end resort is right on the beach with a private lagoon.
- Sheraton Waikiki (Luxury): A luxury resort with the most amazing infinity pool on the island, which overlooks the beach.
- Ewa Hotel Waikiki: (Value): Ewa Hotel is just one block back from the beach and is just over $150 USD.
- Waikiki Beachside Hostel (Budget Choice): A budget alternative, which is still in an amazing location.
- Disney Aulani Resort (Family Choice): This is a resort your kids will never forget. It honestly feels like you are living in a theme park.
MORE OAHU BLOG POSTS
I lived on Oahu for two years and loved adventuring from the beaches to the mountains to the waterfalls! These are my most popular blog post and guides from the beautiful island of Oahu to help you plan your trip!
- What to pack for Hawaii: THE HAWAII PACKING LIST: WHAT TO PACK
- A helpful guide to choosing accommodation: WHERE TO STAY ON OAHU
- Most epic hike on Oahu: THE STAIRWAY TO HEAVEN OAHU, HAWAII
- The best Waterfalls: AMAZING WATERFALLS ON OAHU, HAWAII
- Ultimate Cliff Jumping Guide: 11 BEST CLIFF JUMPING SPOTS ON OAHU
- Guide to Swimming with Sea Turtles: WHERE TO SEE TURTLES ON OAHU
- The best Waterfall Hikes: TOP WATERFALL HIKES ON OAHU
- Best Tours: 20 BEST TOURS ON OAHU
- The Ultimate Guide to Oahu: 80 AWESOME THINGS TO DO ON OAHU
BEST INSURANCE FOR TRAVELERS

Don’t wait for an accident to happen… get insured! My travel insurance is HeyMondo which offers low-cost travel & medical insurance. That’s me on the left with three teeth knocked out after a motorbike crash in Bali!
You can click to read my Full Review of the Best Travel Insurance.
I’ve made several successful claims with HeyMondo and find their customer service very quick and helpful. Click the button below to get a 5% DISCOUNT

