
The Pu’u Konahuanui Peak hiking trail via Kalawahine Ridge is a very adventurous, muddy ascent to the two of the highest peaks on Oahu, Hawaii. Pu’u Konahuanui, also known as K2, is among the tallest mountains on Oahu and the second tallest mountain in the mighty Ko’olau Range with an elevation of 3,150ft or 960m. The trail is pretty wild and for experienced hikers looking for a challenge.
Most people do this trail as an out and back but we took it one step further by descending via the Pali Notches, which is for experienced hikers only. In this blog post, I’ll share all the photos and details about the route with you so you can take on this ridge hike with some good preparation and knowledge.

PU’U KONAHUANUI PEAK HIKE HIKE DETAILS
- Hike Distance: The total distance of the hike is 12km out and back (return trip) if you return from K1 back the way you came. We descended from K1 on the Pali Notches, which was a shorter distance but a significantly more technical trail with a total distance of 8.6km instead of 12km.
- Hike Duration: The hike to K2, K1, and back should take about four hours but if it’s slippery and/or you take a lot of photos you can expect 5+ hours on this route.
- Hike Difficulty: The Pu’u Konahuanui Peak hiking trail is quite technical compared to a normal hiking route. While the path is relatively easy to follow you will encounter very uneven terrain with constant shuffling over tree roots and naturally formed clay stairs. Muddy embankments and slippery slopes require ropes at certain points to navigate. There is some basic rope climbing required but only to help you clamber up the muddy slopes. If you are in average athletic condition, reaching K1 and K2 will be an exciting and challenging route but easily achievable. Continuing on to descend via Pali Notches is only for very experienced hikers and those with solid experience scrambling and descending down steep rock faces with ropes.
- Hike Incline: 650 meters incline on the hike to the third peak and back.
- My Strava Map Upload: Kalawahine Trail to K1, K2 to Pali Notches
HOW TO GET TO THE PU’U KONAHUANUI PEAK HIKE TRAILHEAD
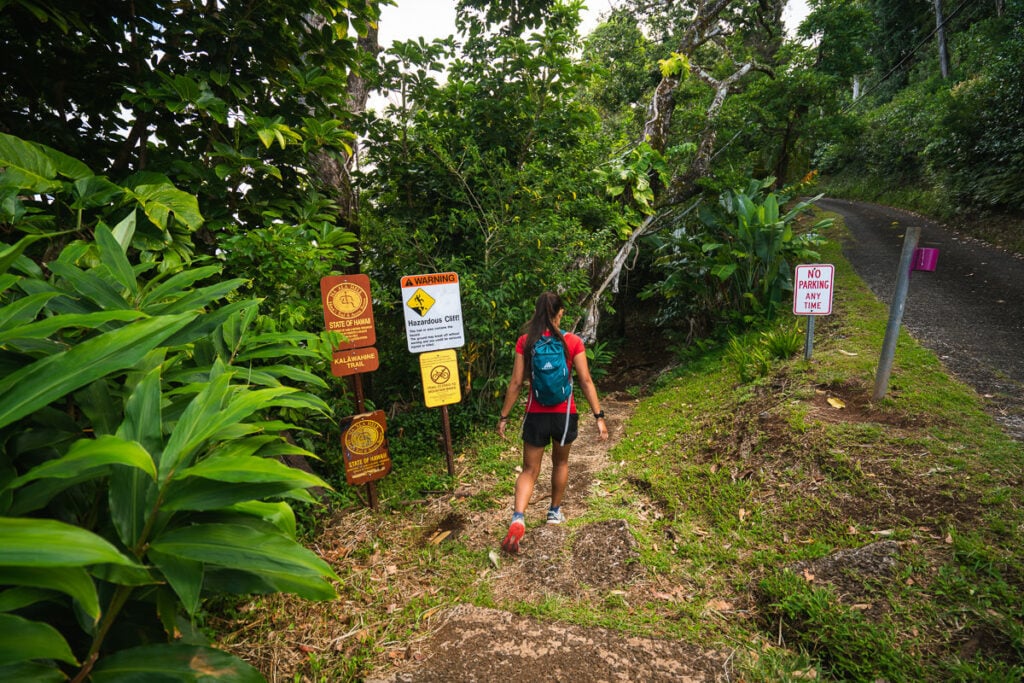
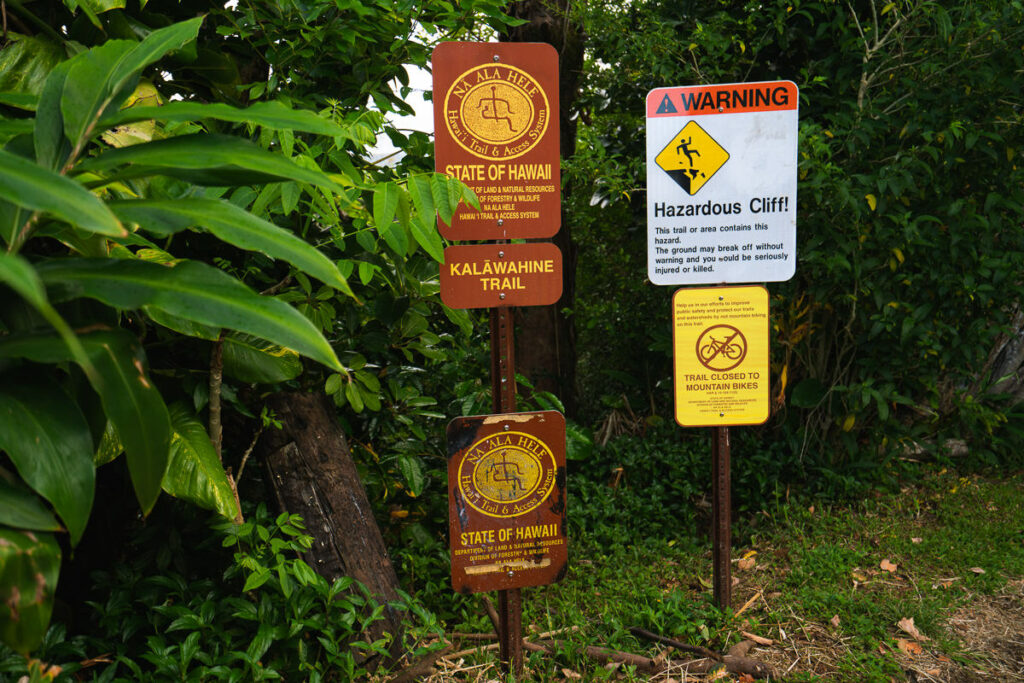
Directions from Honolulu: Head up through Makiki Heights Drive and continue up Tantalus Drive. The trailhead will be on the left. It will be adjacent to a private road, going uphill. Park in the parking area on the right just past the trailhead and you will find a small sign saying ‘Kalawahine Trail. I’ve pinned the trailhead location on the map below and the images below show the entrance to the trail.
MY EXPERIENCE ON THE PU’U KONAHUANUI PEAK HIKE – KALAWAHINE TRAIL TO K1, K2
Our journey began at the entrance to the Kalawahine Trail, just past the Tantalus Lookout in the hills looking down over Honolulu. We had caught an Uber for $22 in the early morning and got dropped at the trailhead. This gave us the flexibility to finish at an alternate spot rather than doing an out and back to return to our car.
The Kalawahine Trails is quite popular as it is the starting point for many different routes. We saw trail runners, families, and those out for a leisurely walk. They turned off at different points but we would continue on the most adventurous route.
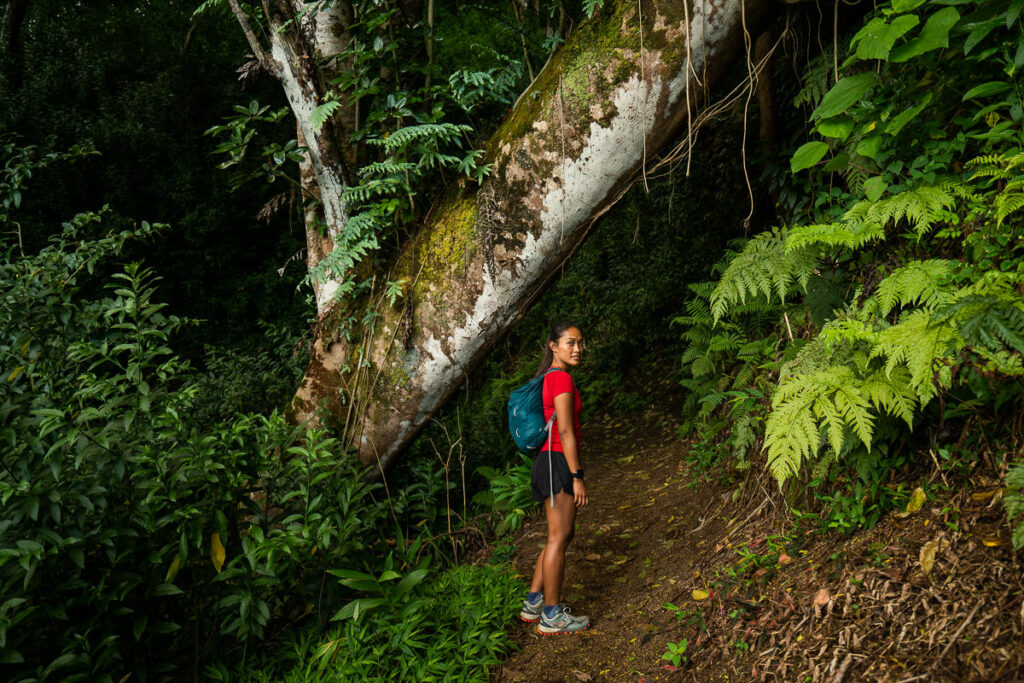
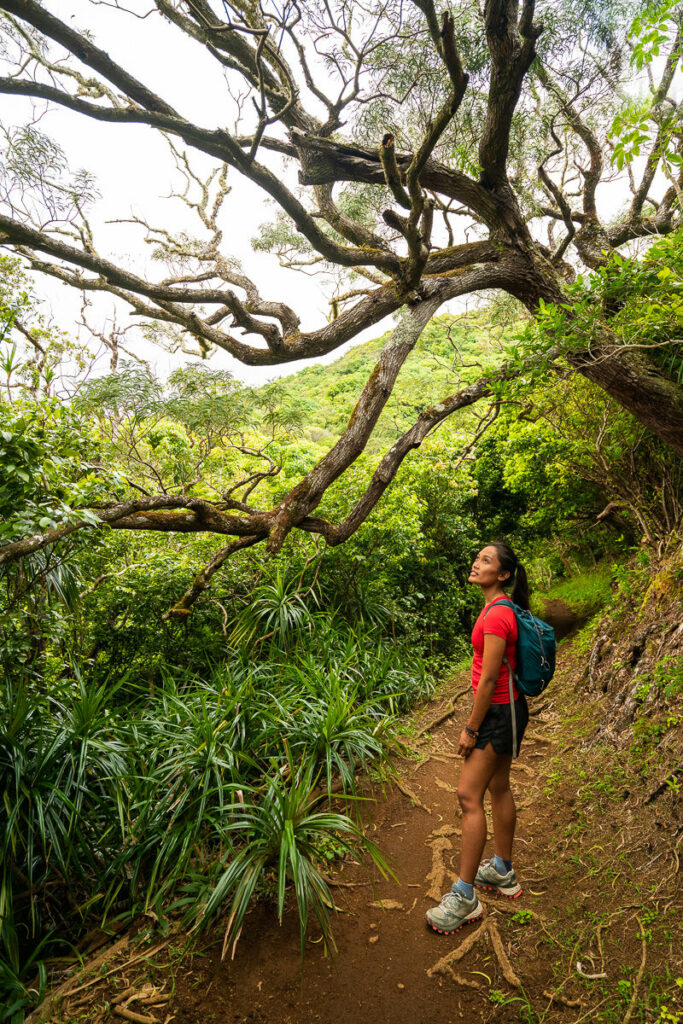
The trail begins by easing you in along a forest path without much incline but beautiful lush surroundings. The first couple of kilometers winds you along the path beneath the canopy on a relaxing dirt trail. This would be a great walk for those looking for a peaceful exploration into the forest.
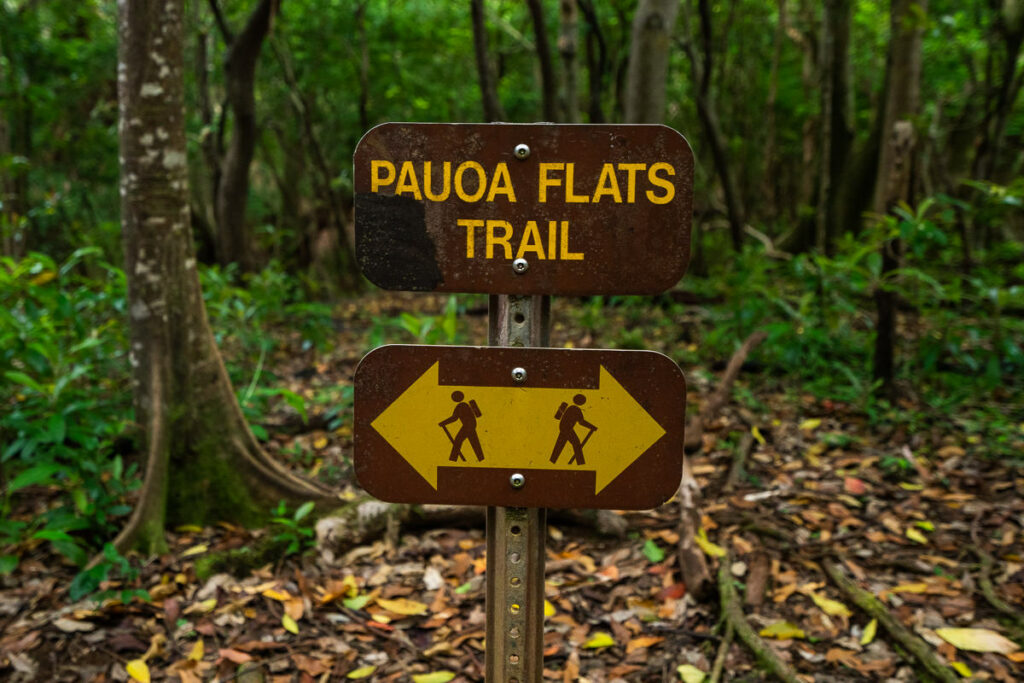
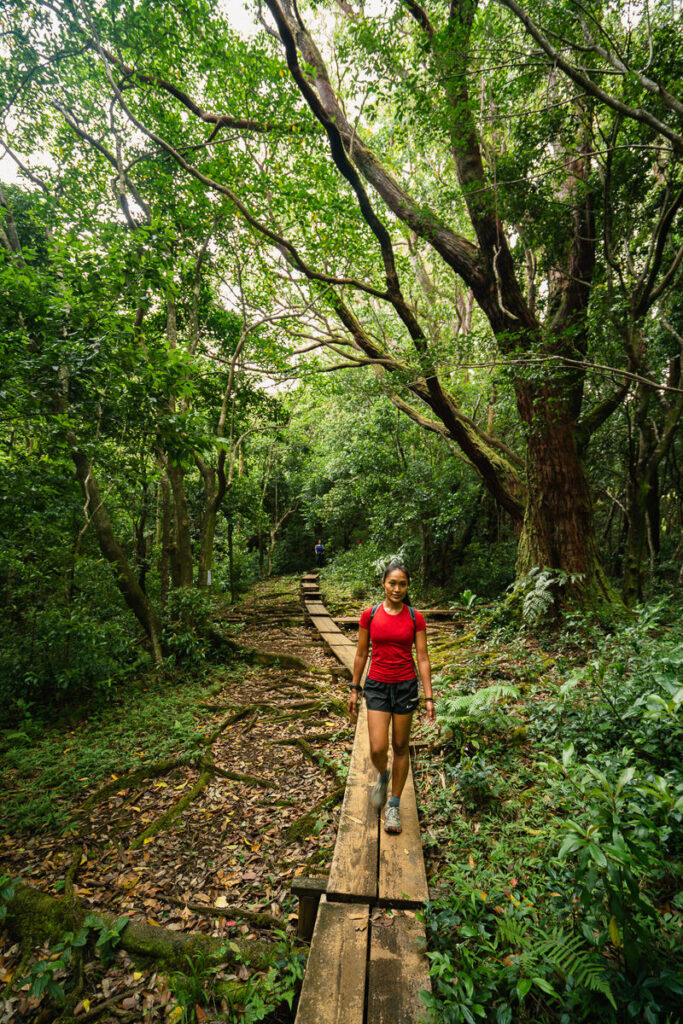
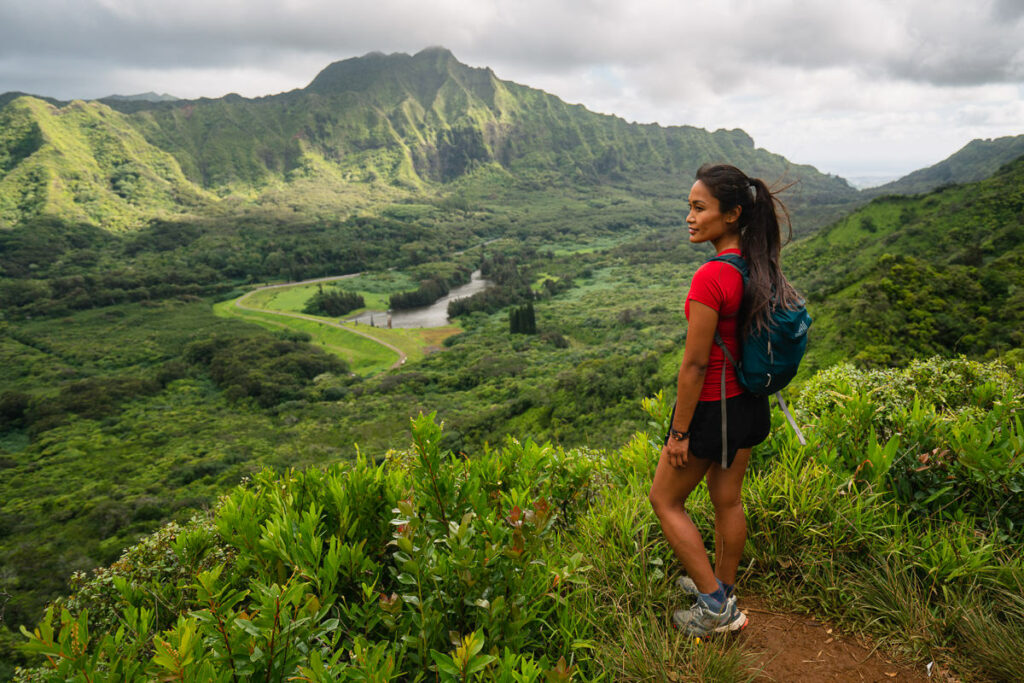
After a couple of kilometers, the trail will reach Pauoa Flats, which is a muddy, yet flat trail through tropical forest beginning with a series of boardwalks. When you reach this spot, turn left following the boardwalk towards the Nuuanu side. This boardwalk will finish soon but the trail will lead you all the way through to your first view of the journey at the Nu’uanu Lookout. Here you can enjoy beautiful views of the Nu’uanu Reservoir, Pali Highway, and the entire windward side of Oahu.
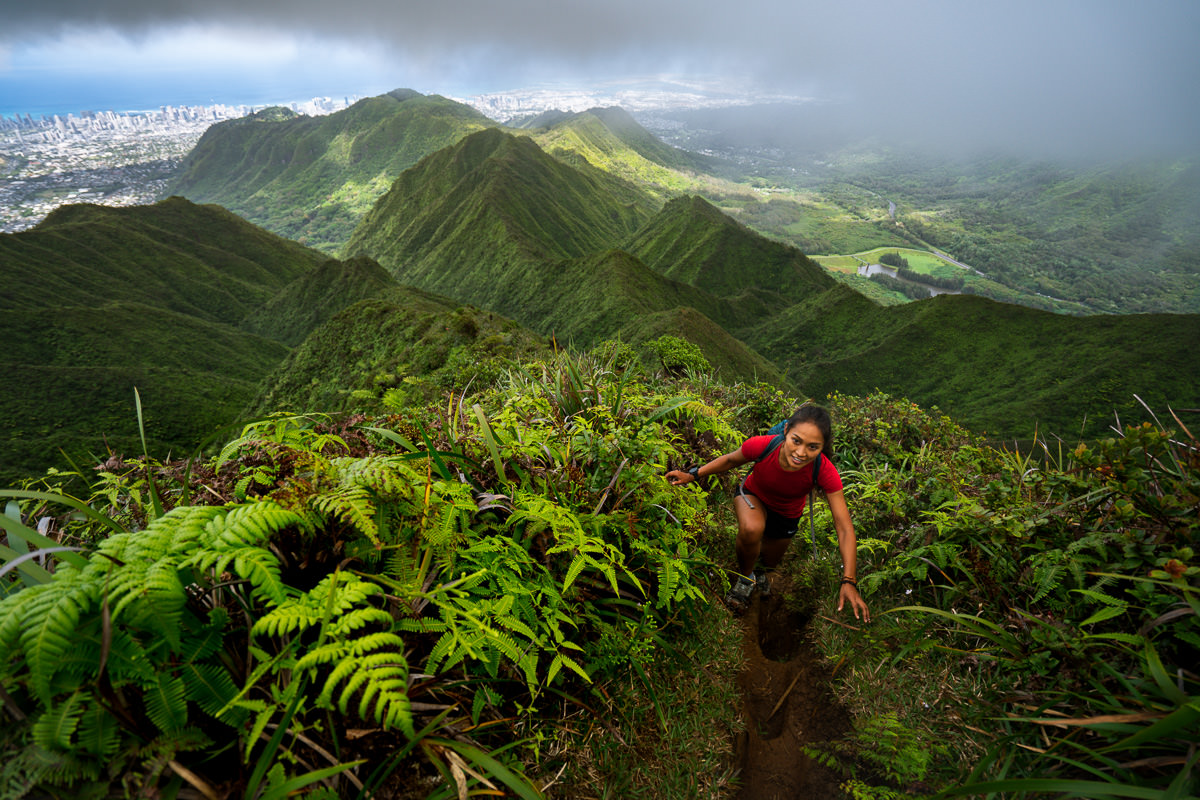
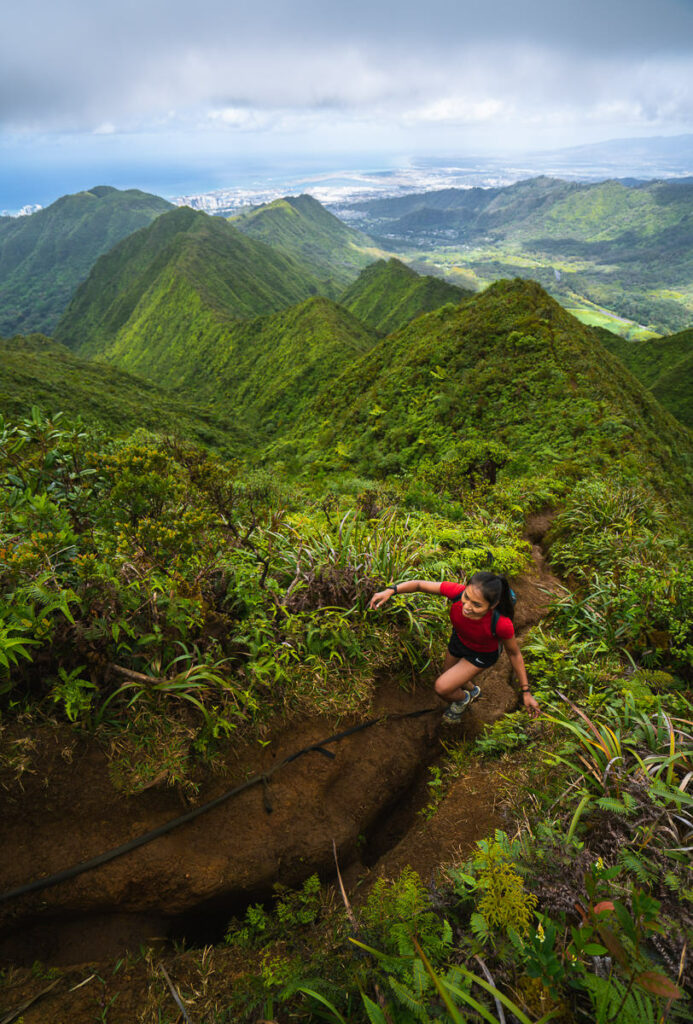
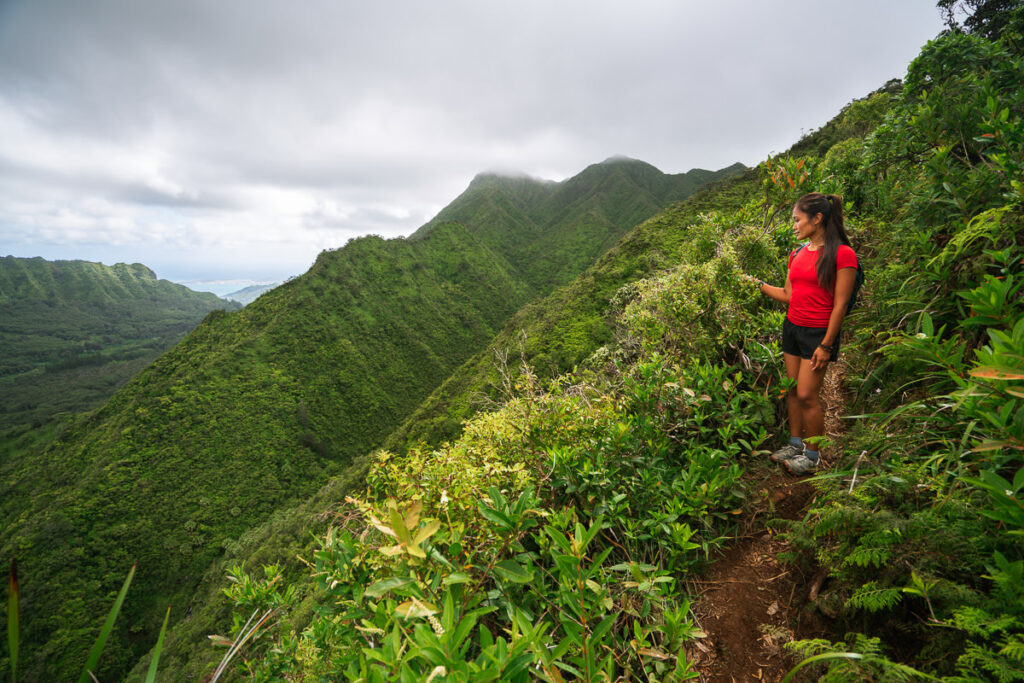
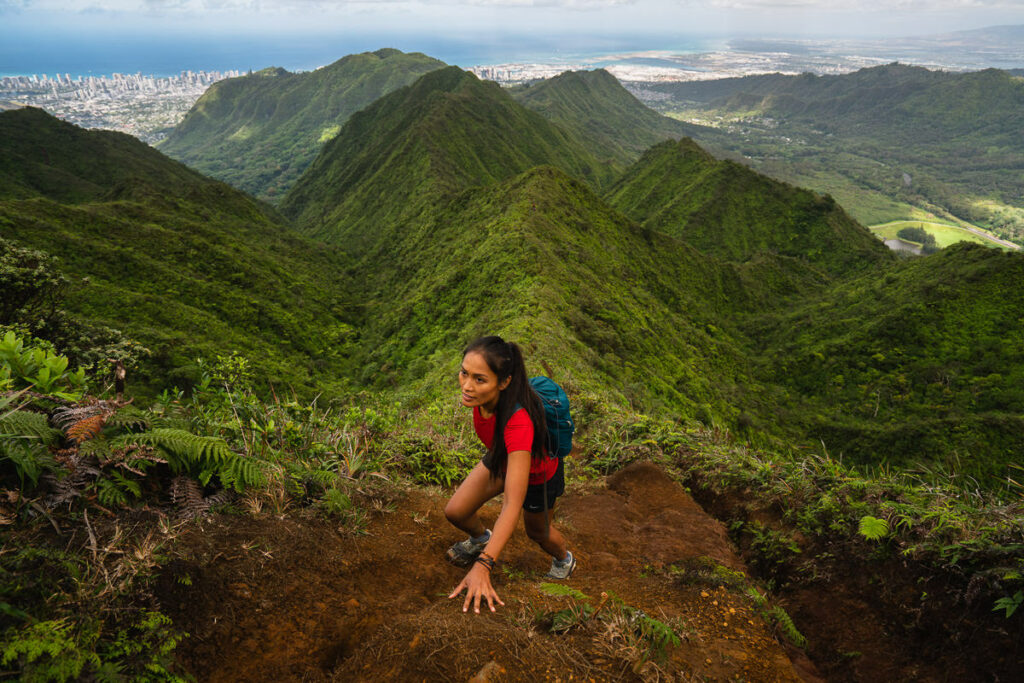
The Nu’uanu lookout signals the conclusion of the ‘maintained’ trail. From here on out you will follow the summit trail, which begins at the right of the lookout clearing and heads up towards the peaks above. This is where the hike starts to get interesting with an overgrown, muddy, single-track route undulating along the side of the cliffs. While there are lots of points with major drop-offs and considerable exposure the track is wide enough with lots of foliage and bushes, which enables you to feel quite secure as you slowly navigate your way higher into the mountains.
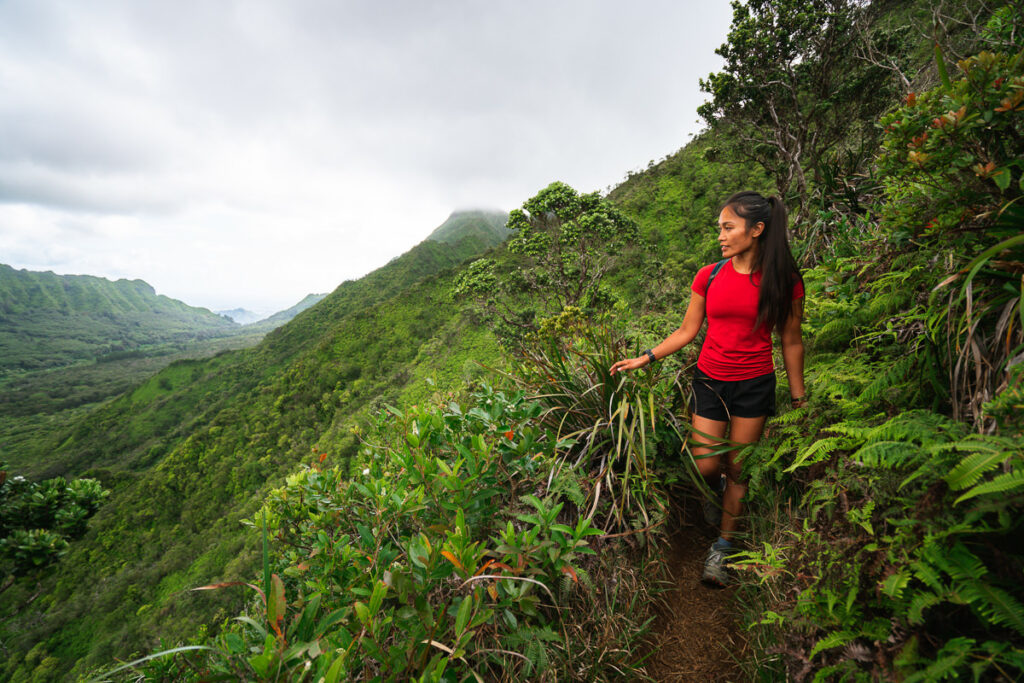
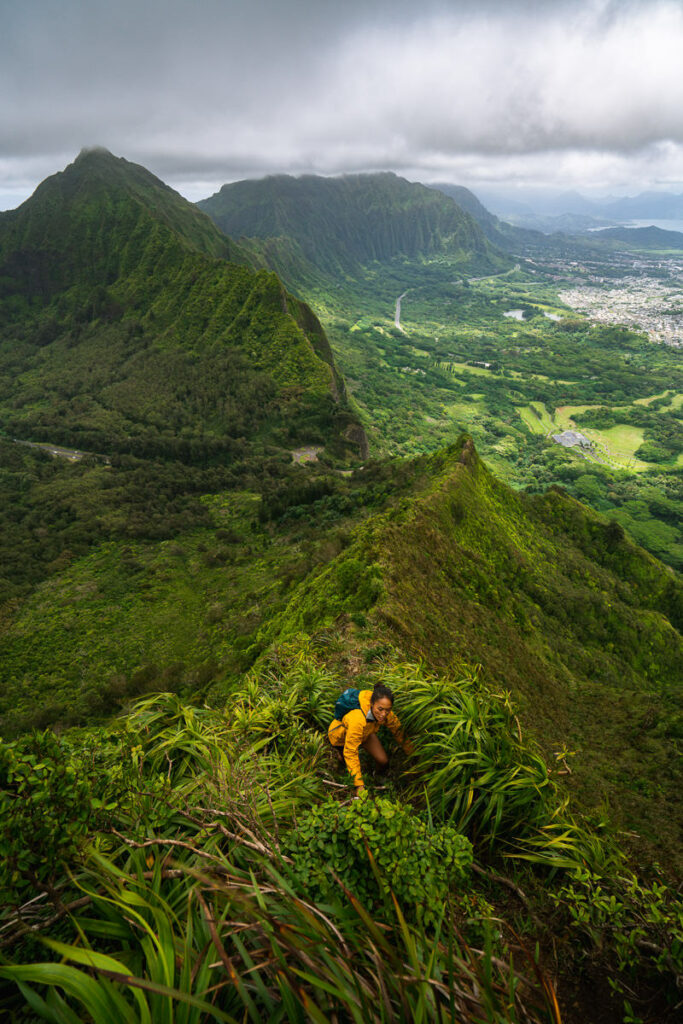
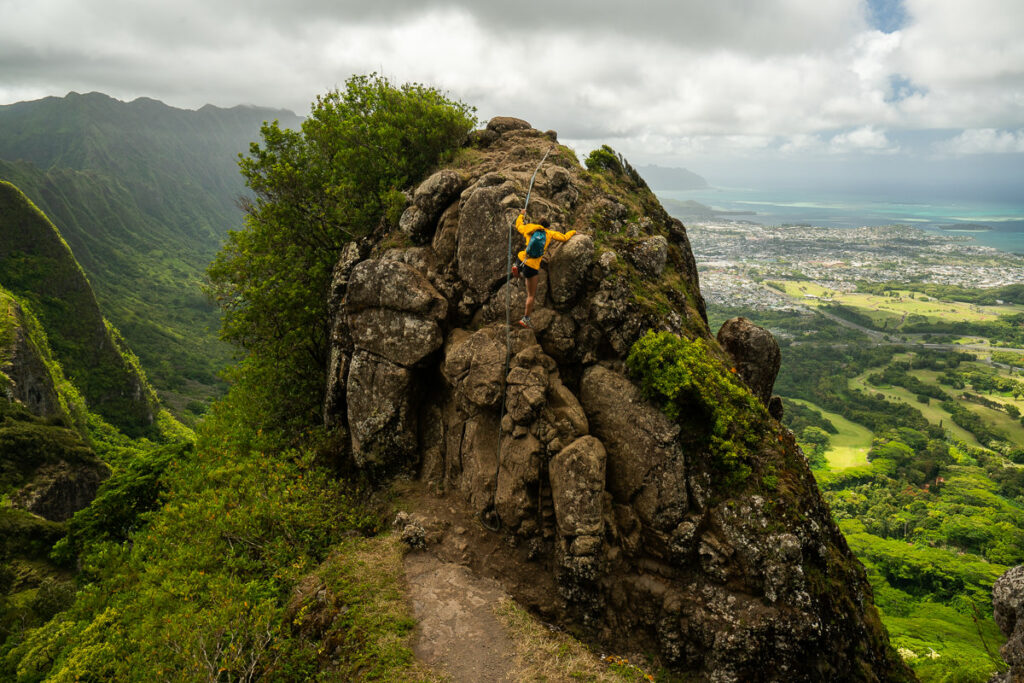
I really started to enjoy this hike as the trail got more and more technical with a few ropes installed to help you ascend the muddy slopes and slippery clay walls of the trail. Again, there were no moments of dangerous exposure on this trail but there are drop-offs on either side so general caution is required and only experienced hikers should venture up this one. On a rainy day, things can get quite interesting on these slippery slopes.
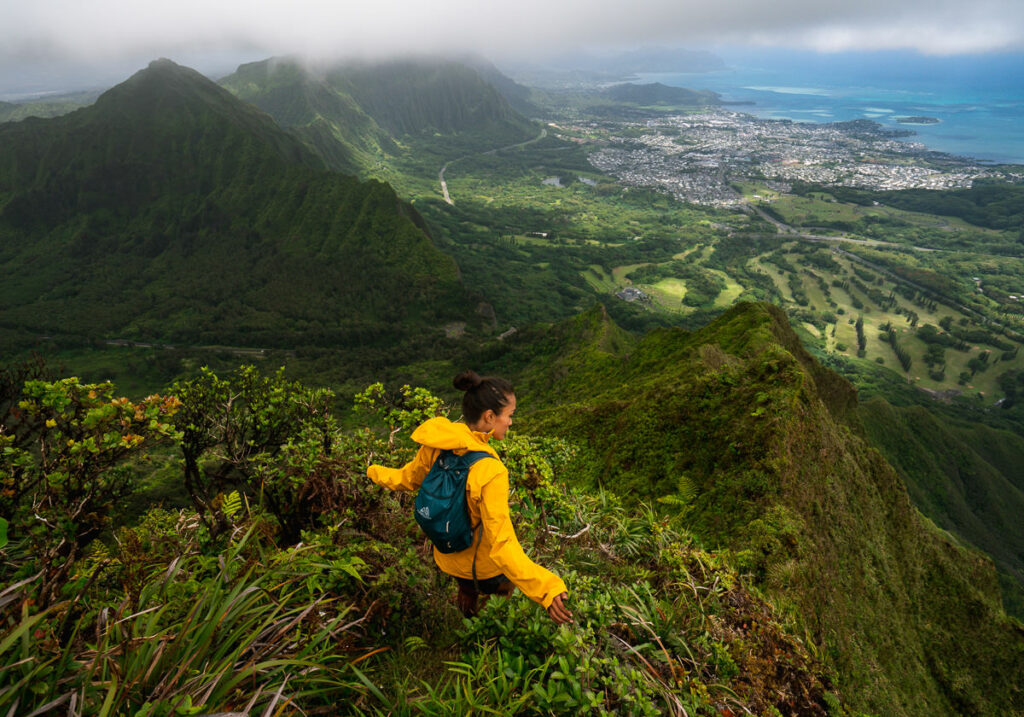
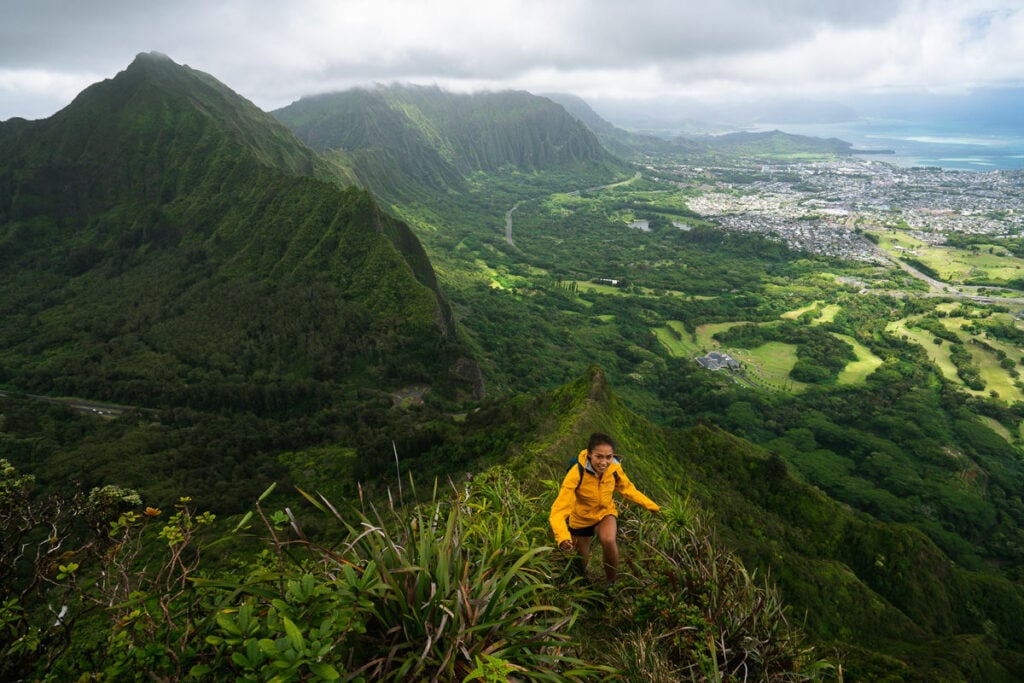
The view gets better and better as you climb higher and higher up the ridge. Waikiki and Honolulu can be spotted in the distance but you feel a strong sense of separation from civilization while climbing up through the dense vegetation.
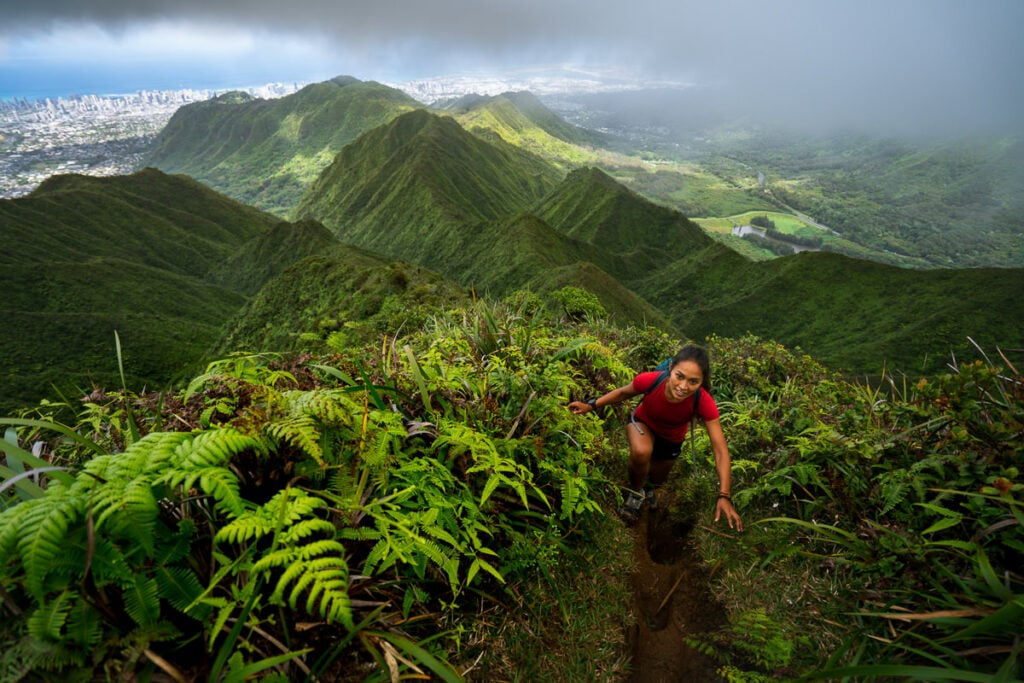

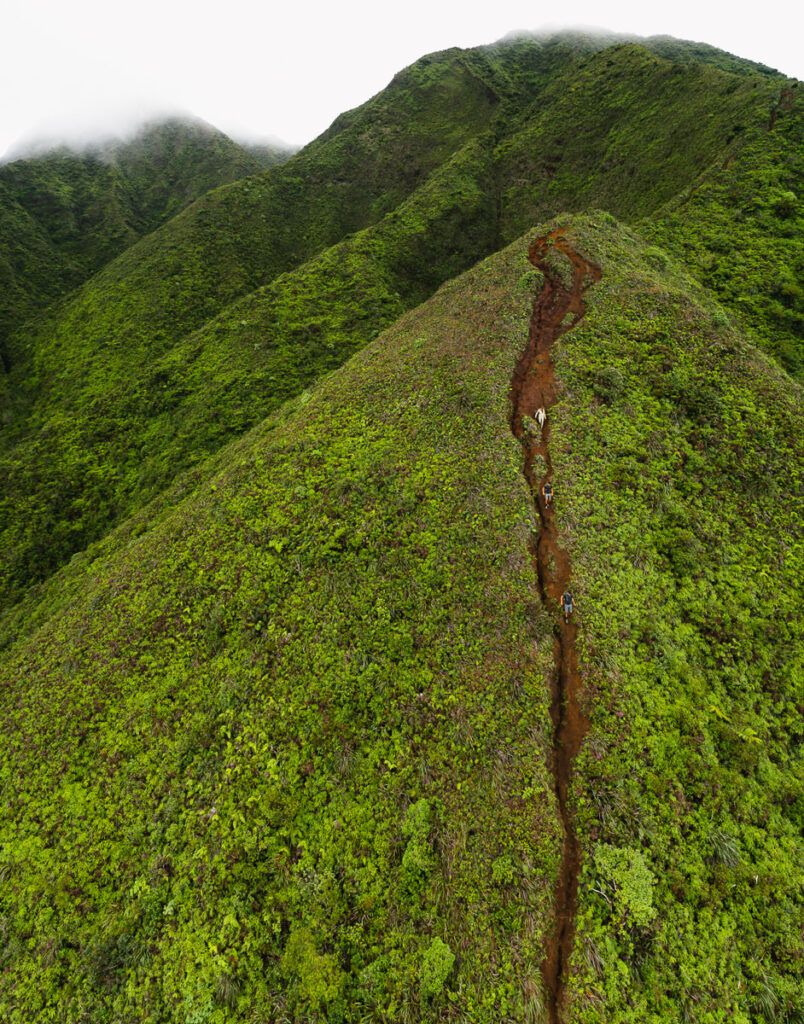
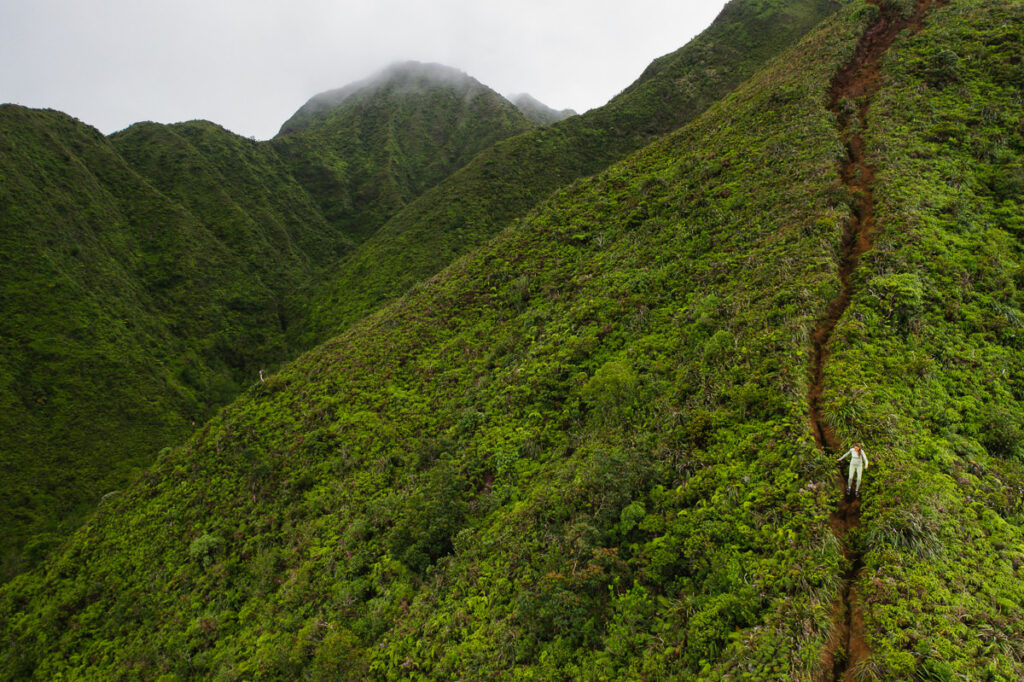
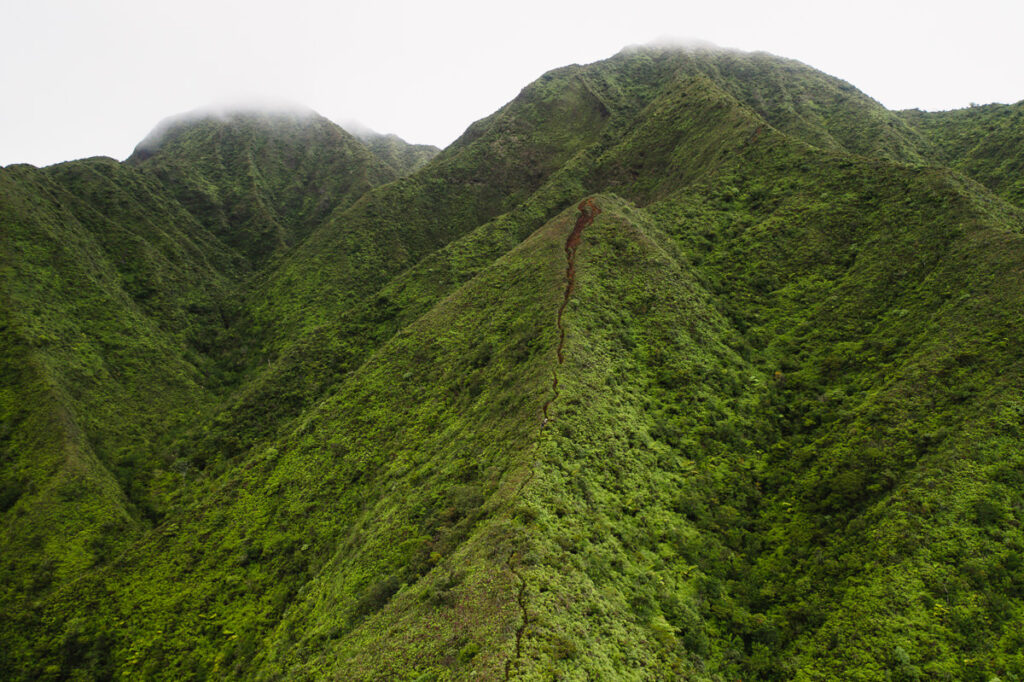
There is one major hill to ascend before the summit, which is particularly muddy and has a 50-meter rope-assisted section. I flew the drone here to give you an idea of the slope and terrain in this area.
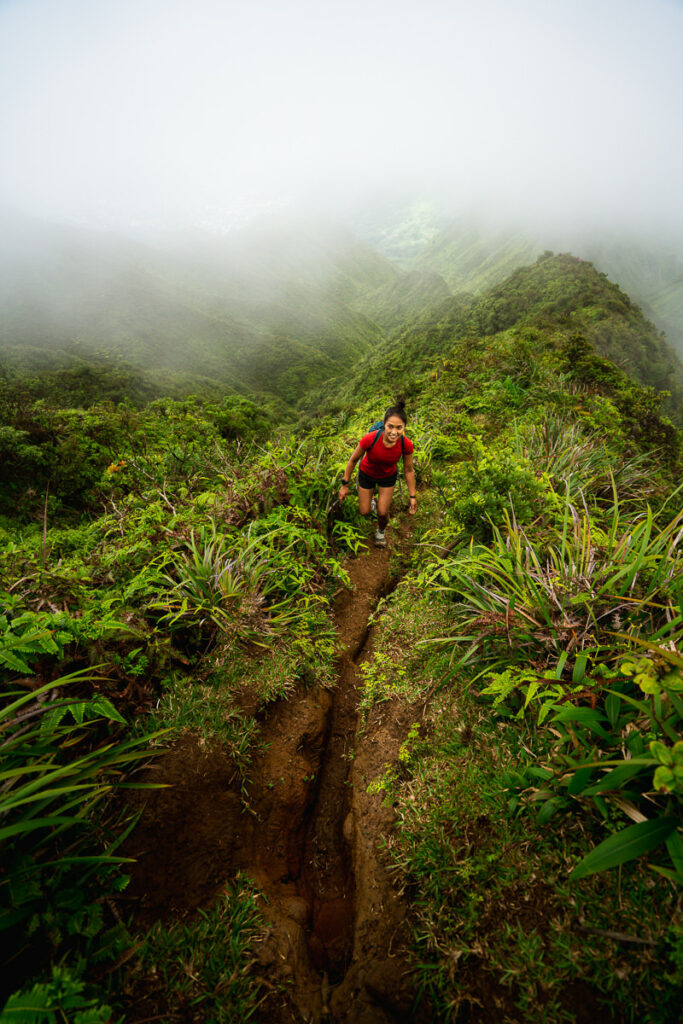
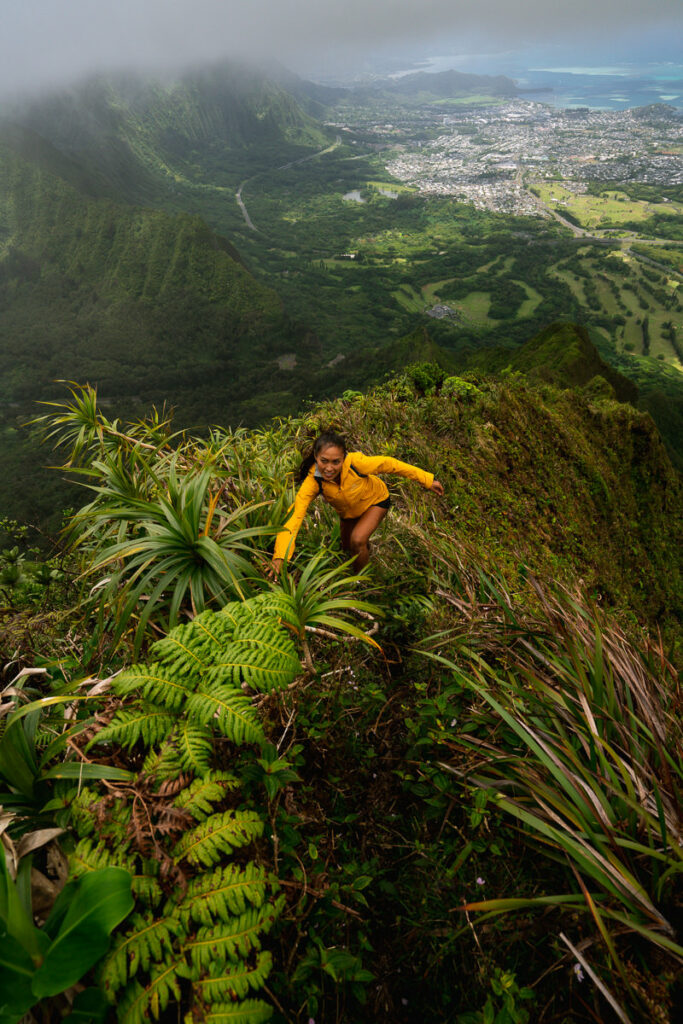
After three hours of steady-paced walking with lots of breaks and photo opportunities, we reached the summit of Pu’u Konahuanui Peak. You’ll first reach K2 and this is the peak shown on the AllTrails map, but you actually want to continue to K1 on the left. It’s only another ten minutes of hiking and is actually four meters higher than K2. These are two of the highest points in the Koolau Mountain Range and two key points on the Koolau Summit Trail. We met a few others coming down from the summit but other than that it was a lightly trafficked trail.
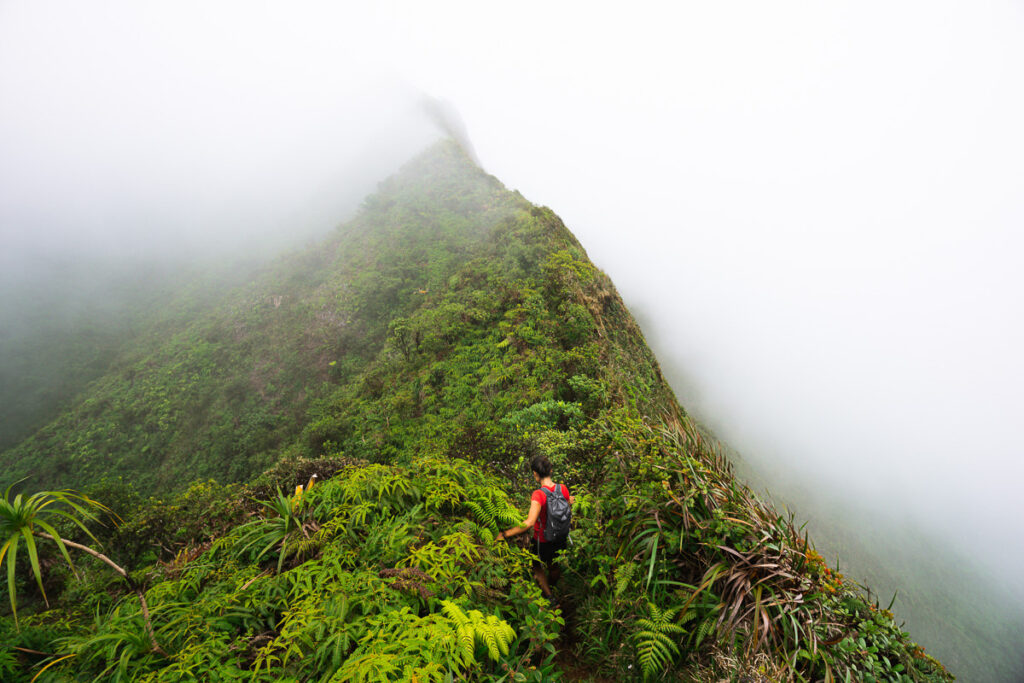
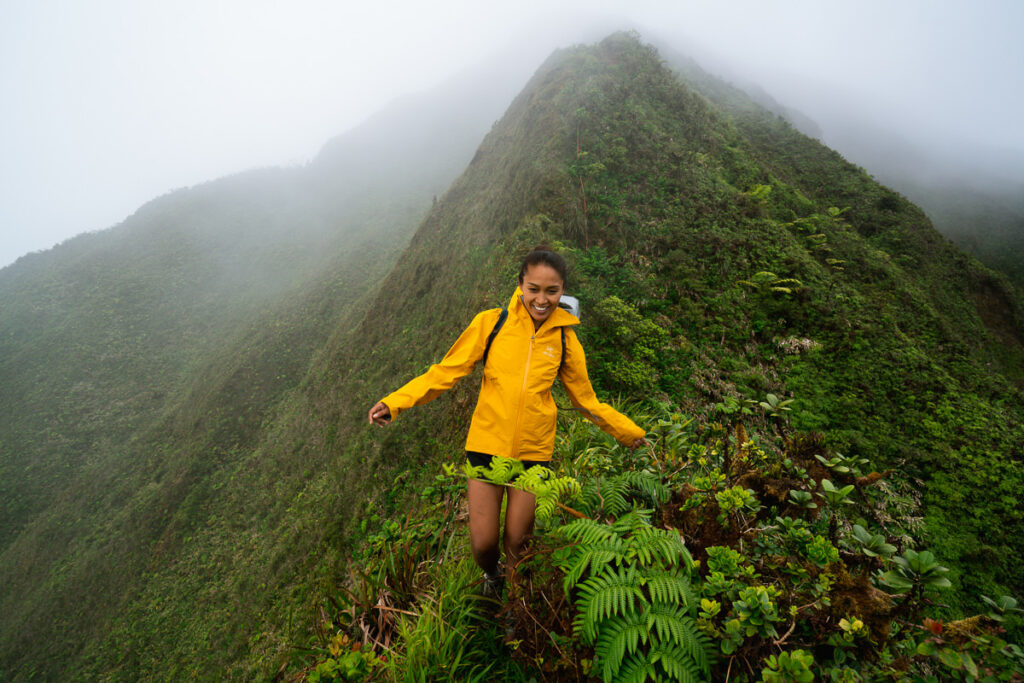
It’s very common for the summit to be covered in fog as the clouds tend to gather around these peaks. Due to the fast-moving nature of the clouds if you have a bite to eat and wait it out you can usually get a glimpse of the view.
Most people will return the way they came after reaching K1 and K2 doing an ‘out-and-back route. However, we decided to challenge ourselves and try and descend via pali notches as the weather was dry and we were feeling good. I would advise almost all hikers to return to Kalawahine unless they are experienced with rock climbing or very exposed hiking.
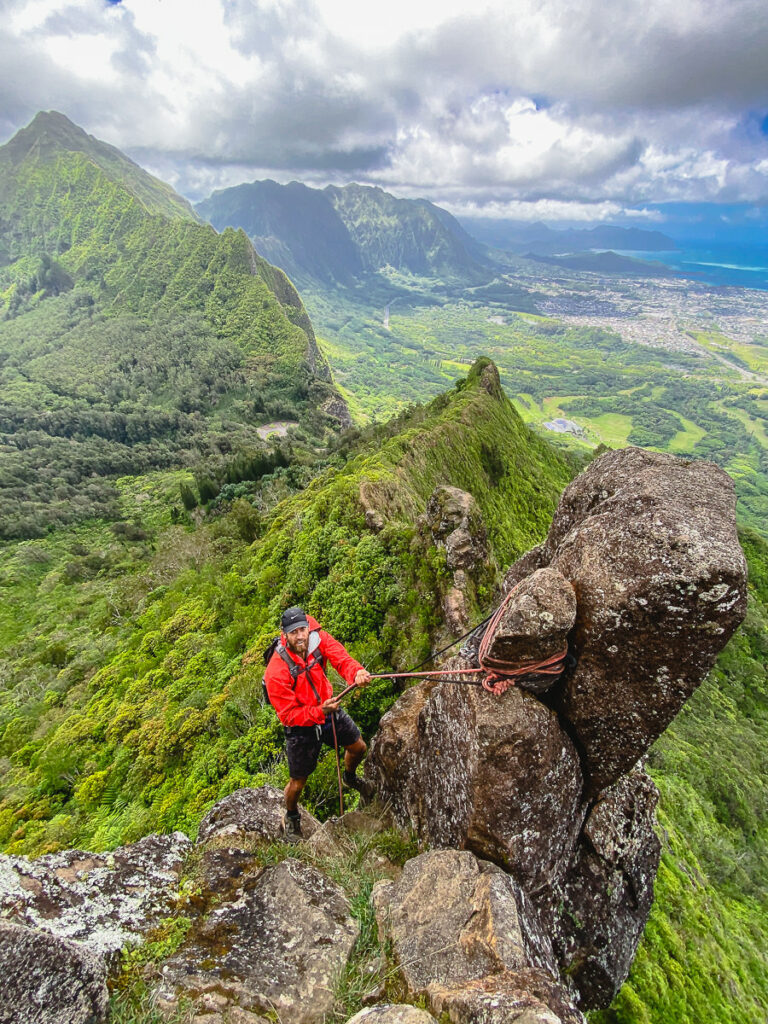
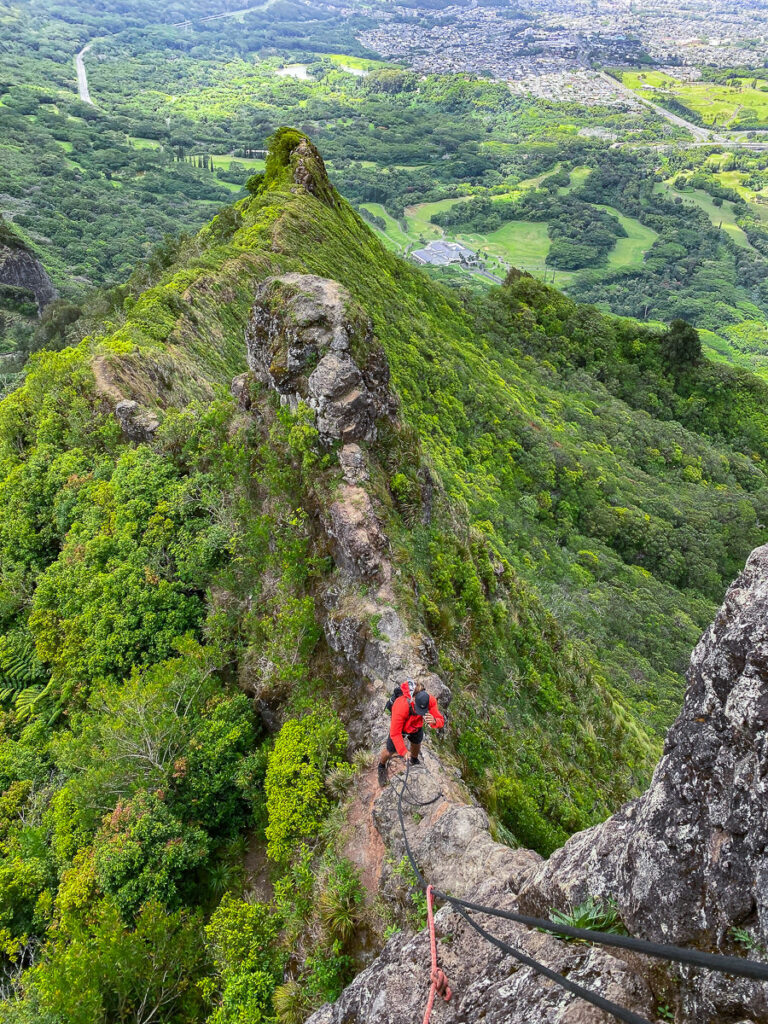
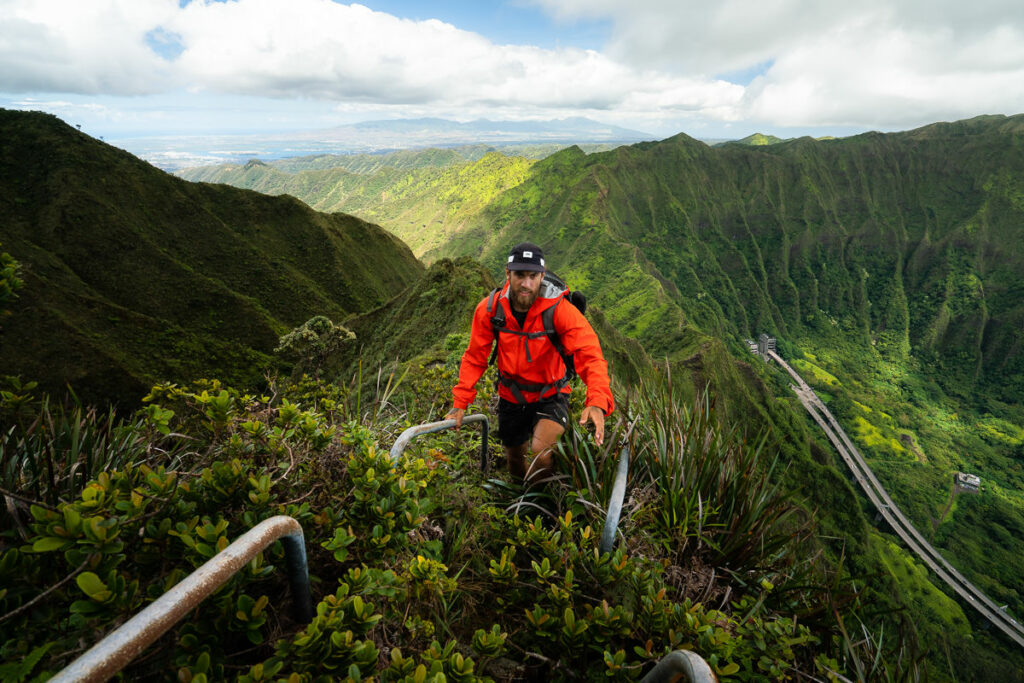
The trail now became something quite special as we traversed down the rugged Koolau Summit Trail along the sharp ridges. Overgrown, muddy and, with many natural obstacles, we slowly made our way down the ridge towards Pali Notches. The clouds faded as we dropped down in elevation and views of the east and north-east parts of Oahu opened up to provide a beautiful vista. The wind began to pick up a lot and we often had to crouch low to keep our balance. The ever-changing conditions are just another reason you need to be very comfortable with heights for segments like these on the Koolau Summit Trail.
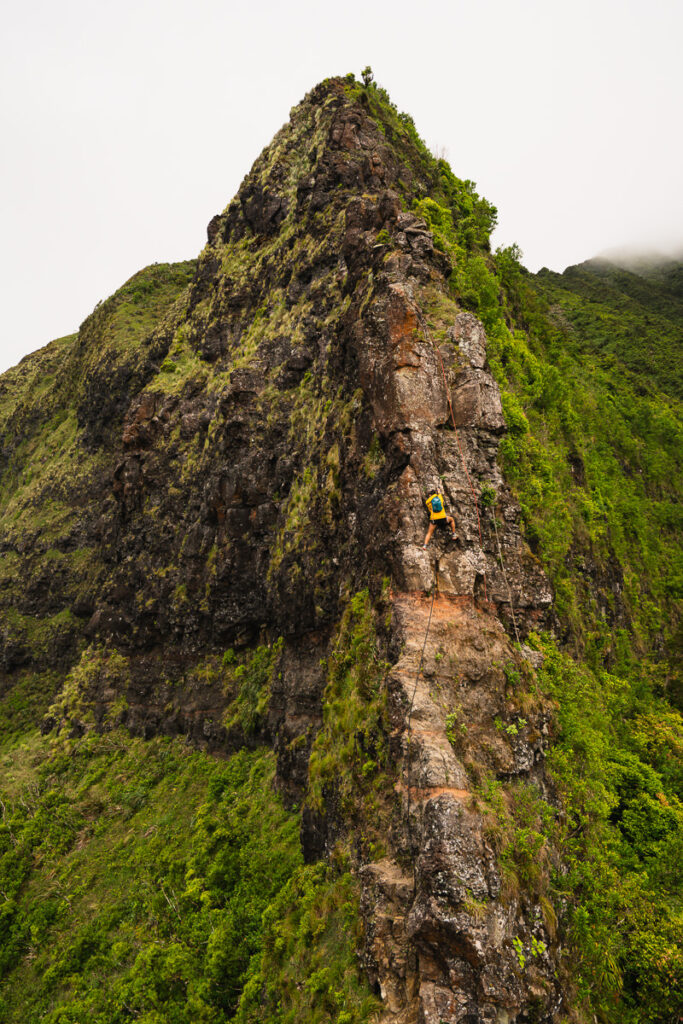
After about an hour of traversing the ridge towards Pali Notches, we reached the major downclimb of the rocky wall. This is normally the section you see at the end of the Pali Notches hike, but on this day it was our descent to finish the route. Coming down this rocky section requires good balance, basic rock-climbing ability, and the use of ropes. The rocks can be unstable and crumbly and the ropes are installed by others so you need to test and try not to rely on them too much. All of these factors can lead to some nervous moments as you face some serious exposure to dangerous drops. This area is notoriously windy, which can create even more stress during the down-climb. Luckily we managed to survive the wall and made it safely to the Pali Notches trail.
After reaching the regular Pali Notches trail we could breathe a sigh of relief. We just had a few small rock climbs left to tackle but nothing as exhilarating as the chimney and rock tower we had just down-climbed. It was an epic adventure but definitely only a route for those with lots of experience climbing and managing heights. The route to K1 and K2 is much more manageable for regular hikers ad as an out-and-back route is suitable for regular hikers with a sense of adventure and a willingness to get muddy.

I hope you enjoyed this guide to the Pu’u Konahuanui Peak hiking trail via Kalawahine Ridge and have good luck and good weather on your journey!
3 MOST POPULAR OAHU TOURS
- Doors-Off Oahu Helicopter Flight Tour: My number one recommendation is to do a heli-flight (doors off) and be blown away when you see Oahu from the air.
- North Shore Shark Cage Tour: The biggest adrenaline rush you can have in Hawaii is beneath the surface with sharks!
- Turtle Canyon Snorkel Cruise by Catamaran: The number 1 MOST POPULAR snorkel tour on Oahu. GUARANTEED Turtles!
WHERE TO STAY ON OAHU
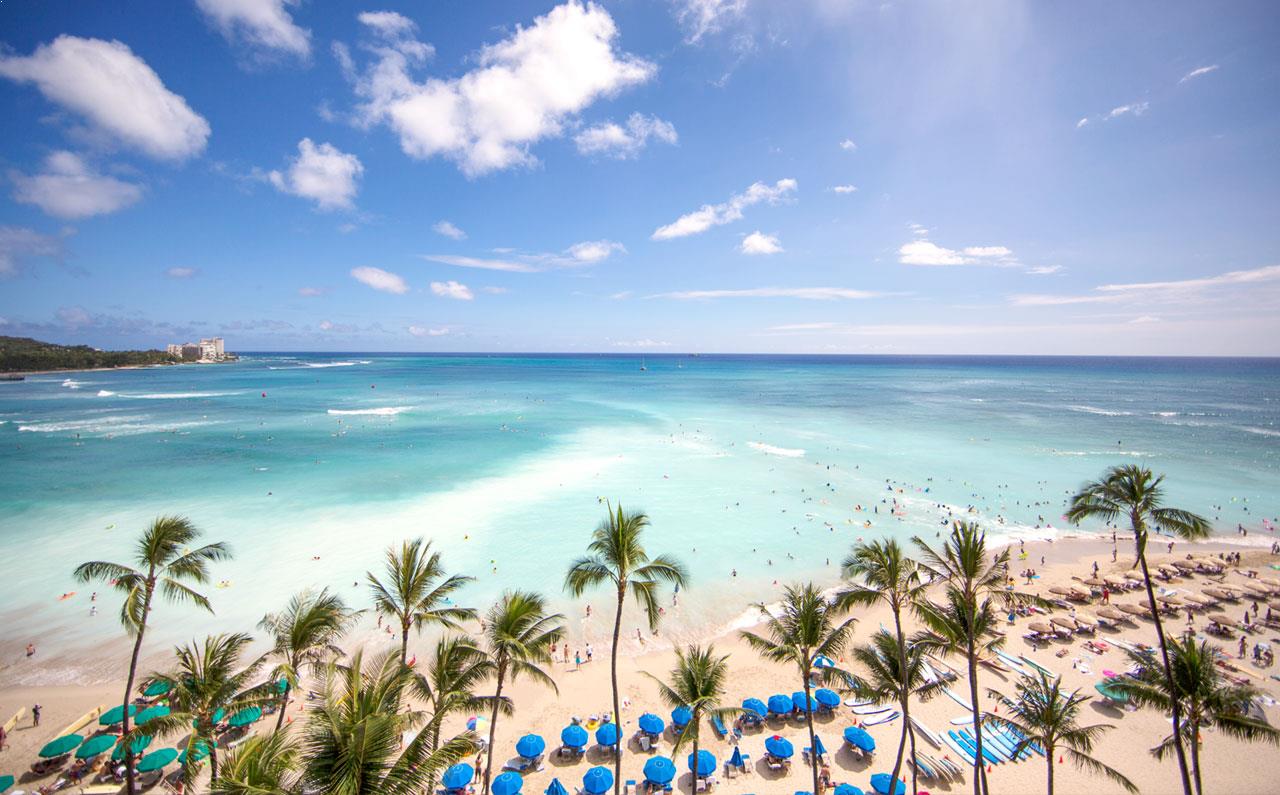
- Hilton Hawaiian Village Beach Resort (Overall Favorite): In the heart of Waikiki, this high-end resort is right on the beach with a private lagoon.
- Sheraton Waikiki (Luxury): A luxury resort with the most amazing infinity pool on the island, which overlooks the beach.
- Ewa Hotel Waikiki: (Value): Ewa Hotel is just one block back from the beach and is just over $150 USD.
- Waikiki Beachside Hostel (Budget Choice): A budget alternative, which is still in an amazing location.
- Disney Aulani Resort (Family Choice): This is a resort your kids will never forget. It honestly feels like you are living in a theme park.
MORE OAHU BLOG POSTS
I lived on Oahu for two years and loved adventuring from the beaches to the mountains to the waterfalls! These are my most popular blog post and guides from the beautiful island of Oahu to help you plan your trip!
- What to pack for Hawaii: THE HAWAII PACKING LIST: WHAT TO PACK
- A helpful guide to choosing accommodation: WHERE TO STAY ON OAHU
- Most epic hike on Oahu: THE STAIRWAY TO HEAVEN OAHU, HAWAII
- The best Waterfalls: AMAZING WATERFALLS ON OAHU, HAWAII
- Ultimate Cliff Jumping Guide: 11 BEST CLIFF JUMPING SPOTS ON OAHU
- Guide to Swimming with Sea Turtles: WHERE TO SEE TURTLES ON OAHU
- The best Waterfall Hikes: TOP WATERFALL HIKES ON OAHU
- Best Tours: 20 BEST TOURS ON OAHU
- The Ultimate Guide to Oahu: 80 AWESOME THINGS TO DO ON OAHU
markv
Saturday 4th of November 2023
This is the highest peak in the Koolau range, not the 2nd highest.