After a rest down at basecamp, it was time to return for our summit push. Just like our acclimatization, there are multiple strategies to ascend to the summit. The most common strategy is to sleep at Camp One and then Sleep at Camp Two (briefly) before pushing off around midnight to shoot for the summit. Camp Three is often avoided due to the large serac (dablam) hanging dangerously above. It is relatively stable but in 2006 there were multiple deaths at Camp Three when part of the serac dislodged.
We decided to spend a night at Camp One and then a night at Camp Three. This strategy would make our summit moring much shorter with less time spent in the extreme wind and cold. Advice had been given that the serac looked safe this year, but of course, nature can be unpredictable. The advice turned out correctly and this year there have been no reports of the serac having any parts dislodged.
Since I’ve already shown you the route from Ama Dablam Base Camp to Camp Two, I will detail the route from Camp Two onwards in this section about our summit push. We actually reached Camp Two around midday on our second day of the summit push after sleeping the first night at Camp One. Despite the Yellow Tower being hyped up, it was actually the traverses, ridges, and couloirs we encountered beyond Camp Two that was the most enduring and challenging.
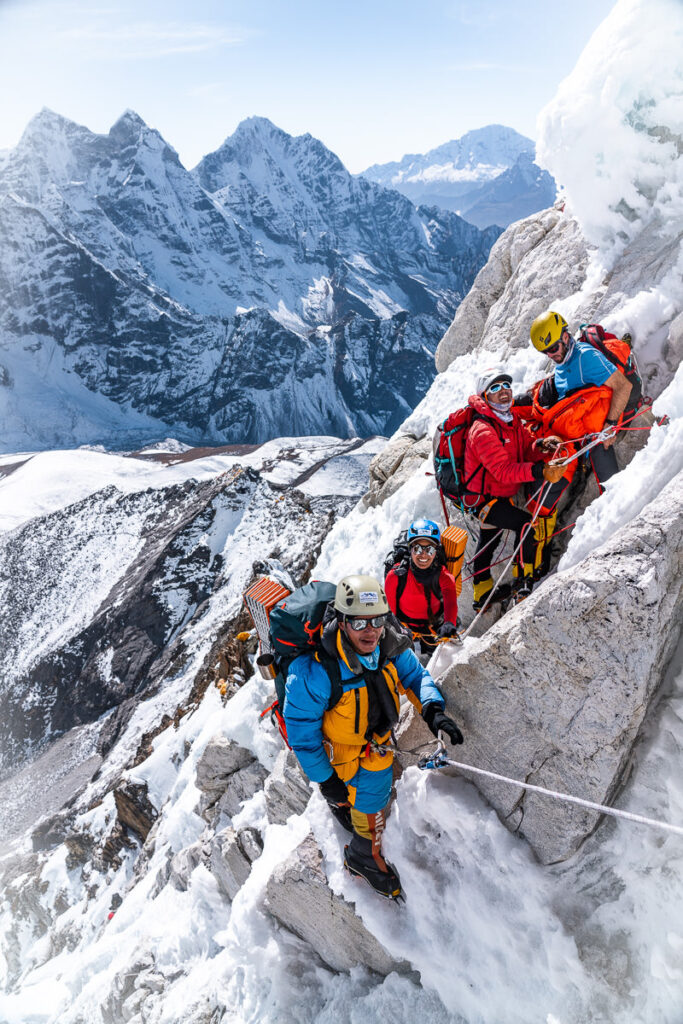
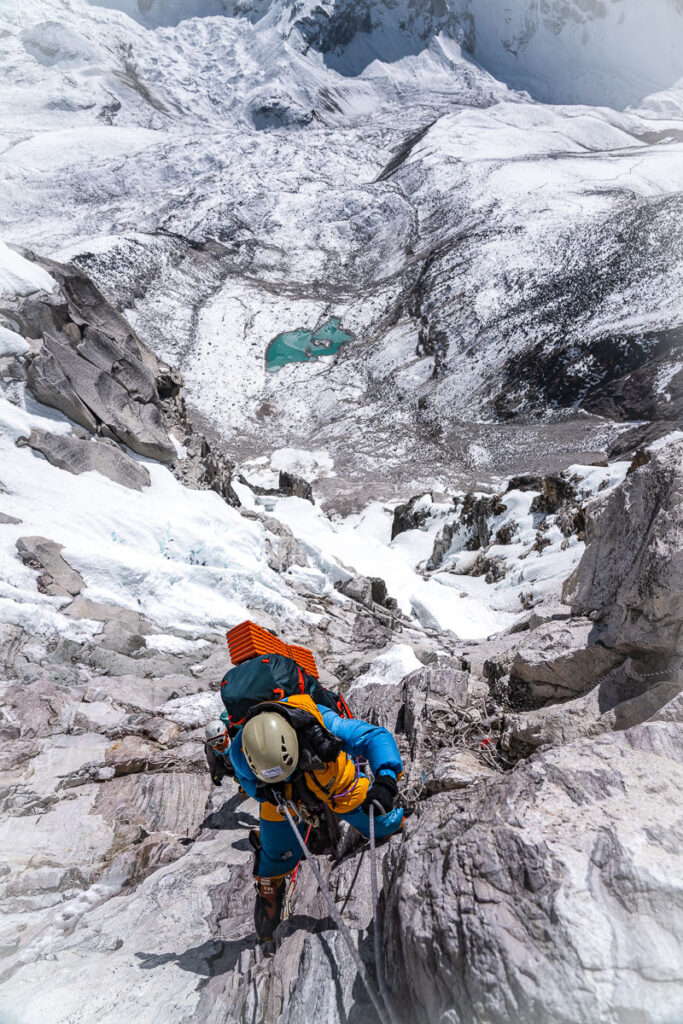
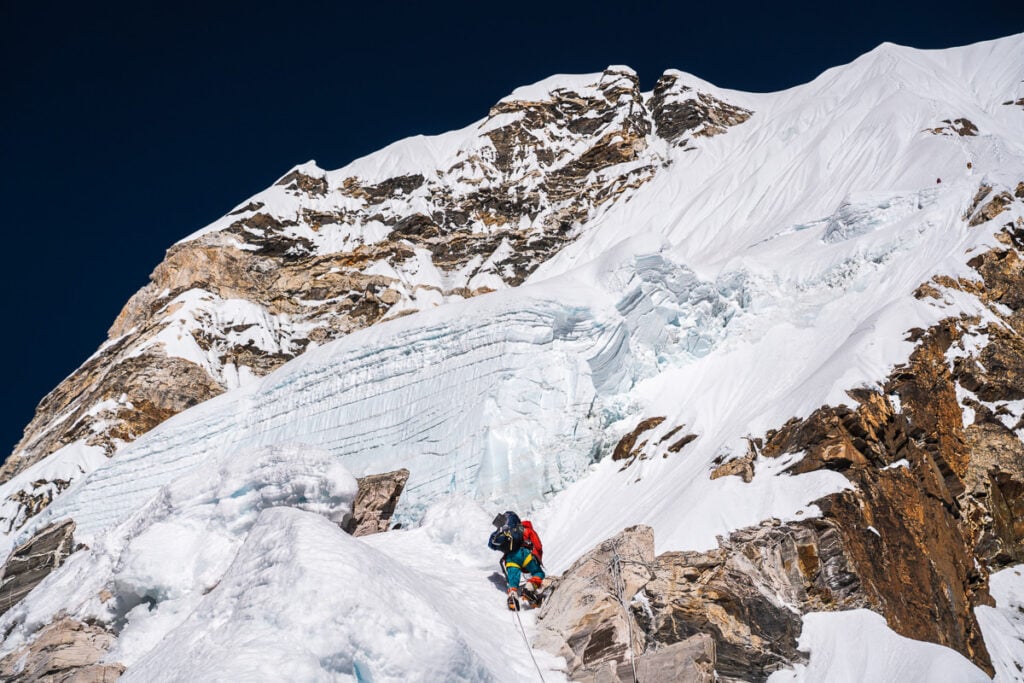
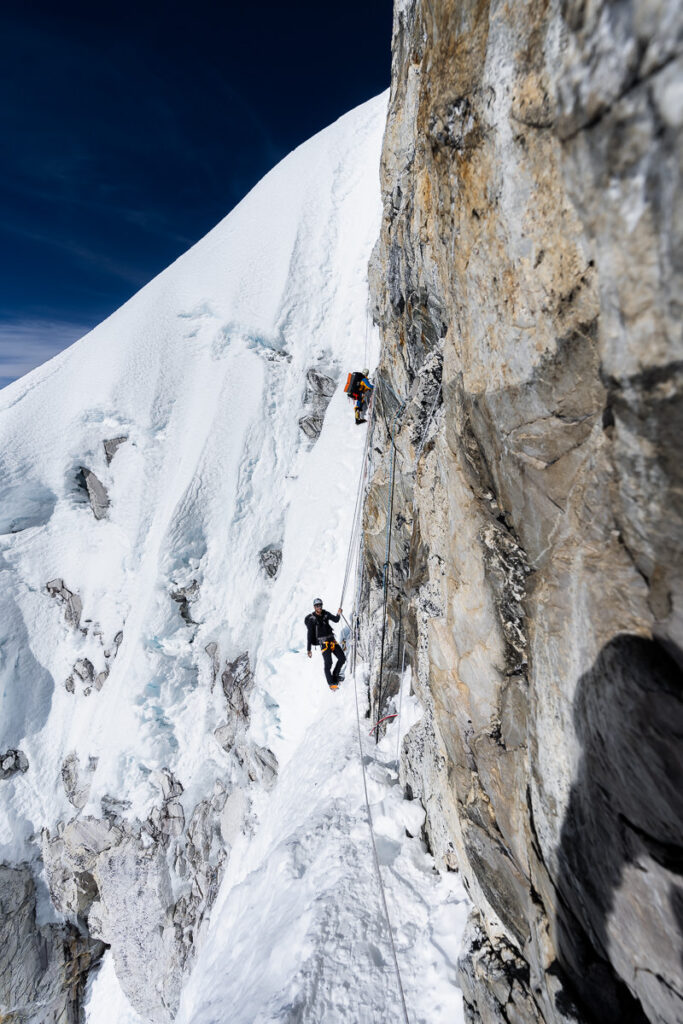
After leaving Camp Two, you immediately hit the Grey Tower (Grey Couloir). Slightly less vertical than the Yellow Tower, the Grey Tower is about 75 degrees and filled with crumbly rock. Unlike at the Yellow Tower, we now had our crampons on. Rock on crampon is never fun and the scraping noises in this section were likened to fingernails on a chalkboard. This narrow tower is one of the prime places to be vigilant and have the helmet firmly strapped on. Loose rocks and chunks of ice are often falling down in all directions from the flow of climbers heading up or descending from their summit.
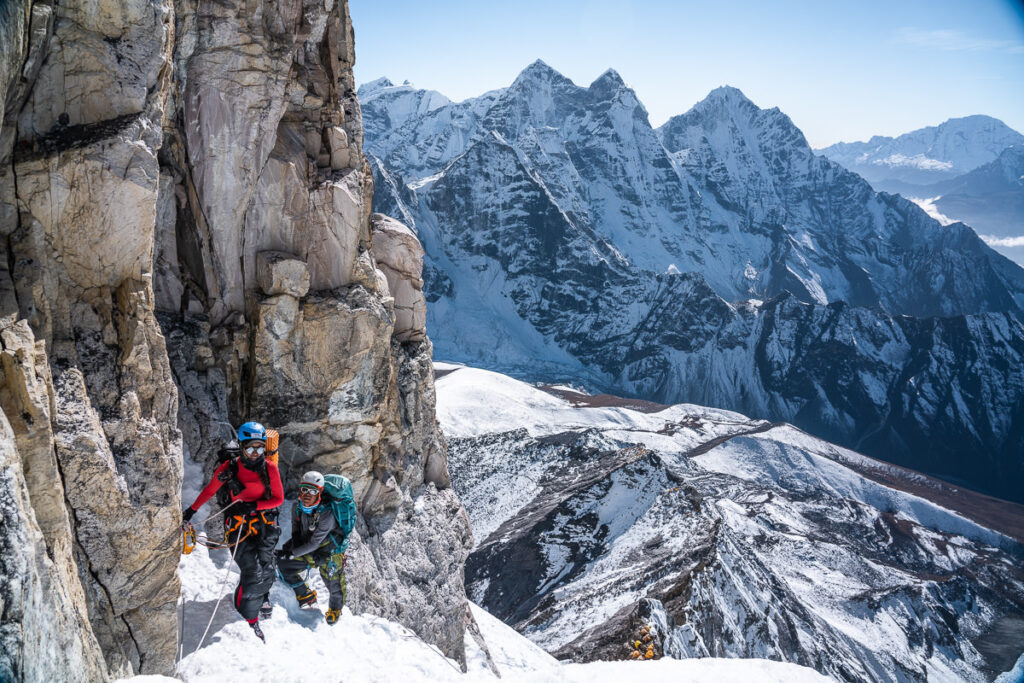
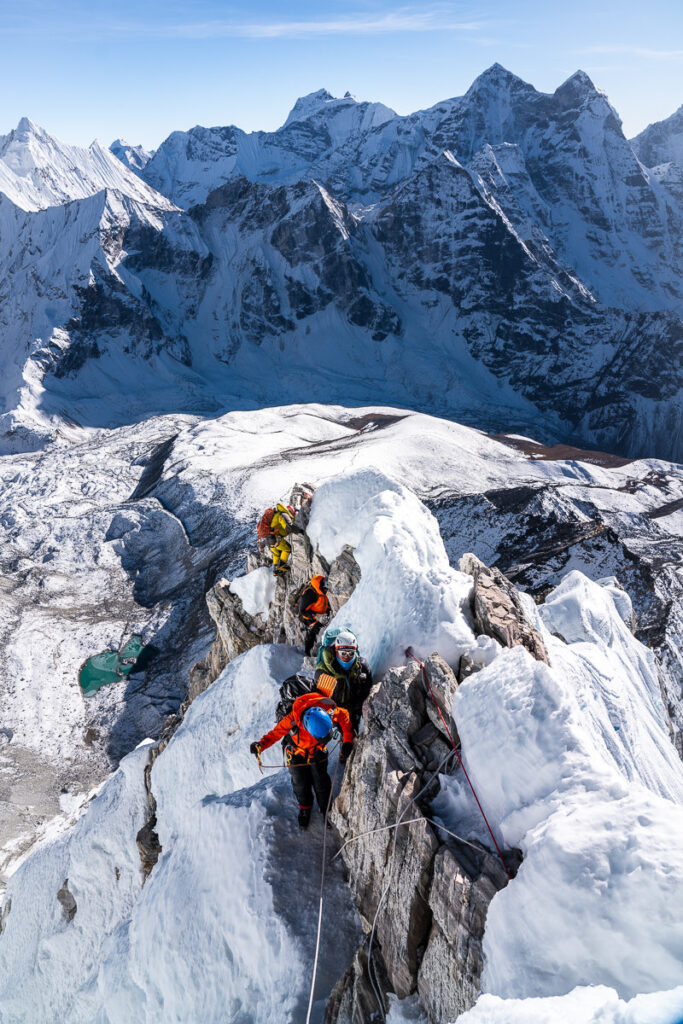
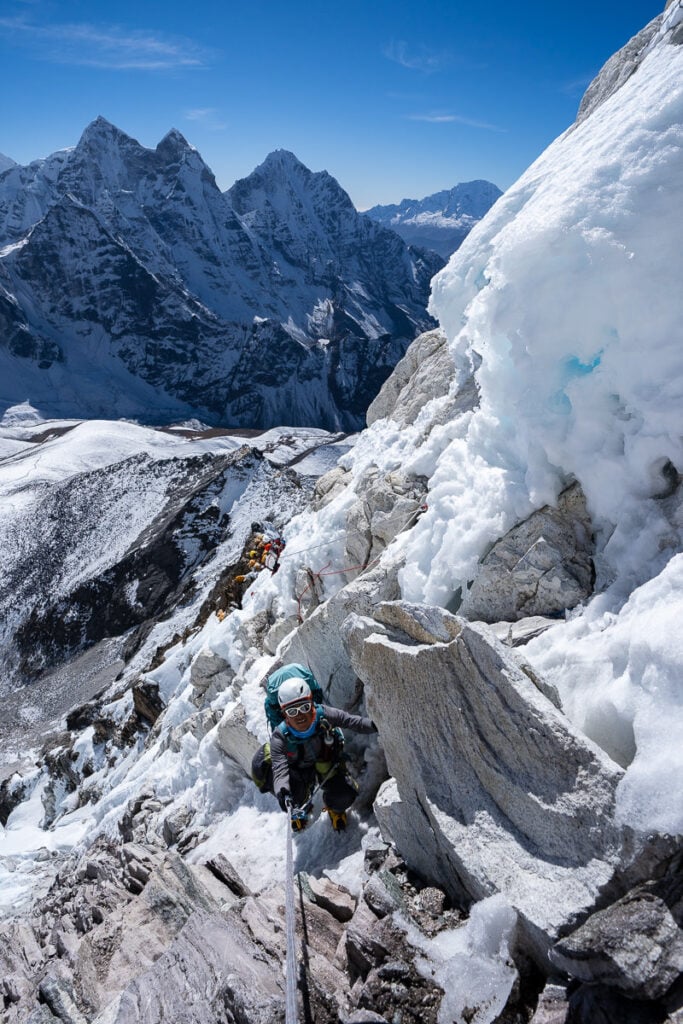
After the Grey Tower, you will come across the Mushroom Ridge. This is a very narrow, icy, and snowy ridge that winds you further up the mountain towards Camp Three. Looking up, the summit gets closer and closer but you will never glimpse Camp Three until the very last moment when you arrive at the tents. I really enjoyed climbing this section in the day to enjoy the surroundings and views, but I understand many try to avoid the perils of sleeping at Camp Three.

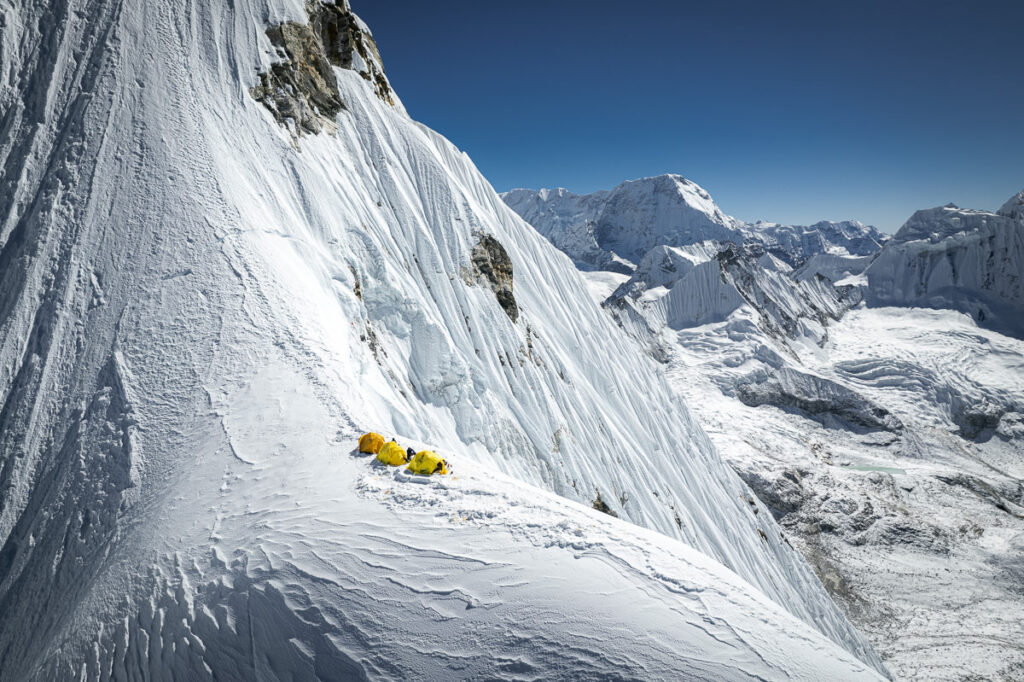
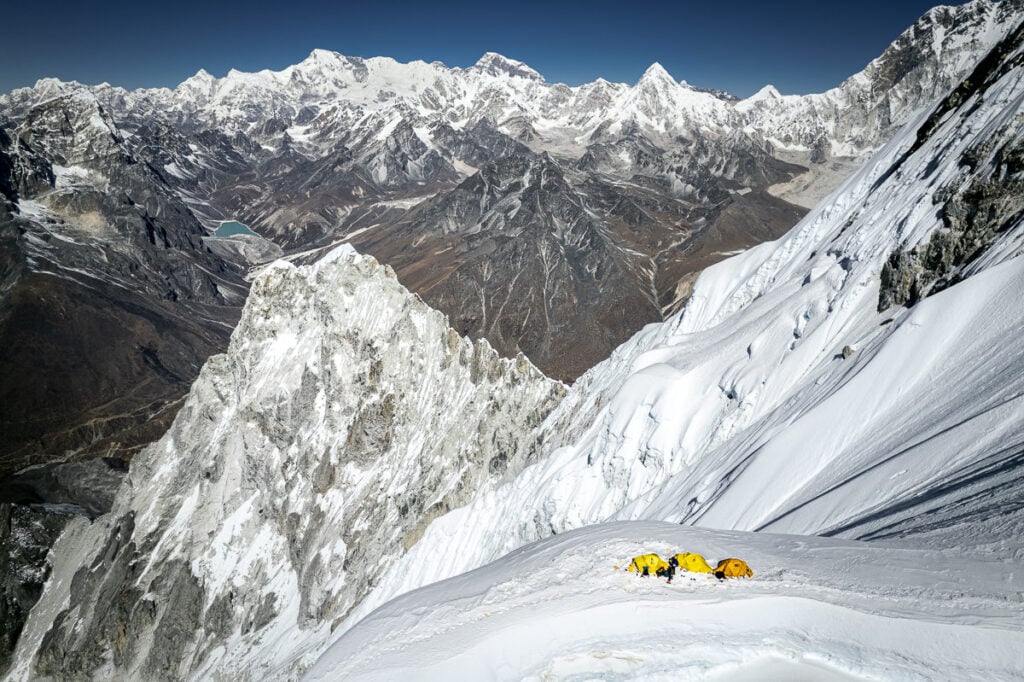
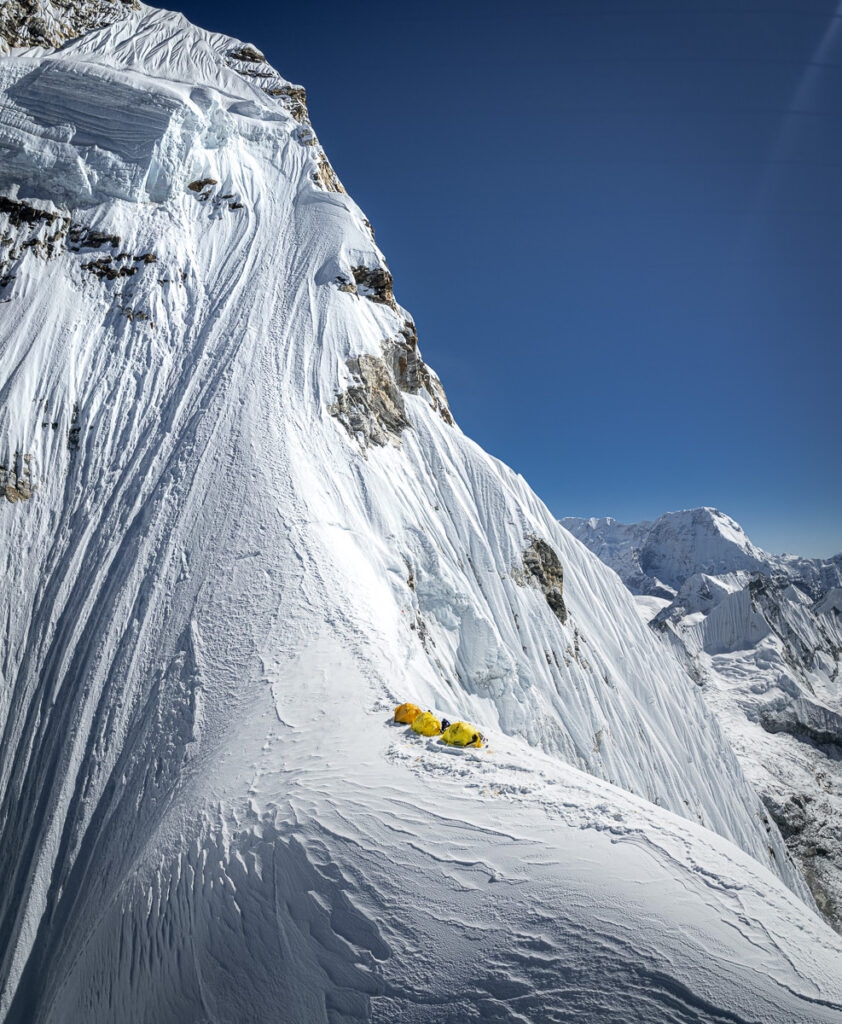
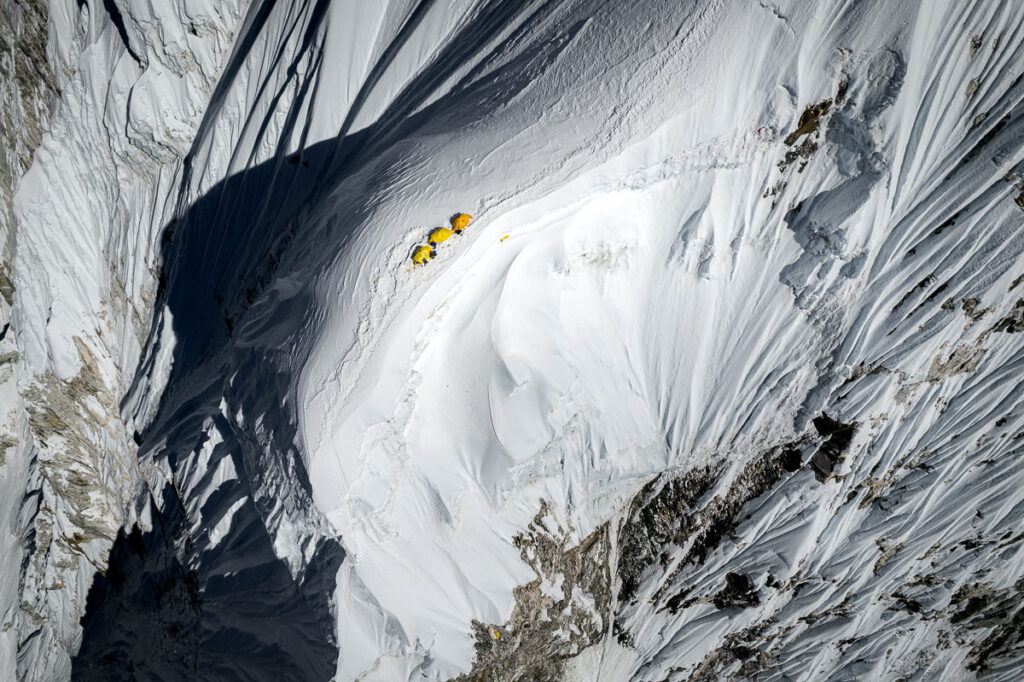
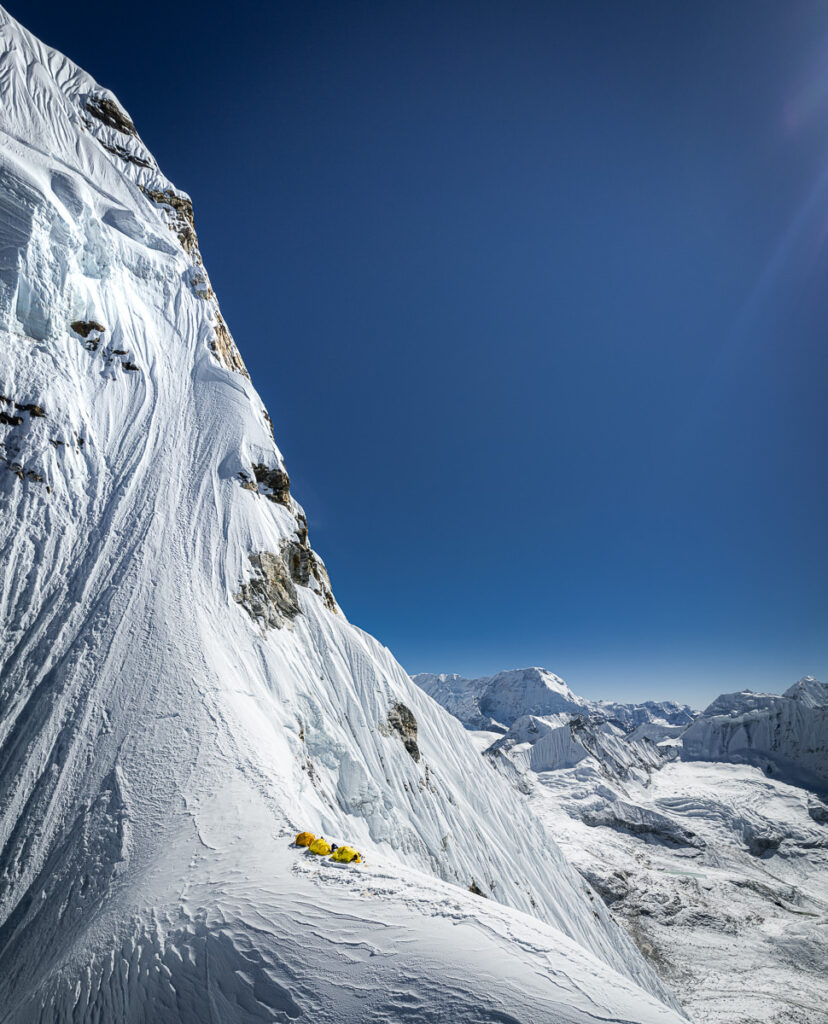
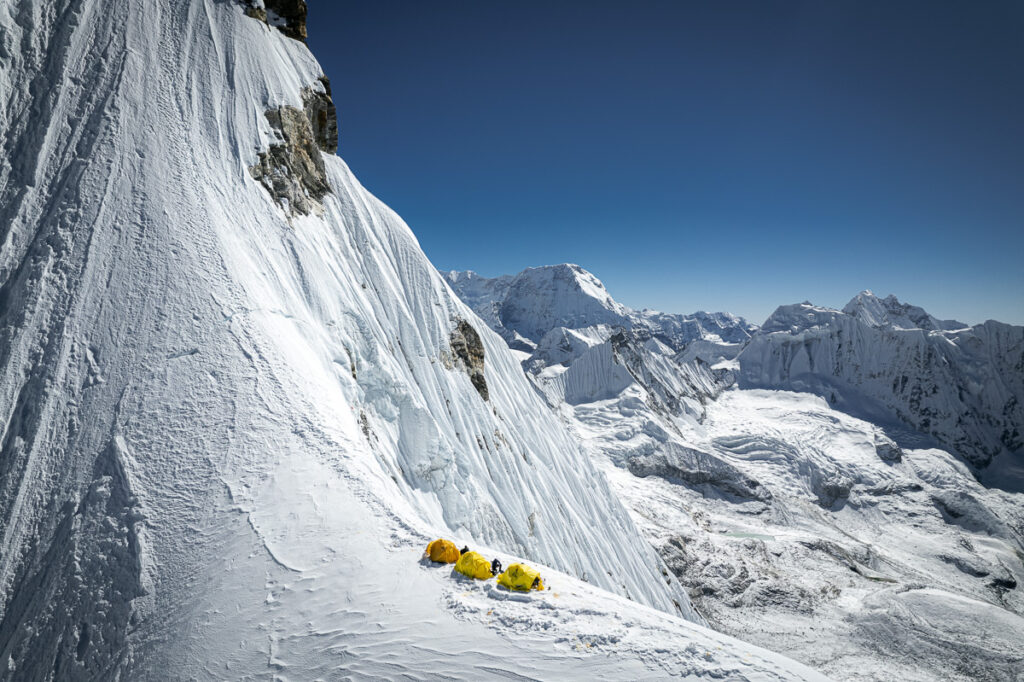
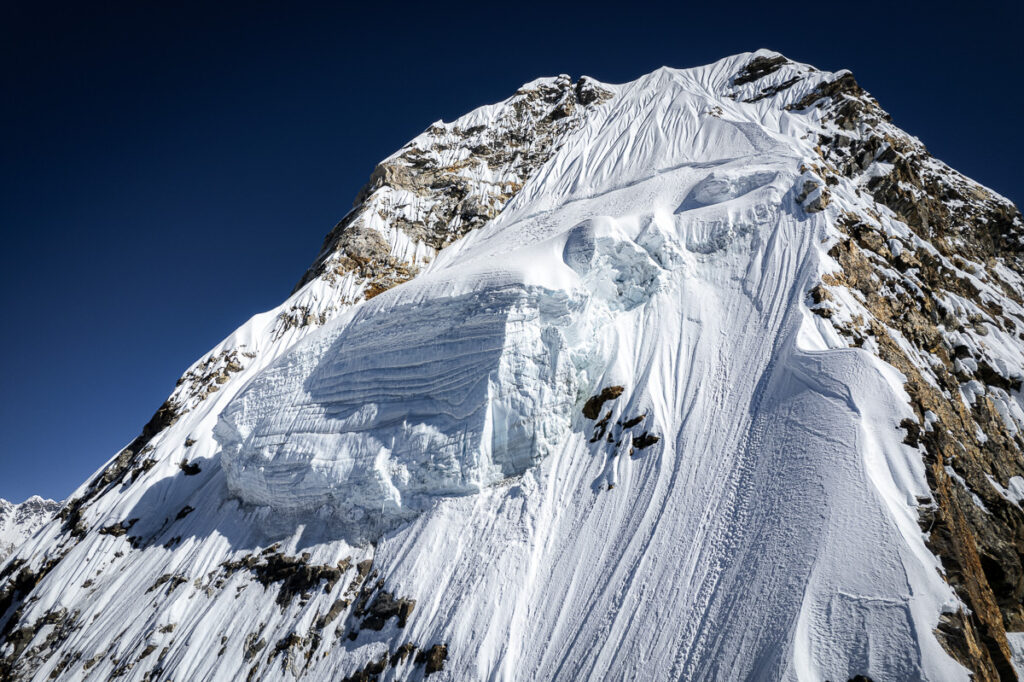
I guess we will never know if sleeping at Camp Three was a good decision or not. We survived the night but many do claim it is a dangerous decision. The one thing I do know is that this campsite is heavily exposed to the wind because of the angle of the ridge. Many climbers complain about strong winds here despite calm conditions lower down the mountain. We had a ridiculously windy night, where I was sure the tent would blow off the mountain. However, despite the strong winds, we managed some decent sleep due to the flat snowy terrain compared to the rocky, uneven surface of the lower camps. I managed to get a few aerial photos of Camp Three showing its proximity to the hanging serac and the summit.
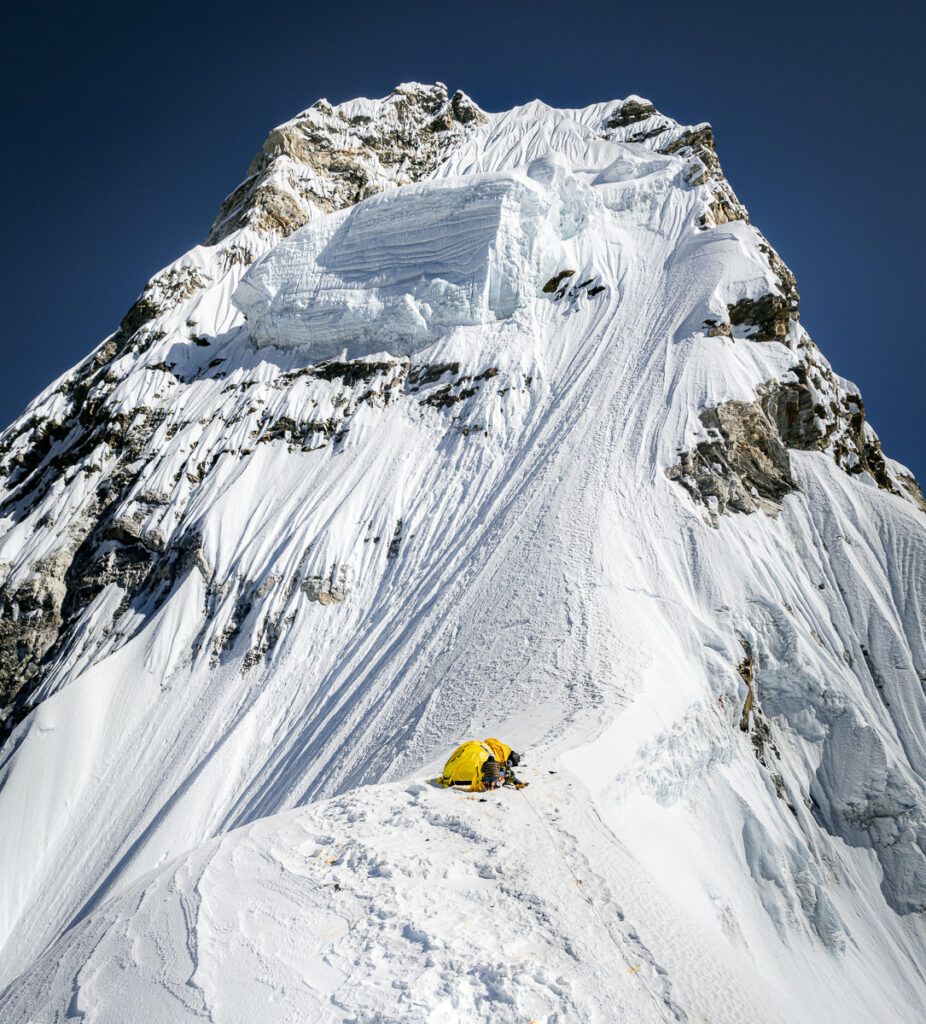
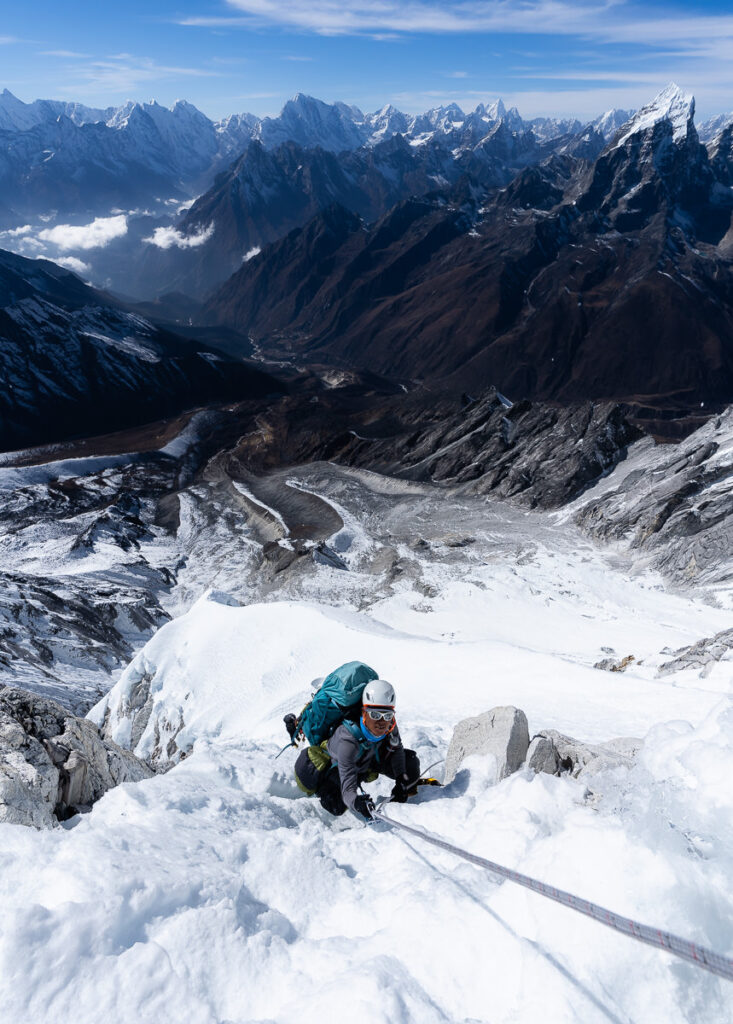
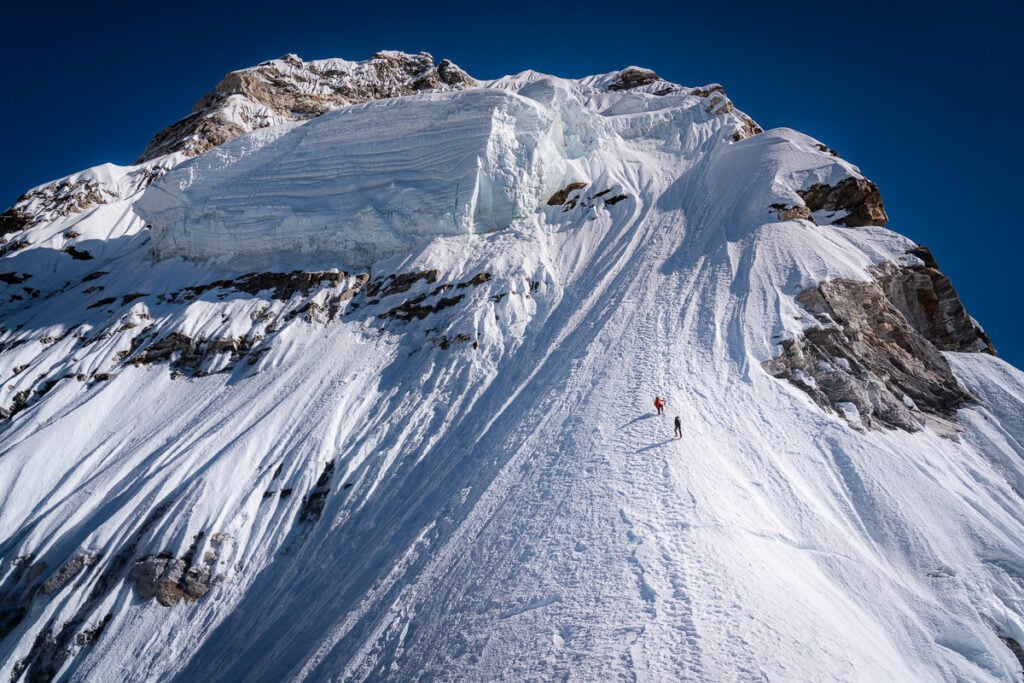
At 3 am we woke with the wind still blowing heavily. Our guides seemed unperturbed so we got our gear together, had a quick coffee, and set off for our summit push just after three. The climb begins in the dark, which was helpful because we couldn’t see the horrific scale of the steep wall we were attempting to climb. It’s an alpine ice and snow climbing ascent with the use of a fixed rope and jumar.
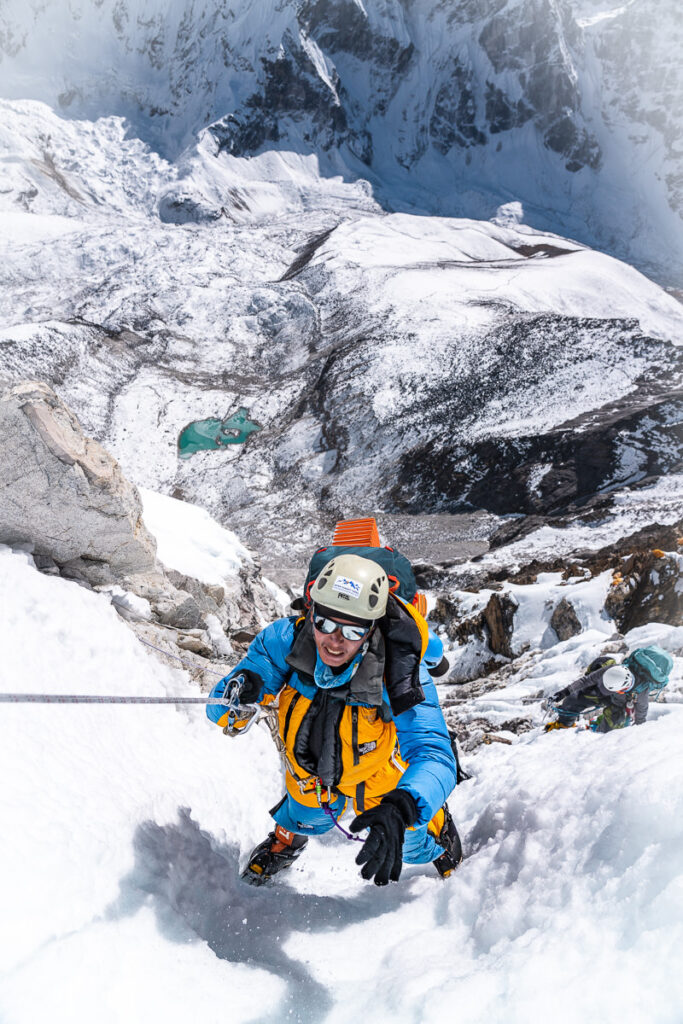
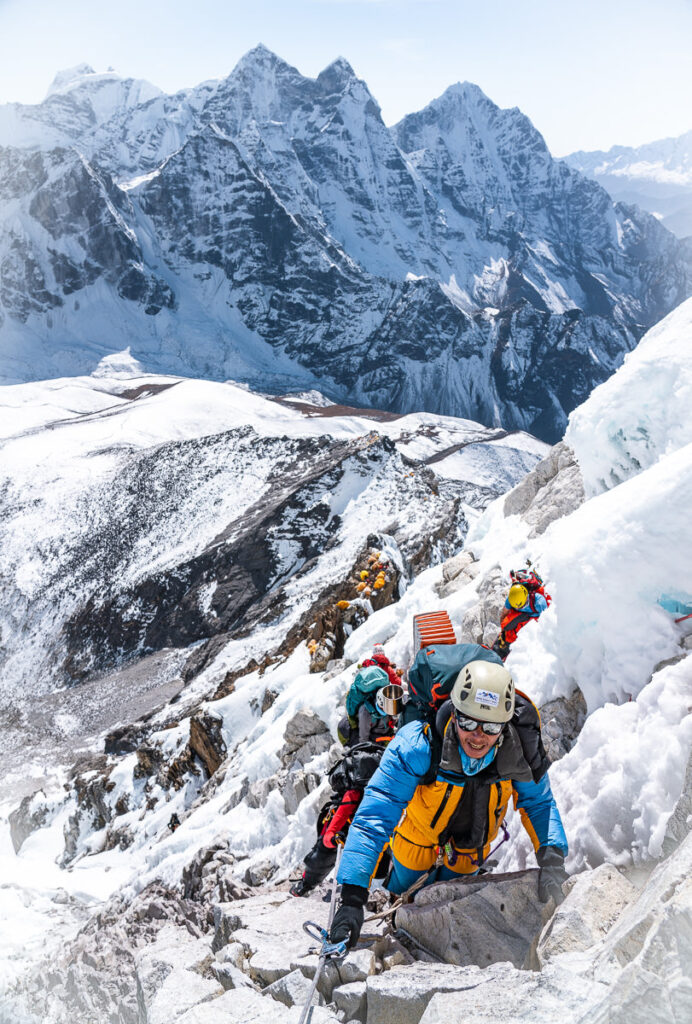
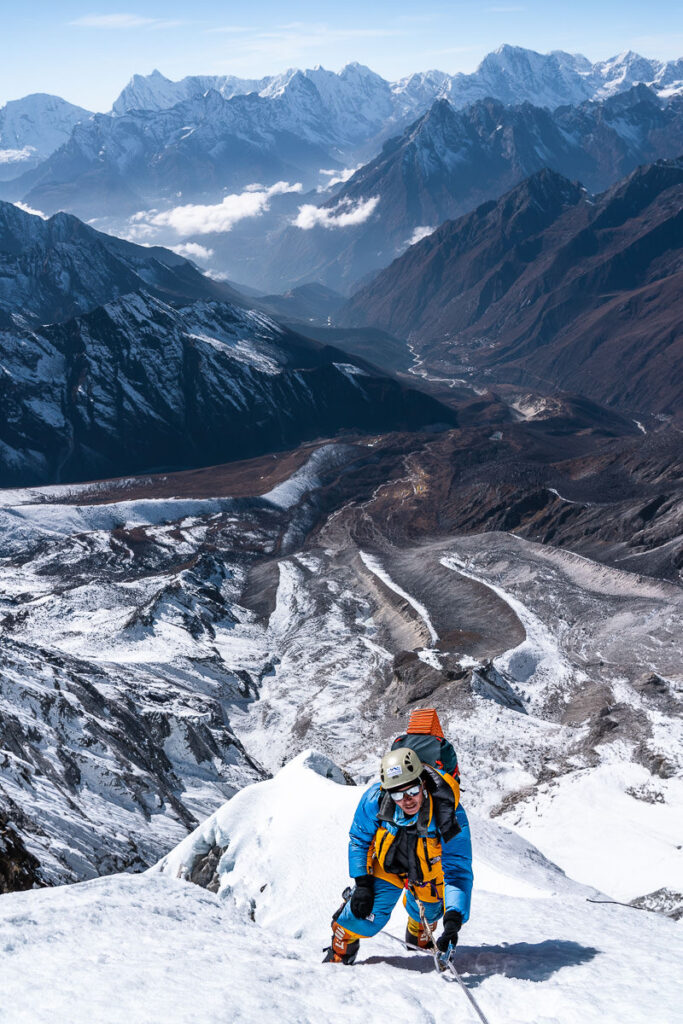
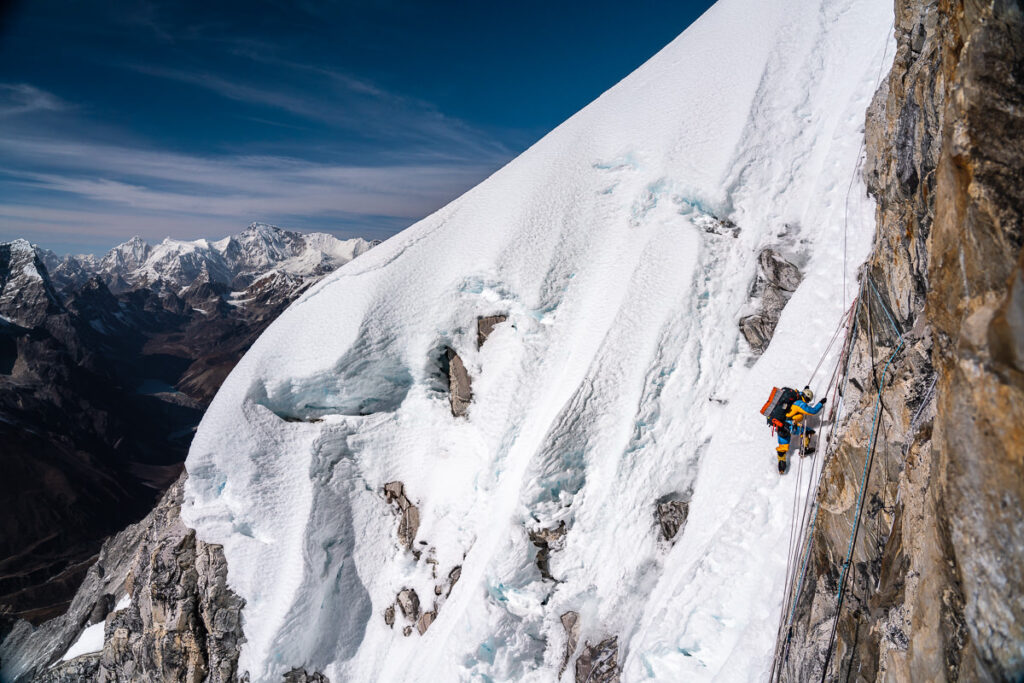
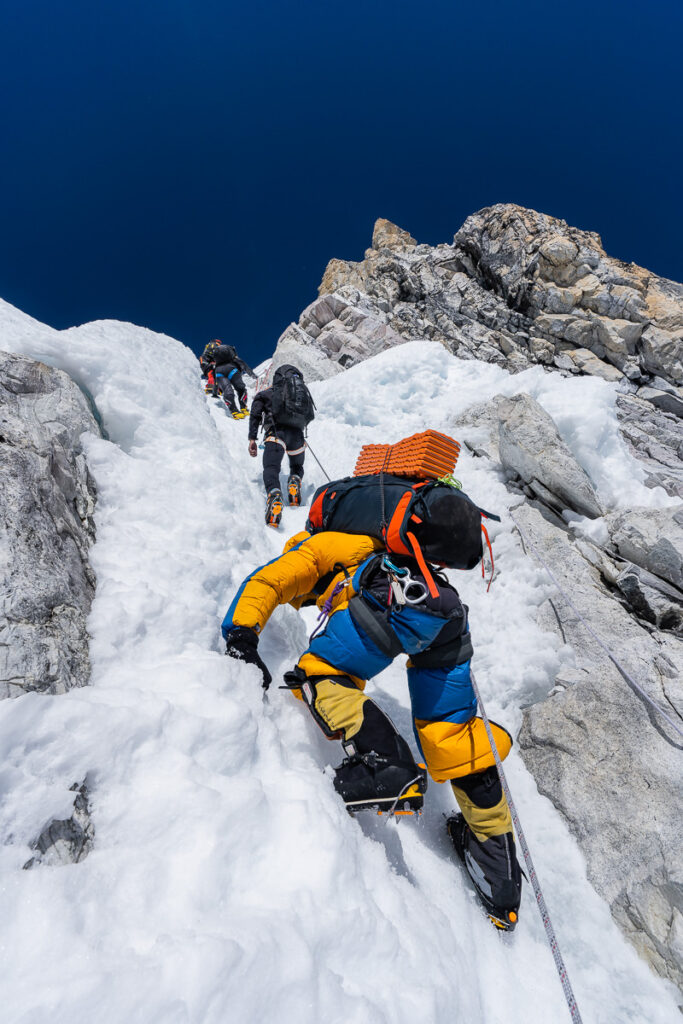
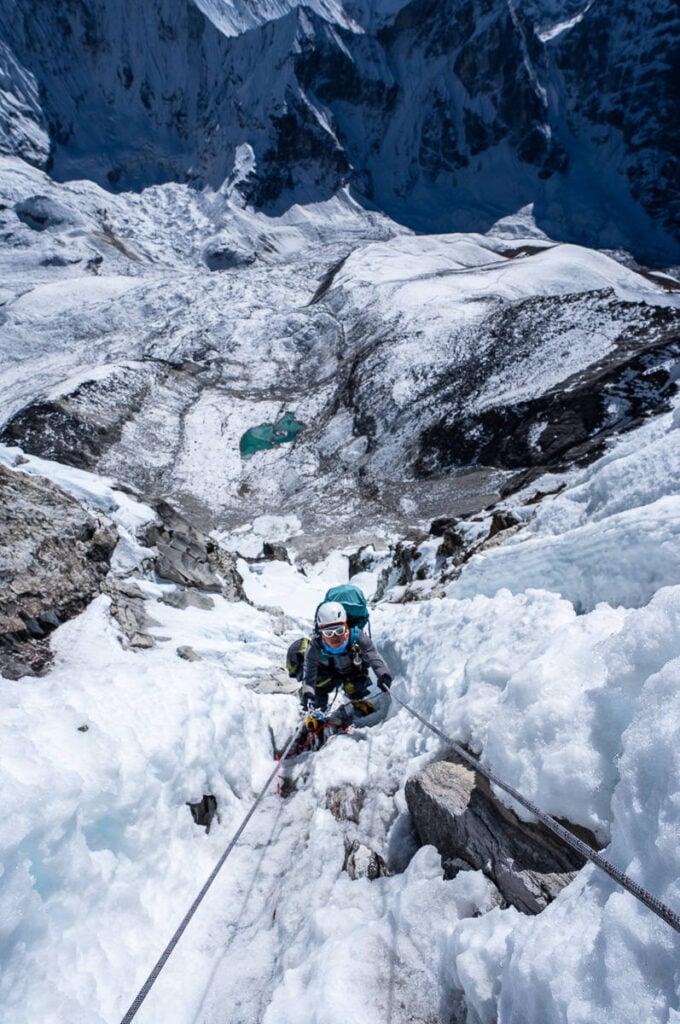
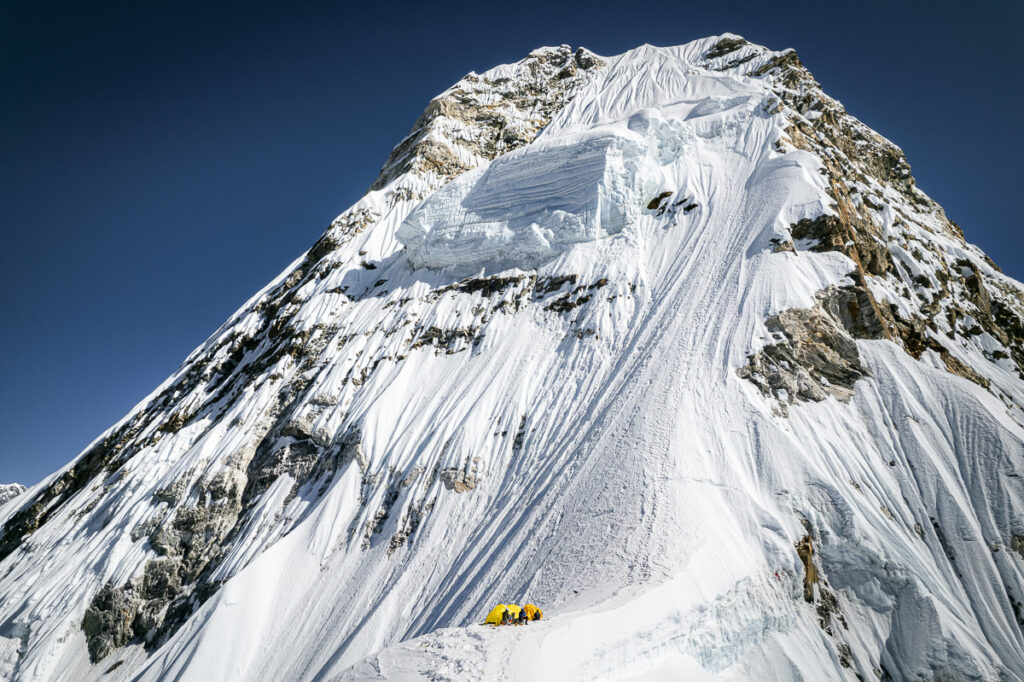
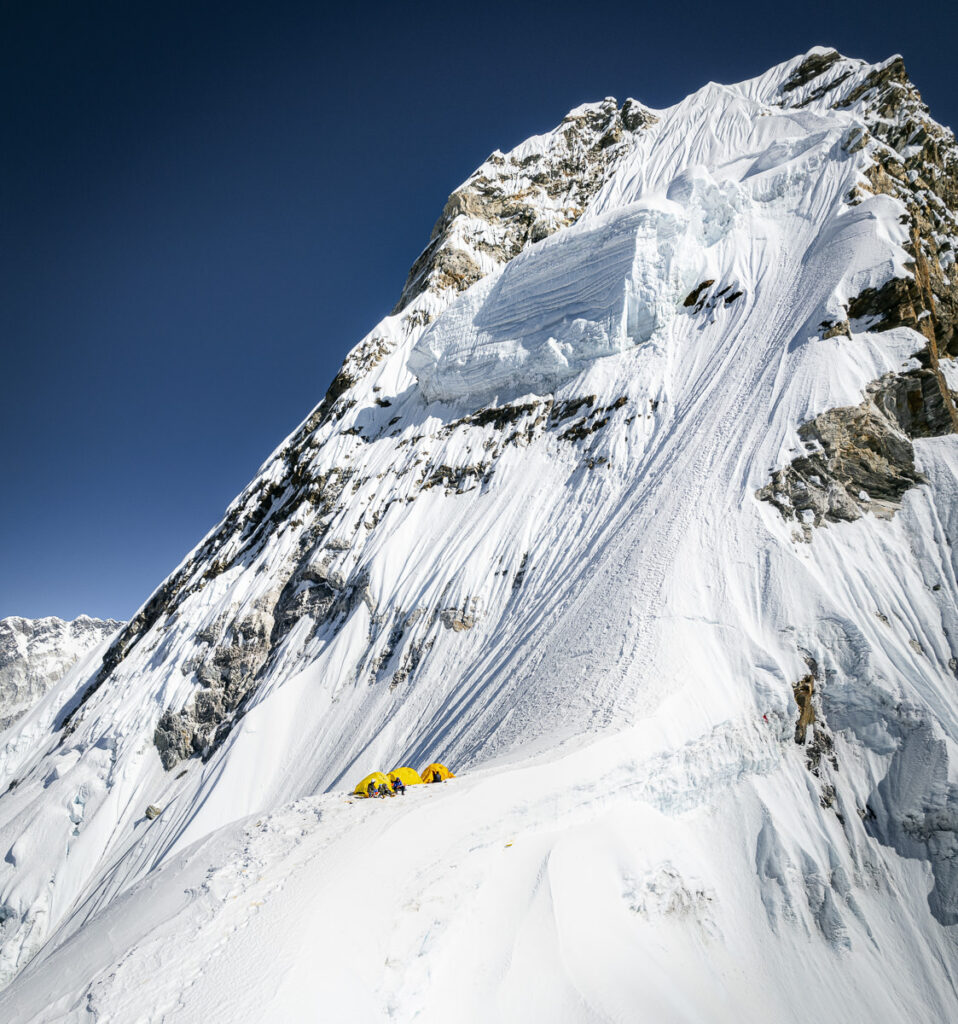
Personally, I found the ascent from Camp Three to be the hardest part of the climb. For four hours it was a relentlessly steep climb with no rest and no flat areas to catch the breath. It was just a never-ending series of snow steps to continue powering up. Our Sherpas cruised up hardly raising a breath but we managed 10 steps at a time in our best moments as we huffed and puffed our way further up to the peak. We took these photos on the way back down once the light came out to show the steep ascent. When we climbed up, the entire route was dark until the last few moments before the summit.


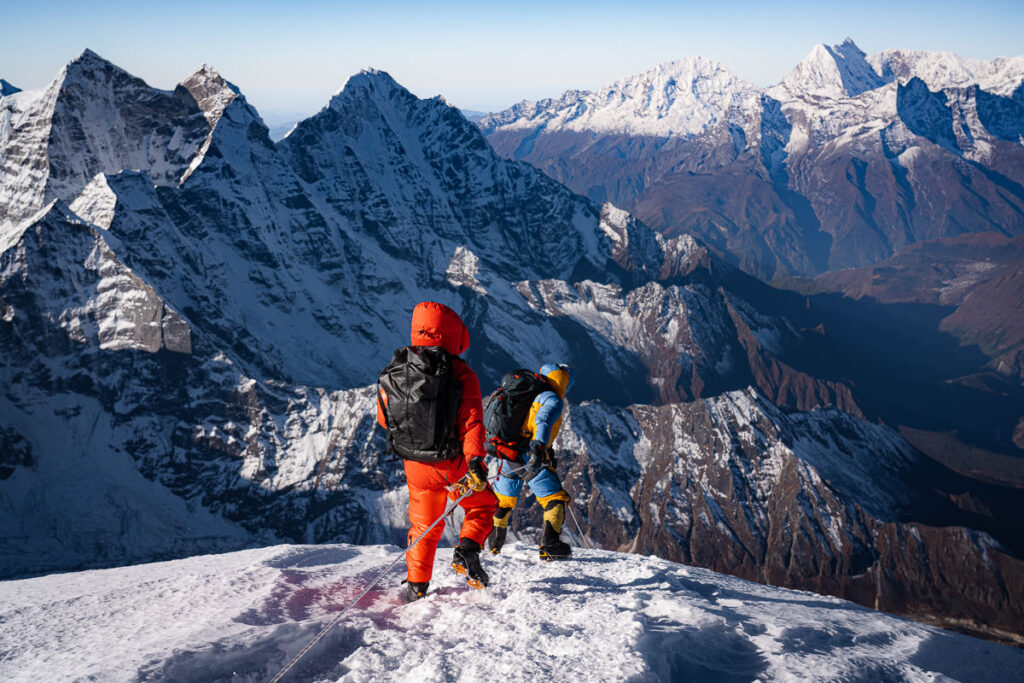
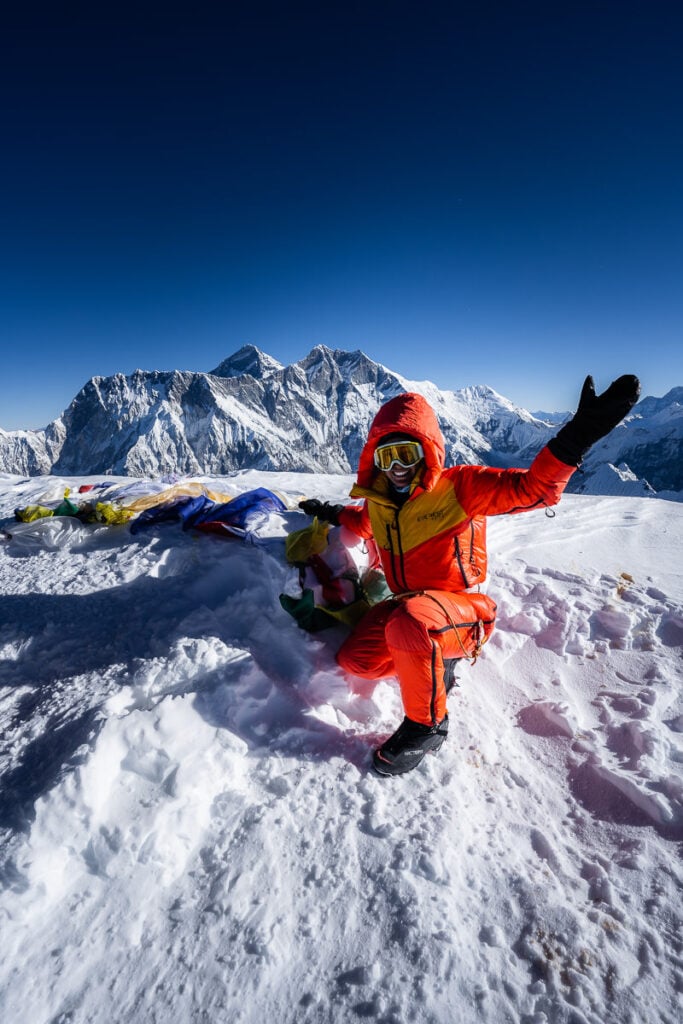
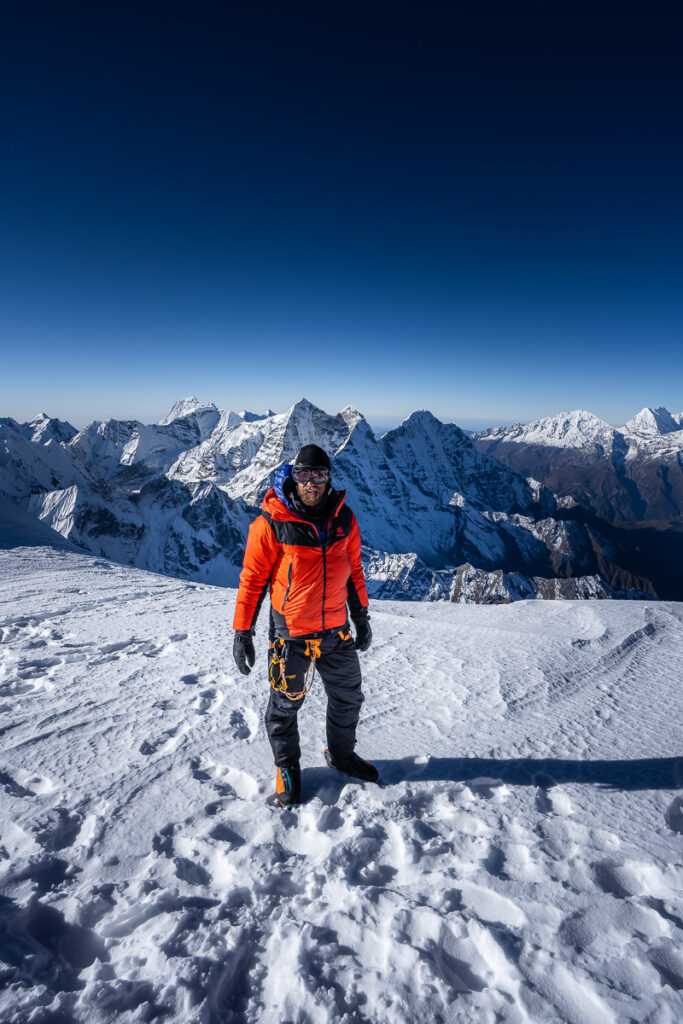
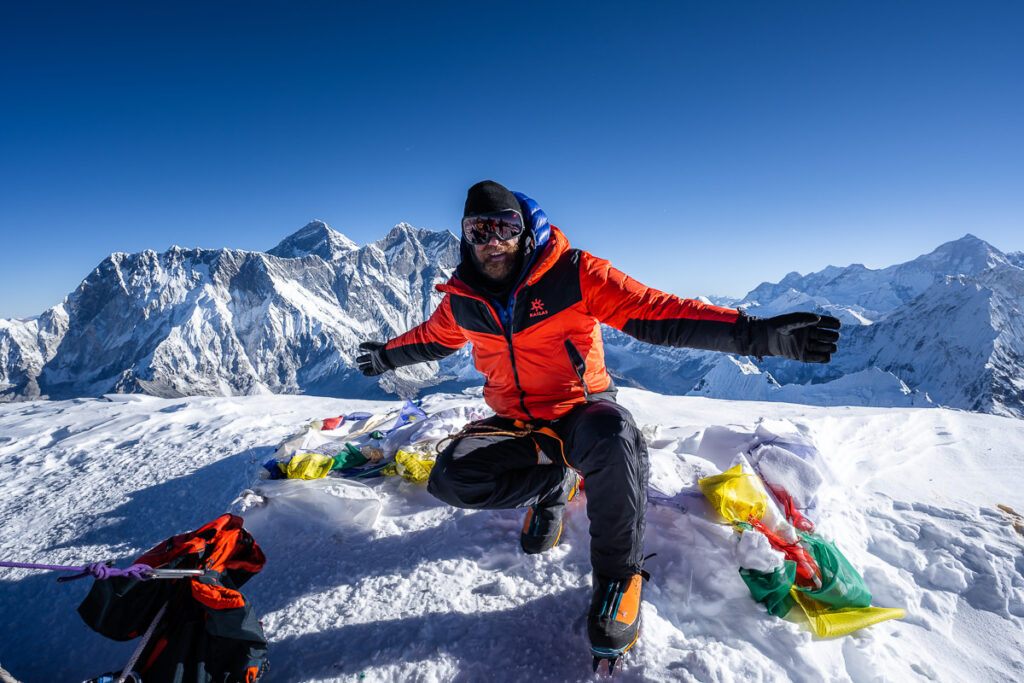
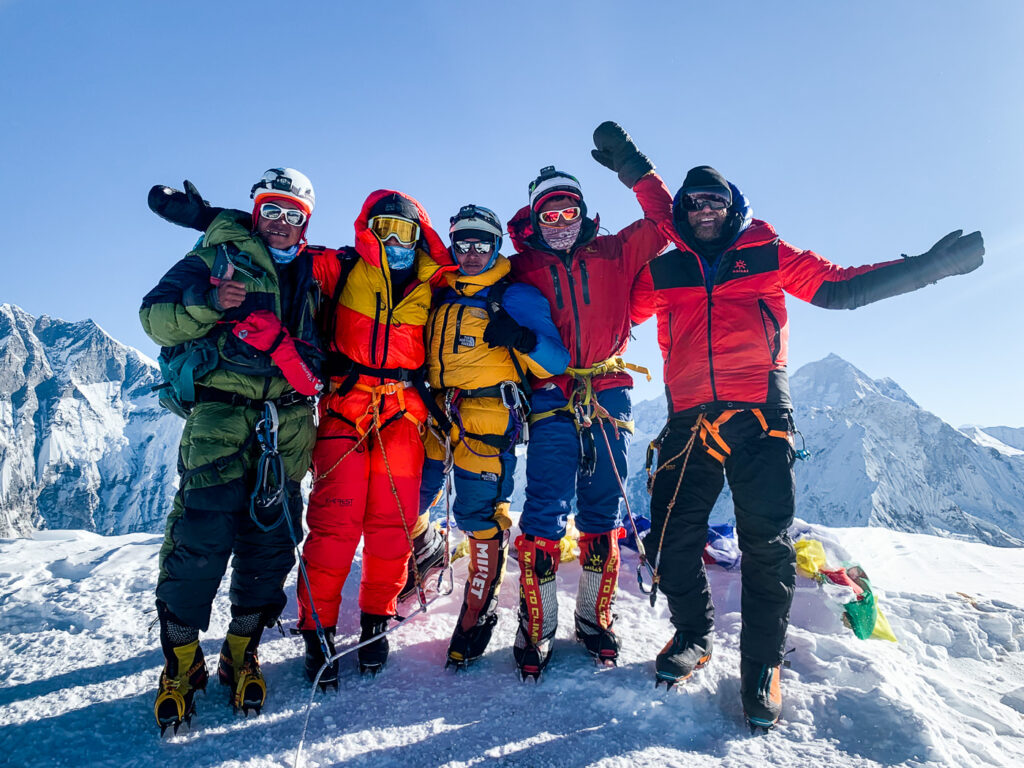
It was around 7:30 am when we clambered over the final ridge and gathered together on the summit. The sun had now risen after we enjoyed a beautiful morning glow and sunrise. The summit is quite flat with a large area in each direction before any drop-off. Nevertheless, we all clipped in carefully to an anchor or to each other. The views from Ama Dablam are more than just a sea of Himalayan peaks. From the top, you can spot Everest, Makalu, Island Peak, and many more notable mountains to climb in the future. Unfortunately, the summit was way too windy and I couldn’t fly the drone or it would’ve ended up on the other side of the Himalayas!
It is highly suggested to get back down as far on the mountain as possible that same day. We managed to reach back to Ama Dablam Base Camp just after dark even with a couple of drone flights and a meal at Camp One. Having a comfy bed and the safety of 4600m of altitude is the reward compared to sleeping again at Camp Three or Camp Two due to fatigue. The journey down was long but the beer back at base camp was rewarding enough.