
Mount Neko is the second tallest peak in the Mount Aso region at 1,443m high for the Tengu Peak and the opposite Toho Peak is 1,408m high. It’s called Nekodake because from Aso it looks like two cat ears when you see both of the peaks. It was an awesome but steep hike and the jagged peaks were just incredible at the summit during sunset.
MOUNT NEKO HIKE DETAILS
- Hike Distance: The total hike distance for me was 5.77km return when hiking up to the plateau/summit and back down the same way.
- Hike Duration: The hike took about 2 hours of total moving time but it could take longer depending on your shape due to the steep incline and slippery path in the winter.
- Hike Difficulty: This hike is known as being pretty difficult due to the incline but it gets quite dangerous when you try and traverse the peaks. There have been reports of accidents occurring when traversing. There were no huge drop-offs or moments of dangerous exposure near to the trail when just going up the ridge and back down. You can expect to do some basic bouldering, climb a few ladders and meet some serious incline.
- Hike Incline: The total hike incline was 730m, which was equally as taxing on the descent.
TOP 3 PLACES TO STAY IN KYUSHU
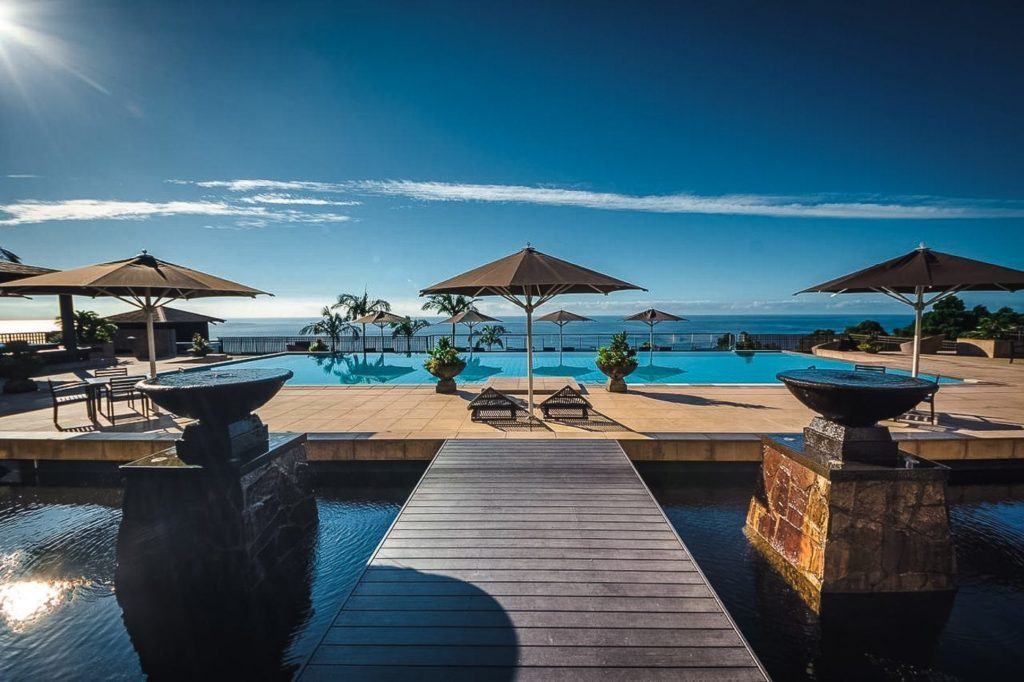
- Ultimate Luxury: Amane Resort Seikai best location and view
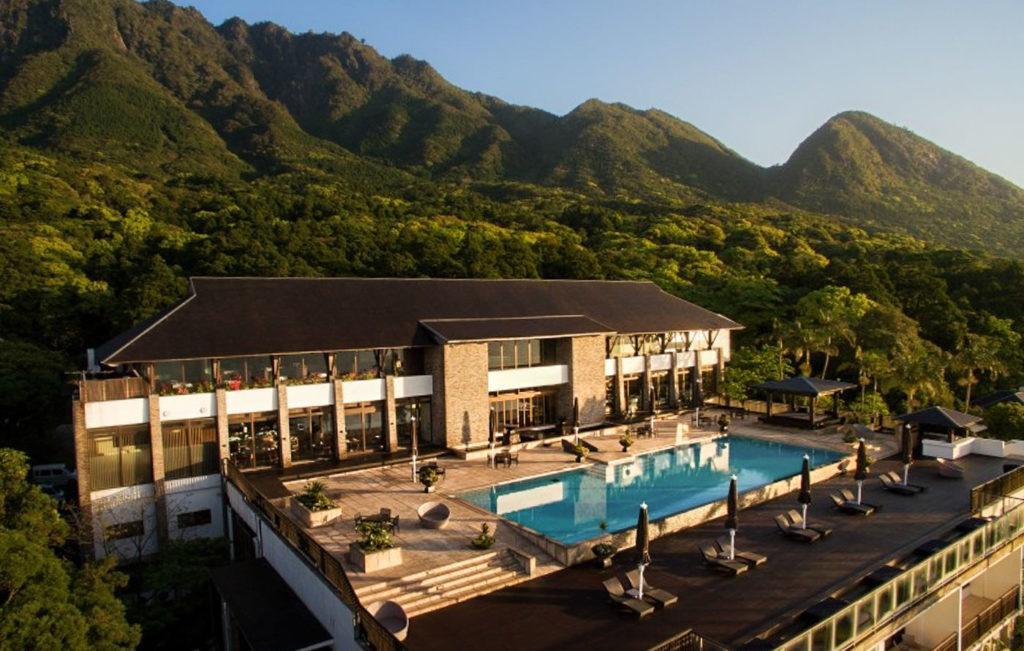
- My Favorite: Sankara Hotel & Spa – Natural Forest, Pool & Beautiful surroundings.
- Budget Hostel in Kyushu: WeBase Hakata Hostel is easily the top hostel in Kyushu
HOW TO GET TO THE MOUNT NEKO (NEKODAKE) TRAILHEAD
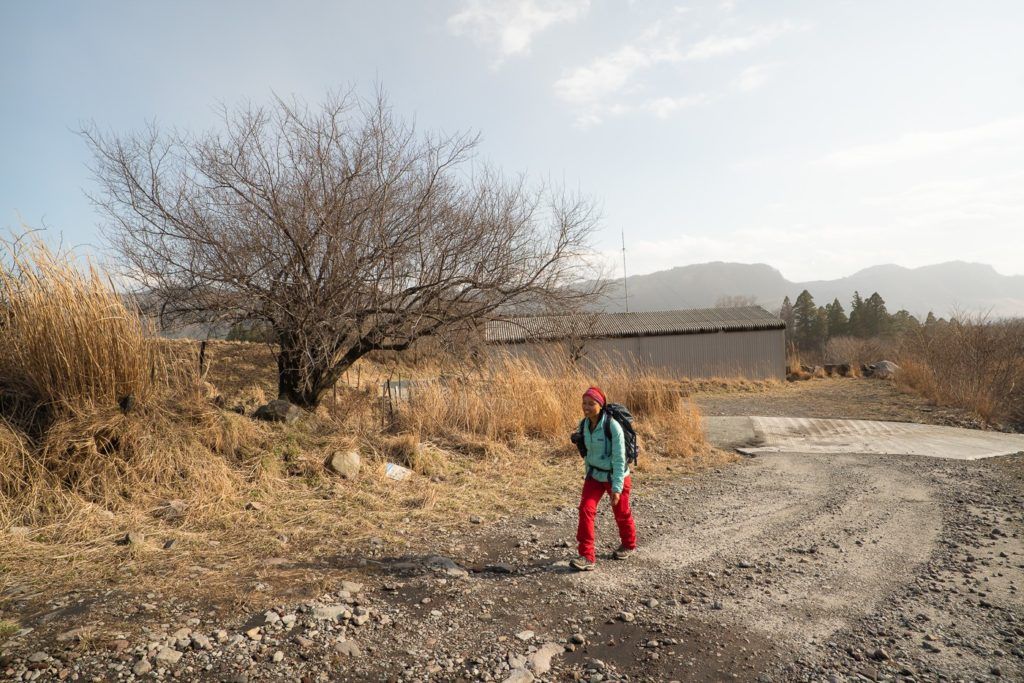
The trailhead is in Kamikishimi and it actually starts just behind a little cattle farm. Don’t worry this isn’t just my trespassing, as usual, this is the actual trail and there are signposts and trail markers the whole way once you get behind the farm.
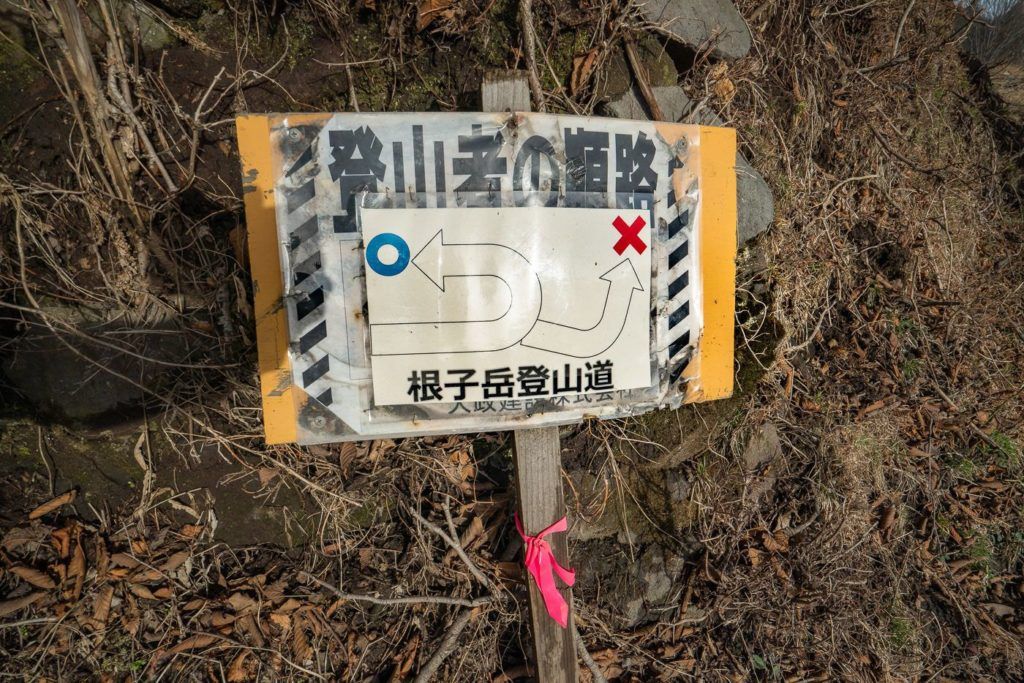
There is a parking spot about 200m before the small farm and then you head up the paved road, which becomes a dirt road leading up towards the ridge into the mountain. Here you will see a big tree on your right and there are signs sharing the dangers and information about needing gear for trekking Nekodake. The signs are mostly referring to actually traversing the peaks rather than just hiking up to the summit. I just hiked up to the summit and didn’t traverse the peaks as it said you may need special gear.
I’ve embedded the exact pin below for where to park your car. I’ll also add photos of the start of the trail in the story below.
MOUNT NEKO (NEKODAKE) HIKING MAP
The map below is the exact route I took as I recorded on my Garmin Watch. If you are interested, you can download my map as a GPX file for your smart device such as a Garmin watch by clicking here to download.
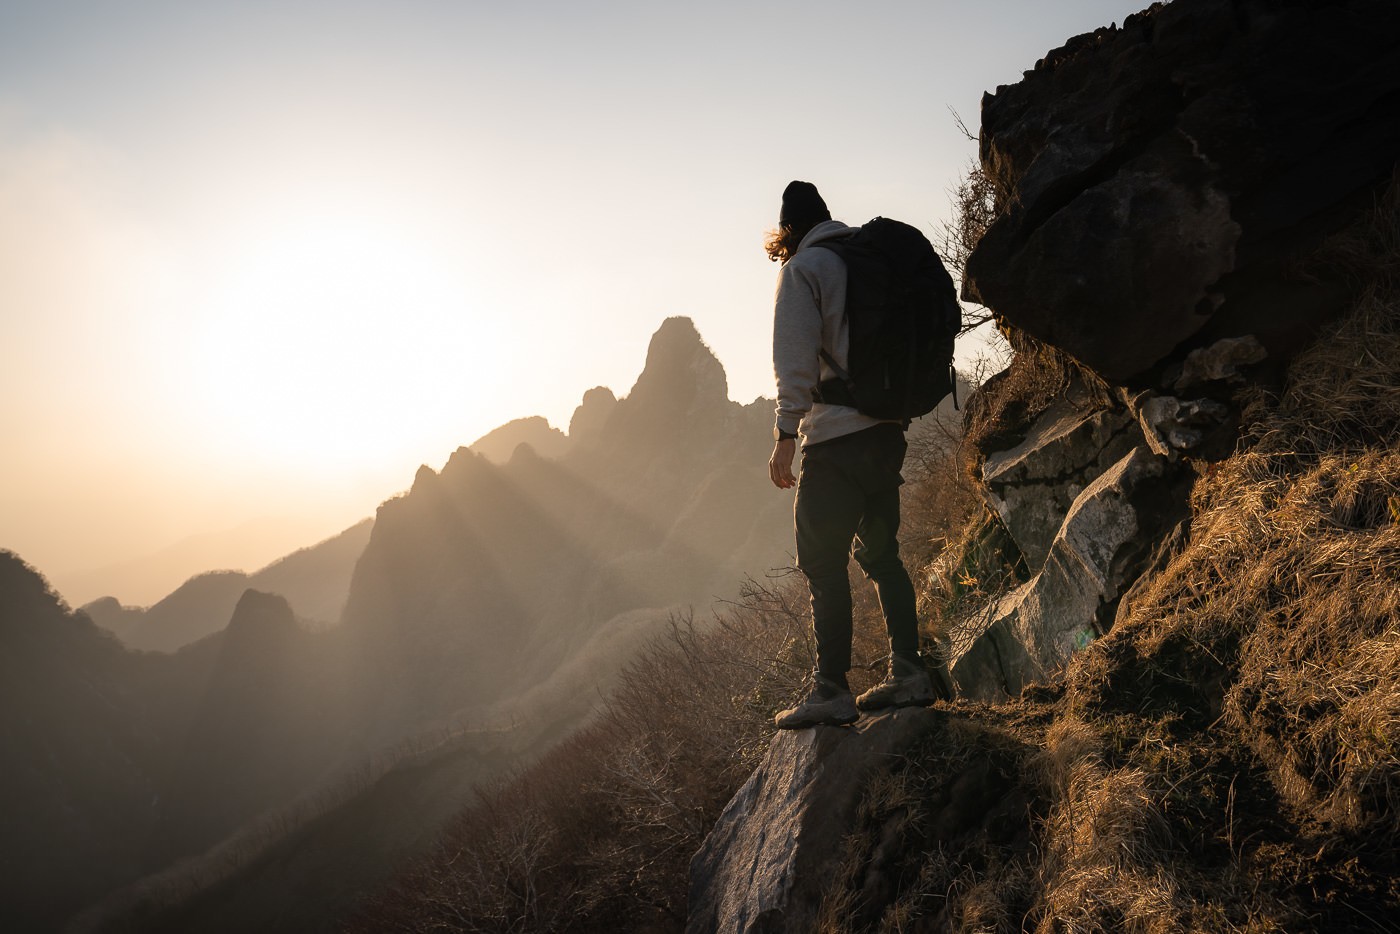
MY EXPERIENCE ON THE MOUNT NEKO HIKE (NEKODAKE)
A day earlier I had been up on top of Takadake looking down over Nakadake Crater and across the valley, I saw the peaks of Mount Neko. The two peaks are so prominent that they are actually how Nekodake got its name. Neko means cat in Japanese, which is a reference to the two peaks that look like cat ears.
I thought it seemed worth a hike or at least an investigation into if it was possible. I searched online and managed to find out that there was a route from Kamikishimi. I believe there is a route from the other side but that is another adventure altogether. With a small idea of how to make it all happen, I headed out to the pin location for the parking spot I’ve provided above.
I arrived about two hours before sunset, hoping to grab some golden light somewhere up there near the summit. It was meant to just be a 5-6km return trip (which was accurate) so two or so hours was sufficient time to complete this hike.
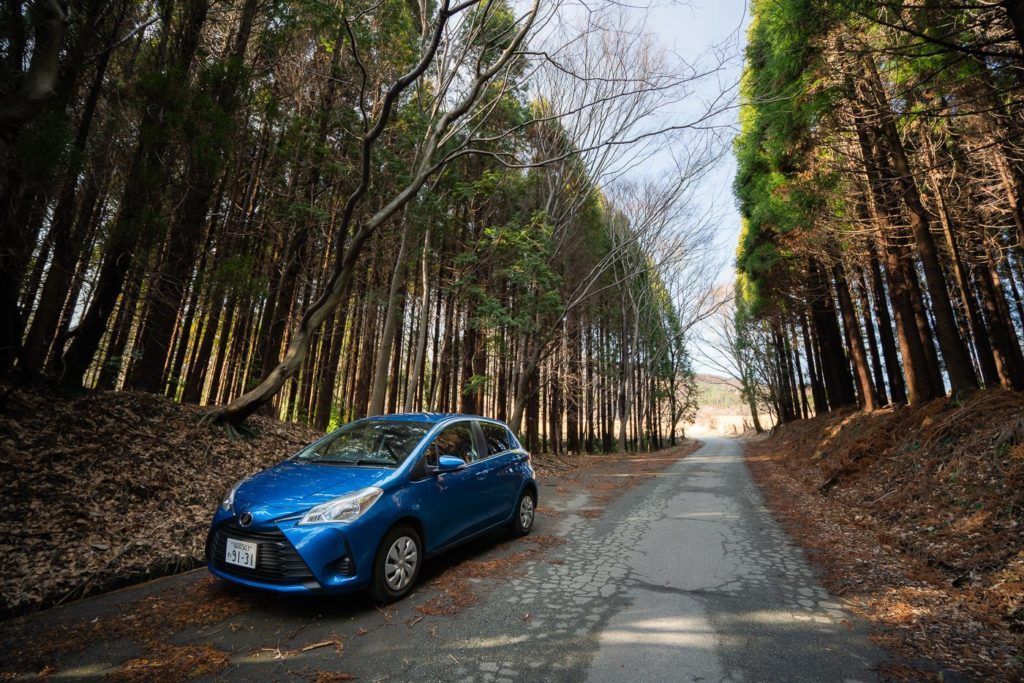
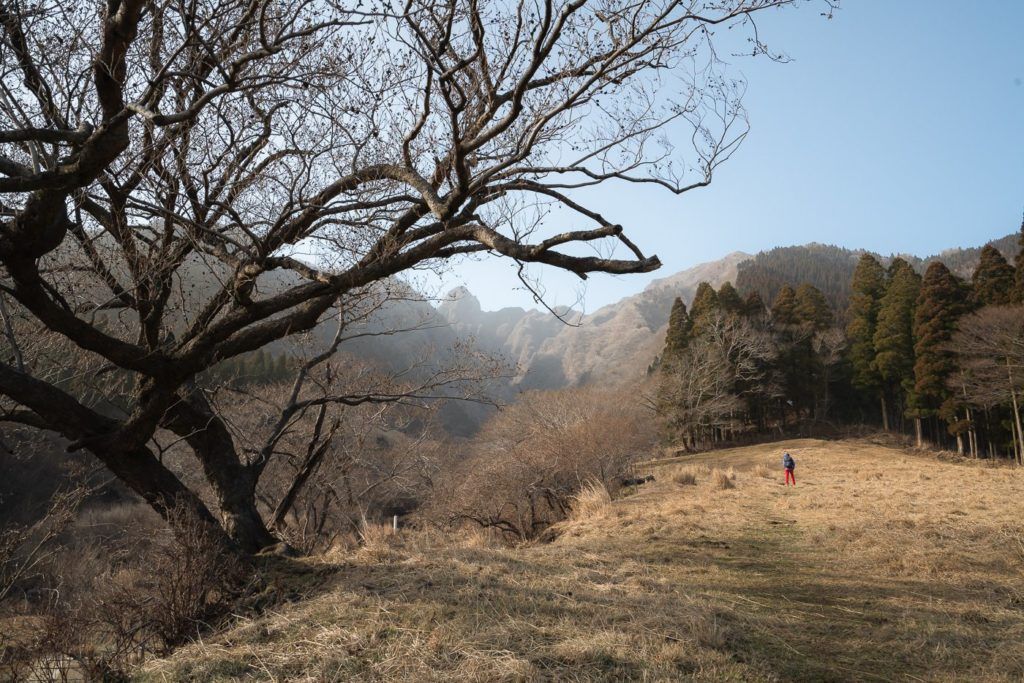
We parked the car in the middle of a beautiful forest, which led up to the farmhouse.
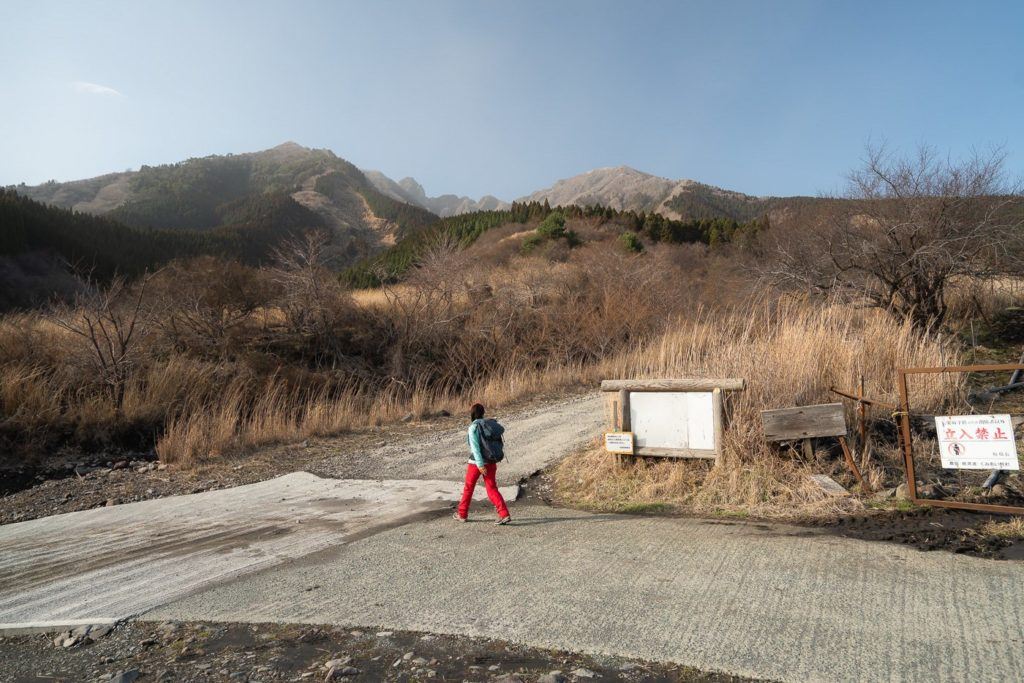
After parking the car we headed up the road, which wound around the barn and then veered right up the hill as the path now turned to gravel. As you can see there are signs all around and some of them do mention the hike so it seemed pretty legitimate although we had to jump one fence just before the official entrance.
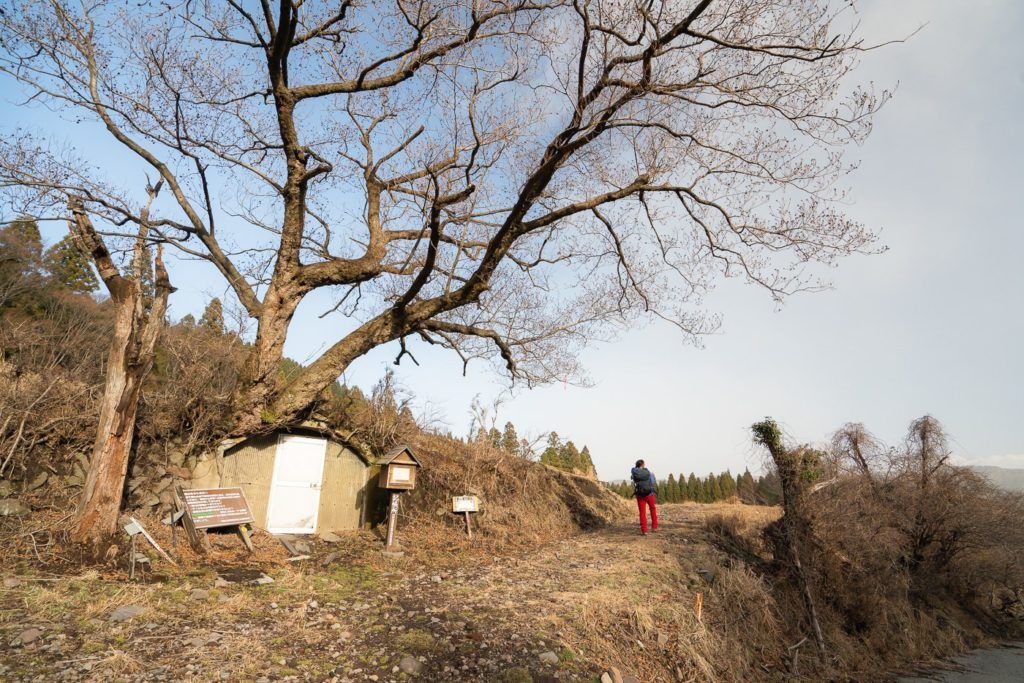
The official entrance has two points. First, you will find this tree that leads you through the field and to the trailhead and then at the trailhead there is a clear entrance gate made of wood and a sign. Now you just follow the defined path and the pink tags, which are found on the trees as you go.
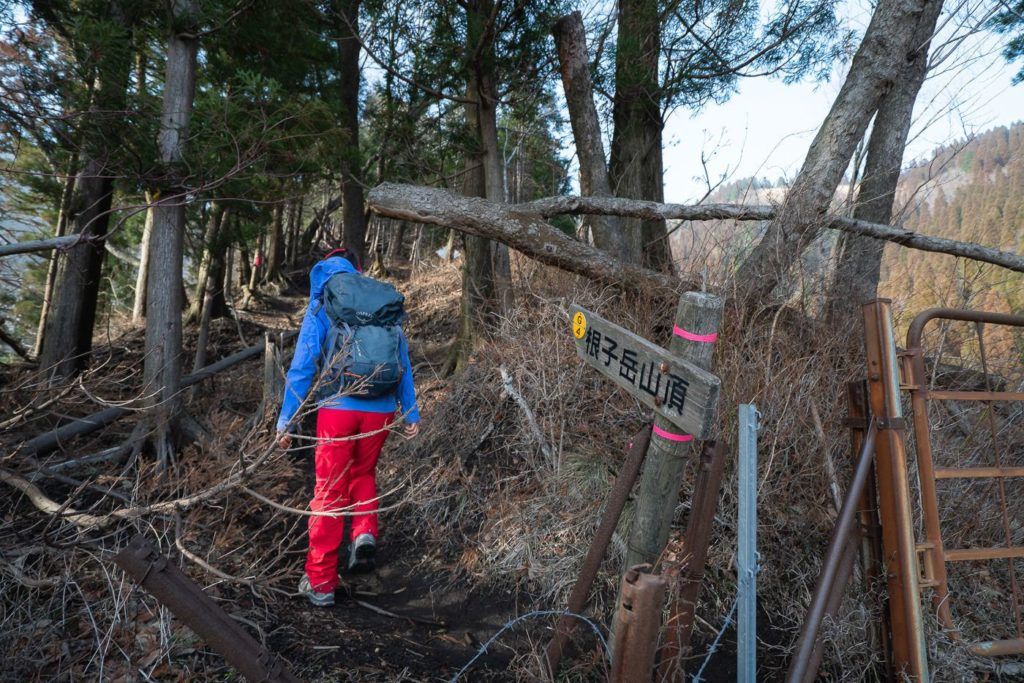
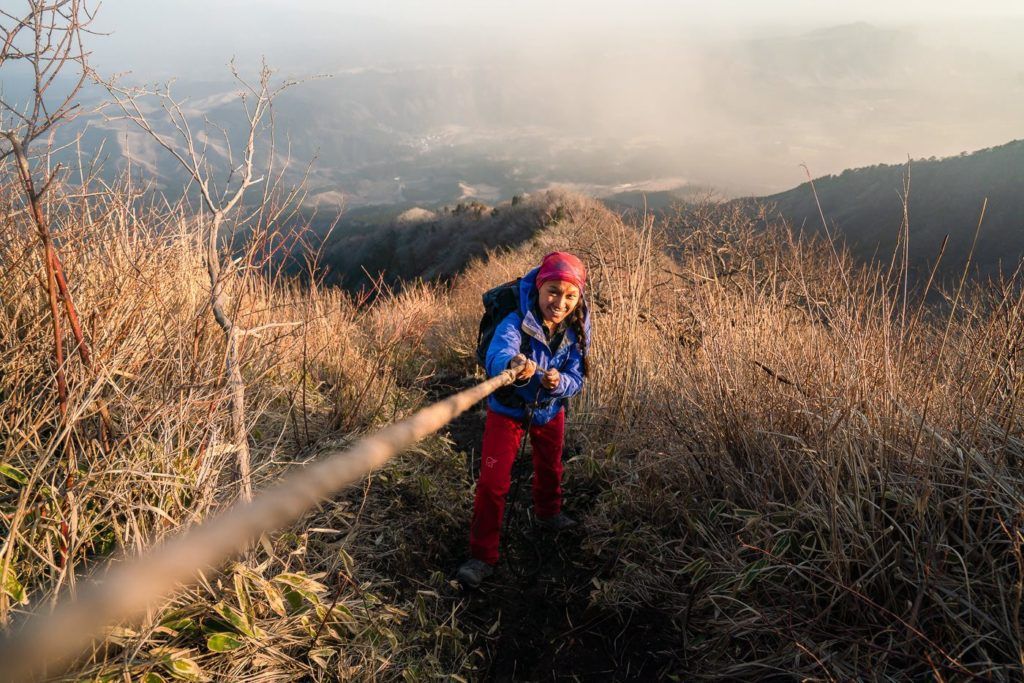
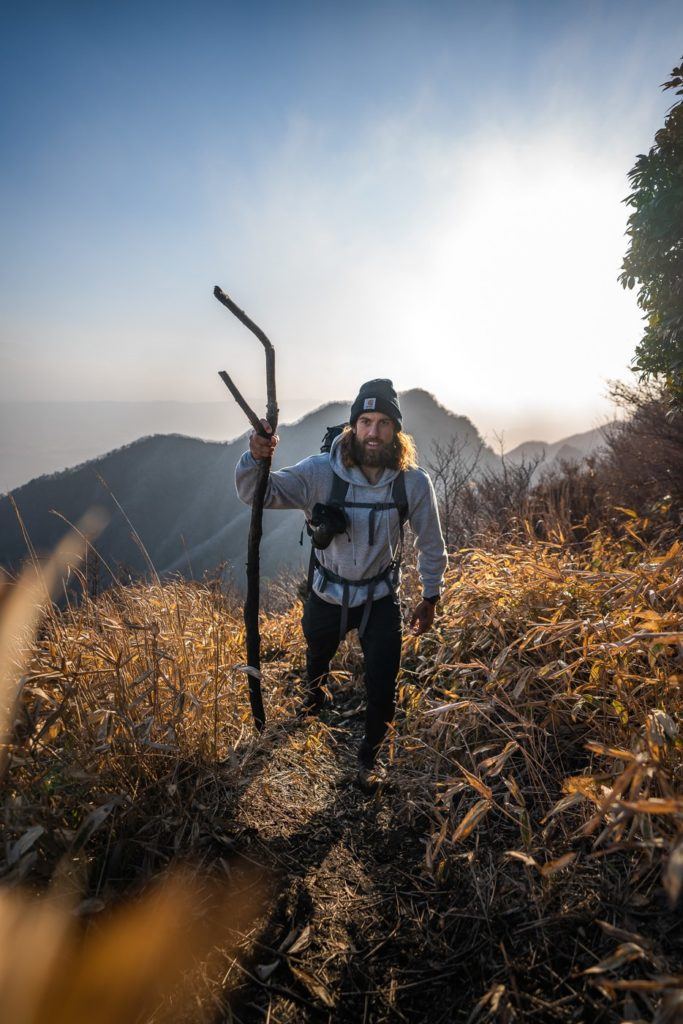
The trail is quite well defined but in the middle of winter, there is snow and the trail is damn slippery. Lots of sections have a rope but you will be hard-pressed not to hit the deck on this trail at least once. If not going up then definitely on the way down unless you are a purebred mountain goat.
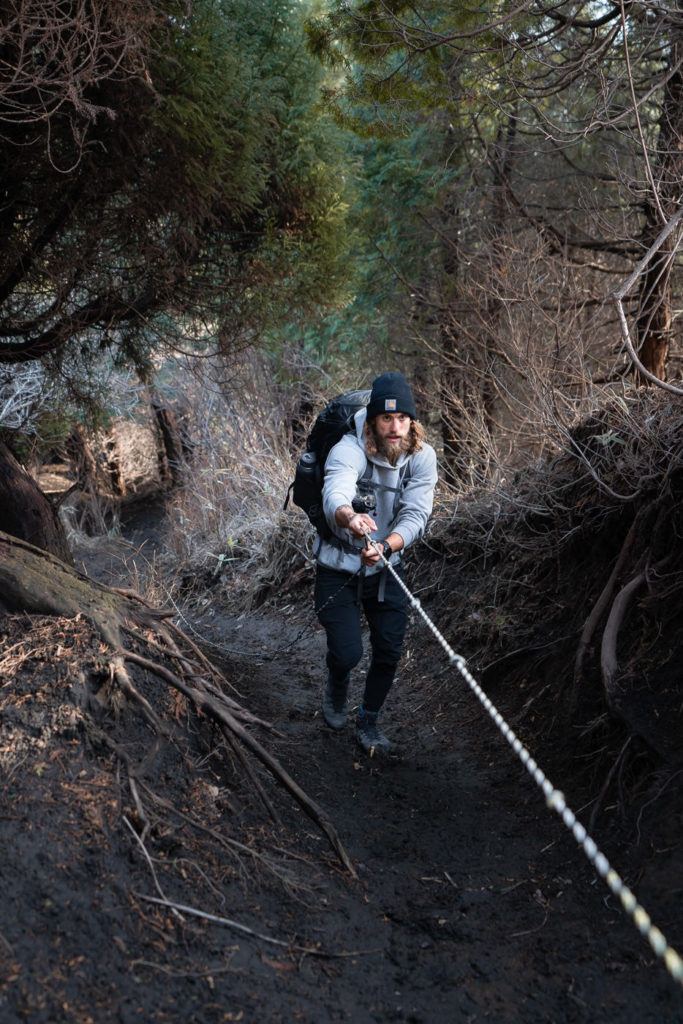
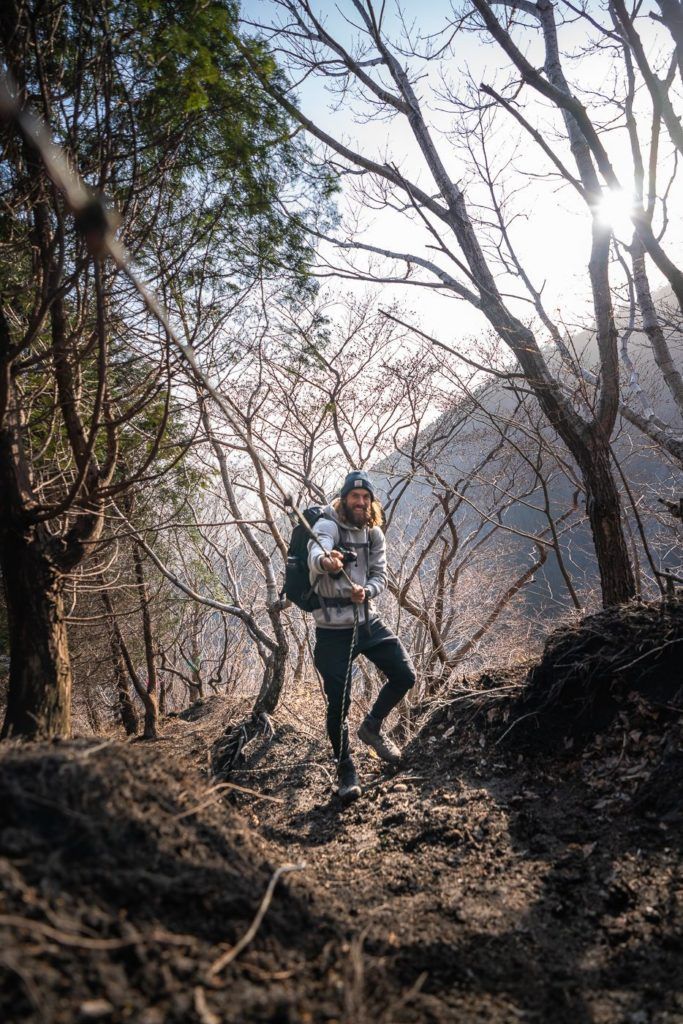
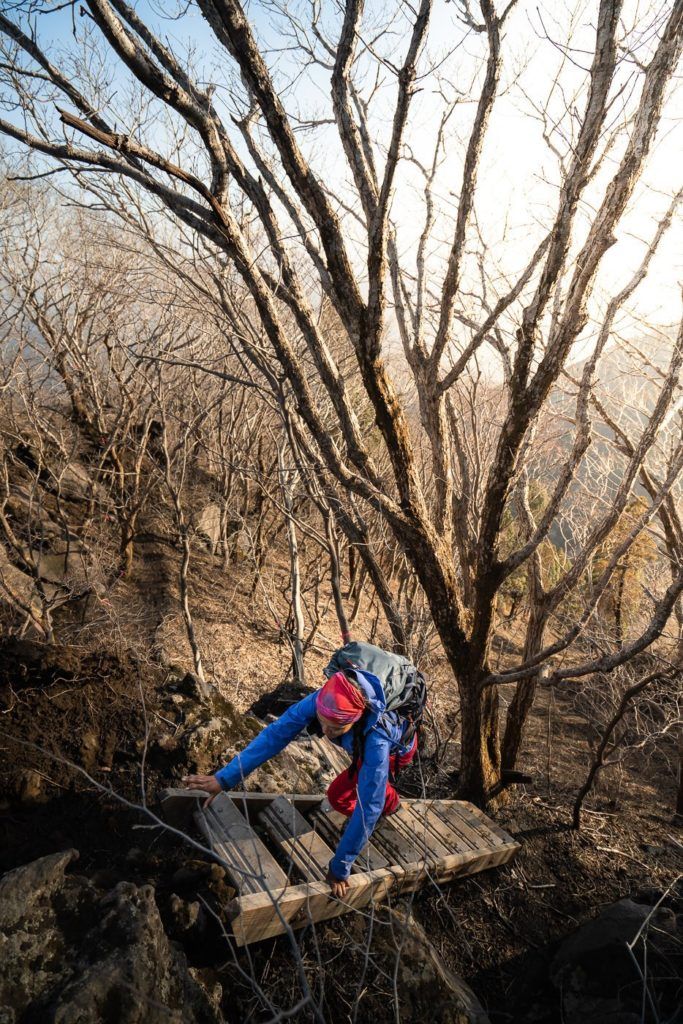
As well as the numerous ropes to help you up the summit of Nekodake, you will also encounter several ladders, helping you ascend through the forest. None of the ropes, ladders or bouldering is technical or very difficult but be prepared for a bit of action along the trail.
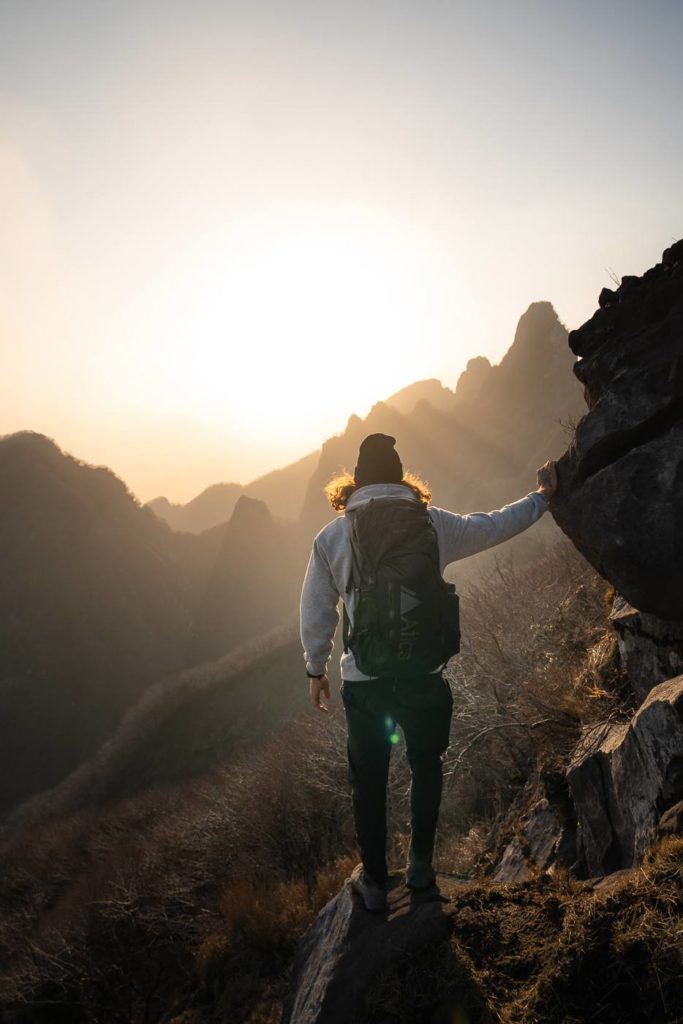
After a couple of kilometers, we reached the first plateau. It looked out across to the Tengu Peak, which is the most prominent peak and you really can’t miss it. In the late afternoon, the sun sets behind this peak so it’s a really magical spot to take in the whole ridge.
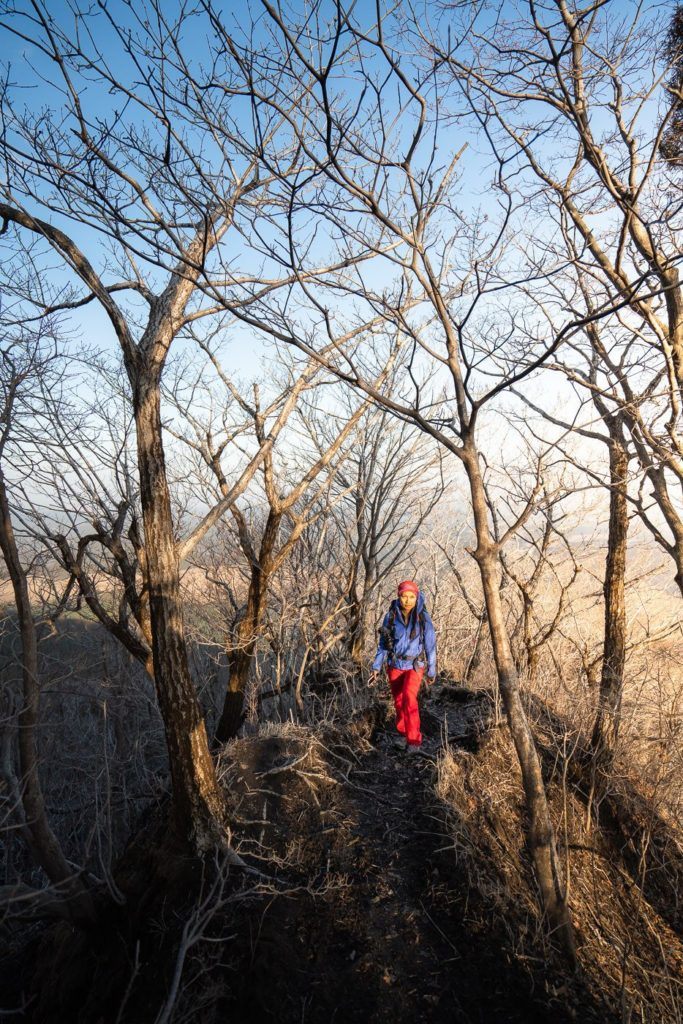
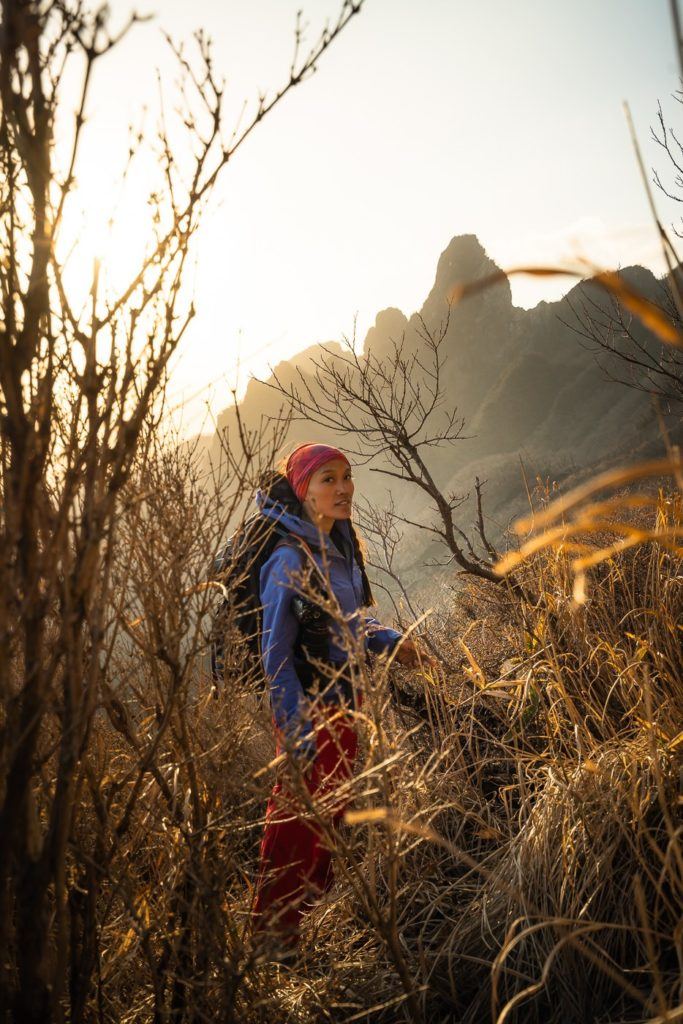
This hike would be epic in the warmer seasons when the grass is green and the trees have leaves. Unfortunately, I hiked it in the winter so not only was it barren but also freezing. Don’t get me wrong I had a great time on the hike but it could have been twice as beautiful if it was laden with vegetation rather than bare branches and dead grass.
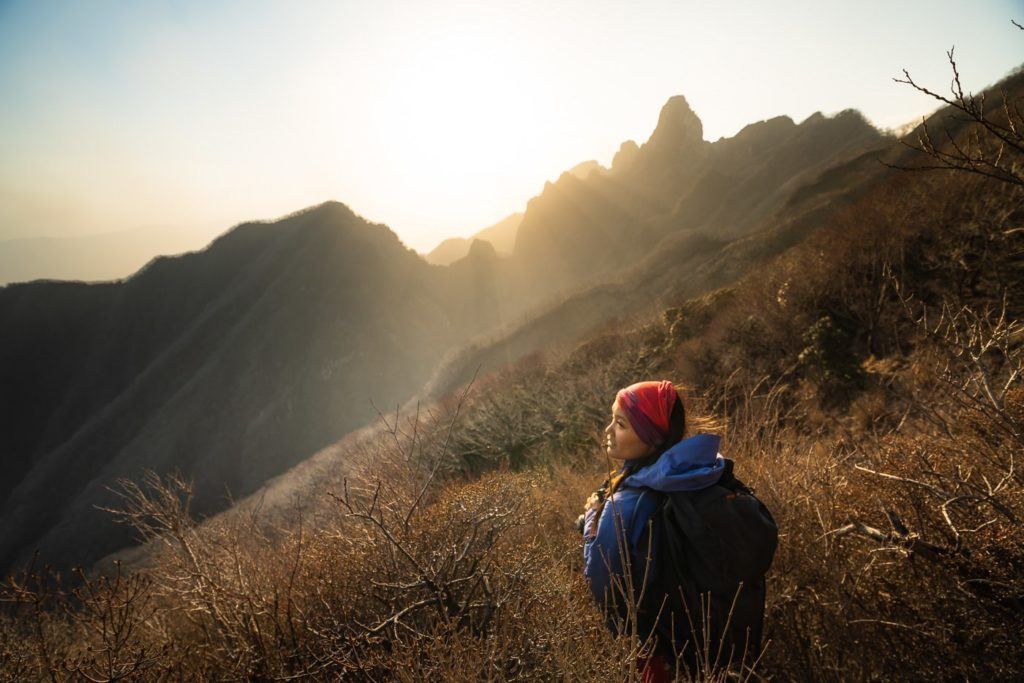

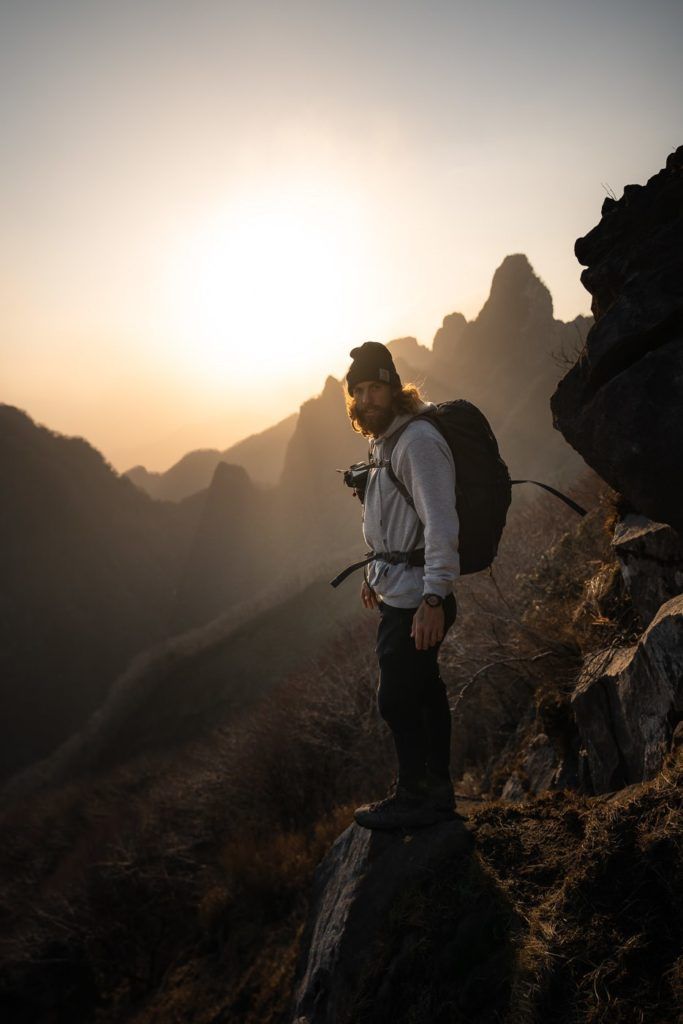

After just over an hour of trekking up to the Nekodake summit, we reached the summit plateau. It turns out the summit is actually pretty dangerous. I didn’t explore the ridgeline but it was extremely windy and the trail seemed to get narrower and narrower with the drop-offs getting more dangerous. I guess this is what the signs were talking about. I think traversing the peaks would be a ‘next-level’ activity and I usually attempt those with a local, guide or when I have solid information about the levels of difficulty and subsequent danger. I had none of those so we decided that the summit plateau would be our endpoint. It was getting dark anyway so we were satisfied with watching the sunset from the viewpoint looking out across at the peaks.
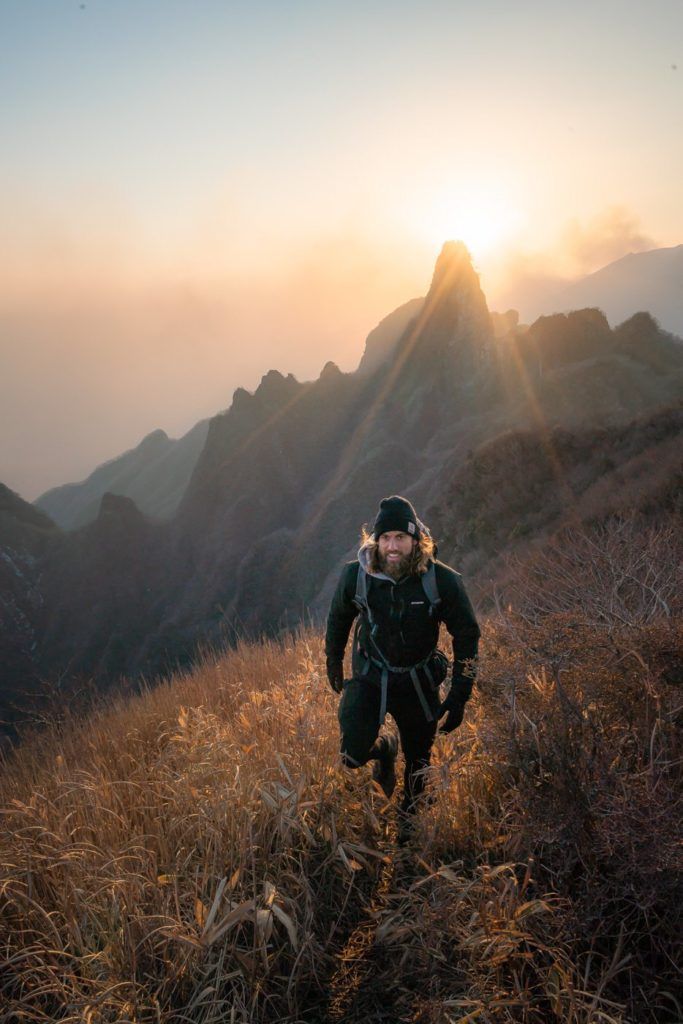
I took this photo with the drone while my fingers literally froze before my eyes. It was super windy, chillingly cold and a bit difficult with the lighting but you can still appreciate the scale of the ridge. I suggest this hike either for a sunset like us or the sunrise could be epic as the sun comes over your back and lights up the contours of the ridge.

The hike down in the dark was a slippery one. We brought headlamps, as we always carry for situations like this. However, even with lamps we still both fell multiple times. When we reached the trailhead we thought the ordeal was over but the cows from the farm had been released into this fie,d and it turns out they are very aggressive and charged us. We ran off, diving over the fence into the bushes and had a tense 25-minute standoff in the dark before the situation de-escalated and the cows lost interest. Nothing like a bit of adrenaline to finish the night off before the long drive back to Kumamoto.
I hope you enjoy this stunning ridge hike as it does offer some of the most ‘epic’ ridge views in all of Kyushu.
WHERE TO STAY IN KYUSHU
- Best Luxury Place to Stay in Fukuoka: Hotel WBF Grande Hakata (Value): This is by far the most popular hotel and one of the most luxurious in Fukuoka.
- Best Value Place to Stay in Kumamoto: Hotel The Gate Kumamoto (Value): Hotel The Gate is a well-situated accommodation in the heart of Kumamoto, just across the train station and within walking distance to shops and restaurants.
- Best Luxury Place to Stay in Kumamoto: Kumamoto Hotel Castle (Luxury): Set near the infamous Kumamoto Castle, this luxury hotel features a wide range of carpeted rooms from standard rooms to suites fitted with plush amenities.
For a full list of the top-rated places to stay in Kyushu, you can check out my comprehensive guide: WHERE TO STAY IN KYUSHU: BEST REGIONS & HOTELS
ARE YOU FOLLOWING MY KYUSHU BLOG SERIES?
I spent over three weeks exploring Kyushu and visited some incredible waterfalls, hiked some amazing trails, and visited a number of epic volcanoes. I created a number of guides to help travelers find the best spots in Kyushu. You can explore the articles by clicking on the links below.
- The Ultimate Kyushu Bucketlist: 30 AWESOME THINGS TO DO IN KYUSHU
- The best places to stay in Kyushu in each region: WHERE TO STAY IN KYUSHU: BEST REGIONS & HOTELS
- How to plan your Kyushu vacation: THE ULTIMATE KYUSHU ITINERARY: 5-DAY, 7-DAY & 10-DAY
- Interested in chasing waterfalls?: 12 AWESOME WATERFALLS IN KYUSHU
- Keen for some epic hiking?: 11 AWESOME HIKES IN KYUSHU
- Everything you need to know about Oita: 11 AWESOME THINGS TO DO IN OITA
- Your Ultimate Guide to Kumamoto: 13 AWESOME THINGS TO DO IN KUMAMOTO
- My favorite waterfall in Kyushu: TAKACHIHO GORGE – MOST BEAUTIFUL WATERFALL IN JAPAN

Billy basntsheep
Tuesday 20th of May 2025
We did this hike in 3 hours, very beautiful, saw a badger, deer and ferret thing on accent. Very beautiful range. It's steep but worth it. Slightly hard to find the start as of 2025, the signs may have blown down. You can't see the crater from this hike, but it's a lovely range and ridge.
Hélène
Wednesday 14th of May 2025
Hi Jackson, thanks so much for your detailed information on the Mount Nekodake hike. The gps file, your comments and your (beautiful) pictures were all very helpful.
Channy
Tuesday 9th of July 2024
Thank you! I'm having trouble deciding which hike to do. I can't tell but from the pictures it seems like you can't see the crater/volcano from this hike? Is that right?
Another blogger did a Nakadake hike post and her pictures are completely different from yours lol So I'm not sure if there are more than one Nakadake trail.